
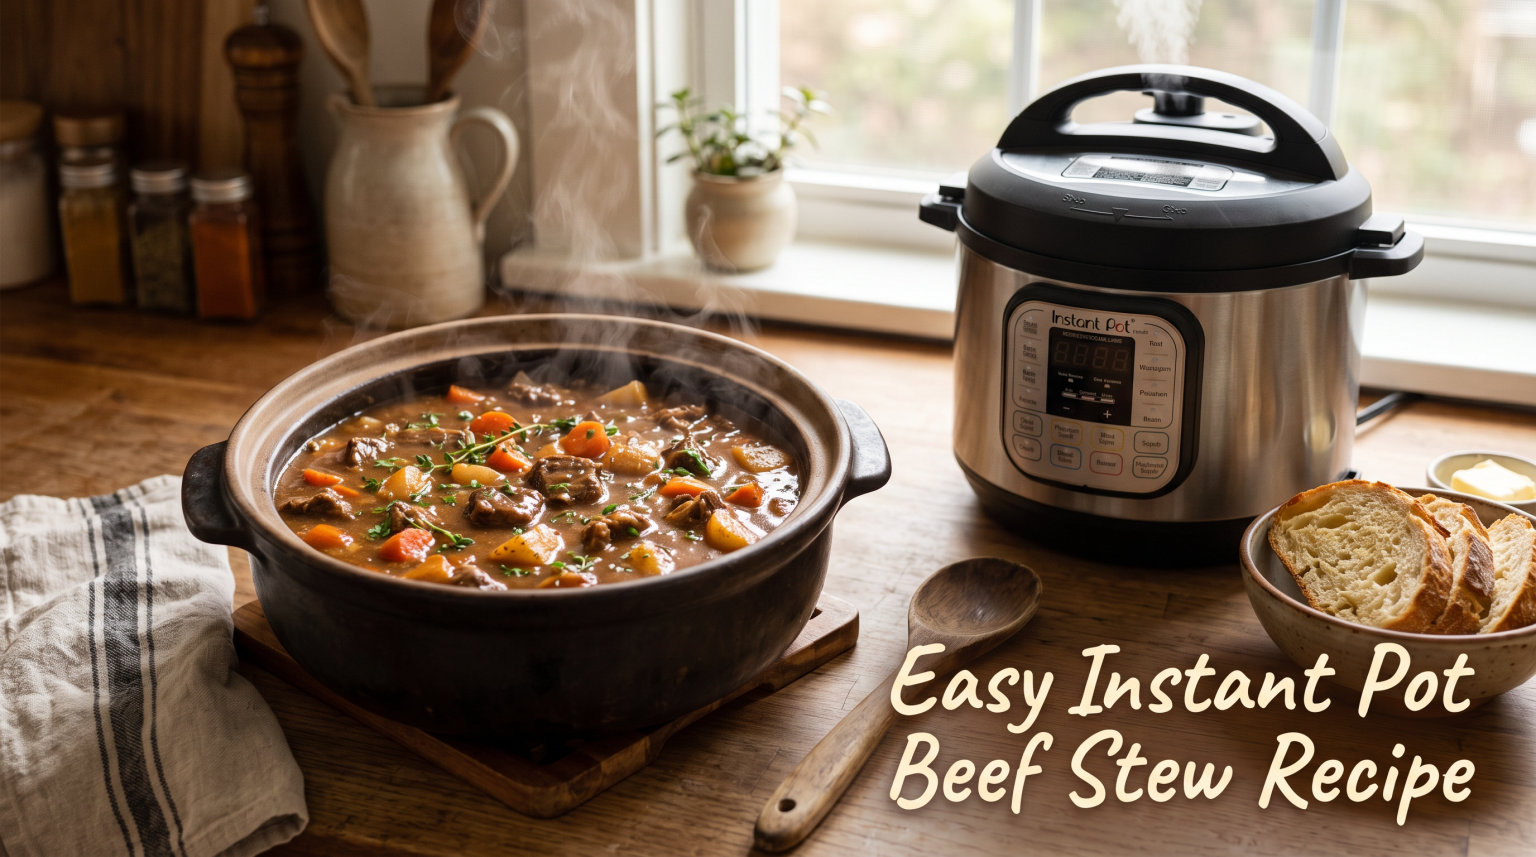
This easy Instant Pot beef stew recipe gives you tender beef, hearty vegetables, and a rich broth without an all-day simmer. Browning the beef, deglazing thoroughly, and using a natural release are the small steps that make the texture reliable.
I have organized the method, troubleshooting, and storage notes so you can make a confident first batch and adjust it for your own kitchen.
In this guide, you will learn exactly how to select the right beef, prep your vegetables for perfect texture, avoid the dreaded burn warning, and thicken your stew to that ideal consistency. Whether you are brand new to pressure cooking or looking to up your Instant Pot game, this recipe will become your new comfort food staple.
For another comfort-food dinner, try my easy Instant Pot chili recipe or this easy slow cooker pot roast.
Table of Contents
Why You’ll Love This Easy Instant Pot Beef Stew Recipe
This recipe solves the biggest problem with traditional beef stew: time. Instead of simmering for three to four hours, you will have fork-tender beef and perfectly cooked vegetables in about 50 minutes from start to finish. That includes prep time, pressure building, cooking, and releasing.
The beauty of this easy instant pot beef stew recipe lies in its simplicity. You do not need fancy ingredients or complicated techniques. Everything happens in one pot, which means minimal cleanup and maximum flavor development as the ingredients meld together under pressure.
I designed this specifically for beginners who might be intimidated by their Instant Pot. Every step includes clear explanations of why we are doing what we are doing, so you learn as you cook. By the end, you will understand your pressure cooker better and feel confident tackling other recipes.
Best of all, the results rival any slow-simmered stew. The high pressure breaks down tough connective tissue in the beef chuck roast, transforming it into succulent, fall-apart tender morsels. The vegetables emerge perfectly cooked, not mushy, with just enough bite to remind you they were fresh.
Use a thermometer and follow the USDA safe-temperature guidance when serving beef.
Ingredients You’ll Need
The key to exceptional beef stew starts with selecting the right ingredients. I have tested this with various cuts and combinations, and what follows is the formula that consistently delivers the best results. You will find everything at a standard grocery store, no specialty shopping required.
For the Beef
-
2 pounds beef chuck roast, cut into 1.5-inch cubes
-
2 tablespoons all-purpose flour (for coating)
-
1 teaspoon salt
-
1/2 teaspoon black pepper
-
2 tablespoons olive oil or butter
Beef chuck roast is the absolute best choice for this recipe. Unlike pre-cut stew meat, which can be a mix of cuts with varying quality, chuck roast has consistent marbling that melts during pressure cooking, creating that melt-in-your-mouth texture we are after. Look for well-marbled meat with visible fat streaks throughout.
For the Vegetables
-
1.5 pounds Yukon Gold or red potatoes, cut into 1.5-inch chunks
-
3 large carrots, cut into 1-inch pieces
-
1 medium yellow onion, diced
-
3 cloves garlic, minced
-
1 cup frozen peas (added at the end)
Yukon Gold potatoes hold their shape beautifully in the pressure cooker while still becoming tender. Avoid russet potatoes, which tend to fall apart and make your stew cloudy. Red potatoes work well too. The key is cutting everything into uniform pieces so they cook evenly.
For the Cooking Liquid and Seasoning
-
3 cups beef broth (low sodium recommended)
-
2 tablespoons tomato paste
-
1 tablespoon Worcestershire sauce
-
2 teaspoons dried thyme
-
1 teaspoon dried rosemary
-
2 bay leaves
-
1 teaspoon salt (adjust to taste)
-
1/2 teaspoon black pepper
For Thickening (Optional)
-
2 tablespoons cornstarch
-
2 tablespoons cold water
The flour coating on the beef provides light thickening during cooking, but for a truly rich, gravy-like consistency, we will add a cornstarch slurry at the end. This gives you control over the final texture.
Ingredient Substitutions
I understand that dietary needs and pantry limitations vary. Here are tested substitutions that work:
-
Beef: You can use pre-cut stew meat, though results may vary. For best texture, stick with chuck roast cut into cubes yourself.
-
Broth: Chicken broth works in a pinch, though beef broth provides deeper flavor. Vegetable broth is suitable for a lighter taste.
-
Worcestershire: Soy sauce or coconut aminos make good substitutes, though they will slightly alter the flavor profile.
-
Potatoes: For low-carb diets, substitute turnips, radishes, or rutabaga. Sweet potatoes work for a different flavor twist.
-
Herbs: Fresh herbs work beautifully if you have them. Use 1 tablespoon fresh thyme and 1 tablespoon fresh rosemary instead of dried.
How to Make Easy Instant Pot Beef Stew
Quick Method
-
Season and lightly coat the beef.
-
Brown it in batches with the sauté function.
-
Cook the aromatics, then deglaze every browned bit.
-
Add broth, seasonings, beef, and sturdy vegetables.
-
Pressure-cook, then use a natural release.
-
Thicken only after the beef is tender, then taste and serve.
Now let us walk through the process step by step. I have broken this down into clear stages so you can follow along easily, even if this is your first time using an Instant Pot. The total time from start to finish is approximately 50 to 60 minutes.
Step 1: Prepare and Coat the Beef
Start by cutting your chuck roast into uniform 1.5-inch cubes. This size ensures the beef cooks through in our target time while remaining substantial enough for hearty bites. Pat the meat completely dry with paper towels. Moisture is the enemy of browning, and we want a good sear.
In a large bowl, toss the beef cubes with flour, salt, and pepper until evenly coated. The flour serves two purposes: it helps create a beautiful crust during browning, and it acts as a thickening agent that will give your stew body as it cooks.
Step 2: Brown the Beef Using Sauté Mode
Turn your Instant Pot to Sauté mode and select High. Add the olive oil or butter and let it heat until shimmering, about 2 minutes. Working in batches, add the beef cubes in a single layer. Do not overcrowd the pot, or the meat will steam instead of brown.
Sear each batch for 2 to 3 minutes per side until a deep brown crust forms. This browning process, called the Maillard reaction, creates incredible flavor compounds that will make your stew taste like it cooked for hours. Transfer browned beef to a plate and repeat with remaining batches.
Step 3: Sauté the Aromatics
With all beef removed, add the diced onion to the pot. Cook for 3 to 4 minutes, stirring occasionally, until the onion softens and begins to turn translucent at the edges. The onion will pick up the browned bits from the bottom of the pot, which is exactly what we want.
Add the minced garlic and cook for 30 seconds until fragrant. Be careful not to burn the garlic, as it turns bitter quickly. Stir constantly during this brief cooking period.
Step 4: Deglaze the Pot
This step is crucial for preventing the burn warning. Pour in about 1/2 cup of the beef broth and use a wooden spoon to scrape up all the browned bits stuck to the bottom of the pot. These bits are pure flavor, and deglazing ensures nothing burns during pressure cooking.
Make sure you scrape thoroughly, especially in the corners where residue tends to accumulate. The bottom should feel smooth when you run your spoon across it. Any stuck-on bits can trigger the burn sensor once pressure cooking begins.
Step 5: Add Remaining Ingredients
Return the browned beef and any accumulated juices to the pot. Add the remaining beef broth, tomato paste, Worcestershire sauce, thyme, rosemary, bay leaves, carrots, and potatoes. Stir gently to combine everything.
Do not add the frozen peas yet; they will turn to mush during pressure cooking. We will stir those in at the end. Also, do not stir in the cornstarch slurry at this stage, as it can cause thickening issues and potentially trigger the burn warning.
Step 6: Pressure Cook
Secure the lid on your Instant Pot and ensure the valve is set to Sealing. Select Manual or Pressure Cook mode and set the timer for 35 minutes at High Pressure. This timing is based on 1.5-inch beef cubes and produces perfectly tender results.
The pot will take approximately 10 to 15 minutes to come to pressure before the cooking countdown begins. During this time, the display will show “On.” Once pressurized, the timer will start counting down from 35 minutes.
Step 7: Natural Release
When the cooking cycle completes, allow the pressure to release naturally for 10 minutes. This means simply leaving the pot alone. The display will show the elapsed time since cooking finished. Natural release helps the meat retain moisture and prevents the vegetables from overcooking.
After the 10-minute natural release, carefully turn the valve to Venting to release any remaining pressure. Keep your face and hands away from the steam vent. Once the pin drops, carefully remove the lid, tilting it away from you to avoid the hot steam.
Step 8: Thicken and Finish
Set the Instant Pot to Sauté mode again. In a small bowl, mix the cornstarch and cold water until smooth to create a slurry. Stir this into the stew and cook for 2 to 3 minutes until the broth thickens to your desired consistency.
Stir in the frozen peas and let them warm through for 1 to 2 minutes. Remove the bay leaves and discard. Taste and adjust seasoning with additional salt and pepper if needed. Your easy instant pot beef stew is now ready to serve.
Tips for Perfect Results Every Time
-
Brown in batches: Crowding steams the beef instead of browning it.
-
Deglaze completely: Scrape the bottom before pressure cooking to prevent a burn warning.
-
Cut evenly: Similar-sized pieces finish at the same time.
-
Use natural release: It gives collagen-rich stew meat time to relax.
After testing this recipe extensively, I have identified the key factors that separate good stew from exceptional stew. These tips address the most common questions and concerns from home cooks.
Why Browning the Beef Matters
I know it is tempting to skip the browning step to save time. You can technically dump raw beef into the pot with everything else, and it will cook through. However, you will miss out on significant flavor development. The browning reaction creates hundreds of flavor compounds that cannot be replicated any other way.
If you are truly pressed for time, you can brown just half the beef, or skip it entirely in emergencies. But for the best results, take those extra 8 to 10 minutes to brown properly. Your taste buds will thank you.
Avoiding the Burn Warning
The burn warning is the most feared message for Instant Pot users, but it is easily preventable. The key is proper deglazing. After browning meat and sautéing aromatics, always add liquid and scrape the bottom thoroughly before pressure cooking.
Also ensure you have enough thin liquid in the pot. The minimum is 1 cup, but I recommend at least 3 cups for this recipe to create enough steam for pressure building. The tomato paste should be mixed into the broth rather than sitting on the bottom.
Understanding Natural Release vs Quick Release
Natural release means allowing the pressure to drop on its own as the pot cools. This takes about 10 to 20 minutes depending on the volume of food. For beef stew, the 10-minute natural release is ideal because it allows the meat fibers to relax and reabsorb moisture, keeping them tender.
Quick release means manually venting the steam immediately. This can cause meat to seize up and become tough. However, if you are in a rush, you can quick release after 5 minutes of natural release. The texture will not be quite as perfect, but it will still be good.
Getting the Thickness Just Right
Everyone has their preference for stew consistency. Some like it soupier, while others want a thick, gravy-like sauce. The cornstarch slurry gives you control. For a thinner stew, use less cornstarch or skip it entirely. For thicker results, add an additional tablespoon of cornstarch mixed with water.
Alternative thickening methods include mashing some of the cooked potatoes against the side of the pot and stirring them in, or simmering the stew on Sauté mode for a few extra minutes to reduce the liquid.
Vegetable Size and Timing
The 1.5-inch potato chunks and 1-inch carrot pieces specified in the recipe are carefully chosen. Smaller pieces will overcook and become mushy during the 35-minute pressure cycle. Larger pieces may not cook through completely.
If you prefer firmer vegetables, cut them slightly larger. For softer vegetables, cut them smaller. Just keep all pieces uniform in size so they cook evenly.
Troubleshooting Common Issues
Even with a reliable recipe, things occasionally go differently than planned. Based on forum discussions and reader feedback, here are solutions to the most common beef stew problems.
Why Is My Beef Still Tough?
Tough beef after pressure cooking usually means one of three things. First, the meat may not have cooked long enough. While 35 minutes works for most chuck roast cubes, larger pieces may need 40 to 45 minutes. You can reseal the pot and cook for an additional 5 to 10 minutes.
Second, you may have used the wrong cut of meat. Pre-cut stew meat often includes tougher cuts that require longer cooking. Chuck roast is the most reliable choice. Third, you may have quick-released the pressure instead of allowing natural release, causing the meat fibers to seize.
How Do I Prevent Mushy Vegetables?
Mushy vegetables result from either cutting them too small or overcooking. Stick to the specified sizes: 1.5-inch potato chunks and 1-inch carrot pieces. If your vegetables are consistently mushy, try cutting them slightly larger next time.
For an alternative approach favored by some home cooks, you can pressure cook the beef with the aromatics and broth for 30 minutes, quick release, then add the vegetables and pressure cook for an additional 5 minutes. This two-stage method guarantees perfect vegetable texture but requires extra effort.
What If I Get the Burn Warning?
If your Instant Pot displays “Burn,” do not panic. Press Cancel to stop cooking. Carefully open the lid once pressure releases, and inspect the bottom. Scrape up any stuck bits, add an additional 1/2 cup of broth, and ensure nothing is sticking to the bottom surface.
Stir everything well, making sure tomato paste is dissolved into the liquid. Reseal the lid and restart the pressure cooking cycle. You may need to add a few minutes to account for the interruption.
My Stew Is Too Thin or Too Thick
For stew that is too thin, use the Sauté function to simmer and reduce the liquid, or add an additional cornstarch slurry. For stew that is too thick, stir in additional beef broth, 1/4 cup at a time, until you reach your desired consistency.
Remember that stew will thicken as it cools, so aim for slightly thinner than your target when it is hot. Leftover stew often needs a splash of broth when reheating.
Variations and Substitutions
Once you have mastered the base recipe, feel free to customize it to your preferences or dietary needs. Here are tested variations that work beautifully.
Low-Carb and Keto Version
Omit the potatoes and carrots. Instead, add 2 cups of chopped turnips, radishes, or rutabaga, which provide a similar texture with fewer carbs. You can also increase the beef to 2.5 pounds and add 8 ounces of sliced mushrooms. Skip the flour coating and thicken with xanthan gum instead of cornstarch if desired.
Red Wine Beef Stew
For a richer, more complex flavor, replace 1 cup of beef broth with dry red wine such as Cabernet Sauvignon or Merlot. The alcohol cooks off during pressure cooking, leaving behind depth and richness. This variation pairs beautifully with crusty bread for a special dinner.
Mushroom Beef Stew
Add 8 ounces of sliced cremini or baby bella mushrooms when you sauté the onions. The mushrooms release moisture and create an even more savory, umami-rich stew. Dried porcini mushrooms rehydrated in warm water also add incredible depth.
Hearty Vegetable Stew
Add 2 stalks of celery, cut into 1-inch pieces, along with the carrots. You can also stir in a cup of green beans during the last few minutes of cooking, or add a diced parsnip for sweetness. This version stretches the recipe to feed more people.
What to Serve With Beef Stew
While this hearty instant pot beef stew is satisfying on its own, the right accompaniments can elevate it into a memorable meal. Here are my favorite pairings.
For bread, nothing beats a crusty French baguette or homemade dinner rolls for soaking up the rich broth. Buttermilk biscuits are a classic Southern pairing that works beautifully. A slice of warm cornbread adds a touch of sweetness that complements the savory stew.
For side dishes, consider a simple green salad with a light vinaigrette to balance the richness of the stew. Roasted Brussels sprouts or green beans add color and nutrition to the plate. Some families enjoy serving stew over egg noodles or mashed potatoes for an extra-hearty meal.
Regarding wine pairings, a medium-bodied red wine like Pinot Noir or Merlot complements the beef without overpowering it. For beer drinkers, a brown ale or stout matches the hearty flavors. If you prefer non-alcoholic options, sparkling cider or iced tea work nicely.
Storage and Reheating Instructions
One of the best things about beef stew is that it tastes even better the next day as the flavors continue to meld. Here is how to store and reheat your leftovers safely.
Refrigerator Storage
Allow the stew to cool to room temperature, then transfer to airtight containers. Store in the refrigerator for up to 4 days. The stew will thicken considerably as it cools, which is normal. Simply add a splash of broth or water when reheating to restore the consistency.
Freezer Instructions
Beef stew freezes beautifully for up to 3 months. I recommend freezing in portion-sized containers for easy thawing. Leave about an inch of headspace in containers as the stew will expand when frozen. Label with the date and contents.
For best texture upon thawing, slightly undercook the vegetables if you know you will be freezing the stew. This prevents them from becoming too soft after freezing and reheating. The potatoes hold up well, though their texture will be slightly softer after freezing.
Reheating Methods
For refrigerator leftovers, reheat individual portions in the microwave for 2 to 3 minutes, stirring halfway through. For larger amounts, transfer to a pot and warm over medium heat on the stove, adding broth as needed to thin the consistency.
For frozen stew, thaw overnight in the refrigerator for best results. In a pinch, you can defrost in the microwave using the defrost setting, then reheat fully. Once thawed, reheat following the methods above until piping hot throughout.
Make-Ahead Tips
You can prep this stew entirely in advance for busy weeknights. Prepare through the browning step, then refrigerate the beef and chopped vegetables separately for up to 24 hours. When ready to cook, simply combine everything in the Instant Pot and proceed with the recipe.
For meal prep, portion cooled stew into individual containers with a side of bread or crackers. These make excellent lunches that reheat well at work. The stew will keep in the refrigerator for 4 days, so you can prepare it on Sunday for weekday meals.
Frequently Asked Questions
How long does beef stew take in an Instant Pot?
Most stew meat becomes tender after about 35 minutes at high pressure plus a natural release. Tougher or larger pieces may need a little longer.
Why is my Instant Pot beef stew meat tough?
Tough beef usually needs more time. Return it to pressure for 8 to 10 minutes, then let the pressure release naturally again.
Can I freeze beef stew?
Yes. Cool it promptly, portion it into freezer-safe containers, and thaw overnight in the refrigerator before reheating.
Conclusion
This easy Instant Pot beef stew recipe is a practical way to bring a deeply savory meal to the table on a busy day. This easy instant pot beef stew recipe proves that comfort food does not have to take all day. With the right technique and a little know-how, you can serve a meal that tastes like it simmered for hours, all while spending less than an hour in the kitchen.
I hope this guide has given you the confidence to pull out your Instant Pot and create something wonderful. Whether you are feeding a hungry family on a weeknight or meal prepping for the week ahead, this recipe delivers consistent, delicious results. Remember the key principles: good meat, proper browning, thorough deglazing, and respect for the natural release.
Once you have made this stew a few times, you will find yourself improvising and making it your own. That is the mark of a truly great recipe. It becomes a foundation rather than a rigid set of instructions, adapting to your preferences and becoming part of your cooking repertoire.
Give this recipe a try and let me know how it turns out. There is nothing quite like that first bite of tender beef and perfectly cooked vegetables in a rich, flavorful broth. Happy cooking!