
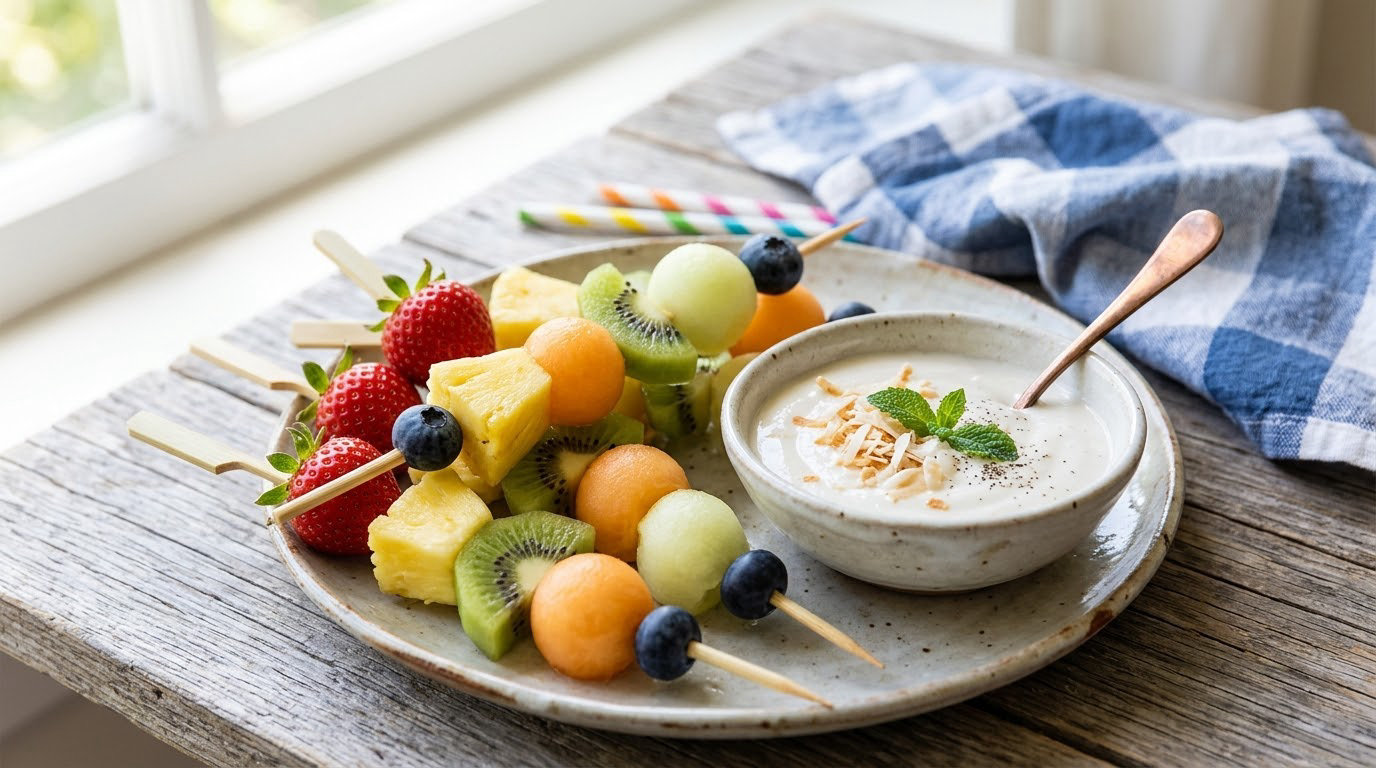
Dairy free snack ideas for kids do not have to taste like a compromise. These twelve recipes use fruit, oats, chickpeas, coconut yogurt, avocado and dairy free chocolate to make snacks that survive the lunchbox, the car ride and the after-school hunger strike.
Every recipe here is naturally dairy free or made with a simple dairy free swap, and each one takes 30 minutes or less. Updated for October 2026. A note before we start: this is cooking guidance, not medical advice. If your child has a diagnosed cow’s milk allergy, read every label yourself, every time, because brands change recipes without much notice.
If you need snacks that solve a different problem, my quick after school snack ideas and high-protein snack ideas roundups cover the protein and timing side, while this list stays focused on the milk-free side.
Table of Contents
Dairy Free Snack Ideas for Kids at a Glance
| Recipe | Time | Difficulty | Best for |
|---|---|---|---|
| 1. Creamy Fruit Dip with Dairy Free Yogurt | 5 min | Easy | Snack plates and playdates |
| 2. No Bake Chocolate Coconut Energy Bites | 15 min plus chill | Easy | Lunchboxes and after school |
| 3. Crispy Sweet Potato Chips | 35 min | Easy | Road trips and movie nights |
| 4. Dairy Free Apple Nachos | 10 min | Easy | Rainy afternoons, no cooking |
| 5. Avocado Toast Cups for Kids | 15 min | Easy | Light lunches and picky eaters |
| 6. Popcorn Cashew Crunch | 10 min | Easy | Movie night and family sharing |
| 7. Dairy Free Frozen Berry Yogurt Bark | 10 min plus freeze | Easy | Hot afternoons and playdates |
| 8. Mini Dairy Free Pizza Toasties | 20 min | Easy | Lunchboxes and hungry afternoons |
| 9. Crunchy Chickpea Snack Mix | 35 min | Medium | Protein and nut-free swaps |
| 10. Dairy Free Banana Oat Muffins | 40 min | Easy | Breakfast, snacks, freezing ahead |
| 11. Strawberry Coconut Yogurt Cups | 10 min plus chill | Easy | Party dessert tables and breakfast |
| 12. Dairy Free Chocolate Trail Mix | 10 min | Easy | Parties, travel, grab and go |
1. Creamy Fruit Dip with Dairy Free Yogurt
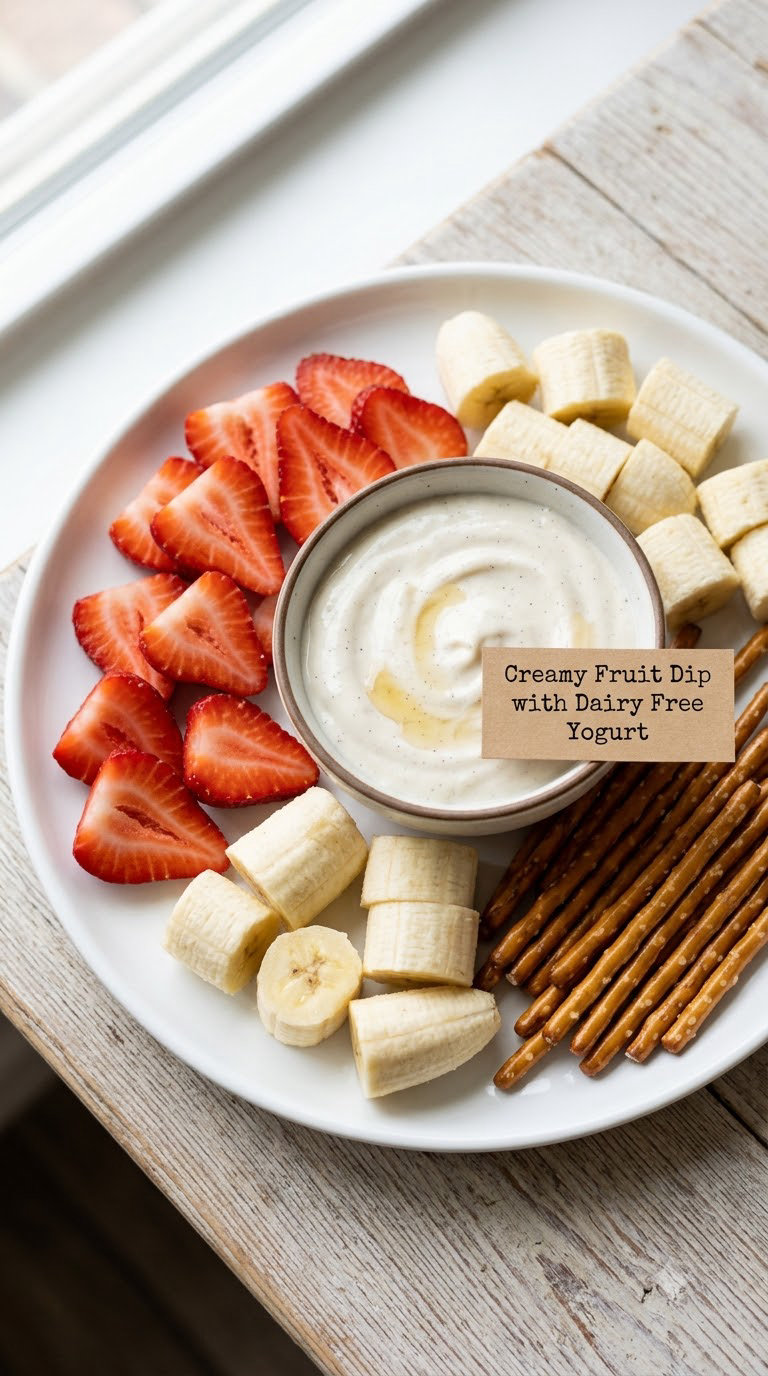
A five-minute dip that turns a plate of fruit into a snack kids actually sit still for. Swirling dairy free yogurt with nut or seed butter makes it thick enough to cling to apple slices, which solves the soggy-cut-fruit problem at the same time.
Yield: 8 servings · Prep: 5 minutes · Cook: none · Total: 5 minutes · Difficulty: Easy
Ingredients
- 2 cups (450 g) plain unsweetened dairy free yogurt, coconut or oat based
- 1/4 cup (60 ml) seed butter or creamy almond-style butter
- 2 tbsp honey or maple syrup
- 1/2 tsp vanilla extract
- 1/4 tsp ground cinnamon
- 1/4 cup mini chocolate chips, dairy free, optional
Instructions
- Let the dairy free yogurt sit out on the counter for 10 minutes so it is spoonable.
- Spoon the yogurt into a bowl or a small dip dish.
- Add the seed butter, honey, vanilla and cinnamon.
- Stir with a spatula until the streaks disappear and the color evens out, about 30 seconds.
- Swirl in the chocolate chips right at the end so a few pieces stay visible.
- Serve with sliced fruit and pretzel sticks, or portion into small cups for a party table.
Tip: Thicken it with one extra tablespoon of seed butter rather than more sweetener. Sweetness is usually what makes kids push a dairy free dip away.
Swap it: Use pumpkin butter in autumn or a single tablespoon of a sunflower seed butter if nuts are out at the table.
Storage: Keeps about 4 days in the fridge in a covered container. It is not a freezer recipe, but it travels well in a small jar with a lid inside a lunchbox with an ice pack.
2. No Bake Chocolate Coconut Energy Bites
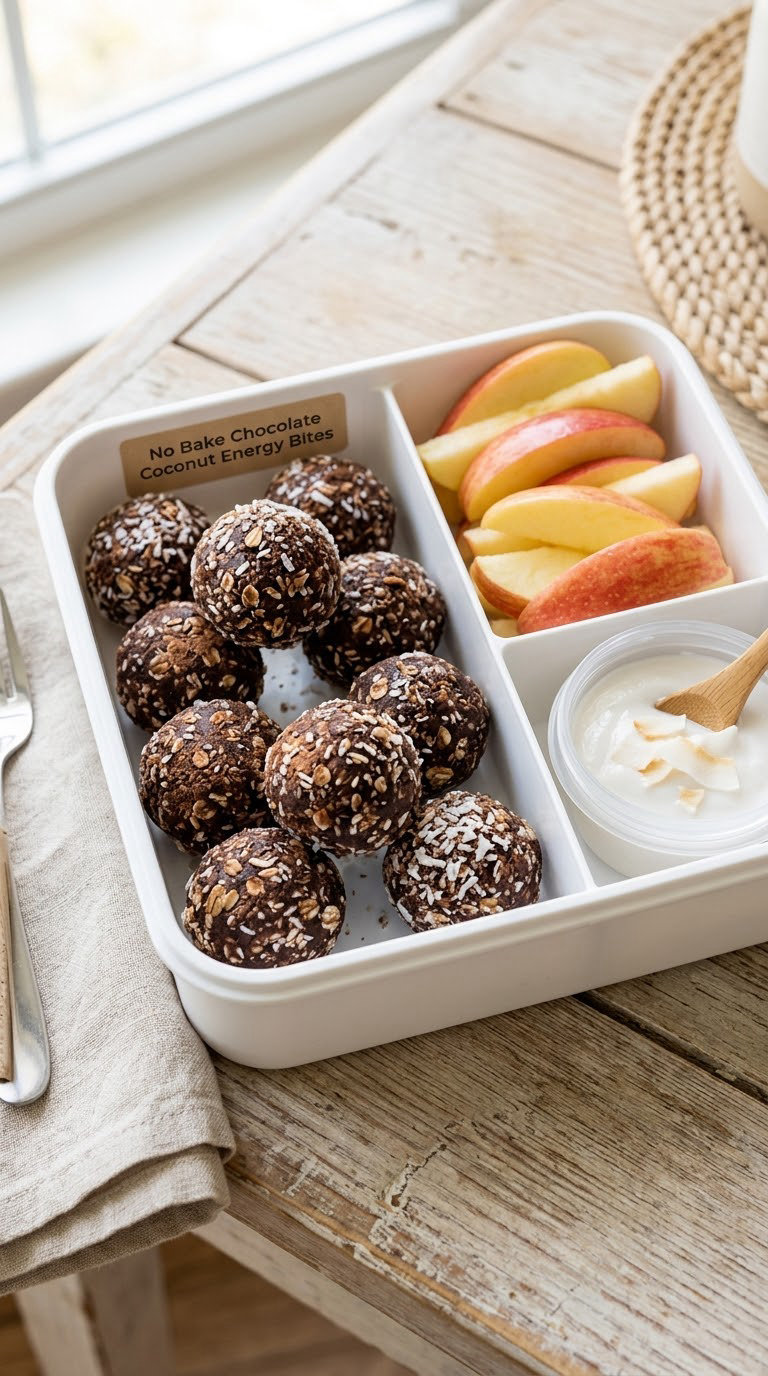
These are the workhorse of a dairy free household: cheap to batch, freezer stable and easy to eat with sticky fingers. Oats and dates do the binding, so there is no baking and no raw egg anywhere in the recipe.
Yield: 20 bites · Prep: 15 minutes · Cook: none · Total: 15 minutes plus 20 minutes chilling · Difficulty: Easy
Ingredients
- 1 cup (150 g) pitted Medjool dates, chopped
- 1 cup (90 g) rolled oats, plus a little extra for rolling
- 1/2 cup (40 g) unsweetened shredded coconut
- 1/4 cup (40 g) dairy free chocolate chips
- 2 tbsp maple syrup
- 1 tsp vanilla extract
- 1/4 tsp fine sea salt
- 1/4 cup water, only if the dates look dry
Instructions
- Chop the dates into small pieces so no single bite is all sticky fruit.
- Stir the oats, coconut, chocolate chips, vanilla and salt together in a large bowl.
- Add the chopped dates and maple syrup and mix with your hands until the whole bowl clumps together.
- If the mixture looks sandy, add the water one teaspoon at a time and press it together again.
- Roll into 20 balls, about the size of a large marble, and press each one firm.
- Roll the tops in the extra oats for a less sticky surface.
- Chill for 20 minutes, then store as directed below.
Tip: Pack the mixture down firmly when rolling. Loose bites crumble in a lunchbox, and firm ones survive the drop into a bag.
Swap it: Replace the coconut with 1/2 cup of finely chopped dried dates for a nut-free, allergen-light version, or use pumpkin seeds for crunch.
Storage: Refrigerated in a sealed container they keep about 2 weeks. Frozen on a tray then bagged, they keep up to 2 months, which makes them the best batch item on this list for a busy month.
3. Crispy Sweet Potato Chips
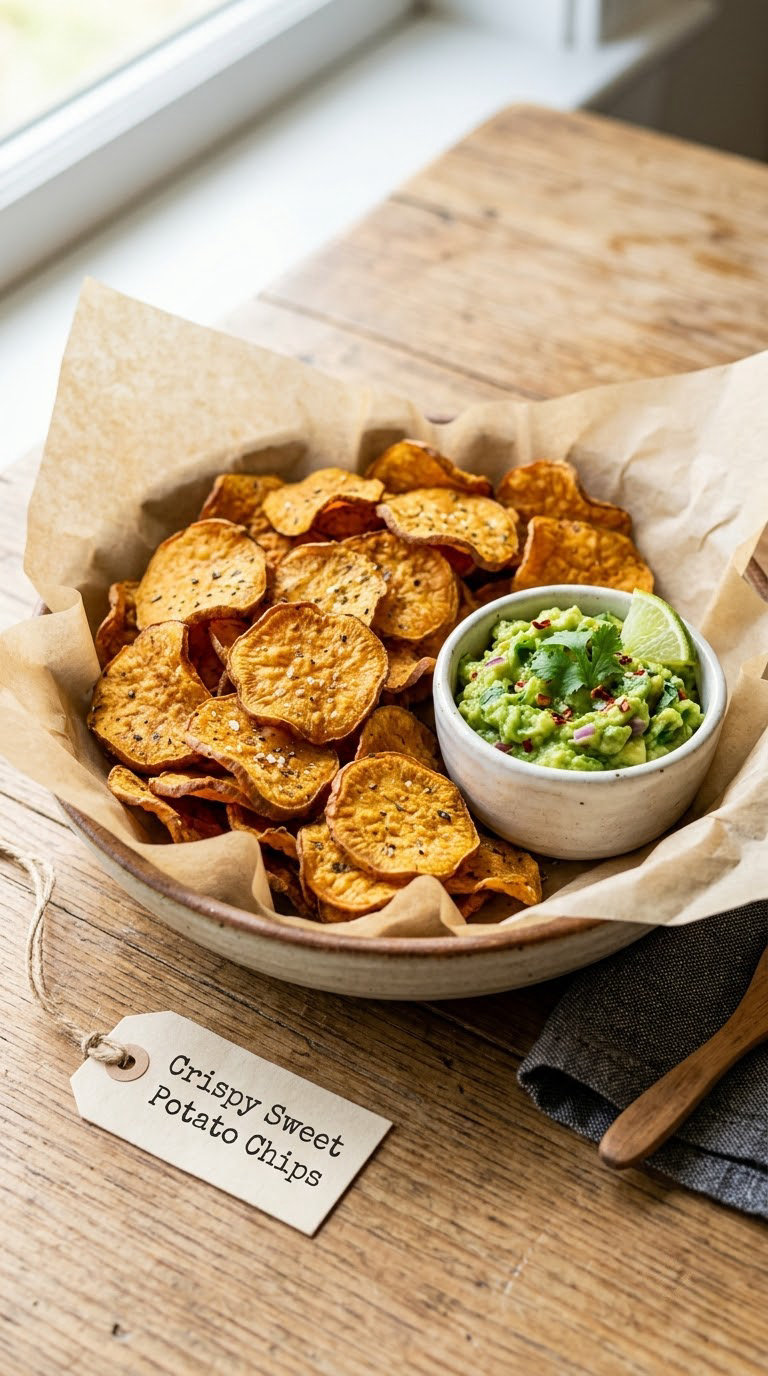
Sweet potato slices roasted hot and fast turn thin and genuinely crisp in the middle, which is a rare win for an oven chip. A little paprika and cinnamon on the same tray gives you two flavor versions from one batch.
Yield: 4 servings · Prep: 10 minutes · Cook: 25 minutes · Total: 35 minutes · Difficulty: Easy
Ingredients
- 2 medium sweet potatoes, about 1.5 lb (700 g) total
- 1.5 tbsp olive oil
- 1/2 tsp smoked paprika
- 1/4 tsp ground cinnamon
- 1/4 tsp garlic powder
- 1/2 tsp fine sea salt, plus more to taste
Instructions
- Heat the oven to 400°F (205°C) and put a large baking sheet inside to heat with it.
- Peel the sweet potatoes and slice them into rounds about 1/8 inch thick. A mandoline makes this fast.
- Soak the slices in cold water for 10 minutes, then drain and pat them completely dry.
- Toss the rounds with the olive oil, paprika, cinnamon, garlic powder and salt on the hot sheet.
- Spread into a single layer with no touching, or they steam instead of crisping.
- Roast for 20 minutes, flip the slices with a spatula, then roast 5 to 8 minutes more until the edges are browned and the centers snap.
- Cool on the sheet for 5 minutes so they finish crisping, then store loosely.
Tip: Drying the slices properly is the whole job. Water left on the surface is the difference between crisp chips and chewy orange discs.
Swap it: Use a mandoline on butternut squash or regular russet potatoes for the same method. Sweet potato crisps best; russets need a light sprinkle of cornstarch.
Storage: Store in a paper bag or an open container at room temperature for up to 2 days. They soften in a sealed plastic bag, so do not pack them that way for a lunchbox. Freezing softens the texture noticeably.
4. Dairy Free Apple Nachos
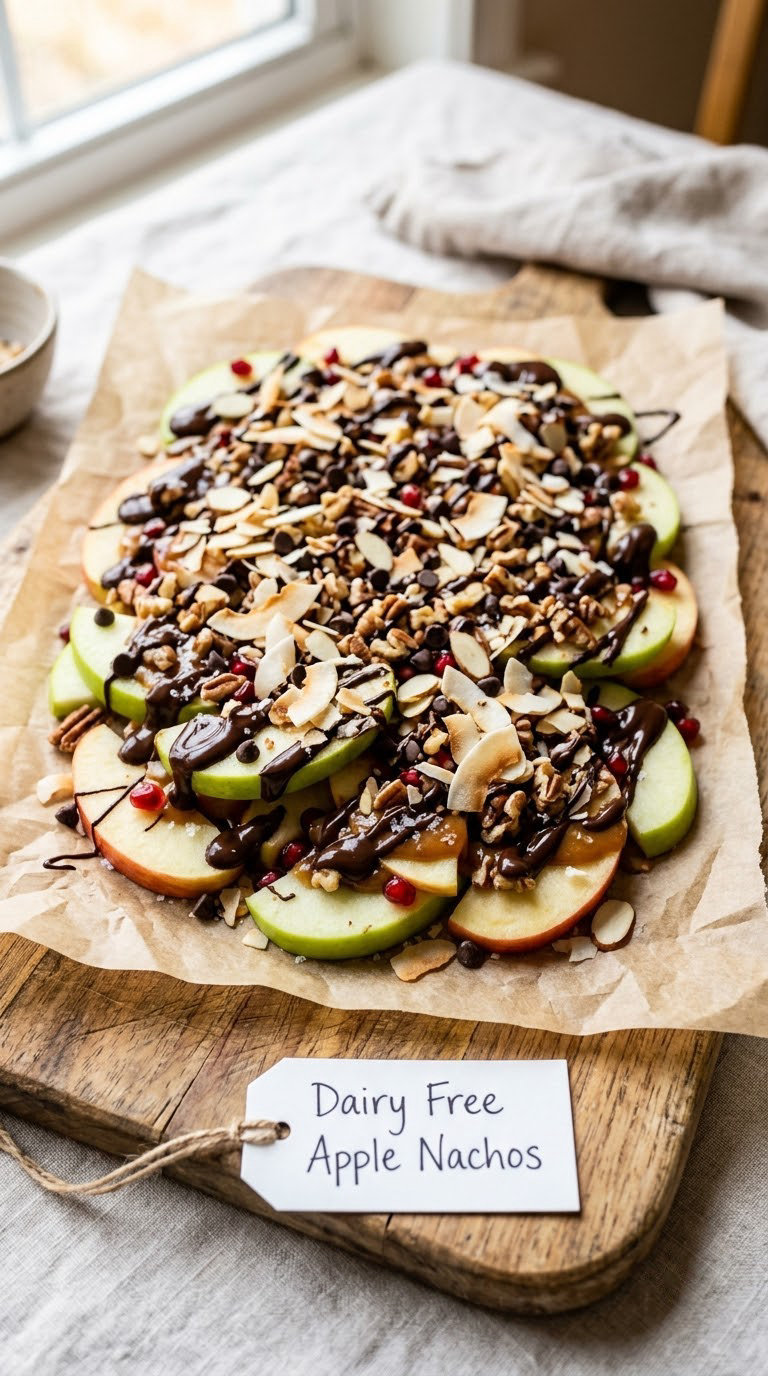
This is the recipe for the afternoon when the oven is off and the child still wants something that feels like a treat. Thin apple rounds under melted dairy free chocolate turn into nachos in ten minutes with no cooking at all.
Yield: 4 servings · Prep: 10 minutes · Cook: none · Total: 10 minutes · Difficulty: Easy
Ingredients
- 2 firm apples, cored and sliced into thin rounds
- 1/3 cup (55 g) dairy free chocolate chips
- 2 tbsp unsweetened shredded coconut
- 2 tbsp chopped peanuts or unsalted pumpkin seeds
- 2 tbsp seed butter, thinned with a teaspoon of warm water
- 1 tsp maple syrup, for the drizzle
- 1/4 tsp ground cinnamon, for the apple slices
Instructions
- Arrange the apple slices in a single overlapping layer on a sheet of parchment or a small plate.
- Sprinkle the cinnamon over the slices so they do not brown while you work.
- Warm the dairy free chocolate chips in the microwave in 15 second bursts, stirring between each, until pourable. Or set the bowl over barely simmering water.
- Drizzle the melted chocolate over the apple slices in a zigzag, leaving some apple visible.
- Scatter the coconut and the chopped peanuts or seeds over the top.
- Finish with the thinned seed butter and the maple syrup, then serve right away.
Tip: Drizzle the chocolate thin. A heavy coat hides the apple, and the fruit is the part that makes this filling enough to count as a snack.
Swap it: Use sunflower seed butter in place of peanuts for a nut-free plate, or melted dairy free white chocolate for a sweeter version.
Storage: Best eaten within an hour, because the apple starts to weep and the chocolate dulls. If you must prep ahead, keep the slices and the chocolate separate and let your child pour their own.
5. Avocado Toast Cups for Kids
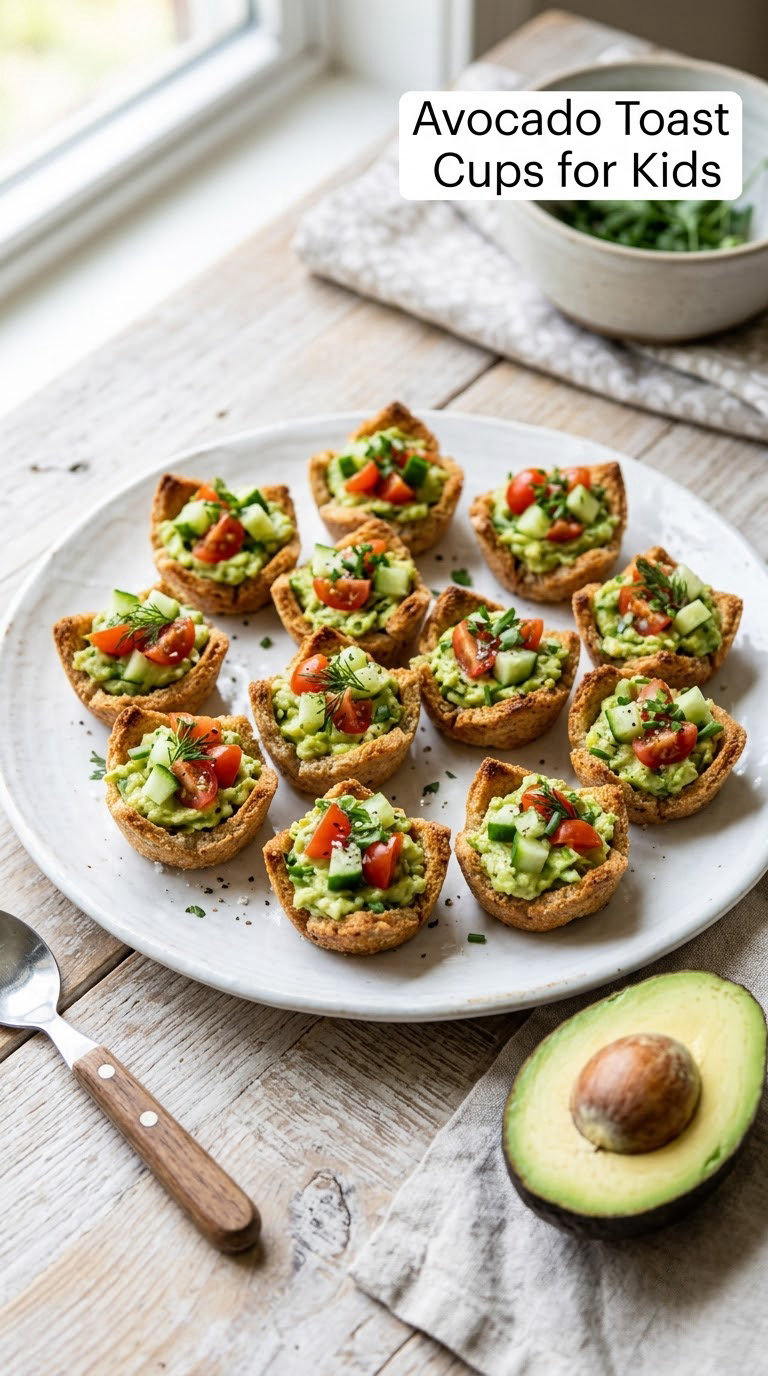
Toast cut into small cups turns a plain slice of bread into a salad-style snack a child can pick apart with their fingers. It is quick, it fills up, and it sneaks a vegetable in without a fight.
Yield: 8 cups · Prep: 15 minutes · Cook: 5 minutes · Total: 20 minutes · Difficulty: Easy
Ingredients
- 4 slices dairy free bread, gluten free if needed
- 2 ripe avocados
- 1 tbsp lemon juice
- 1/2 tsp fine sea salt
- 1 small tomato, diced small
- 1/2 cup diced cucumber
- 2 tbsp finely chopped cilantro or parsley
- 1 tbsp pumpkin seeds or sunflower seeds
Instructions
- Toast the bread in a dry skillet or toaster until golden, about 5 minutes.
- Let the toast cool for 2 minutes, then press the center of each slice down to make a shallow well.
- Mash the avocados with the lemon juice and salt in a bowl until mostly smooth, leaving some texture.
- Spread the avocado into the wells, right to the edges so the toast does not go soggy underneath.
- Top each cup with the diced tomato, cucumber and herbs.
- Finish with the seeds and serve immediately, while the toast is still crisp at the edges.
Tip: Mash the avocado right before serving and squeeze the lemon hard. Oxidation is what turns brown and unappealing within ten minutes.
Swap it: Use hummus in place of avocado for a version that is also soy free, or add a few cooked bacon crumbles if dairy is fine for the rest of the household.
Storage: Best the same day. If you pack them for school, pack the avocado and toppings in a sealed cup and have your child spoon it onto the toast at lunch, or the whole thing arrives as a soft disc.
6. Popcorn Cashew Crunch
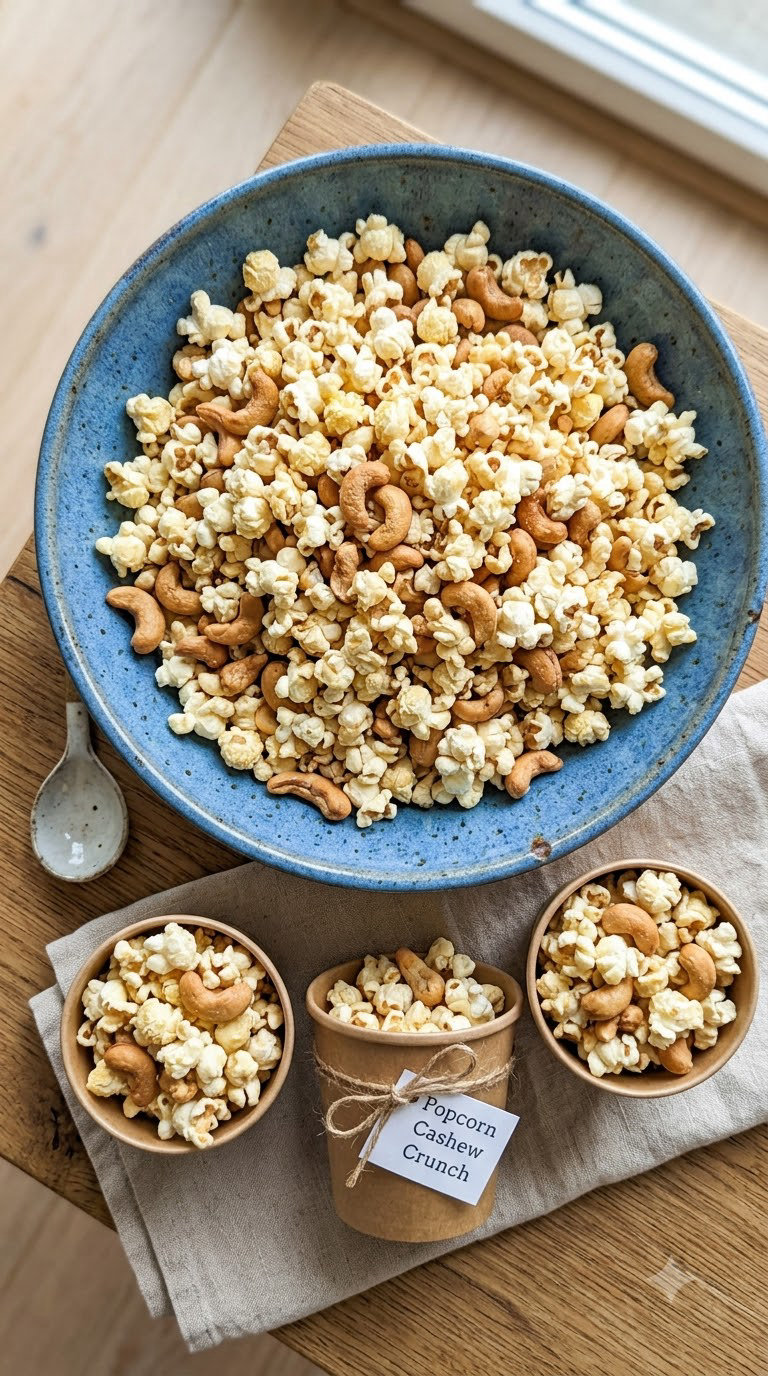
Popcorn is the cheapest volume-for-volume snack on any list, and a spoon of cashews turns it into something that feels generous rather than plain. Air popped or stovetop both work, and the whole thing lands in a bowl in ten minutes.
Yield: 6 servings · Prep: 5 minutes · Cook: 5 minutes · Total: 10 minutes · Difficulty: Easy
Ingredients
- 8 cups air-popped popcorn, about 100 g popped
- 1/2 cup roasted cashews or roasted pumpkin seeds
- 1 tbsp coconut oil, melted
- 1/2 tsp ground cinnamon
- 1/4 tsp fine sea salt
- 1 tbsp maple syrup, optional
Instructions
- Pop the popcorn in an air popper or a wide pot with a lid, following the packet directions for your kernels.
- Tip the popcorn into a large bowl while it is still warm so the coating spreads evenly.
- Drizzle the melted coconut oil over the popcorn and toss with your hands right away.
- Add the cashews or seeds, the cinnamon and the salt, and toss again until the kernels look lightly glossy.
- Drizzle the maple syrup over the top and toss one final time.
- Test one kernel. If it still feels hard, let the bowl sit for two more minutes so the coating sets.
Tip: Toss while the popcorn is warm and not a minute later. Cold popcorn will not hold the coating, and you will end up with salt in the bottom of the bowl.
Swap it: Use roasted pumpkin seeds and skip the cinnamon for a savory version, or use dairy free dark chocolate chips melted with a teaspoon of coconut oil for a chocolate coating that sets as it cools.
Storage: Keeps about 3 days in a paper bag or a container that lets air through. Airtight containers trap the steam and make popcorn soft within hours.
7. Dairy Free Frozen Berry Yogurt Bark
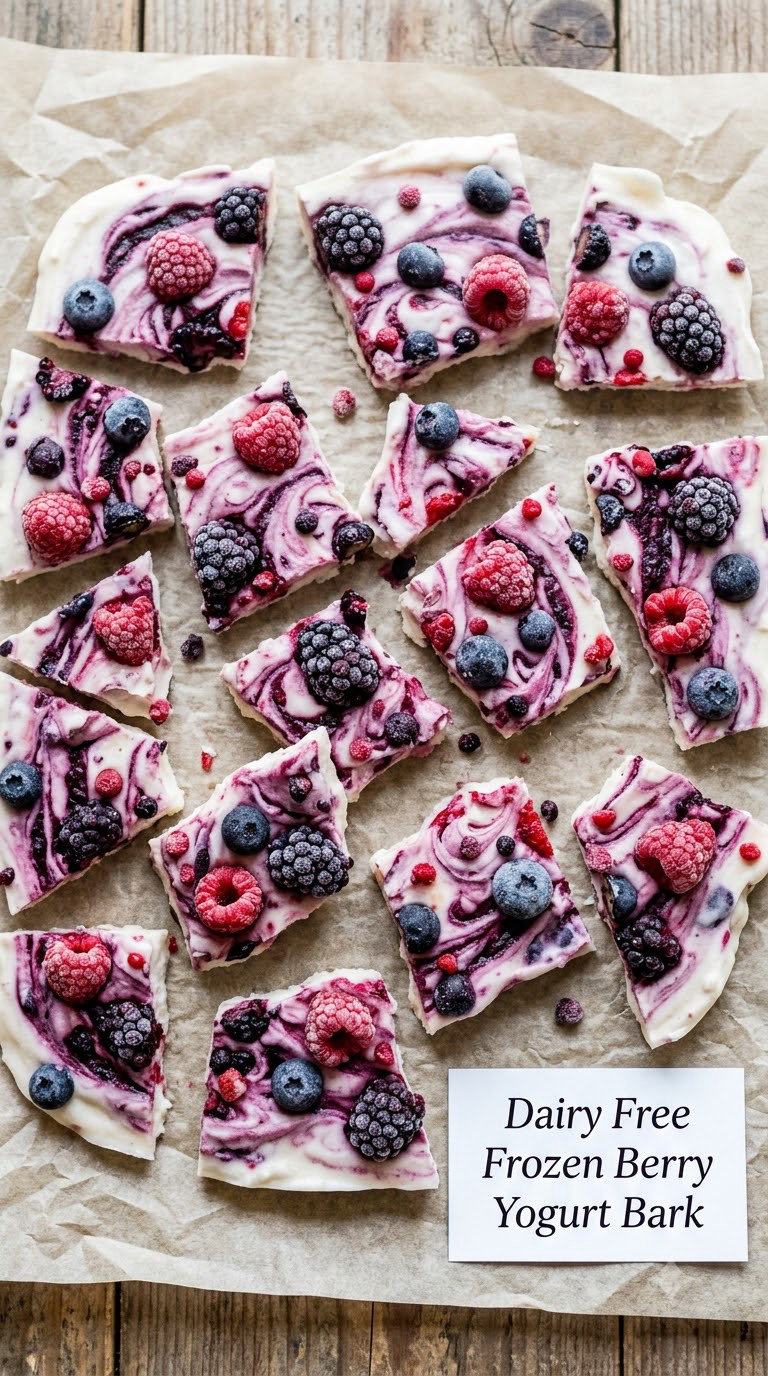
Frozen yogurt bark is the snack children portion themselves, which removes the negotiating from snack time entirely. Break it into pieces and put it in a cup with a spoon, and it is a good post-practice or hot-afternoon treat.
Yield: 8 servings · Prep: 10 minutes · Cook: none, 4 hours freezing · Total: 4 hours 10 minutes · Difficulty: Easy
Ingredients
- 2 cups (450 g) plain unsweetened dairy free yogurt
- 1 cup mixed berries, fresh or frozen, roughly chopped
- 1/2 cup granola, made without dairy and nuts
- 2 tbsp honey or maple syrup
- 1 tsp vanilla extract
- 1/4 cup mini dairy free chocolate chips, optional
Instructions
- Line a baking sheet with parchment and leave an inch of overhang on the sides.
- Stir the honey or maple syrup and vanilla into the dairy free yogurt until smooth.
- Spread the yogurt about 1/2 inch thick across the parchment, smoothing it into an even rectangle.
- Scatter the chopped berries over the surface, then press the granola and chocolate chips in lightly with your palm so they stick.
- Freeze for 4 hours, or overnight if your freezer runs warm.
- Lift the sheet out and snap it into rough shards with your hands, then store in a freezer bag between layers of parchment.
Tip: Add the granola only after the yogurt has sat for 10 minutes in the freezer and started to firm. Add it too early and the granola turns soft and sinks.
Swap it: Use halved bananas and a drizzle of dairy free chocolate instead of berries on a winter day, or freeze two layers separately to keep a supply going past berry season.
Storage: Keeps in the freezer for about 6 weeks, or roughly 2 weeks in the fridge in small portions. Let a piece soften for 5 minutes before serving so it is not rock hard from the freezer.
8. Mini Dairy Free Pizza Toasties
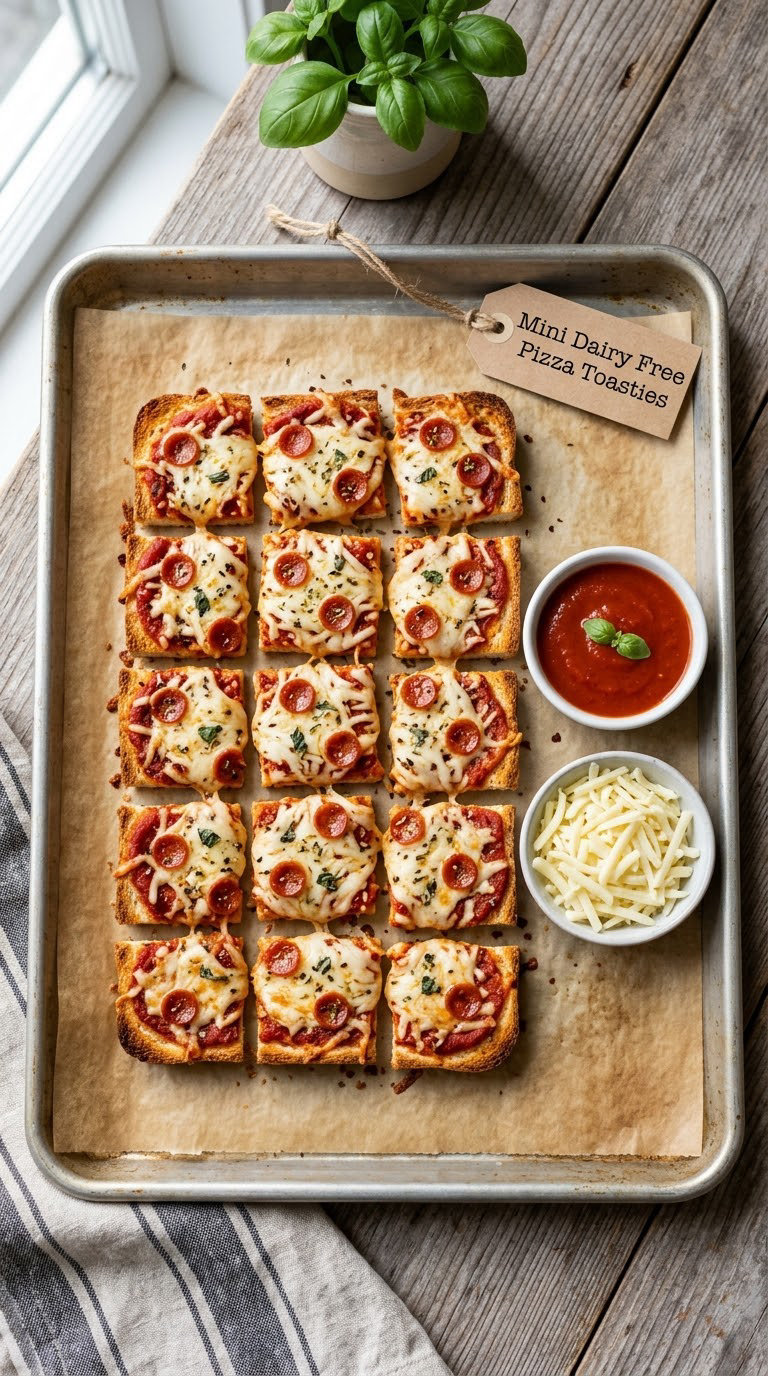
Cut down to party size, a bowl of shredded dairy free cheese and a slice of bread becomes something that looks like pizza and packs like a sandwich. It is the one recipe here that needs the oven, and it takes twelve minutes.
Yield: 8 toasties · Prep: 8 minutes · Cook: 12 minutes · Total: 20 minutes · Difficulty: Easy
Ingredients
- 4 slices dairy free bread, cut into 4 squares each
- 1/2 cup (60 g) dairy free shredded mozzarella-style cheese
- 1/2 cup pizza sauce
- 1 tbsp olive oil
- 1/2 tsp dried oregano
- 1/4 cup diced bell pepper or mushrooms, optional
Instructions
- Heat the oven to 425°F (220°C) and line a baking sheet with parchment.
- Brush both sides of each bread square lightly with olive oil.
- Spread a thin layer of pizza sauce on one side of each square, leaving a 1/4 inch border.
- Scatter the dairy free shredded cheese over the sauce, then add the bell pepper or mushrooms if using.
- Place the squares on the sheet with a little space between them and sprinkle with the oregano.
- Bake for 10 to 12 minutes, until the cheese is fully melted and the edges are golden and crisp underneath.
- Cool for 3 minutes, then cut any large squares in half for smaller hands.
Tip: Check the loaf before you buy it. Some breads marked dairy free still contain butter or ghee for texture, and the label tells you in three seconds what a recipe cannot.
Swap it: Use tomato slices and a spoon of pesto instead of pizza sauce, or top with a thin layer of mashed avocado and a pinch of everything seasoning for a version that is closer to bruschetta.
Storage: Keeps 3 days in the fridge, and the crust softens after the first day. Freeze on a tray for up to 1 month and re-crisp in a 350°F (175°C) oven for 8 minutes.
9. Crunchy Chickpea Snack Mix
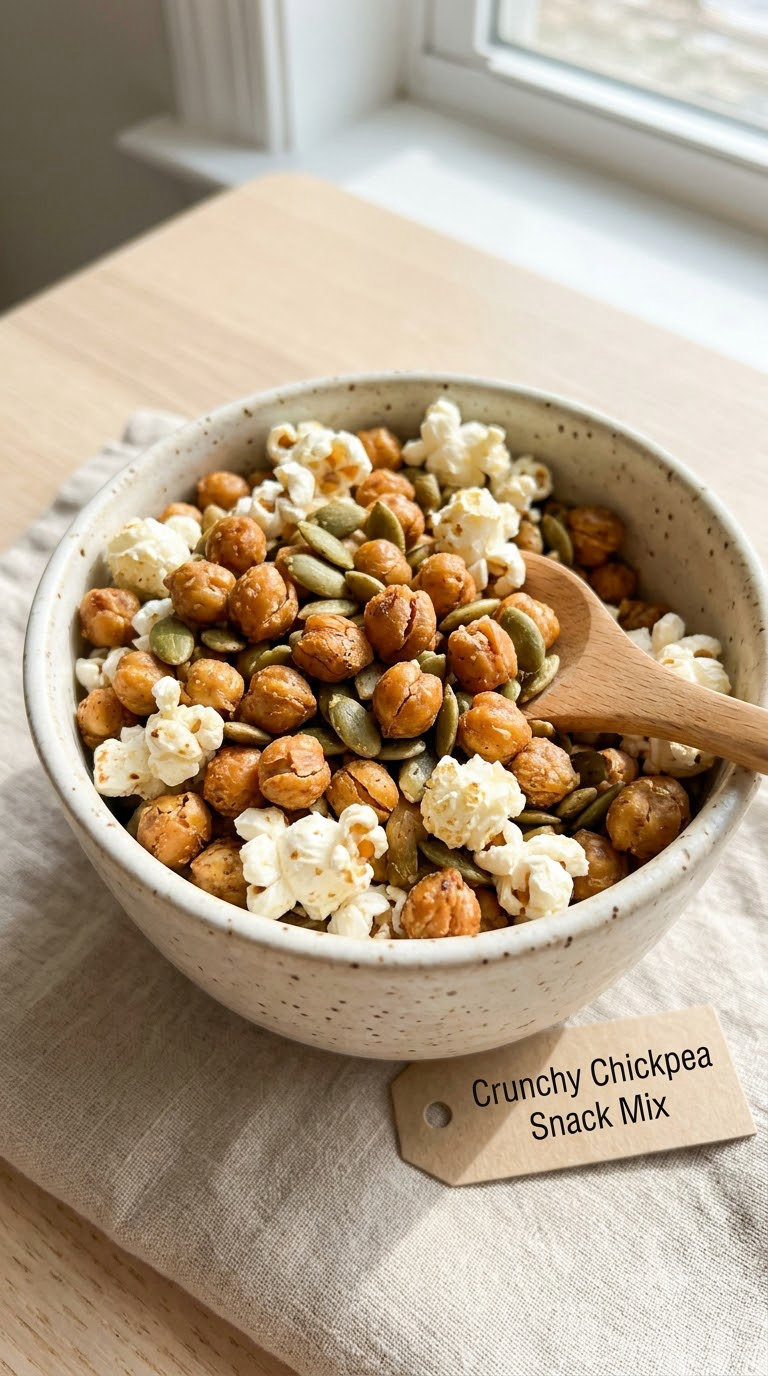
Roasted chickpeas are the nut-free replacement that works best, because they crunch hard and taste salty enough that nobody misses peanuts. Drying the chickpeas properly before they hit the oven is the step people skip and regret.
Yield: 6 servings · Prep: 10 minutes · Cook: 25 minutes · Total: 35 minutes · Difficulty: Medium
Ingredients
- 2 cans chickpeas, 15 oz (425 g) each, rinsed and dried
- 1 tbsp olive oil
- 1/2 tsp smoked paprika
- 1/4 tsp ground cumin
- 1/2 tsp fine sea salt
- 1 tbsp pumpkin seeds, for mixing in at the end
Instructions
- Heat the oven to 400°F (205°C).
- Rinse the chickpeas, then roll them in a clean towel and press down hard to remove as much surface water as possible.
- Spread the dried chickpeas on a baking sheet, toss with the olive oil and salt, and roast for 20 minutes.
- Take the sheet out, add the paprika and cumin, and shake it so the spices coat evenly.
- Roast for 5 to 8 minutes more, until the chickpeas rattle and feel hard, with a few darker ones at the edges.
- Let the tray cool for 10 minutes, then stir in the pumpkin seeds.
- Store loosely in a paper bag or a jar that is not airtight.
Tip: Pat the chickpeas dry twice, not once. Any water left on the skin steams instead of roasting and the chickpeas turn leathery instead of crunchy.
Swap it: Use the same method on roasted fava beans for a bigger, harder crunch, or toss the finished chickpeas with dried cranberries for a sweet and salty mix.
Storage: Keeps about 3 days in a container that lets air through. They soften after a day or two, so make them the snack you eat first.
10. Dairy Free Banana Oat Muffins
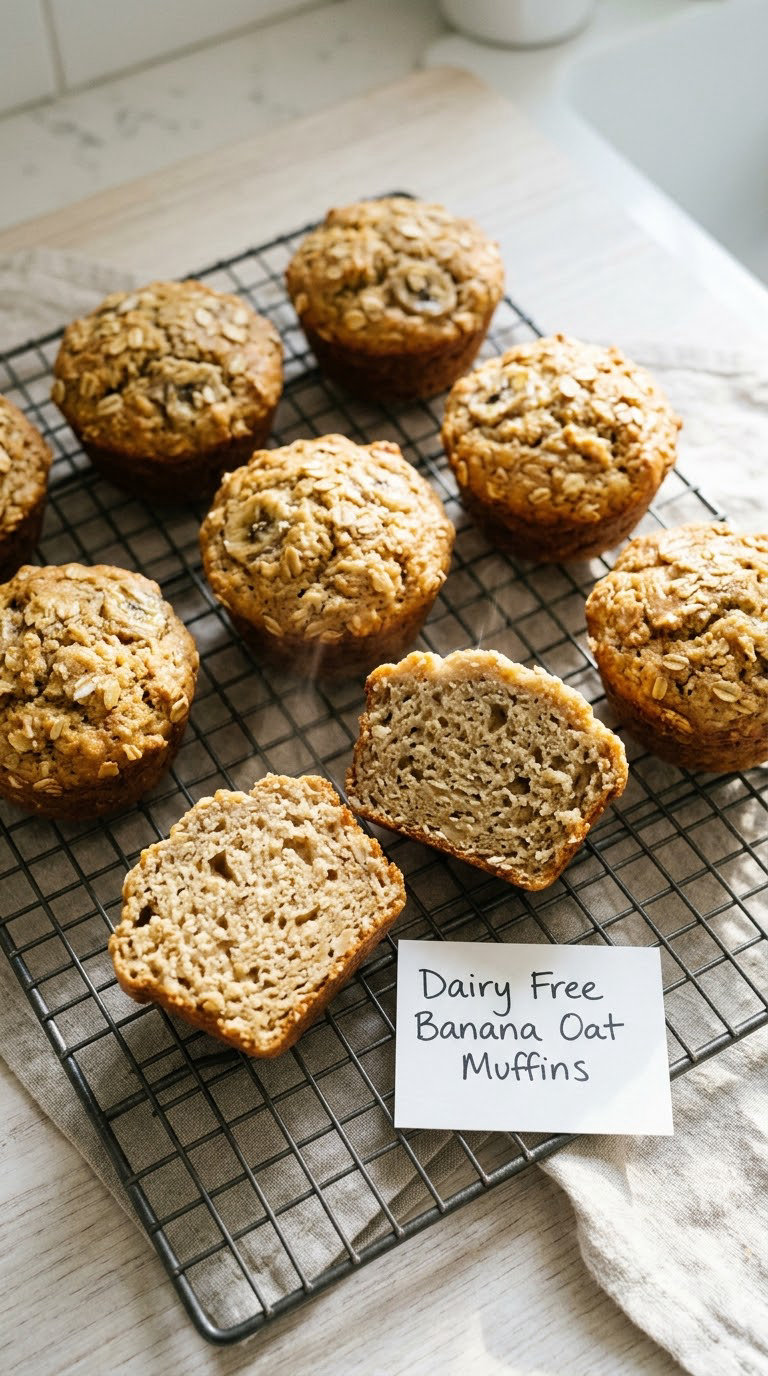
Oat flour and mashed banana do the work that eggs and butter usually do, so these muffins are dairy free without tasting like a substitution. Overripe bananas are the entire secret: brown spots on the peel are exactly what you want here.
Yield: 12 muffins · Prep: 10 minutes · Cook: 20 minutes · Total: 40 minutes · Difficulty: Easy
Ingredients
- 1.5 cups (150 g) oat flour
- 1 tsp baking powder
- 1/2 tsp baking soda
- 1/4 tsp fine sea salt
- 3 ripe bananas, mashed, about 1.5 cups
- 1/4 cup (60 ml) maple syrup
- 1/4 cup (60 g) unsweetened applesauce
- 1/3 cup (80 ml) unsweetened almond or oat milk
- 1/4 cup (55 g) melted coconut oil
- 1 tsp vanilla extract
- 1 tsp ground cinnamon
Instructions
- Heat the oven to 400°F (205°C) and line a 12-cup muffin tin with liners.
- Whisk the oat flour, baking powder, baking soda and salt together in a large bowl.
- In a second bowl, stir the mashed bananas, maple syrup, applesauce, milk, melted coconut oil, vanilla and cinnamon until smooth.
- Pour the wet mixture into the dry ingredients and stir just until combined, about 15 strokes. Stop while lumps remain.
- Divide the batter between the cups, filling each about two thirds full.
- Bake for 18 to 22 minutes, until a toothpick inserted in the center comes out with a few moist crumbs.
- Cool in the tin for 5 minutes, then turn onto a wire rack so the bottoms do not go damp.
Tip: Do not overmix. The oat flour needs very little and extra stirring makes the muffins dense and tight.
Swap it: For a gluten-free and nut-free version, use certified gluten free oat flour and swap the coconut oil for an equal amount of unsweetened apple sauce.
Storage: Keeps 4 days at room temperature in a covered tin. Wrapped individually, the muffins freeze for up to 3 months and thaw in about 20 minutes, which is exactly the right size for a lunchbox.
11. Strawberry Coconut Yogurt Cups
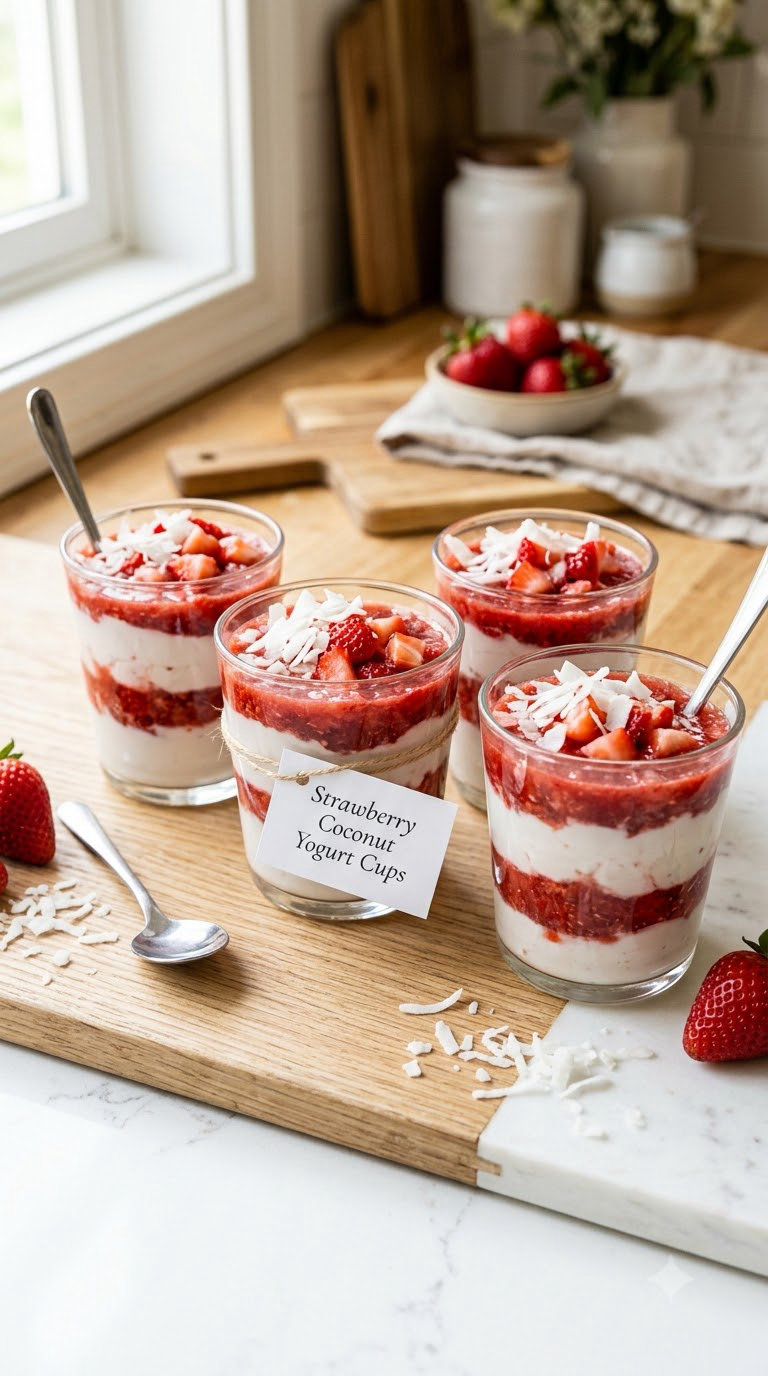
Layered cups look like dessert but take ten minutes of work, and the layering is what makes them appealing to a child who would push a bowl of yogurt away. They are also the easiest item on this list to hand to another family at a playdate.
Yield: 4 cups · Prep: 10 minutes · Cook: none, 20 minutes chilling · Total: 30 minutes · Difficulty: Easy
Ingredients
- 1.5 cups (340 g) plain unsweetened dairy free yogurt
- 1 cup strawberries, hulled and diced small
- 1/3 cup unsweetened shredded coconut
- 2 tbsp honey or maple syrup
- 1/2 cup granola, made without dairy and nuts
- 1 tbsp dairy free chocolate chips, for the top
Instructions
- Dice the strawberries small, then stir them with the honey or maple syrup in a bowl and let them sit for 5 minutes so they release their juice.
- Set out four clear cups so you can see the layers as you build them.
- Add a layer of dairy free yogurt about 1/3 inch deep in each cup.
- Spoon the strawberries and their juice over the yogurt, then press down gently with the back of the spoon.
- Repeat the yogurt and strawberry layers once more so each cup ends with a yogurt layer.
- Top with the shredded coconut, the granola and the chocolate chips.
- Chill for 20 minutes to firm up, then keep cold until serving.
Tip: Add the granola and chocolate chips only after the cups have chilled, otherwise both soften during the wait and you lose the contrast that makes the cup work.
Swap it: Use crushed peaches or mango in place of strawberries, or layer in a spoonful of dairy free chocolate pudding for a birthday party version.
Storage: Keeps 2 days in the fridge. Skip the topping if you are freezing them, and add a fresh layer of granola and coconut after thawing for 15 minutes.
12. Dairy Free Chocolate Trail Mix
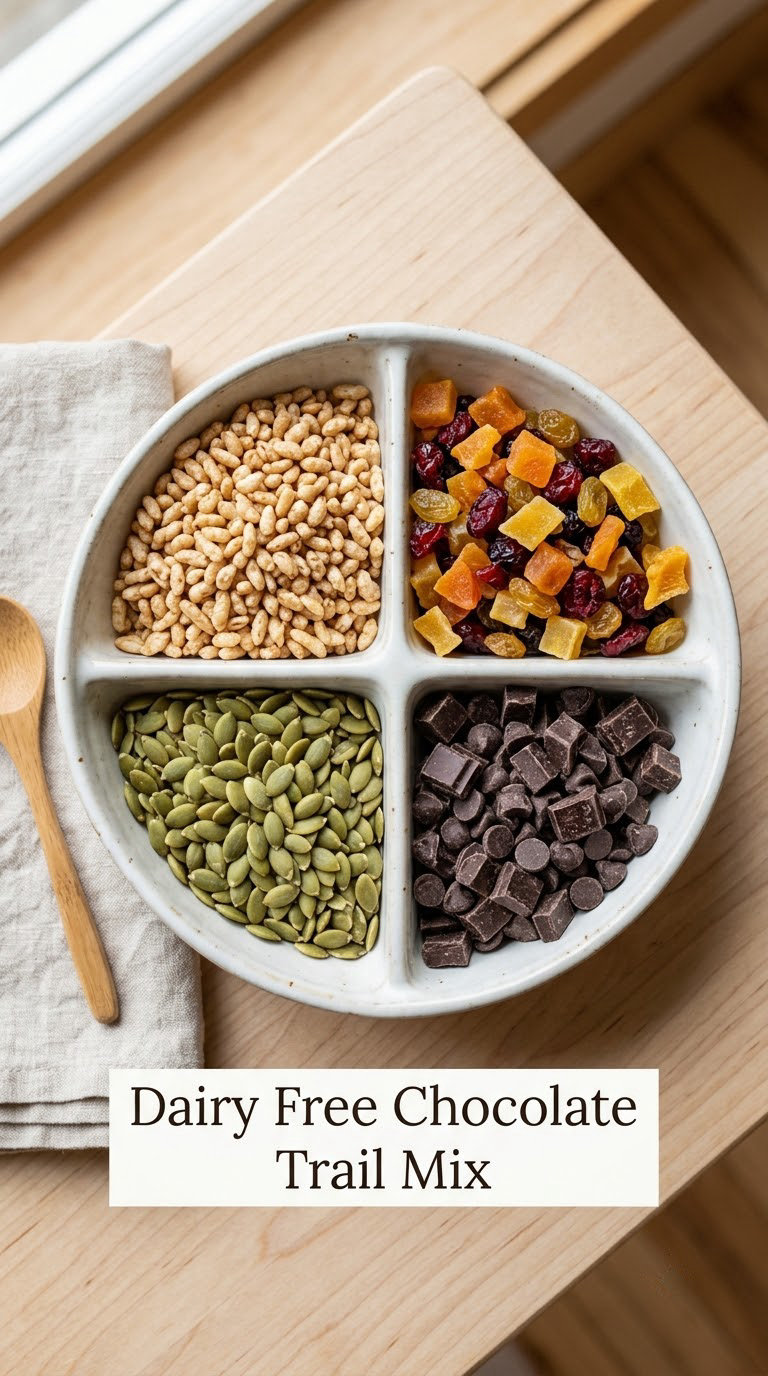
This is the one to make when other kids are eating the store-bought party mix, because the dairy free version travels in the same shape, color and crunch. Portion it into small cups in advance and it becomes the easiest item on any party table.
Yield: 10 servings · Prep: 10 minutes · Cook: none · Total: 10 minutes · Difficulty: Easy
Ingredients
- 2 cups dairy free oat or corn cereal
- 1/2 cup (85 g) dairy free chocolate chips
- 1/2 cup (60 g) pumpkin seeds or sunflower seeds
- 1/2 cup raisins or unsweetened dried cranberries
- 1/3 cup dried banana chips
- 1/2 cup dried mango or unsweetened dried apple pieces
- 1/4 cup pretzel pieces, broken small
Instructions
- Pour the cereal into a large bowl. Break up any pieces bigger than a grape so the mix is even for small hands.
- Add the dairy free chocolate chips, the seeds, the raisins or cranberries, the banana chips, the dried fruit and the pretzel pieces.
- Pour everything into a second bowl or onto a sheet pan and toss with your hands for 20 seconds so the chocolate distributes.
- Portion into small cups or a divided container for sharing, and set it out at room temperature for no more than 2 hours.
- For a lunchbox portion, pack the mix in a lidded cup inside a zip bag so the crunch survives the morning.
Tip: Watch the chocolate, not the cereal. If the chips are sitting in soft blobs by the time you serve, stir them through a minute earlier. They firm up again in 10 minutes.
Swap it: For a nut-free version, use only pumpkin seeds and sunflower seeds. For a chocolate-free version, add dried mango and more pretzels, which is the combination most kids under four will actually finish.
Storage: Keeps about 2 weeks in an airtight container at room temperature. Store it in the fridge during hot months and it will hold for 4 weeks with the chocolate staying firm.
Tips for Making These
- Read the ingredient list, not the front of the bag. The words to watch for are whey, casein, caseinate, lactose, butter, ghee, cream, custard, paneer, condensed milk and nonfat dry milk. Those are the milk ingredients that hide in things labeled vegan, protein or plant based. Brands change formulations between batches, so re-reading each time is not paranoia.
- Know what a may contain warning means. It means the food may contain traces from shared equipment. If your child reacts to milk rather than tolerating it, most families treat any may contain line on a milk-free product as a deal breaker, and many allergy-aware schools do too. A dedicated allergen-free facility statement is a stronger signal than a may contain line.
- Check cereal and crackers first. Wheat-based crackers, granola bars and breakfast cereal are the sneakiest sources, and this applies to bread too. Look at the loaf before you assume it is dairy free; some breads use butter or ghee for a softer crumb.
- Match the texture to the age. Whole grapes, popcorn, nuts and hard raw carrot are choking risks for toddlers under 4. Halve grapes lengthwise, quarter them again, and give soft or well-cooked versions of anything round and firm. Avocado toast cups, the dip and the yogurt cups are the safest options on this list for the 12 to 24 month group.
- Batch on one weekend afternoon. The energy bites, the trail mix and the snack mix all keep well and need no cooking. A two-hour session of rolling bites, making mix and portioning cups covers about two weeks of lunches.
- Freeze, then move to the lunchbox. Muffins, bark, toasties and energy bites all freeze. Portion them into individual servings, and put them in the lunchbox still partly frozen so they thaw by lunchtime and stay cold enough to be safe.
Frequently Asked Questions
How do I know a snack is dairy free?
Check the ingredient list for whey, casein, caseinate, lactose, butter, ghee, cream, custard, paneer, condensed milk and nonfat dry milk. A may contain milk line means shared equipment is possible, which many families with a true allergy avoid entirely. Read the label every purchase, because brands reformulate without notice.
What common snacks are already dairy free?
Most fresh fruit, pretzels, rice cakes, plain crackers, hummus, guacamole, popcorn, roasted chickpeas, apple sauce, sunflower seed butter and many oat or rice cereal bars are dairy free as they come. The ones that need a check are bread, crackers, granola, protein bars and anything flavored with chocolate chips, which often contain milk fat or whey.
Which of these recipes freeze well?
The banana oat muffins, frozen berry yogurt bark, energy bites and mini pizza toasties all freeze well, up to 3 months for the muffins. The yogurt dip, apple nachos and avocado toast cups do not freeze, since dairy free yogurt splits and the fruit turns soft. Freeze the bark and the muffins flat, in a single layer, then bag them once solid.
What dairy free snacks work for toddlers under 3?
The creamy fruit dip, the yogurt cups, the avocado toast cups and the banana oat muffins suit the 12 to 24 month group, cut into small pieces. Skip popcorn, whole nuts, hard raw carrot and whole grapes, which are choking risks under 4. Cut grapes into quarters lengthways and offer soft, well-cooked round pieces.
Can these work for a child with more than one allergy?
Yes, with swaps. For nut-free, replace peanut and cashew pieces with pumpkin or sunflower seeds. For gluten-free, use certified gluten free oat flour in the muffins and a labeled gluten free bread for the toasties and cups. For egg-free, every recipe here already works, since none of them call for egg. For soy-free, choose an oil or seed butter instead of a soy-based spread.
What are good dairy free snacks for a kids party?
The trail mix, the yogurt cups and the mini pizza toasties are the best fit because they hold at room temperature and portion themselves. Set the trail mix out in small cups for the first ten minutes, since children pick one and abandon it, and keep the yogurt cups in the fridge until the last minute. Always confirm the labels on every item with the host family first.
Conclusion
Start with the creamy fruit dip if you need something tonight. Five minutes, one bowl, and it works for a 15-month-old and a nine-year-old at the same table, which is rare in a milk-free household.
Once that one is accepted, the no bake chocolate coconut energy bites are the one I make most. They cover the school night, the practice run and the road trip, and a double batch in the freezer solves a surprising number of weeks. That is what makes these twelve the dairy free snack ideas for kids I keep on hand, and for bigger gatherings I lean on the same batch-cooking logic as my watch party snack ideas.