
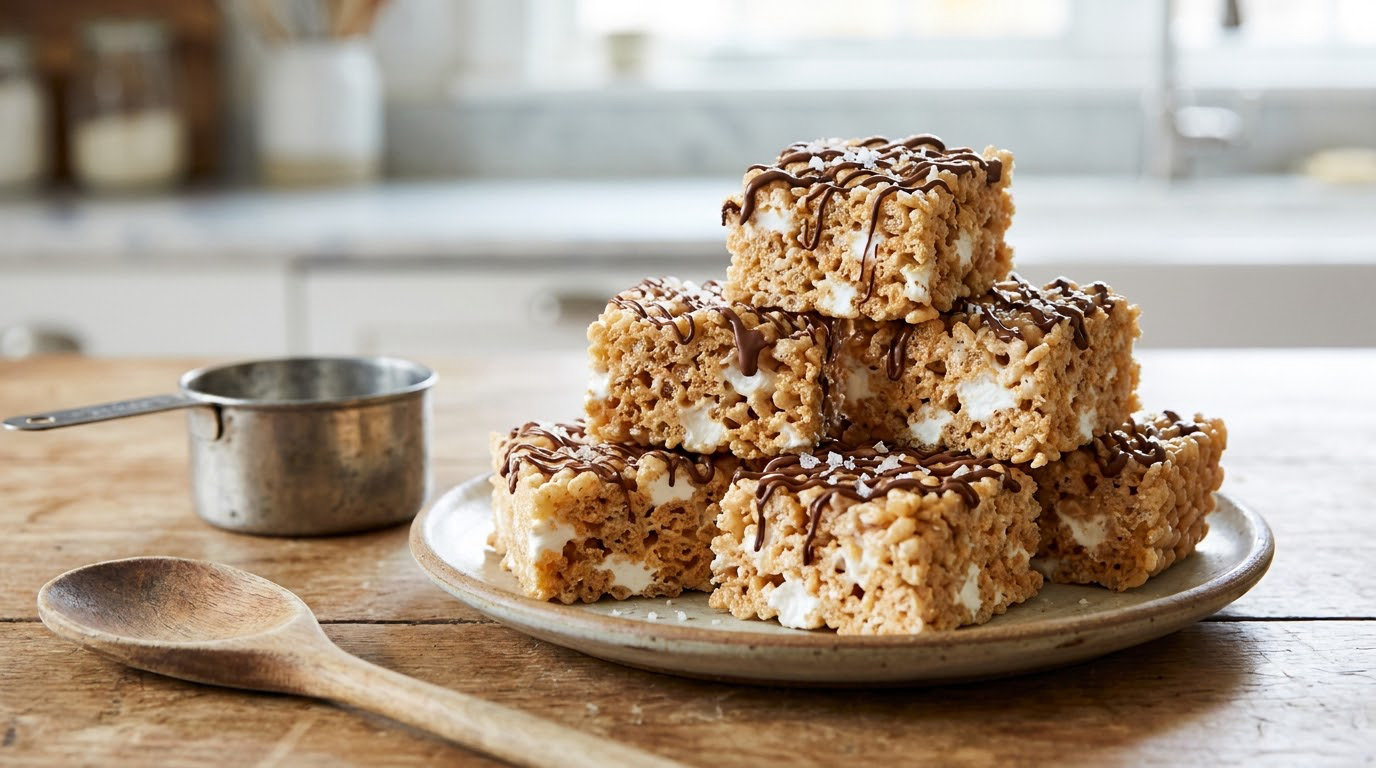
Soft, buttery, and just gooey enough to stretch when you pull them apart, this homemade rice crispy treats recipe takes about 15 minutes from start to finish. You need five pantry staples, one saucepan, and a 9×13 pan, and you’ll have thick, chewy bars that stay tender for days instead of turning into a brick by lunchtime.
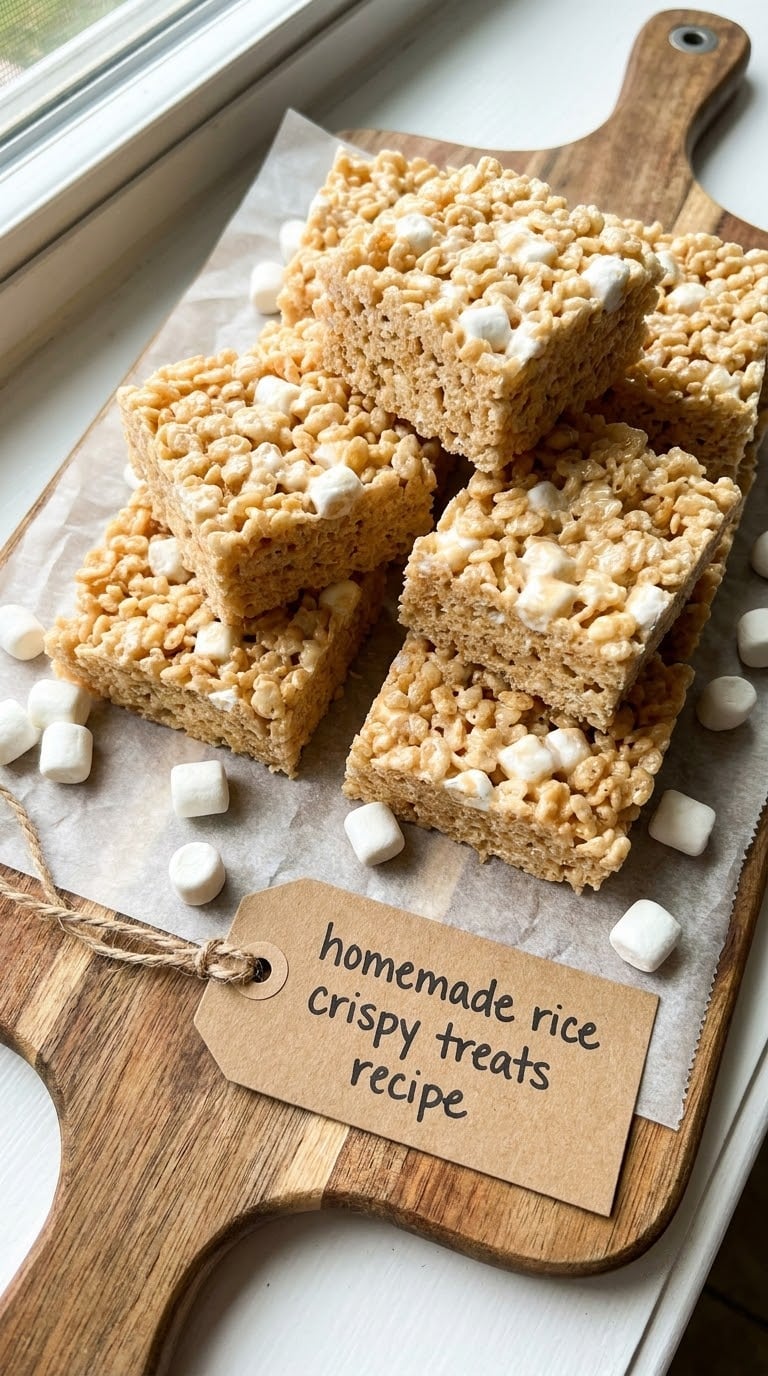
Most recipes go wrong in the same two places: they overcook the marshmallows, or they press the mixture into the pan like they’re tamping concrete. Both mistakes squeeze the air out and lock the sugar into a hard shell. We’ll fix both.
Table of Contents
Why This Recipe Works
This is the kind of no-bake dessert that rewards restraint. The marshmallows barely need heat, the cereal barely needs stirring, and the whole thing comes together before the butter has time to brown on its own. Here’s the reasoning behind each step.
- The butter-to-marshmallow ratio is 1:8 by weight, which is enough fat to keep the bars tender but not so much that they turn greasy in your hands.
- Low heat melts the marshmallows just until they’re 90% smooth, with a few small lumps still visible, so they don’t scorch and crystallize.
- Reserving a cup of mini marshmallows to fold in at the end gives you visible gooey pockets and stops the final texture from going uniform and dense.
- Gentle pressing with a greased spatula keeps the bars light and chewy. Packing them down is what makes homemade rice crispy treats hard.
- A pinch of kosher salt in the pot and a flake or two of flaky salt on top balance the sweetness so they taste grown-up, not cloying.
Ingredients
Everything here is a pantry staple. I always use unsalted butter so I can control the salt myself, and I reach for fresh mini marshmallows because stale ones won’t melt smoothly.
- 6 tablespoons (85 g) unsalted butter, plus more for the pan
- 16 oz (450 g) mini marshmallows, divided (about 10 cups)
- 1 teaspoon pure vanilla extract
- 1/2 teaspoon fine kosher salt
- 6 cups (180 g) crispy rice cereal (about one 12 oz box)
- Flaky sea salt, for finishing (optional)
Notes on the key ingredients: Mini marshmallows melt faster and more evenly than full-size, and they coat the cereal without clumping. If you only have large marshmallows, snip each one in half with kitchen shears before melting. For the cereal, use a brand you actually like the texture of, because the bars taste exactly like the cereal, only sweeter. Brown butter is a beautiful upgrade if you have an extra 5 minutes; see the variations below.
Safe for kids: This is a no-bake recipe, but the marshmallow mixture does get hot enough to burn small fingers, so keep toddlers a safe distance from the pot and let them help with stirring the cereal and pressing the bars once the mixture has cooled for a minute.
Equipment
You don’t need a stand mixer or any specialty tools. A heavy-bottomed pot, a good spatula, and the right pan size are what matter most.
- 9×13-inch metal or glass baking pan
- Parchment paper with a 2-inch overhang on the long sides (for easy lifting)
- Large nonstick pot or Dutch oven (at least 4-quart)
- Silicone spatula, lightly greased
- Measuring cups and a kitchen scale (helpful but not required)
A 9×13 pan gives you bars that are about 3/4 inch thick, which is the sweet spot between thin and bakery-style thick. A 9×9 pan works too, but you’ll get tall, fudgy squares that need a few extra minutes to set. Avoid greasing with cooking spray only; the butter and parchment combo is what gives you clean, non-stuck edges every time.
How to Make Homemade Rice Crispy Treats
Work quickly once the marshmallows hit the pot, because the mixture firms up fast. Have your pan prepped and cereal measured before you turn on the heat.
- Prep the pan: Line a 9×13 pan with parchment paper, leaving overhang on two long sides. Rub the exposed parchment and pan with a thin layer of butter. Set aside.
- Melt the butter: In a large pot over medium-low heat, melt the 6 tablespoons of butter slowly, swirling the pan until it’s just liquid and starting to foam. Do not let it brown unless you’re going for that variation.
- Add most of the marshmallows: Add 15 oz (about 8 cups) of the mini marshmallows to the pot along with the kosher salt. Stir constantly with the silicone spatula, pressing the lumps against the side of the pot, for 3 to 4 minutes until about 90% smooth with a few small marshmallow bits still visible.
- Off heat, add vanilla: Pull the pot off the burner and stir in the vanilla. The residual heat is enough to finish melting the last bits without scorching the sugars.
- Fold in the cereal: Add the crispy rice cereal all at once. Use the spatula to gently fold and turn the mixture until every flake is coated, about 30 seconds of patient folding. Don’t crush the cereal.
- Fold in the reserved marshmallows: Scatter the remaining 1 cup of mini marshmallows over the top and fold them in just until they start to streak the mixture. You’ll see small white pockets; that’s the good stuff.
- Press into the pan: Transfer the mixture to the prepared pan. With greased hands or the back of a greased spatula, press the mixture into an even layer using the lightest pressure you can manage. Stop the moment it looks level.
- Cool and cut: Sprinkle with flaky salt if using. Let the bars cool at room temperature for at least 45 minutes, until they’re firm to the touch and hold together when lifted. Use the parchment overhang to lift the whole block out, then cut into 12 to 16 squares with a sharp knife wiped clean between cuts.
Pressing and Cooling
The 45-minute rest is non-negotiable for clean squares. Cutting too early gives you sticky, ragged edges that drag marshmallow strands across the knife. If you’re in a hurry, slide the pan into the fridge (uncovered) for 20 minutes instead; the cool air sets the gelatin without drying out the surface the way a freezer would.
Tips for Success
Most rice crispy treat failures come from one of three causes. Here’s how to dodge them all.
- Why are my bars hard? You cooked the marshmallows too long or too hot, or you pressed them into the pan like a brownie. Pull the pot off the burner the moment the marshmallows are mostly melted, and use the lightest possible hand when transferring to the pan.
- Why are mine sticky and falling apart? Either the marshmallows were under-melted, the butter was too cool to coat them, or you didn’t measure the cereal. Make sure the pot is back on the heat for 30 seconds if needed, and weigh your cereal if you can.
- Fresh marshmallows really do matter. An open bag that’s been sitting in the pantry for two months won’t melt cleanly and leaves rubbery bits throughout. Newer bags produce a noticeably smoother, glossier mixture.
- Grease everything that touches the mixture. Spatula, hands, knife, pan, parchment. Marshmallow glue is a real thing and warm water is the only thing that gets it off skin easily.
- Don’t skip the salt. Even half a teaspoon of kosher salt in the pot changes the flavor from candy-sweet to balanced. A small pinch of flaky salt on top after pressing is the move that makes people ask, “What’s different about these?”
- Cut with a sharp, clean knife. Wipe the blade with a damp paper towel between every cut, or you’ll drag marshmallow smears across the next square.
Variations
The base recipe is a blank canvas. Here are the four swaps I make most often, all built on the same 6 cups of cereal and 16 oz of marshmallows.
- Browned butter. Before melting the butter, cook it over medium heat, swirling, until the milk solids turn golden and the butter smells like toasted hazelnuts, about 4 minutes. Cool for 1 minute, then proceed with the recipe. The nutty depth is the single biggest flavor upgrade you can make.
- Chocolate chip mix-in. Off heat, fold in 1 cup of mini semi-sweet chocolate chips along with the reserved marshmallows. The residual warmth melts the chips just enough to streak the bars without turning them into chocolate cement.
- Peanut butter swirl. Warm 1/2 cup of creamy peanut butter in the microwave for 20 seconds, then dollop it over the pressed mixture in the pan and swirl with a butter knife. Cut as usual.
- Gluten-free version. Swap the crispy rice cereal for a certified gluten-free crispy rice brand (Nature’s Path, Barbara’s, or Aldi’s version all work). Everything else in the recipe is naturally gluten-free, including standard marshmallows, which use cornstarch, not wheat.
Storage, Make-Ahead and Reheating
These bars keep far better than most people think, as long as you treat the marshmallow binder gently.
Room temperature: Store cut squares in an airtight container at room temperature for up to 3 days. Layer them between sheets of wax paper so they don’t fuse together. Do not refrigerate; the fridge dries out the surface and makes them go stale faster.
Freezer: Wrap the uncut block tightly in plastic wrap, then foil, and freeze for up to 2 months. Thaw overnight in the fridge or for an hour on the counter, still wrapped, so condensation forms on the foil and not on the bars.
Reheating: If a bar has gone a little stiff, microwave a single square for 8 to 10 seconds. The marshmallow relaxes and the bar tastes almost freshly made. Don’t go longer, or the sugar will start to melt and re-harden into a chewy puck.
Make-ahead: The full batch can be made 24 hours in advance and stored, tightly covered, at room temperature. Press and cut the day of serving for the cleanest squares.
What to Serve With It
Rice crispy treats are versatile enough to land anywhere from a lunchbox to a dinner-party dessert plate. A few pairings I keep coming back to:
- Cold whole milk in a tall glass. The classic, and still the best.
- Hot chocolate on a cold night. Cut the bars small and use them as edible stirrers.
- Vanilla ice cream sandwiches. Press a slightly softened square of ice cream between two rice crispy squares, roll the edges in sprinkles, and freeze until firm. Pure birthday-party energy.
- A drizzle of warm Easy Homemade Hot Fudge Sauce Recipe for an after-dinner dessert plate, or a spoon of Easy Homemade Caramel Sauce Recipe on the side.
For a coffee-dessert moment, set the bars next to a bowl of softly whipped Easy Homemade Whipped Cream Recipe and let people build their own. For lunchboxes, wrap individual squares in wax paper the night before; they stay soft and don’t squish the way cookies do.
Frequently Asked Questions
Why are my homemade rice crispy treats hard instead of chewy?
The most common cause is overcooking the marshmallows, which drives off moisture and caramelizes the sugar, locking the bars into a hard set. The second cause is pressing the mixture into the pan too firmly, which compresses the airy cereal into a dense puck. Melt the marshmallows over medium-low heat just until 90 percent smooth, then press the mixture into the pan with the lightest touch.
Can I use marshmallow fluff instead of marshmallows in this rice crispy treats recipe?
Yes, you can substitute 16 ounces of marshmallow fluff for the mini marshmallows. Reduce the butter to 4 tablespoons because the fluff is already soft and rich, and warm it in the pot with the butter for 2 to 3 minutes before folding in the cereal. The texture will be slightly denser and more uniform, with no gooey marshmallow pockets.
How long do homemade rice crispy treats stay fresh?
Stored in an airtight container at room temperature with wax paper between the layers, homemade rice crispy treats stay soft and chewy for up to 3 days. After that the cereal starts to lose its crunch and the marshmallow firms up. Avoid the fridge, which dries the surface and makes them go stale faster.
Do I have to use butter, or can I make rice crispy treats with margarine?
Butter gives the bars a richer flavor and a better tender crumb because of its milk fat content. Margarine works in a pinch and the bars will still set, but expect a slightly softer texture and a milder taste. If you go the margarine route, use the stick variety, not the tub, which has too much water and can make the bars greasy.
Can I freeze homemade rice crispy treats?
Yes, rice crispy treats freeze well for up to 2 months. Wrap the uncut block tightly in plastic wrap, then in foil, and freeze. Thaw overnight in the fridge or for an hour on the counter, still wrapped, so condensation forms on the foil rather than on the bars themselves. Cut into squares after thawing for the cleanest edges.
This homemade rice crispy treats recipe is the one I keep coming back to, because it respects what the ingredients actually need: low heat, a light hand, and a few minutes of cooling. The result is a thick, chewy, buttery bar that tastes the way a rice crispy treat is supposed to taste, soft in the middle, just-set at the edges, and gone before the pan is cool. Make a batch this weekend, hide two squares for yourself, and see how long the rest actually lasts.