
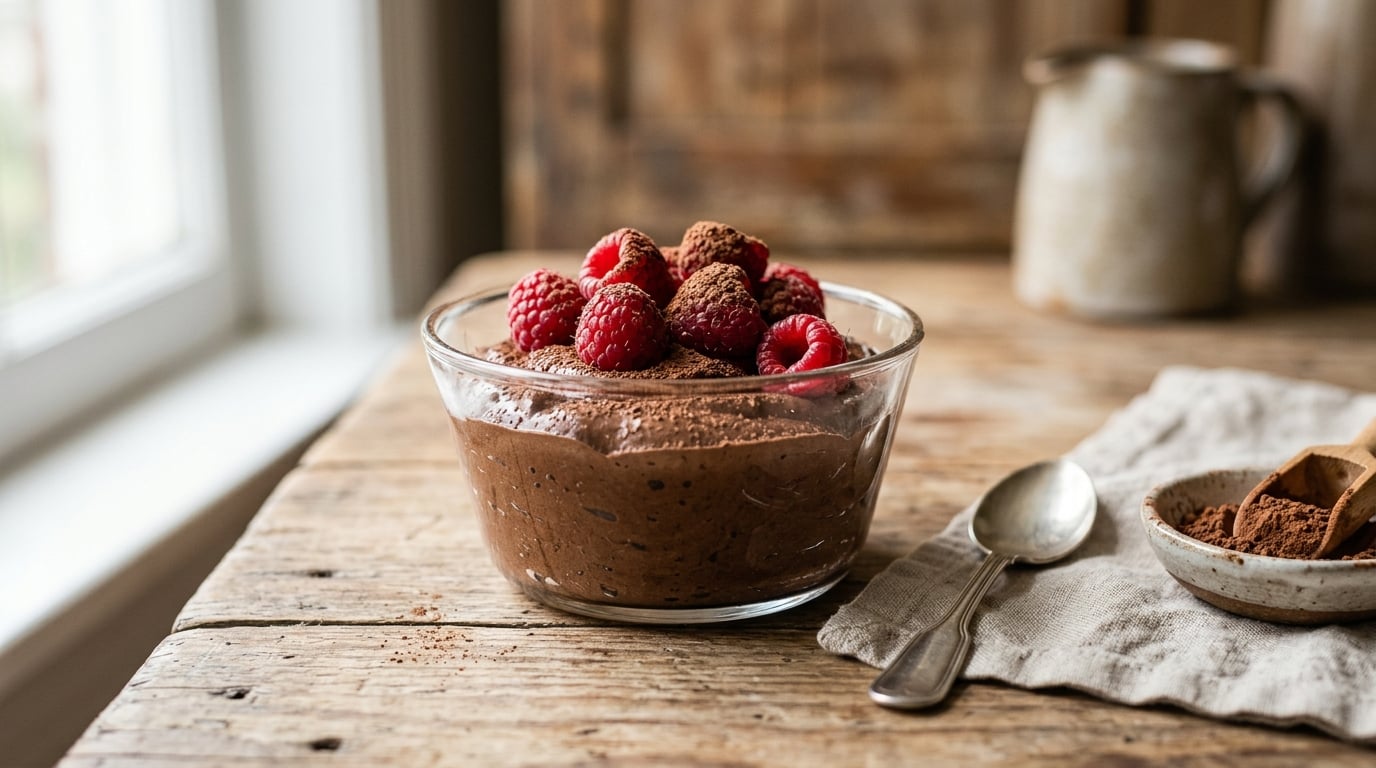
High protein dessert recipes without protein powder come down to three whole foods: Greek yogurt, cottage cheese and eggs, with nut butter and beans filling in the gaps. Every recipe below gives you a real number for protein per serving, and none of them ask you to buy a tub of powder first.
That matters because dessert is the hardest meal to make protein-forward. I have watched people eat a bowl of cereal for dinner rather than a square of brownie, and honestly I have done it myself. The fix is building the protein into the batter instead of bolting it on afterward, and picking formats that forgive the slightly tangy flavor dairy brings with it. These ten run from a two-minute no-bake mousse to a freezer bark, so there is something here for a Tuesday night craving and something for a bake-ahead Sunday.
Table of Contents
At a Glance
| Recipe | Time | Difficulty | Best for |
|---|---|---|---|
| 1. Greek Yogurt Chocolate Mousse | 10 min plus 2 hr chill | Easy | Craving something chocolatey tonight |
| 2. Cottage Cheese Lemon Bars | 20 min plus 2 hr chill | Easy | Bright, tangy-sweet squares |
| 3. Edamame Chocolate Energy Bites | 35 min | Easy | Desk drawer snacks and lunchboxes |
| 4. Black Bean Brownies | 45 min | Easy | Fudgy brownies with no flour |
| 5. Peanut Butter Banana Protein Cookies | 30 min | Easy | Soft, chewy cookies |
| 6. Greek Yogurt Berry Cheesecake Cups | 40 min plus 2 hr chill | Medium | Single-serve portions |
| 7. Ricotta and Honey Apple Crisp | 60 min | Easy | Warm dessert for a crowd |
| 8. Chickpea Chocolate Chip Cookies | 30 min | Easy | Chocolate chip cookies, secretly legume-based |
| 9. Coconut Yogurt Berry Frozen Bark | 10 min plus 4 hr freeze | Easy | Dairy-free frozen treat |
| 10. Silken Tofu Chocolate Pudding | 10 min plus 2 hr chill | Easy | Dairy-free, silky chocolate pudding |
1. Greek Yogurt Chocolate Mousse
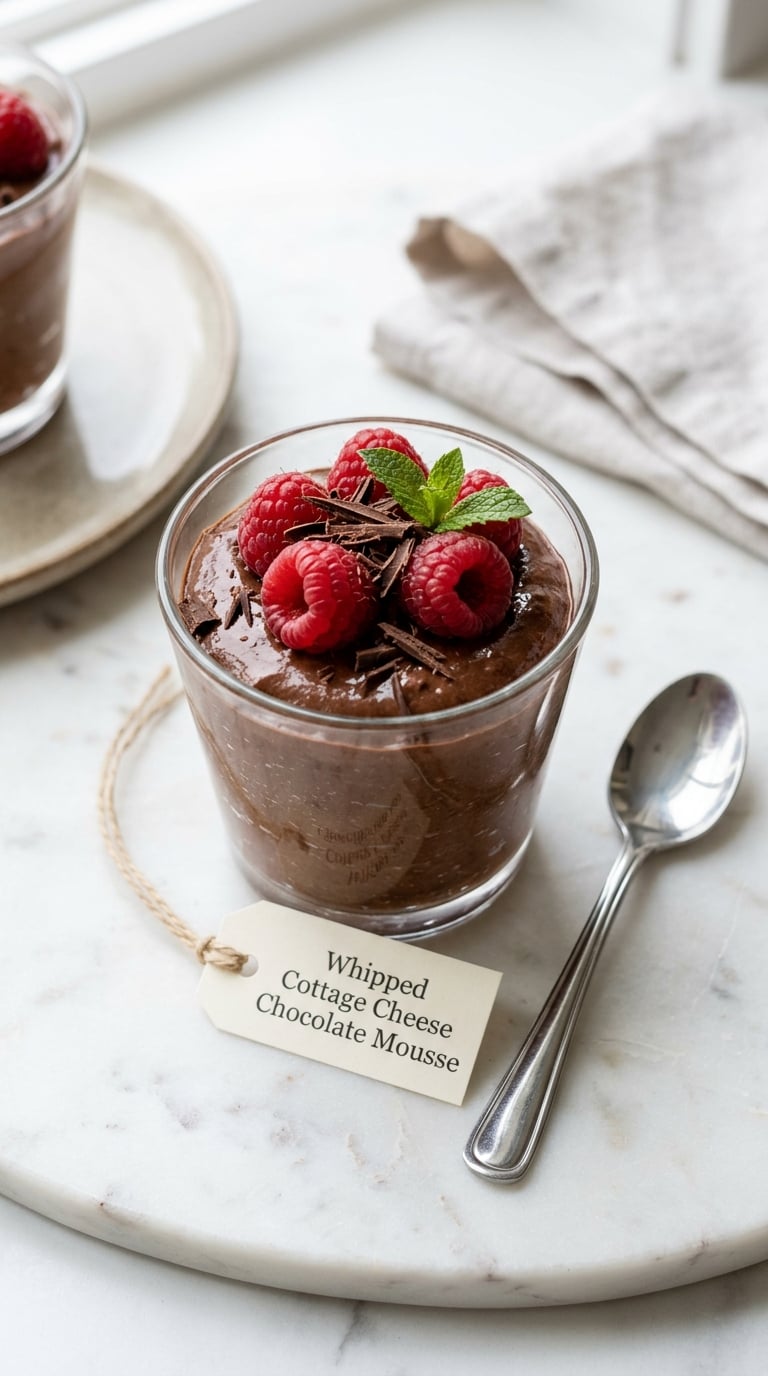
This is the recipe I make when the craving shows up at nine at night and I am not turning on the oven. Greek yogurt thickens into something close to a real mousse, chia seeds do the work gelatin usually does, and a spoonful of cocoa hides the tang completely.
Why this is a high protein dessert without protein powder
Two cups of Greek yogurt carries roughly 40 grams of protein before anything else goes in. Divide it between four servings and you are looking at about 18 grams each, which beats most store-bought mousse by a wide margin.
Yield: 4 servings · Prep: 10 minutes · Cook: none · Total: 10 minutes plus 2 hours chilling · Difficulty: Easy
Ingredients
- 2 cups (480 g) plain Greek yogurt, full fat
- 1/4 cup (24 g) unsweetened cocoa powder
- 3 tbsp honey or maple syrup
- 2 tbsp chia seeds
- 1 tsp vanilla extract
- Pinch of fine salt
- 1/2 cup fresh berries, such as raspberries or blueberries, to serve
Instructions
- Whisk the Greek yogurt, honey and vanilla together in a medium bowl until smooth.
- Sift the cocoa over the top and whisk again until no streaks remain and the color is even.
- Stir in the chia seeds and the salt, then wait five minutes and stir a second time so they do not clump on the bottom.
- Taste. It usually needs nothing more, but a half teaspoon of extra honey fixes a batch made with tart yogurt.
- Cover and refrigerate for at least 2 hours, until the surface looks matte and the spoon leaves a clean trail.
- Spoon into glasses and top with berries just before serving.
Tip: Full fat yogurt sets to the richest texture. If you only have nonfat, stir in a teaspoon of cornstarch and chill overnight instead.
Swap it: Use coconut yogurt for a dairy-free version and add half a teaspoon of almond extract. It loosens slightly, so chill a little longer.
Storage: Keeps 3 days in the fridge. Do not freeze, the yogurt grainy and weeps on thawing. Made the night before, it is the easiest make-ahead dessert here.
2. Cottage Cheese Lemon Bars
Lemon and dairy belong together, which is why cottage cheese works so well in a bar. Blend it until it is perfectly smooth and the tang reads as brightness rather than dairy, especially next to lemon zest.
Yield: 16 bars · Prep: 20 minutes · Cook: 30 to 35 minutes · Total: about 55 minutes plus chilling · Difficulty: Easy
Ingredients
For the crust:
- 1 cup (90 g) rolled oats, blended into a coarse flour
- 1/2 cup (65 g) all-purpose flour
- 5 tbsp (70 g) butter, melted and cooled slightly
- 3 tbsp honey
For the filling:
- 1 1/2 cups (340 g) cottage cheese, blended smooth
- 1/2 cup (170 g) plain Greek yogurt
- 2 large eggs
- 1/2 cup (170 g) honey
- 1/3 cup (80 ml) fresh lemon juice
- Zest of 2 lemons
- 1/4 cup (25 g) oat flour
- 1 tsp vanilla extract
- Pinch of salt
Instructions
- Heat the oven to 325°F (165°C) and line a 9-inch square pan, leaving an overhang on two sides.
- Stir the oat flour, all-purpose flour and melted butter together until it clumps, then press it firmly into the pan. Packing it down hard is what keeps the crust from crumbling later.
- Bake the crust for 12 minutes, until it looks dry and lightly golden at the edges.
- Blend the cottage cheese, Greek yogurt, eggs, honey, lemon juice, zest, oat flour, vanilla and salt until completely smooth, scraping down the bowl once.
- Pour the filling over the hot crust and spread it to the corners.
- Bake for 22 to 25 minutes more, until the edges are set and the centre still wobbles a little when you nudge the pan.
- Cool completely on a rack, then refrigerate 2 hours before cutting into 16 squares.
Tip: Any graininess in the filling is a blending problem, not a recipe problem. Give the cottage cheese a full 60 seconds in a blender and pass it through once more if you are fussy.
Swap it: Use a nut butter crust of almond flour, butter and honey for a gluten-free version, and swap the honey for maple syrup if you prefer.
Storage: 4 days covered in the fridge. These freeze well for 3 months; wrap the squares individually and thaw in the fridge overnight.
3. Edamame Chocolate Energy Bites
Roasted edamame is the sleeper ingredient in this whole list. It goes nutty and crisp in a hot oven, and once pulsed with dates and nut butter it disappears completely into something that tastes like a chocolate truffle.
Yield: 12 bites · Prep: 20 minutes · Cook: 15 minutes · Total: 35 minutes plus 30 minutes chilling · Difficulty: Easy
Ingredients
- 1 1/2 cups (200 g) shelled edamame, frozen is fine
- 8 Medjool dates, pitted and roughly chopped (about 120 g)
- 2 tbsp (16 g) unsweetened cocoa powder
- 1/3 cup (48 g) almond butter or peanut butter
- 1/4 cup (35 g) mini chocolate chips
- 1 tsp vanilla extract
- Pinch of salt
- 2 tbsp chopped almonds, to roll
Instructions
- Heat the oven to 400°F (200°C). Spread the edamame on a sheet pan, toss with a teaspoon of neutral oil and roast for 12 to 15 minutes until they pop and smell nutty.
- Let the edamame cool for 10 minutes so the blades of the food processor stay cool too.
- Pulse the roasted edamame in a food processor until finely crumbed, then add the dates, cocoa, nut butter, vanilla and salt.
- Process until the mixture clumps when you press it between two fingers. If it crumbles, add a teaspoon more nut butter. If it is sticky, add a tablespoon of chopped almonds.
- Roll into 12 balls, then roll each one in the chopped almonds.
- Chill for 30 minutes before eating, which firms them up considerably.
Tip: Over-roasted edamame turns bitter and no amount of cocoa will cover it. Pull the tray as soon as they start to split, usually a minute or two before the timer ends.
Swap it: Sunflower seed butter works if you need to avoid nuts. For a soy-free version, use roasted chickpeas, which need only 10 minutes at 400°F.
Storage: Refrigerate in an airtight container for up to 10 days. Freeze on a tray first, then bag them, for up to 3 months; let them sit 5 minutes before eating.
4. Black Bean Brownies
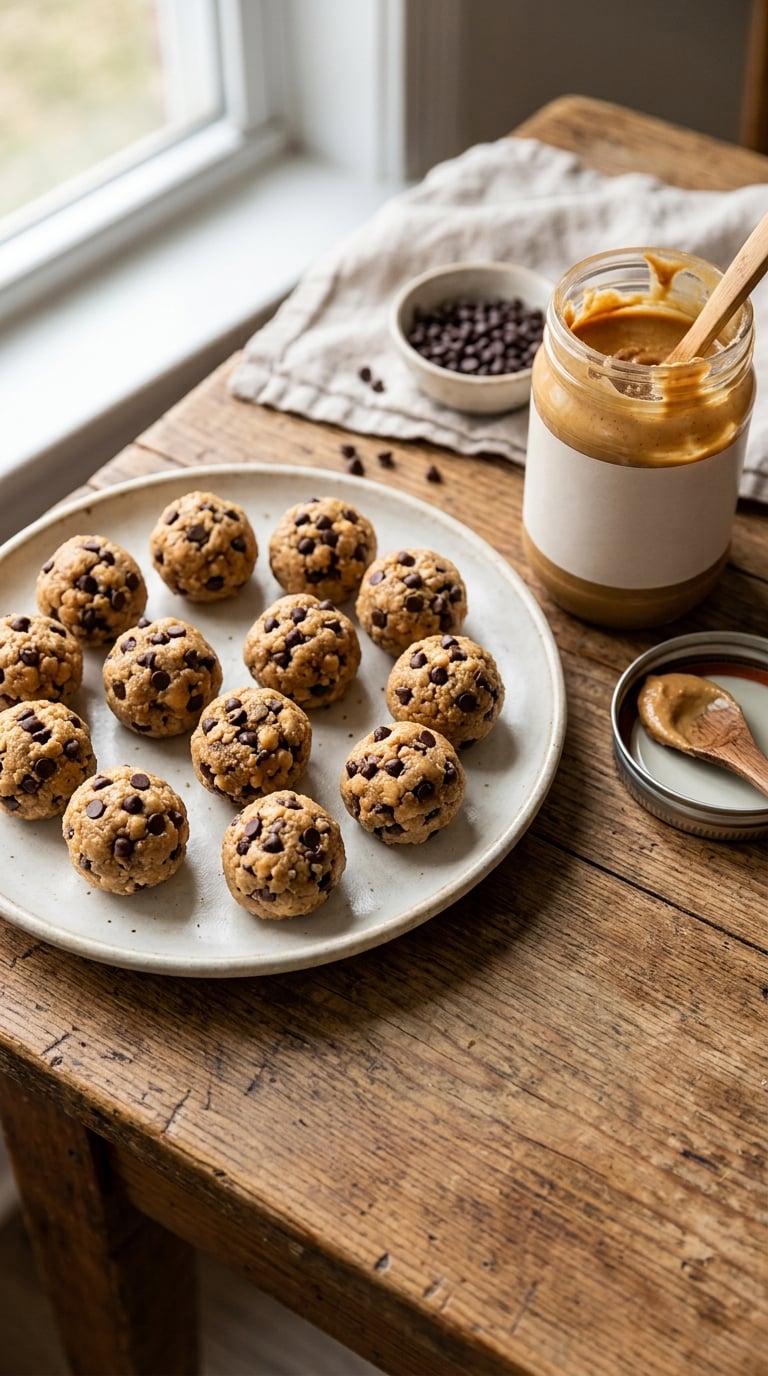
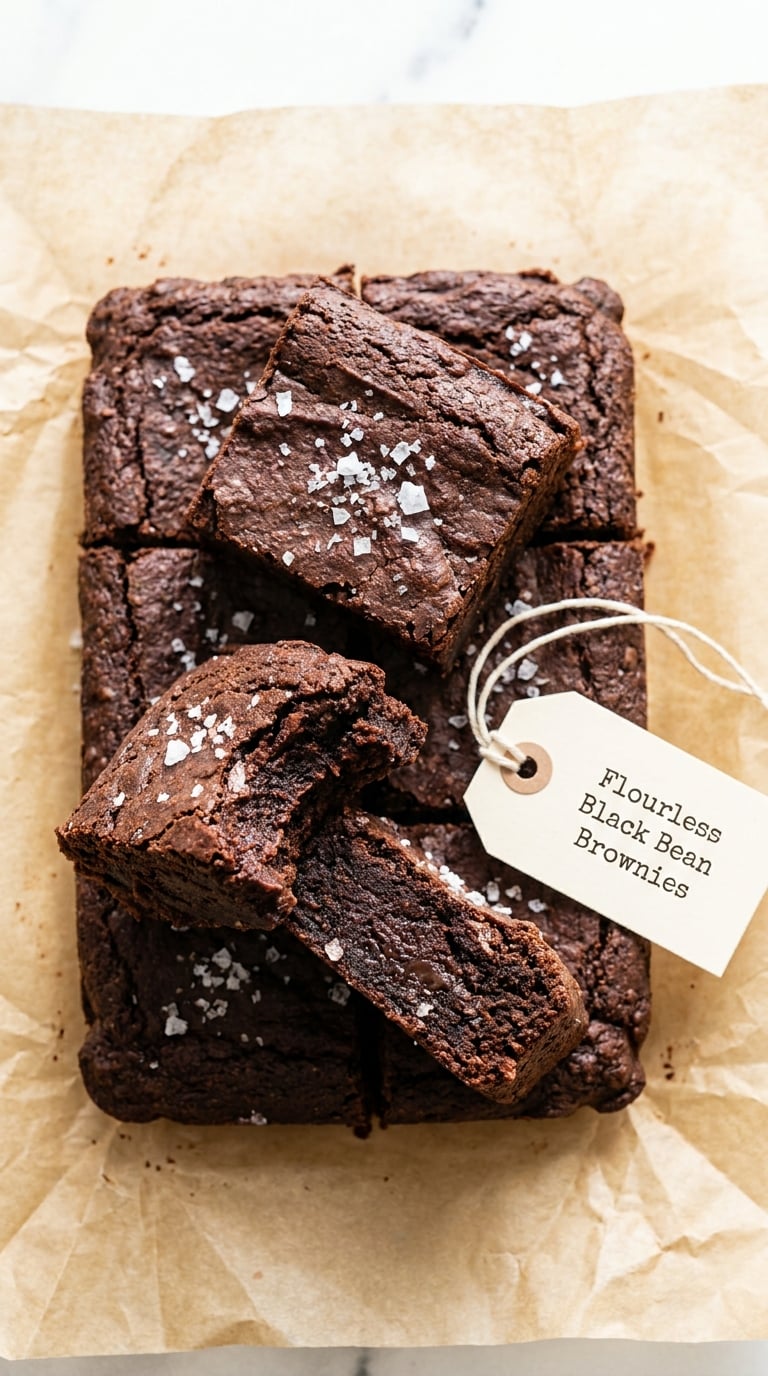
These are the brownies that convinced me I would never go back to flour-based ones. The beans are invisible after blending, the texture lands somewhere between fudge and cake, and one square carries about 11 grams of protein with no powder anywhere near it.
Yield: 9 brownies · Prep: 15 minutes · Cook: 26 to 30 minutes · Total: about 45 minutes · Difficulty: Easy
Ingredients
- 1 can (425 g) black beans, drained and rinsed very well
- 2 large eggs
- 1/4 cup (42 g) butter or neutral oil, melted and cooled
- 1/3 cup (43 g) unsweetened cocoa powder
- 1/2 cup (170 g) honey
- 1 tsp vanilla extract
- 1/2 tsp baking powder
- 1/4 tsp salt
- 3 tbsp chocolate chips, plus flaky salt for the top
Instructions
- Heat the oven to 350°F (175°C) and line an 8-inch square pan with parchment, letting it overhang two sides.
- Drain the beans and spread them on a clean towel for 10 minutes. Patting them dry is the difference between fudgy and cakey.
- Blend the beans, eggs, melted butter, cocoa, honey, vanilla, baking powder and salt until the batter is completely smooth, about 90 seconds.
- Pour into the pan and smooth the top. Scatter the chocolate chips and a pinch of flaky salt over the surface.
- Bake for 26 to 30 minutes, until the top is set and shiny and a skewer comes out with a few moist crumbs.
- Cool in the pan for at least 20 minutes before cutting, or the squares will tear.
Tip: Do not bake these past the point where the top looks dry. Beans hold onto moisture longer than flour, so the centre stays fudgy even when the edges set.
Swap it: For an egg-free version, replace the eggs with 1/2 cup of unsweetened applesauce and 2 tbsp of ground flaxseed mixed with 6 tbsp water, rested 10 minutes. A pinch more baking powder helps it rise.
Storage: 4 days in the fridge, covered. They freeze for 3 months; thaw a square in the fridge overnight and the texture comes right back.
5. Peanut Butter Banana Protein Cookies
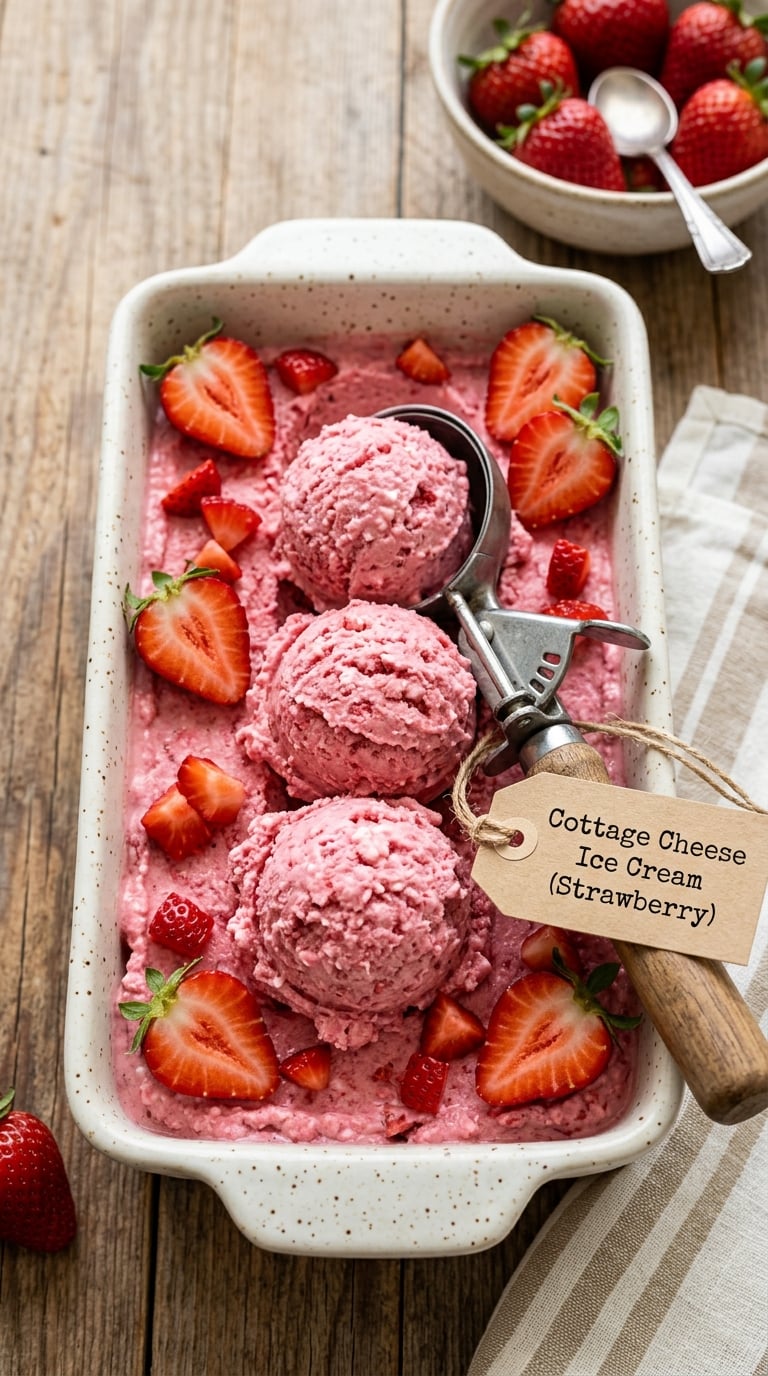
Banana and peanut butter are a combination that needs no defending. Add oat flour and one egg and you get a cookie that stays soft for days, which is the real reason I stopped baking crisp ones at home.
Yield: 12 cookies · Prep: 15 minutes · Cook: 10 to 12 minutes · Total: about 27 minutes · Difficulty: Easy
Ingredients
- 1 cup (90 g) oat flour, or oats blended until fine
- 1/2 cup (60 g) almond flour
- 1/2 cup (128 g) creamy natural peanut butter
- 1/2 cup (120 g) one very ripe banana, mashed
- 1 large egg
- 1/4 cup (85 g) honey
- 1 tsp vanilla extract
- 1/2 tsp baking soda
- 1/4 tsp salt
- 1/3 cup (50 g) chocolate chips
Instructions
- Heat the oven to 350°F (175°C) and line a baking sheet with parchment.
- Mix the oat flour, almond flour, baking soda and salt in a bowl.
- In a second bowl, stir the peanut butter, mashed banana, egg, honey and vanilla until smooth. The peanut butter should be the runny natural kind, not the stiff jar stuff.
- Fold the dry mixture into the wet, then stir in the chocolate chips. The dough will be soft and slightly sticky. Chill it for 15 minutes and it firms enough to handle.
- Drop 12 rounded tablespoons onto the sheet, spacing them 2 inches apart, and press each one down to about 3/4 inch thick.
- Bake for 10 to 12 minutes, until the edges are lightly browned and the centres still look underdone. They firm up as they cool.
Tip: Pull them the moment the edges color. These cookies carry almost no flour, so they go from soft to dry faster than a standard batch.
Swap it: Sunflower seed butter replaces peanut butter for a nut-free version. For a dairy-free version, everything already is. Contains peanuts and egg; use sunflower butter and a flaxseed egg for a school-safe batch.
Storage: Soft cookies keep 5 days in an airtight container, with a slice of bread in the box to stop them going stale. Freeze the dough balls for 3 months and bake from frozen with 2 extra minutes.
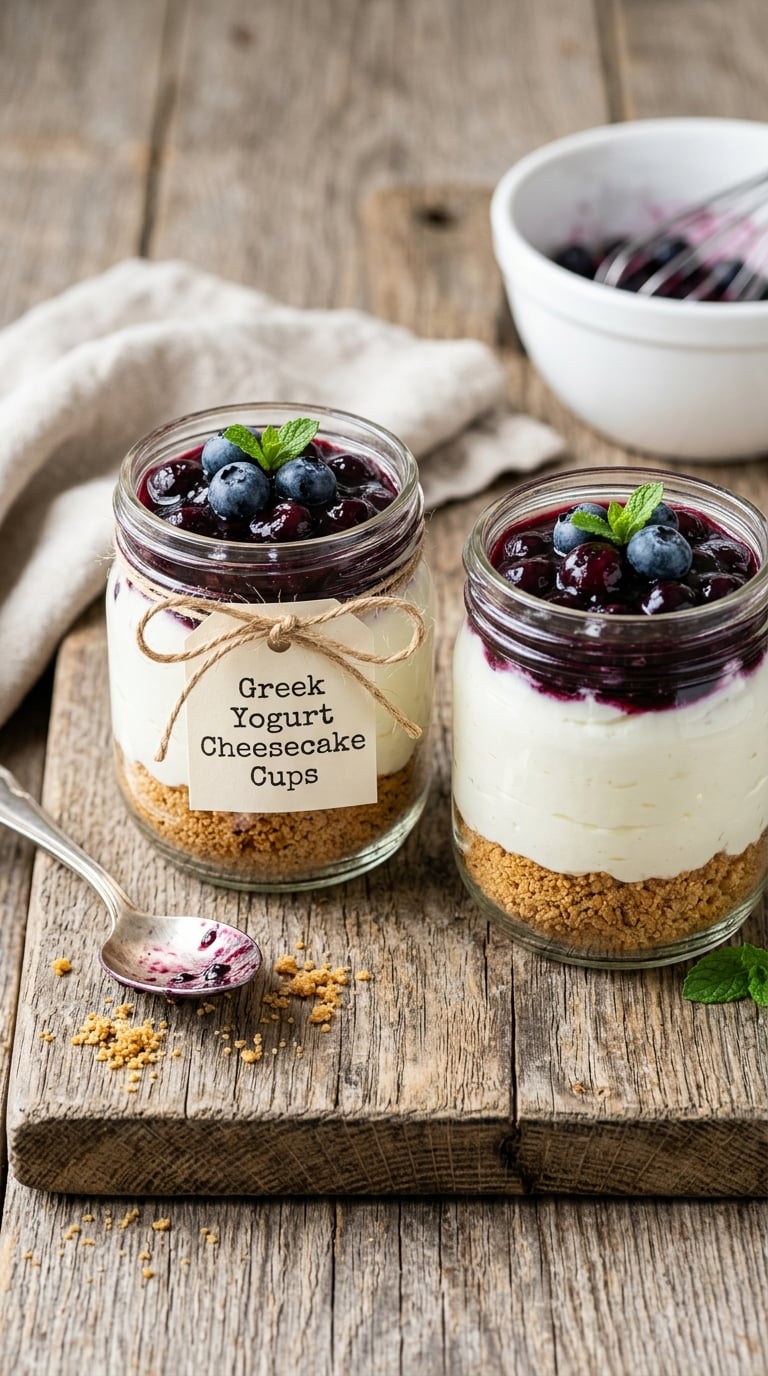
6. Greek Yogurt Berry Cheesecake Cups

Cheesecake without the cream cheese heaviness. Greek yogurt gives this the tang, a small amount of cream cheese keeps it from being too lean, and portioning into cups means you can eat one without negotiating with yourself about the rest.
Yield: 6 cups · Prep: 15 minutes · Cook: 25 to 28 minutes · Total: about 45 minutes plus 2 hours chilling · Difficulty: Medium
Ingredients
- 1 1/2 cups (360 g) plain Greek yogurt
- 4 oz (115 g) cream cheese, softened
- 1/3 cup (67 g) granulated sugar
- 1 large egg
- 2 tbsp cornstarch
- 1 tsp vanilla extract
- Pinch of salt
- 1 cup mixed berries, divided
- 6 ramekins or 6-cup muffin tin wells, plus a roasting pan for a water bath
Instructions
- Heat the oven to 325°F (165°C) and set a roasting pan on the lower oven shelf to catch the water.
- Beat the softened cream cheese and sugar until smooth, then beat in the Greek yogurt, egg, cornstarch, vanilla and salt until the filling is completely uniform.
- Divide the filling between six ramekins, dropping a few berries into each.
- Place the ramekins in the roasting pan and pour hot water into the pan until it reaches halfway up the sides of the dishes.
- Bake for 25 to 28 minutes, until the edges are set and the centers still wobble like set custard.
- Cool for 15 minutes on a rack, then refrigerate for 2 hours. Top with the rest of the berries just before serving.
Tip: The water bath is not optional. Without it the edges set hard, the middle stays wet, and you get six slightly split cups. An instant-read thermometer at 150°F (65°C) in the center is the surest doneness check.
Swap it: Drop the cream cheese and add 1 tbsp extra cornstarch for a lighter, denser version, or swap in soy yogurt for a dairy-free cup. Any soft seasonal fruit works in place of the berries: peaches, blueberries or quartered figs.
Storage: 4 days in the fridge, loosely covered. They freeze for 2 months, though the topping is better added after thawing in the fridge overnight.
7. Ricotta and Honey Apple Crisp
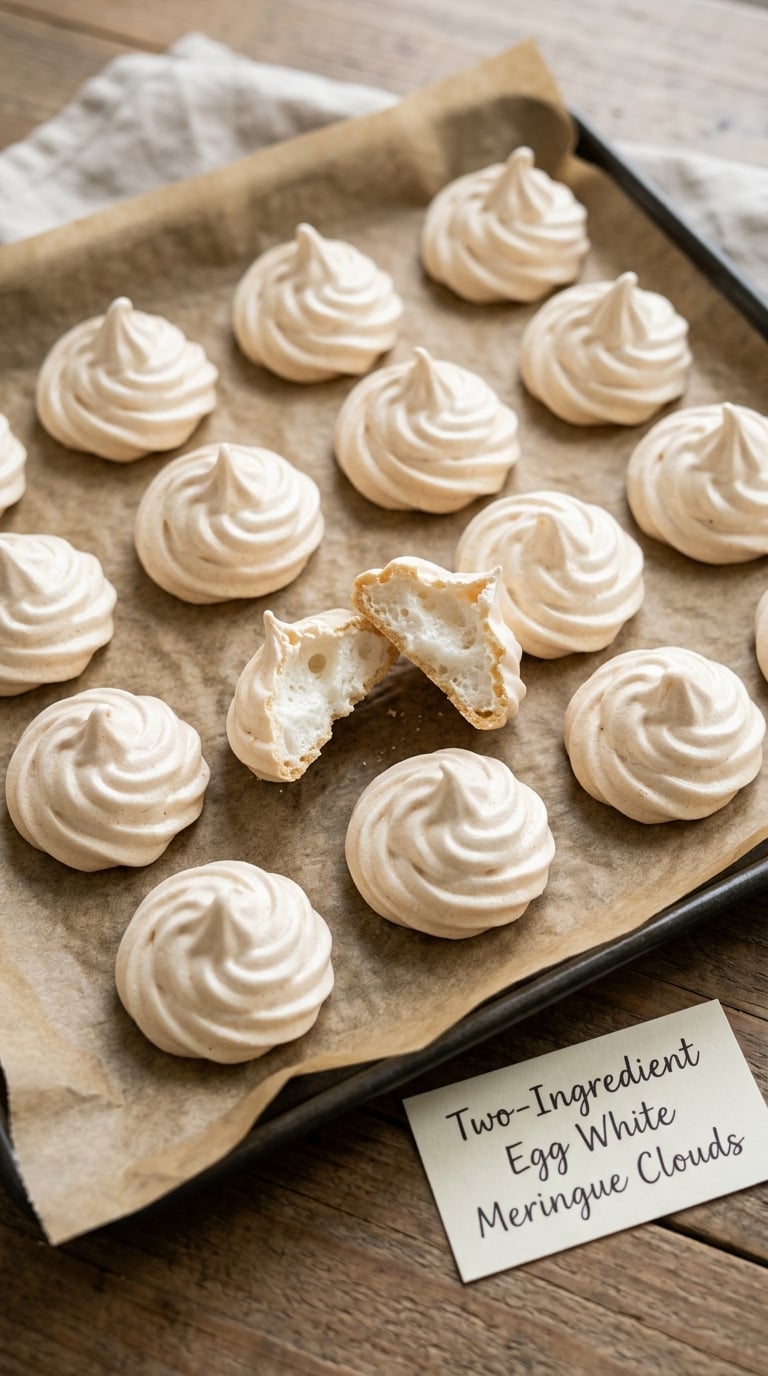
A crisp is one of those desserts that looks like a lot of work and is not. The ricotta layer gives the middle a creamy, high-protein base under a bubbling oat topping, and sliced apples go in before it bakes so the fruit softens without turning to jam.
Yield: 6 servings · Prep: 20 minutes · Cook: 40 minutes · Total: about 60 minutes · Difficulty: Easy
Ingredients
For the ricotta layer:
- 1 cup (246 g) whole milk ricotta
- 3/4 cup (180 g) plain Greek yogurt
- 2 large eggs
- 1/3 cup (110 g) honey
- 1/4 cup (25 g) oat flour
- 1 tsp vanilla extract
- Pinch of salt
For the topping:
- 3/4 cup (75 g) rolled oats
- 1/3 cup (40 g) chopped pecans or walnuts
- 3 tbsp (42 g) butter, melted
- 2 tbsp brown sugar
- 1/2 tsp ground cinnamon
For the fruit:
- 3 medium apples, peeled, cored and sliced into eighths
- 1 tbsp lemon juice
- 2 tbsp honey
Instructions
- Heat the oven to 375°F (190°C) and butter a 9-inch pie plate.
- Whisk the ricotta, Greek yogurt, eggs, honey, oat flour, vanilla and salt until smooth, then spread it in the plate about 3/4 inch thick.
- Arrange the apple slices over the top in overlapping rows, drizzle with the lemon juice and honey, and tuck the edges down into the ricotta.
- Stir the oats, nuts, melted butter, brown sugar and cinnamon together until the topping clumps when squeezed, then scatter it over the apples.
- Bake for 40 minutes, until the topping is deep golden and the juices bubble up around the edges.
- Rest for 15 minutes before serving so the ricotta sets enough to scoop cleanly.
Tip: Pierce the apple slices a few times with a fork. Thicker apple wedges steam instead of baking, and you end up with a layer of firm fruit under the crisp.
Swap it: Pears, peaches or a mix of berries and apple all work, in the same quantity. For a nut-free topping, use extra oats with a tablespoon of oat flour and a little more butter.
Storage: 4 days in the fridge, loosely covered. The crisp topping softens in the fridge, so refresh it in a hot oven for 5 minutes before serving. Freezes for 3 months.
8. Chickpea Chocolate Chip Cookies
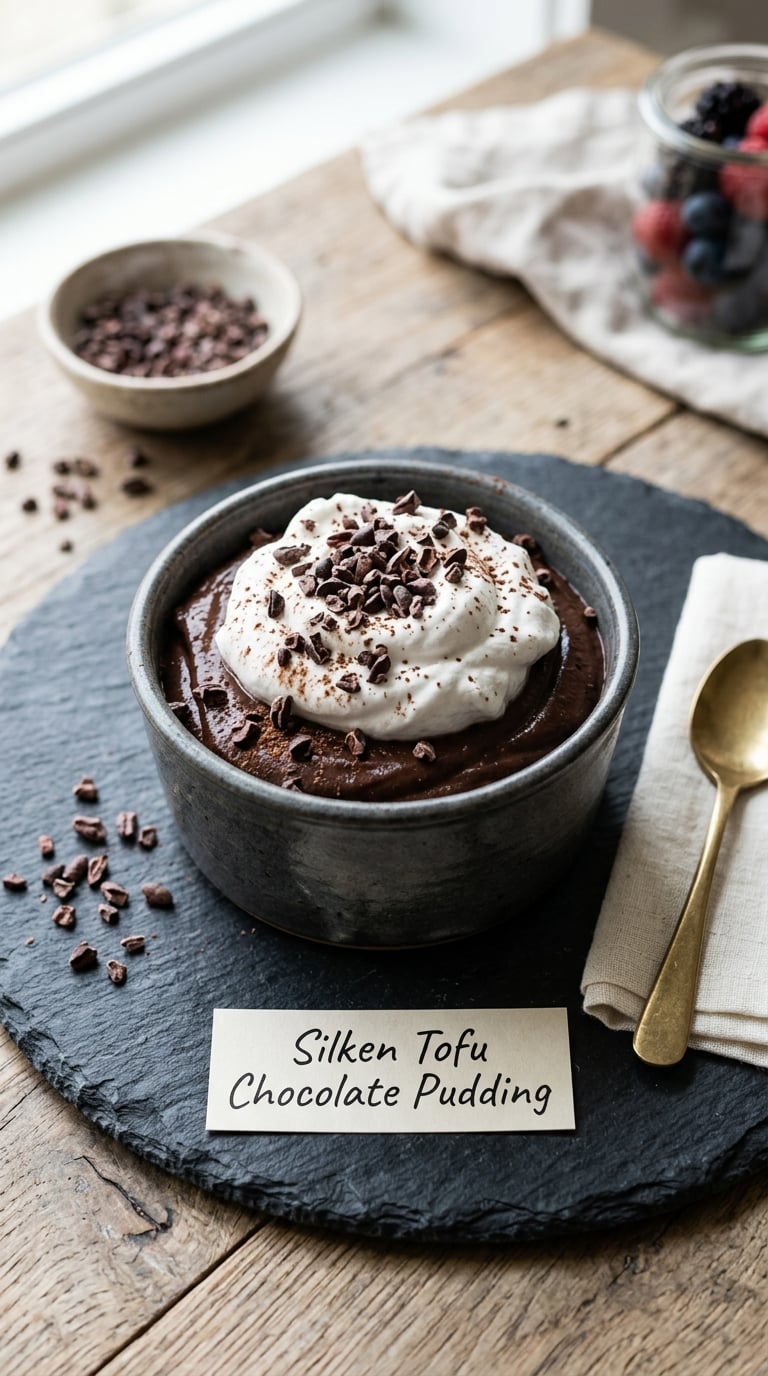
Yes, chickpeas. A can of chickpeas, blended with peanut butter, oats and egg, bakes into a cookie with real chocolate chunks and a chewy middle. It is the recipe in this list that surprises people the most, which is exactly why it works.
Yield: 12 cookies · Prep: 15 minutes · Cook: 12 to 14 minutes · Total: about 30 minutes · Difficulty: Easy
Ingredients
- 1 can (425 g) chickpeas, drained, rinsed and dried thoroughly
- 1 large egg
- 1/2 cup (50 g) oat flour, or oats blended fine
- 1/3 cup (48 g) peanut butter or almond butter
- 1/3 cup (85 g) honey
- 1 tsp vanilla extract
- 1/2 tsp baking powder
- 1/4 tsp salt
- 1/2 cup (75 g) chocolate chips or chopped chocolate
Instructions
- Heat the oven to 350°F (175°C) and line a baking sheet with parchment.
- Pat the chickpeas completely dry with a clean towel, then blend them in a food processor until there are no whole ones left and the mixture looks like coarse sand.
- Add the egg, oat flour, nut butter, honey, vanilla, baking powder and salt and blend again for 20 seconds, until a thick dough forms.
- Scrape the dough out, stir in the chocolate chips, and rest it in the fridge for 15 minutes while the oven finishes heating.
- Drop 12 scoops onto the sheet, spacing them 2 inches apart, and flatten each to 3/4 inch. Wet hands make this much easier.
- Bake for 12 to 14 minutes, until the edges are set and the centers still look slightly underdone.
Tip: Any water left on the chickpeas spreads the batter and you get a single flat sheet instead of cookies. Give them a full 10 minutes on the towel, and do not skip draining them well.
Swap it: Lentils work the same way and need no soaking. Allergens: chickpea, egg, peanut and wheat if you use store-bought oat flour, so pick certified gluten-free oats if that matters to you.
Storage: 5 days in an airtight container at room temperature. They freeze for 2 months, layered with parchment so they do not bond together.
9. Coconut Yogurt Berry Frozen Bark
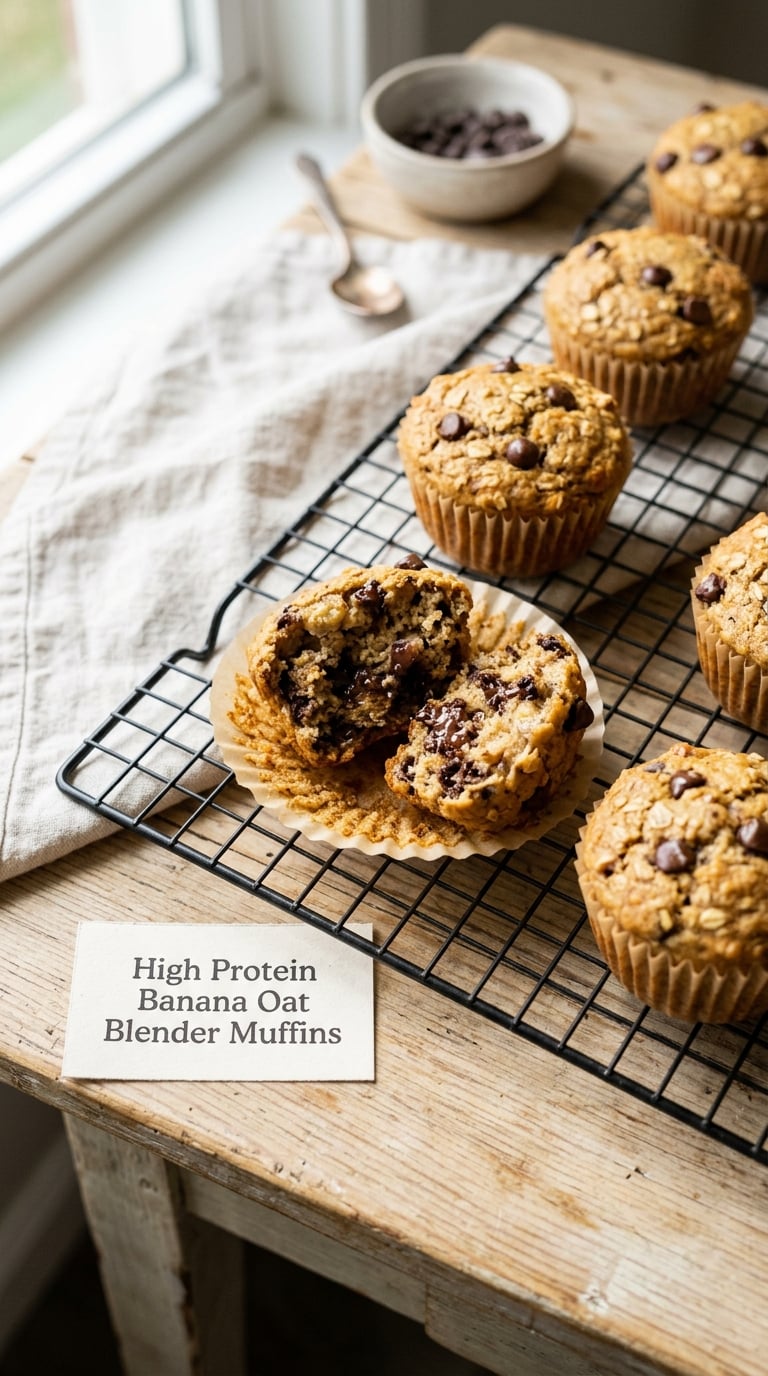
Bark is the dessert to make on a Saturday morning and eat standing over the freezer on a Sunday afternoon. This one gets its protein from coconut yogurt and a spoon of nut butter, and the whole tray freezes in four hours with no cooking at all.
Yield: 10 to 12 pieces · Prep: 10 minutes · Cook: none · Total: 10 minutes plus 4 hours freezing · Difficulty: Easy
Ingredients
- 1 1/2 cups (300 g) coconut yogurt, or plain Greek yogurt
- 1/2 cup (120 ml) full fat coconut milk
- 1 tbsp honey or maple syrup
- 1 tsp vanilla extract
- 1/2 cup (75 g) mixed berries, roughly chopped
- 2 tbsp seeds, such as pumpkin or sunflower
- 2 tbsp coconut flakes
- 1 tbsp nut butter, warmed and drizzled over the top
Instructions
- Line a baking sheet with parchment, letting it hang over the edges so you can lift the bark out later.
- Stir the coconut yogurt, coconut milk, honey and vanilla together until it is smooth and pourable.
- Spread it about 1/2 inch thick on the parchment. Add more berries and a pinch of salt if you like.
- Scatter the seeds, coconut flakes and half the berries over the surface, then drizzle with the warmed nut butter.
- Freeze for at least 4 hours, until solid all the way through, then lift out the sheet and snap it into 10 to 12 pieces.
Tip: If the mixture is thicker than you want, loosen it with a tablespoon of coconut milk. Pourable bark freezes with a better texture than a thick slab, which turns icy.
Swap it: Greek yogurt works and adds about 5 more grams of protein per piece. Peanut butter and almonds are the usual allergens; sunflower seed butter and pumpkin seeds keep the same crunch with no nuts.
Storage: Keeps 2 weeks in the freezer in a bag or a covered tray. Move a piece to the fridge for 10 minutes before eating, or eat it straight from frozen.
10. Silken Tofu Chocolate Pudding
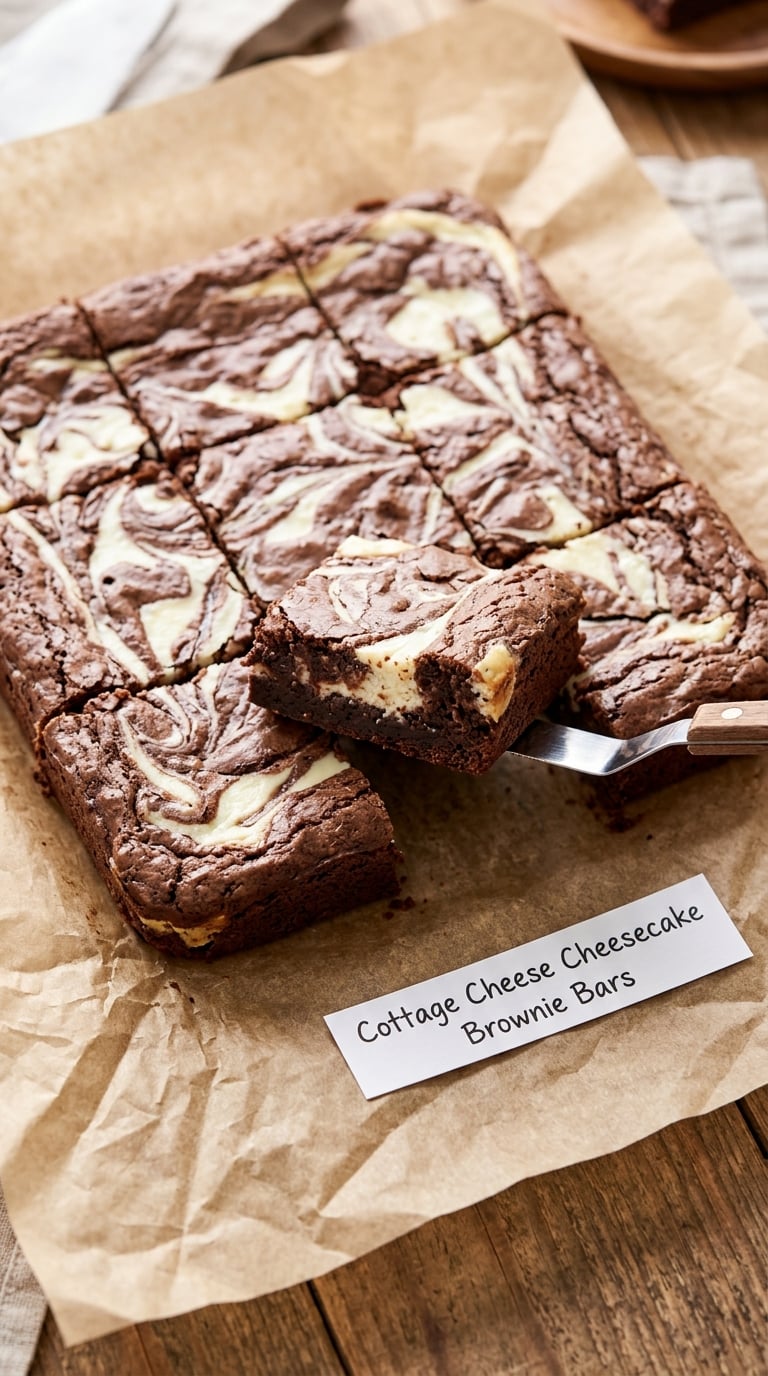
Silken tofu is the most underrated dessert base going. Blended hot with cocoa, it turns into something closer to a French pot than a health food, and it is the easiest dairy-free pudding you will ever make.
Yield: 4 servings · Prep: 10 minutes · Cook: none · Total: 10 minutes plus 2 hours chilling · Difficulty: Easy
Ingredients
- 1 block (14 oz / 400 g) silken tofu, at room temperature
- 1/4 cup (24 g) unsweetened cocoa powder
- 3 tbsp honey plus 2 tbsp maple syrup
- 1/4 cup (60 ml) warm water
- 1 tsp vanilla extract
- 2 tbsp cashew butter, optional, for a richer set
- Pinch of salt
- Cacao nibs or dark chocolate shavings, to finish
Instructions
- Drain any liquid from the tofu and pat the block dry. Silken tofu is already soft, so you do not need to press it.
- Warm the water and cocoa in a small bowl and stir until a smooth paste forms. This is the step that keeps the pudding from tasting grainy.
- Blend the tofu, cocoa paste, honey, maple syrup, vanilla, cashew butter and salt in a blender on high for 60 seconds, scraping the sides twice.
- Taste. If it needs more sweetness, add a tablespoon of honey; if it needs more depth, add a half teaspoon more cocoa.
- Divide into four glasses or small bowls, cover and refrigerate for 2 hours until firm enough to hold a spoon upright.
- Finish with cacao nibs just before serving.
Tip: Room temperature tofu blends far smoother than tofu straight from the fridge. If yours is cold, microwave it for 20 seconds or run the block under warm water first.
Swap it: Firm tofu works and gives a higher protein result, but expect a slightly grainier set. This recipe contains soy, so it is not suitable for anyone with a soy allergy. For a soy-free high protein chocolate dessert, go back to the Greek yogurt mousse, which is soy free and takes the same ten minutes.
Storage: 4 days in the fridge. Freezes for 1 month, though it weeps a little on thawing, so blend it smooth again before serving.
Tips for Making These
- Weigh the protein ingredients if you can. A cup of cottage cheese varies by 30 grams depending on how much whey is left in the tub. Put Greek yogurt, cottage cheese, ricotta and tofu on a scale and the recipes become repeatable, which matters if you are counting protein per serving.
- Balance sweetness with acid, not with more sweetener. A squeeze of lemon in a chocolate recipe, a pinch of salt in a fruit one, and cocoa in anything made with vanilla yogurt will all cut sweetness without adding sugar. Taste the filling before it goes in the pan, not after.
- Blend dairy longer than feels necessary. Cottage cheese graininess is the most common complaint about these recipes, and it is almost always an under-blended filling. Sixty full seconds in a blender fixes what ten seconds cannot.
- Pull baked items early. With no flour in the batter, egg-based or bean-based desserts carry more moisture than a standard cake. They look slightly underdone in the oven and set properly on the cooling rack, which is why the brownie and both cookie recipes all stop short of browned.
- Chill before you serve, and chill between layers. Every no-bake recipe here needs 2 hours in the fridge, and every cheesecakelike one needs a full 2 hours. Serving early is the single most common way these desserts turn out disappointing.
- Make the components ahead. The mousse, the pudding and the cheesecake cups are all made the night before. The cookie dough balls freeze raw, which means you can bake a dozen cookies whenever someone asks.
One more thing worth knowing: the tang in these recipes is not a flaw, it is the trade. If dairy is the flavor you have been trying to avoid, start with the ones that hide it best rather than forcing it. The mousse and the black bean brownies are the two nobody at my table questioned.
If you want more ways to get protein in without powders, the 25+ high protein snack ideas we keep on hand and the diabetic dessert recipe roundup both lean on the same whole-food approach.
Frequently Asked Questions
How can I make a high protein dessert without protein powder?
Build the protein into the base rather than adding it afterward. Greek yogurt, cottage cheese, ricotta, silken tofu and whole eggs all supply 8 to 25 grams of protein per serving on their own, and nut butter, seeds and nut flours add another 4 to 8 grams each. Blending dairy smooth and sweetening with fruit, cocoa or nut butter covers the tang that would otherwise put people off.
Which of these desserts contain the most protein per serving?
The Greek yogurt mousse is the highest per serving at roughly 18 grams, followed by the silken tofu pudding at about 14 and the black bean brownies at about 11. The lemon bars and the cheesecake cups land in the same range at 13 to 14 grams. The cookies and energy bites are lower per piece, but a bigger serving makes up for it.
Can I use regular yogurt instead of Greek yogurt in these recipes?
You can, but the results shift. Regular yogurt is thinner and lower in protein, so the mousse will not hold its shape and the cheesecake filling may weep. Strained yogurt works well: line a sieve with a coffee filter, set the yogurt over a bowl and let it drain in the fridge for 2 hours, then use it as a straight substitute at the same volume.
Are black beans and chickpeas safe to use in brownies and cookies?
Both are cooked, not raw, and the baking time is well past what the pulses need. Beans and chickpeas are legumes, so the main issue is allergies rather than safety. A mild intolerance can show up as gas in the first hour or two. If that happens, canned and rinsed pulses are milder than dried ones, and the edamame bites use a smaller serving size than the brownies.
How should I store these desserts, and can they be frozen?
The mousse, pudding, cheesecake cups, lemon bars, apple crisp and brownies all keep 4 days covered in the fridge. The cookies keep about 5 days in an airtight container. The brownies, bars, crisp and both cookies freeze well for 2 to 3 months if wrapped individually. The mousse and the pudding can be frozen, but the yogurt goes grainy on thawing, so freeze those only if you can blend them smooth again.
Can I reduce the sugar without making the desserts taste bland?
Reduce it in two places rather than cutting it all at once. Cutting the honey or maple syrup in the filling and leaving the fruit or chocolate alone works best, because fruit sweetness gets stronger when baked while chocolate depends on sugar for its texture. Go to about two thirds of the listed sugar, taste the filling, and add lemon juice, a pinch of salt or an extra tablespoon of cocoa for balance.
A Protein-Packed Dessert to Start With
Make the Greek yogurt chocolate mousse first. It takes ten minutes, it uses two main ingredients you probably already have, and it teaches you the thing that trips most people up, which is that full fat Greek yogurt plus cocoa plus something cold turns into a real dessert. It is also the one people ask about again a week later.
Once that is in your rotation, the lemon bars take you to baked, and the black bean brownies convince anyone who still thinks dessert means shortcake. That is the whole idea behind these high protein dessert recipes without protein powder: a handful of staples, a different technique each time, and enough protein in the bowl that you are not hungry again an hour later.
If you are serving these to a crowd rather than yourself, pour something alongside. We tested a lot of options for dessert wine glasses (September 2026) and a wide shallow bowl is what you want here, since these all portion better than they stack.