
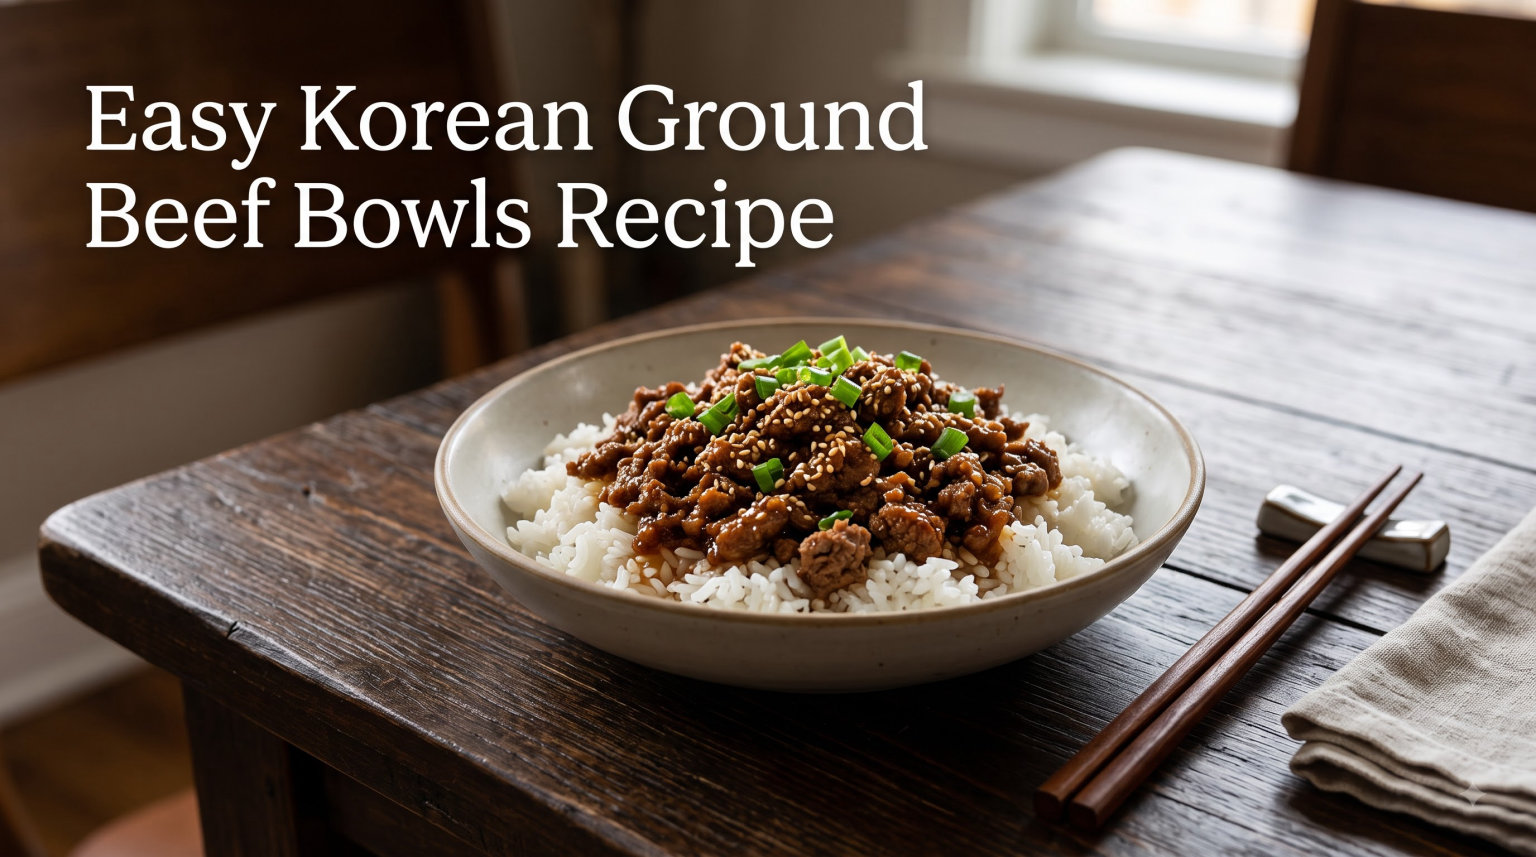
For a dinner I can plan with confidence, I use Korean ground beef bowls recipe. Savory-sweet beef, rice, crisp vegetables, sesame, and scallions create a fast build-your-own dinner.
I have also included Korean beef rice bowls guidance for the exact moments that decide the result, from prep and doneness to storage. For another practical dinner, browse these ground beef cooking guide.
Table of Contents
Before making Easy Korean ground beef bowls recipe
Why You’ll Love This Korean Beef Bowl
This recipe earns a permanent spot in my dinner rotation for a few honest reasons. Here is why I keep coming back to it.
-
Ready in about 20 minutes. From cold skillet to plated dinner, you are looking at roughly 15 minutes of cook time plus a few minutes of prep.
-
Budget-friendly. Ground beef costs a fraction of the sirloin or ribeye that traditional bulgogi calls for, and a single pound feeds four people.
-
One skillet, minimal cleanup. Everything cooks in a single pan, which matters a lot on a Tuesday night.
-
Meal prep champion. The beef reheats beautifully and even tastes better the next day after the sauce soaks in.
-
Kid-approved.
If you are curious how this compares to the real thing, here is the short version. Traditional bulgogi uses thinly sliced beef that marinates for hours in a similar soy-sugar-sesame mixture, then gets grilled. This recipe uses ground beef and skips the marinating, so you get bulgogi flavor in a fraction of the time. For more quick dinner ideas in the same time range, I keep a running list of 30-minute dinner ideas on the site.
Easy Korean Ground Beef Bowls Recipe Ingredients
For dependable Korean ground beef bowls recipe, let the beef develop browned edges before adding sauce, then keep the vegetables separate and crisp until assembly. The same rule keeps Korean beef rice bowls focused and balanced instead of watery beef or a sauce that tastes too salty and sweet. You may also want to save these easy rice method for your next meal plan.
The beauty of this dish is that almost every ingredient is probably already sitting in your pantry or fridge. Here is exactly what I use, with the measurements that have worked best for me after many test batches.
For the Beef and Sauce
-
1 lb lean ground beef (90/10) — I prefer 90/10 because it browns nicely without leaving a pool of grease. 85/15 also works, just drain the extra fat.
-
1/3 cup low-sodium soy sauce — reduced sodium keeps the dish from getting too salty. Tamari works for a gluten-free version.
-
1/4 cup packed brown sugar — this is what gives the sauce that caramelized, sticky-sweet Korean BBQ character.
-
1 tablespoon toasted sesame oil — do not skip this. It is the single ingredient that makes the dish taste Korean instead of just sweet beef.
-
3 cloves garlic, minced — about 1 tablespoon. Fresh is best, but jarred works in a pinch.
-
1 teaspoon ground ginger — I use dried ground ginger for convenience. Fresh grated ginger is wonderful if you have it.
-
1 teaspoon red pepper flakes — optional, for a gentle heat. Skip it for kids or sensitive palates.
-
1 tablespoon neutral oil — for browning the beef. I use olive oil or canola.
For Serving
-
3 cups cooked white rice — jasmine, short-grain, or basmati all work.
-
Sliced green onions — about 3 scallions, for freshness and color.
-
Toasted sesame seeds — a sprinkle for crunch and that classic Korean bowl look.
That is the whole list. No specialty store run, no gochujang required (though I will show you how to add it in the variations section below). Everything here qualifies as a basic pantry staple, which is exactly why this recipe has become my fallback when I forgot to plan dinner.
Smart Ingredient Swaps
Here are the swaps I have personally tested and can vouch for.
-
Brown sugar substitutes: honey, maple syrup, or coconut sugar all work. Use slightly less honey since it tastes sweeter.
-
Soy sauce substitutes: tamari for gluten-free, coconut aminos for soy-free, or a mix of tamari and a splash of fish sauce for deeper umami.
-
Ground ginger substitute: 1 tablespoon fresh grated ginger, or 1/2 teaspoon ginger paste.
How to Make Easy Korean Ground Beef Bowls
For food-safety temperatures and handling limits, I follow the USDA food-safety guidance and use an instant-read thermometer whenever doneness is uncertain.
-
Brown the Ground Beef: Heat a large skillet over medium-high heat and add your tablespoon of neutral oil. Add the pound of ground beef and break it up with a wooden spoon or spatula as it cooks. You want the pieces fairly small and uniform so every bite gets seasoned. Cook for about 5 to 7 minutes, until the beef is fully browned with no pink remaining. If you used fattier beef (85/15 or lower), drain off most of the rendered fat, leaving just about a tablespoon in the pan. That small amount of fat helps carry the flavor of the sauce. For 90/10 beef, you usually do not need to drain at all.
-
Add the Aromatics: Once the beef is browned, lower the heat to medium and add the minced garlic and ground ginger. Stir constantly for about 30 seconds, just until the garlic smells fragrant. Garlic burns fast in a hot pan, so do not walk away here. Burnt garlic will make the whole pot taste bitter.
-
Build the Sauce: Pour in the soy sauce, brown sugar, sesame oil, and red pepper flakes (if using). Stir everything together and let it come to a gentle bubble. The sugar will dissolve into the soy sauce and the mixture will start to thicken and glaze the beef as it reduces. Let the sauce simmer for 3 to 5 minutes, stirring occasionally. You are looking for a glossy, slightly sticky coating on the beef. The liquid should not be soupy — it should cling to every crumble. If the sauce is too thin after 5 minutes, raise the heat slightly and let it reduce another minute.
-
Taste and Adjust: This is the step most recipes skip, and it is the one that has saved my dinner more than once. Taste a small spoonful. Too salty? Add a splash of water or a pinch more sugar. Not sweet enough? Add another teaspoon of brown sugar. Want it spicier? Add more red pepper flakes or a dab of gochujang. The sauce should taste balanced, savory-sweet, and a little salty, never one-note.
-
Serve Over Rice: Scoop warm cooked rice into bowls and top generously with the Korean ground beef. Finish each bowl with sliced green onions and a sprinkle of toasted sesame seeds. I usually add a fried egg on top for extra protein, and sometimes quick-pickled cucumbers or shredded carrots for crunch. That is the entire recipe. Five steps, one skillet, and dinner is on the table in about 20 minutes. If you want a simple way to round out the meal, I have more comfort food dinners on the site that pair well with this when you are cooking for a crowd.
This is the part most readers come for, so I am going to walk you through each step the same way I cook it at home. The whole process is genuinely a 20-minute affair once you have done it once or twice.
Variations and Substitutions
I judge Korean ground beef bowls recipe by the finished texture and temperature, not by the clock alone. With Korean beef rice bowls, The beef must reach 160°F and should have caramelized edges; the sauce should glaze the crumbles without pooling. For a useful companion guide, see these quick ground beef dinners.
-
Protein Swaps:Ground chicken or ground turkey. Swap the beef 1:1 for ground chicken or turkey for a lighter version. The flavor is slightly milder, so I usually add an extra splash of soy sauce and a little extra sesame oil. Turkey in particular benefits from a touch more brown sugar. Ground pork. This is actually a very traditional Korean choice and my personal favorite after beef. Pork has a richer flavor that pairs beautifully with the sweet-savory sauce. Sliced mushrooms or crumbled tofu. For a vegetarian version, use finely chopped shiitake or button mushrooms, or firm tofu crumbled into the pan. Add an extra tablespoon of soy sauce and a splash of mushroom seasoning for depth.
-
How to Make It Spicy: The base recipe is family-friendly with almost no heat thanks to just a teaspoon of red pepper flakes. Here is how I scale the spice.
-
Low-Carb and Keto Versions: Swap the white rice for cauliflower rice and use a low-carb sugar substitute like monk fruit sweetener or allulose in place of the brown sugar. The dish still tastes fantastic and clocks in at a fraction of the carbs. Serving the beef in lettuce cups instead of over rice is another low-carb option I love for warm weather.
-
Sugar-Free and Diabetic-Friendly: For readers watching sugar, I have had good results using 2 tablespoons of monk fruit sweetener blended with 1 tablespoon of sugar-free maple syrup. That combination keeps the sticky glaze texture without the sugar spike. Coconut aminos instead of soy sauce also lowers the glycemic load.
-
Adding More Vegetables: Stretch the meal and add nutrition by stirring in vegetables during the last few minutes of cooking. My favorites are broccoli florets, shredded carrots, sliced bell peppers, or a handful of bagged coleslaw mix. Frozen mixed stir-fry vegetables work too, just thaw them first and add them at the very end so they do not overcook.
Here are the variations I have tested and how each one changes the dish.
-
Mild (kid-friendly): skip the red pepper flakes entirely.
-
Medium: 1 teaspoon red pepper flakes as written.
-
Spicy: add 1 tablespoon of gochujang (Korean chili paste) into the sauce. This also deepens the flavor with a fermented umami note.
-
Fiery: add gochujang plus a teaspoon of gochugaru (Korean chili flakes) or a squirt of sriracha.
What to Serve with Korean Beef Bowls
The bowls are filling on their own, but a couple of simple sides turn this into a full Korean-inspired spread. Here is what I rotate through.
Rice Options
White jasmine rice is my default because it is fluffy and slightly fragrant. Short-grain white rice (the kind used for sushi) is the most authentic and has that signature sticky texture. Brown rice works for extra fiber, and cauliflower rice is my go-to for low-carb nights.
Quick Side Dishes
-
Quick-pickled cucumbers: thinly slice cucumbers and toss with rice vinegar, a pinch of sugar, and salt. Ready in 10 minutes.
-
Shredded carrots or cabbage: for crunch and color with zero cooking.
-
Steamed broccoli or edamame: adds protein and green vegetables without extra effort.
-
Fried egg on top: the runny yolk mixes into the sauce and is genuinely the best part of the bowl.
-
Kimchi: if you have it, store-bought kimchi adds the tangy fermented kick that makes the meal taste fully Korean.
For more family-friendly meals in the same quick-prep category, browse my 30-minute dinner ideas collection.
Storage, Freezing, and Meal Prep
-
Refrigerator Storage: Let the beef cool completely, then transfer it to an airtight container and refrigerate for up to 4 days. Store the rice separately so it does not get gummy. Reheat in a skillet over medium heat with a splash of water, or microwave in 30-second bursts, stirring between each.
-
Freezer Instructions: The cooked beef freezes beautifully for up to 3 months. Portion it into individual freezer bags or containers, press out the air, label with the date, and lay flat in the freezer. Thaw overnight in the fridge, then reheat gently. I usually make a double batch on purpose just to stock the freezer, and it pairs perfectly with my bigger freezer-friendly meals list for busy weeks.
-
Air Fryer Reheating Tip: Here is a trick I discovered by accident. Leftover Korean beef reheats wonderfully in the air fryer at 350°F for about 4 minutes. The edges get slightly caramelized and crispy, almost like bulgogi off a grill. Give it a stir halfway through.
-
Meal Prep Game Plan: For a full week of lunches, I cook a double batch of beef, portion cooked rice into 4 containers, top with beef, and add a handful of shredded carrots and cucumbers on the side. Everything reheats in under 2 minutes at work. Total prep time for 4 lunches is about 30 minutes including rice.
This recipe is one of my favorite meal prep recipes because the beef actually improves after a night in the fridge. The sauce keeps soaking into the meat and the flavor gets deeper and more balanced.
Quick Recipe Card
Prep time: 5 minutes | Cook time: 15 minutes | Total time: 20 minutes | Servings: 4 | Protein per serving: about 28g (with 90/10 beef) | Approximate cost per serving: under $4
This bowl packs serious protein for a weeknight dinner, making it a hit with anyone focused on fitness or just trying to stay full past 8pm. The sodium can run a little high due to the soy sauce, so I default to reduced-sodium soy and taste before adding extra salt.
Frequently Asked Questions
How do I know when Korean ground beef bowls is ready?
The beef must reach 160°F and should have caramelized edges; the sauce should glaze the crumbles without pooling.
How do I prevent watery beef or a sauce that tastes too salty and sweet?
Let the beef develop browned edges before adding sauce, then keep the vegetables separate and crisp until assembly.
Can I substitute ground turkey for beef?
Yes. Add a little neutral oil, use the same sauce, and cook the turkey to 165°F.
What should I serve with Korean ground beef bowls?
Rice, cauliflower rice, shredded cabbage, cucumber, carrots, kimchi, and a fried egg let diners build bowls to taste.
Can I make Korean ground beef bowls ahead?
Refrigerate beef, rice, and fresh toppings separately so reheated bowls retain temperature and texture contrast.
Can I freeze Korean ground beef bowls?
Freeze the cooked glazed beef alone; prepare rice and fresh vegetables when ready to serve.
Conclusion
For Korean ground beef bowls recipe, the most important move is to let the beef develop browned edges before adding sauce, then keep the vegetables separate and crisp until assembly. That same discipline makes Korean beef rice bowls useful on a busy day without sacrificing flavor or texture.
I recommend reading the method once, preparing every ingredient, and using the doneness cues above as the final authority. Savory-sweet beef, rice, crisp vegetables, sesame, and scallions create a fast build-your-own dinner.