
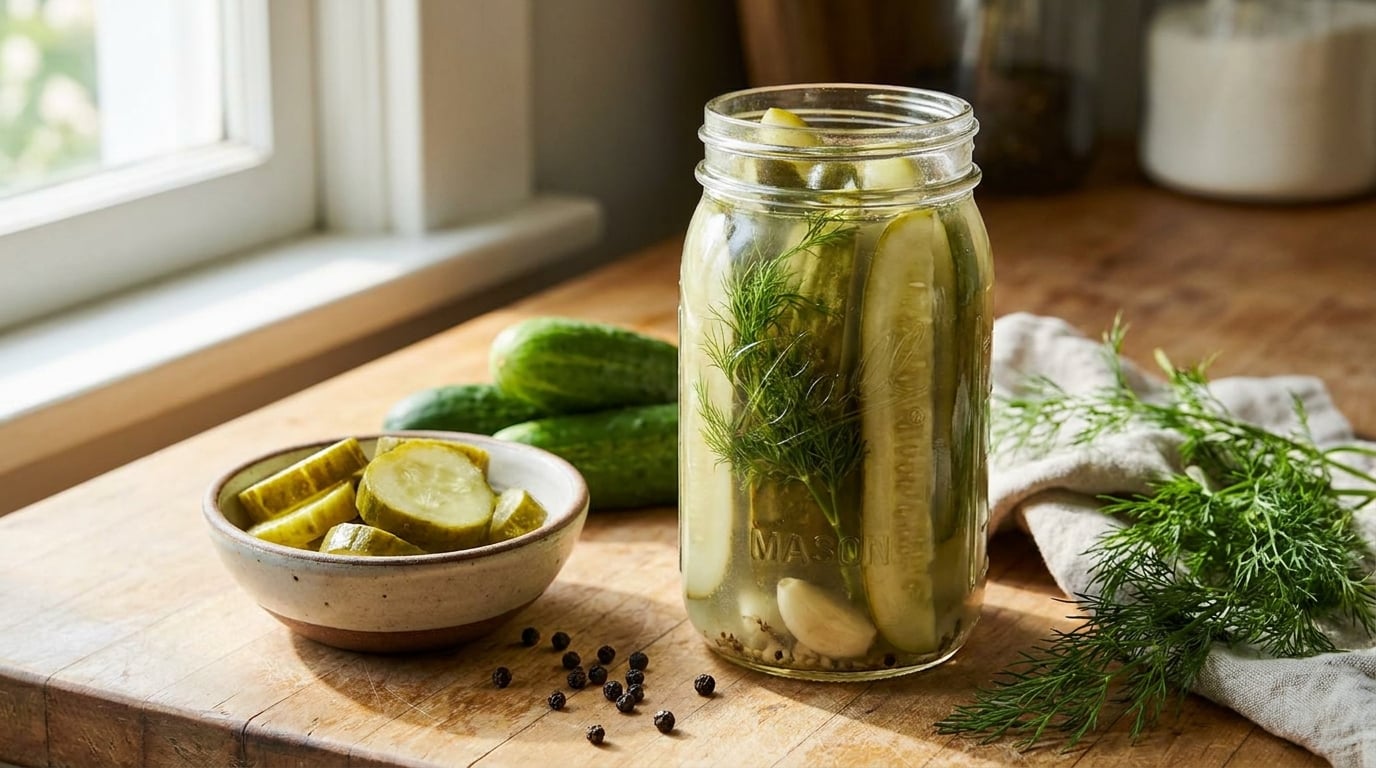
Easy pickled vegetable recipes for beginners all start with the same short method: pack raw vegetables into a jar, pour over a hot vinegar brine, and let them sit in the fridge. No boiling-water bath, no special jars, no thermometer. The brine does the work while you do something else.
That shared base is why I can give you ten recipes without repeating myself. Every one below uses a simple vinegar brine in that same family, keeps the vegetables raw or lightly blanched so they stay crisp, and is ready to eat in about 24 hours. Fall is a good season for this, too, when garden tomatoes and farmers market roots are piling up and turning soft in the crisper drawer.
Table of Contents
Easy Pickled Vegetable Recipes for Beginners at a Glance
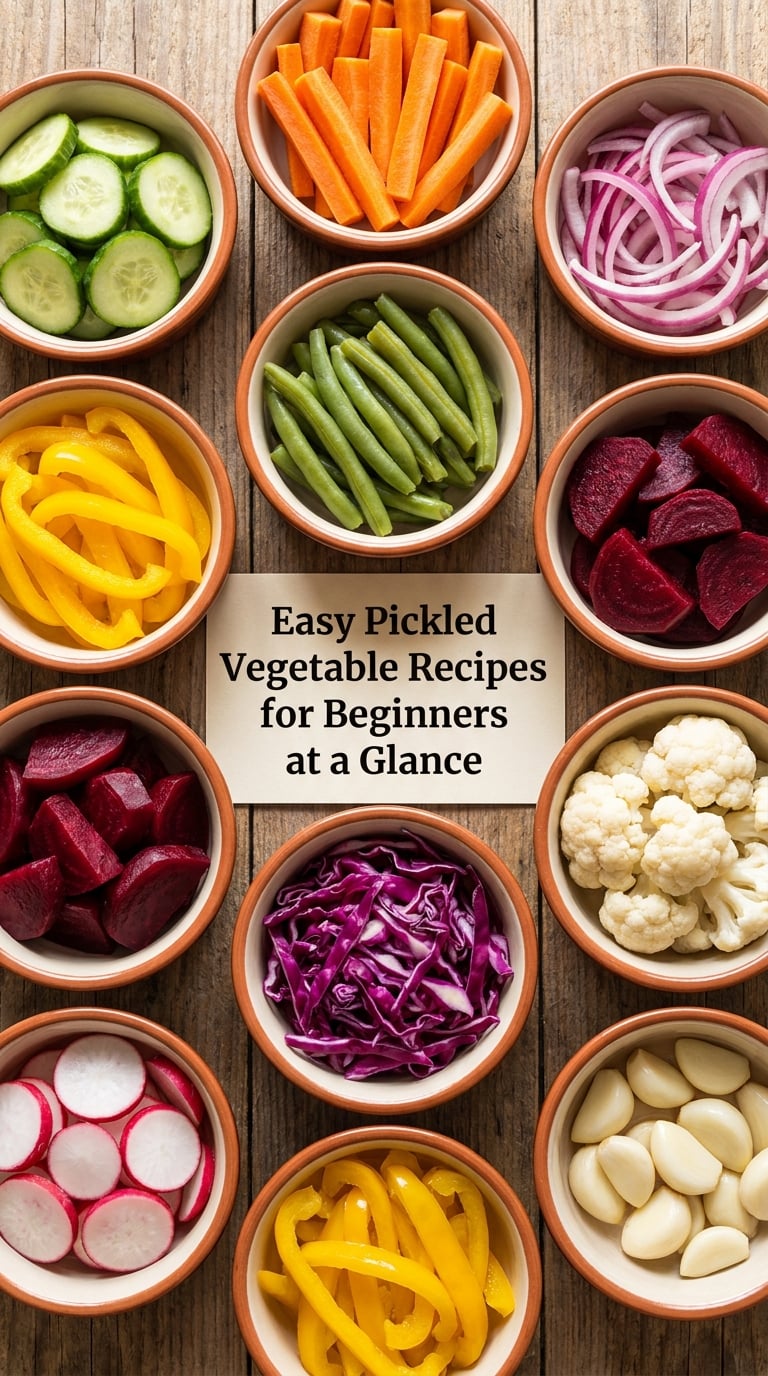
Here is the short version. Times include the hands-on work plus the waiting; difficulty reflects how fussy the cutting and the texture are, not your skill level.
| Recipe | Time | Difficulty | Best for |
|---|---|---|---|
| 1. Basic Refrigerator Dill Pickles | 15 min plus 24 hours | Easy | Snacking straight from the jar |
| 2. Quick Pickled Carrots and Cucumbers | 15 min plus 1 day | Easy | Sandwiches, grain bowls, sides |
| 3. Spicy Garlic Pepper Pickles | 12 min plus 2 days | Easy | Tacos, burgers, cheese boards |
| 4. Pickled Red Onions | 8 min plus 1 hour | Easy | Fastest pickle on the list |
| 5. Easy Pickled Green Beans | 12 min plus 2 days | Easy | Blanched, family-friendly crunch |
| 6. Pickled Cauliflower and Broccoli Florets | 15 min plus 2 days | Medium | Party trays, roast dinners |
| 7. Sweet and Sour Pickled Beets | 18 min plus 3 days | Easy | Salads, the color it deserves |
| 8. Crunchy Pickled Cabbage Slaw | 17 min plus 4 hours | Medium | Pile onto hot dogs and burgers |
| 9. Pickled Mushrooms with Garlic and Herbs | 10 min plus 2 days | Easy | Mushy-texture problem solved |
| 10. Simple Pickled Mixed Vegetables | 20 min plus 2 days | Medium | Cleaning out the crisper drawer |
1. Basic Refrigerator Dill Pickles
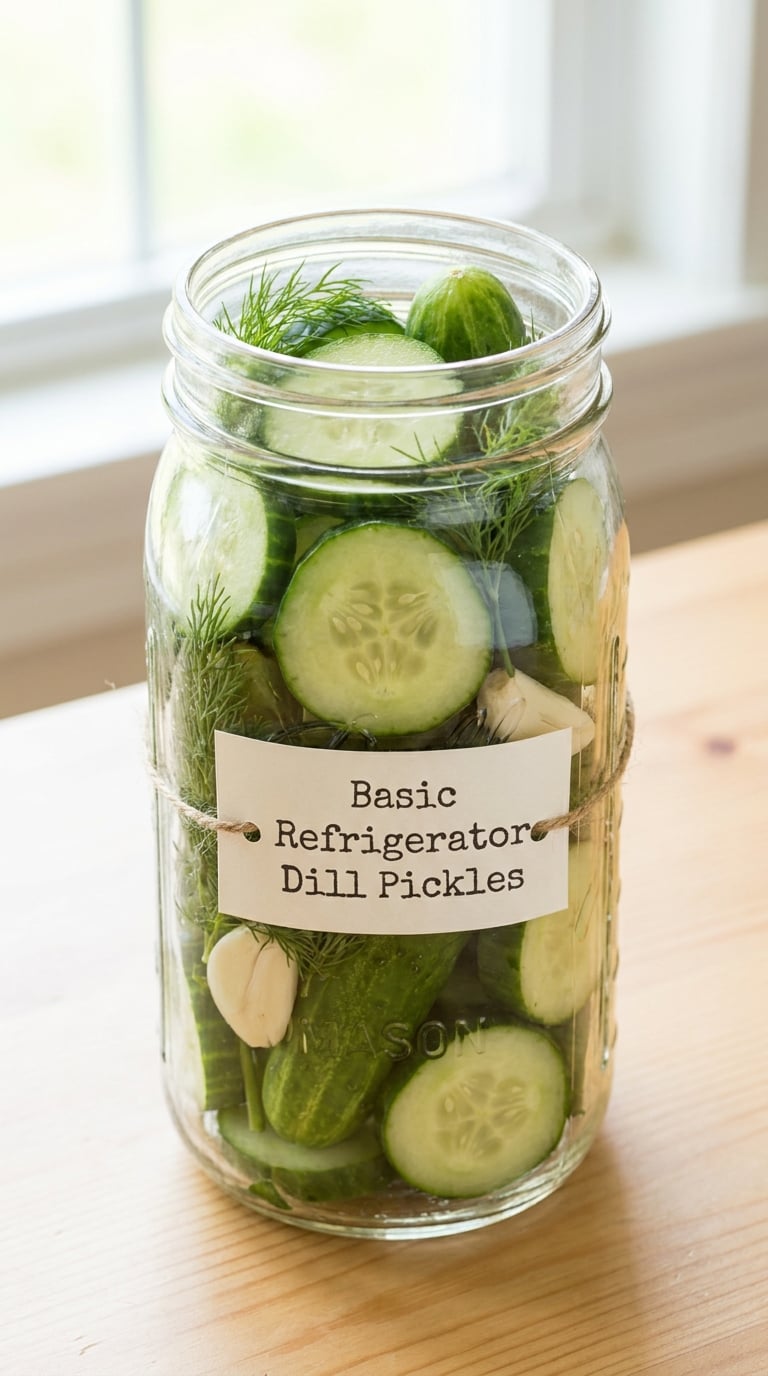
This is the one to make first. Small cucumbers or full-size spears, a handful of dill, two garlic cloves, and a clean sour brine. It is the recipe I make most often because it tastes good after a day and still tastes good three weeks later.
Yield: 1 pint jar · Prep: 10 minutes · Cook: 5 minutes · Total: 15 minutes plus 24 hours chilling · Difficulty: Easy
Ingredients
- 3 to 4 small cucumbers, or 2 large ones cut into spears
- 2 sprigs fresh dill, or 1 tablespoon dill seed
- 2 garlic cloves, lightly crushed
- 1 tablespoon whole black peppercorns
- 1 teaspoon kosher salt, plus more for the rim
- 1/2 cup distilled white vinegar
- 1/2 cup water
- 1 teaspoon granulated sugar
Instructions
- Scrub the cucumbers under cool water and trim the ends. Cut into spears or thick half-moons.
- Put the dill, garlic, and peppercorns in a clean pint jar.
- Layer the cucumbers on top, pressing them down gently so they pack tight.
- In a small saucepan, combine the vinegar, water, sugar, and 1 teaspoon kosher salt.
- Heat until the salt and sugar dissolve and small bubbles appear at the base of the pan, about 3 minutes. Do not boil.
- Pour the brine over the cucumbers, leaving 1/2 inch of headspace at the top.
- Tap the jar gently to release trapped air bubbles, then screw on the lid.
- Let the jar cool on the counter for 30 minutes, then refrigerate until the liquid has fully covered the vegetables.
Tip: The 1/2 inch headspace matters. Leave too much and the cucumbers float above the brine and go dull and soft; pack them tight and fill the jar right up.
Swap it: Use apple cider vinegar at the same 1/2 cup for a softer, fruitier edge, or add 1 teaspoon mustard seed in place of some of the peppercorns.
Storage: Refrigerated up to 3 weeks, and always submerged. Make it the day before you need it, since the first-day pickles are sharp and the fourth-day ones are the good ones.
For more ways to cook mixed vegetables fast, I keep a running list of crispy air fryer vegetable recipe ideas on the counter for the weeks pickling season slows down.
2. Quick Pickled Carrots and Cucumbers
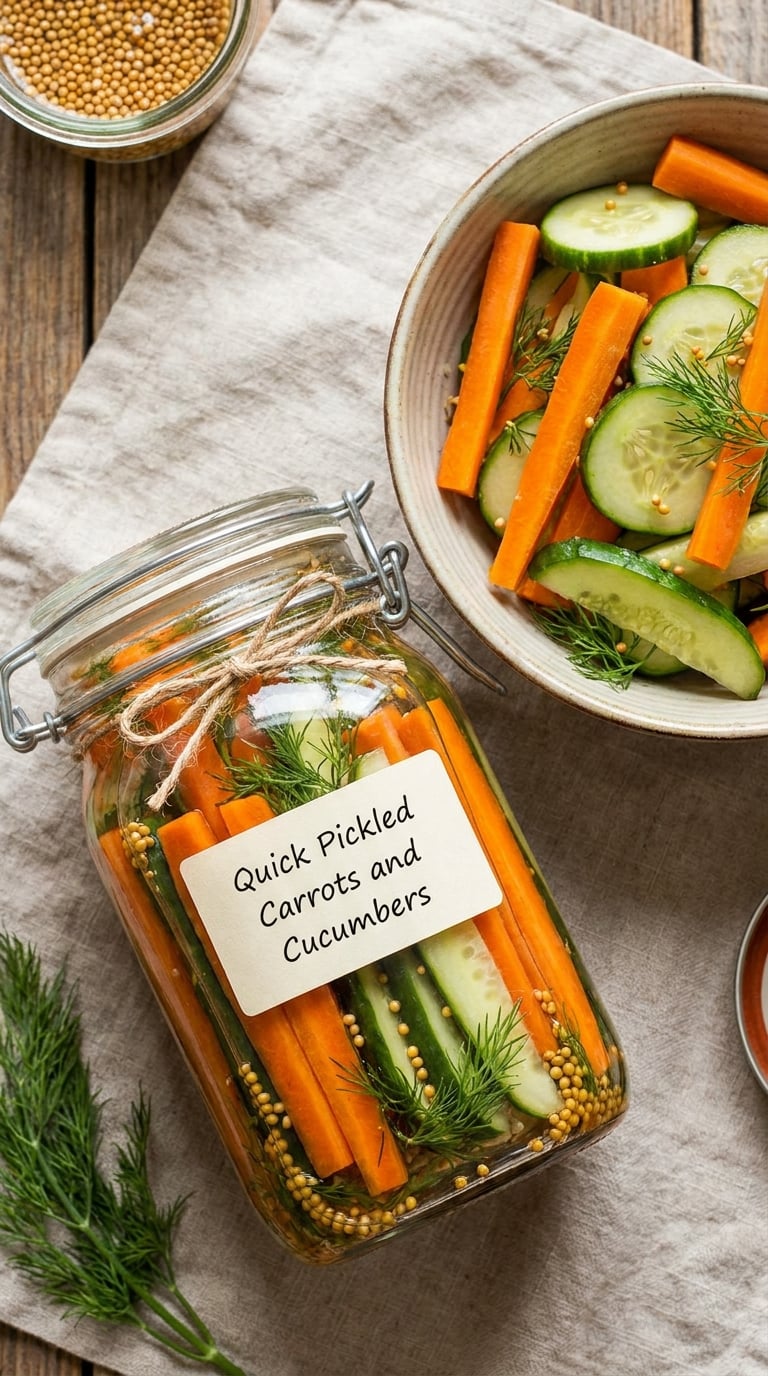
Two vegetables, one brine, and a jar that looks like a stained glass window after a day. The carrots go slightly soft and sweet while the cucumber keeps snapping, which is exactly the contrast I want on a sandwich.
Yield: 1 pint jar · Prep: 12 minutes · Cook: 3 minutes · Total: 15 minutes plus 1 day chilling · Difficulty: Easy
Ingredients
- 2 medium carrots, cut into 1/4-inch sticks
- 1/2 cucumber, cut into 1/4-inch half-moons
- 1 sprig fresh dill
- 2 teaspoons mustard seed
- 1/2 teaspoon red pepper flakes
- 1 clove garlic, minced
- 3/4 cup distilled white vinegar
- 3/4 cup water
- 1 tablespoon granulated sugar
- 1 1/2 teaspoons kosher salt
Instructions
- Cut the carrots into even sticks so they pickle at the same rate as the cucumber.
- Layer the carrots, cucumber, dill, mustard seed, pepper flakes, and garlic in a clean pint jar.
- Stir the vinegar, water, sugar, and salt in a small saucepan.
- Heat over medium heat just until steaming and the salt is dissolved, about 3 minutes.
- Pour the brine over the vegetables, leaving 1/2 inch of headspace.
- Press the vegetables down with clean tongs so everything sits under the brine, then seal the jar.
- Cool 30 minutes on the counter, then refrigerate for at least 12 hours before eating.
Tip: Peel the carrots if you want clean sticks, leave the skin on if you want a rougher, earthier pickle. Both work; the peel just softens at a different rate.
Swap it: Add 1/2 cup cauliflower florets to stretch the jar, or use rice vinegar for a gentler acidity that does not fight the carrot.
Storage: Refrigerated up to 2 weeks. The carrots keep firm that whole time, while the cucumber softens a little after week one, so eat the cucumber first.
3. Spicy Garlic Pepper Pickles
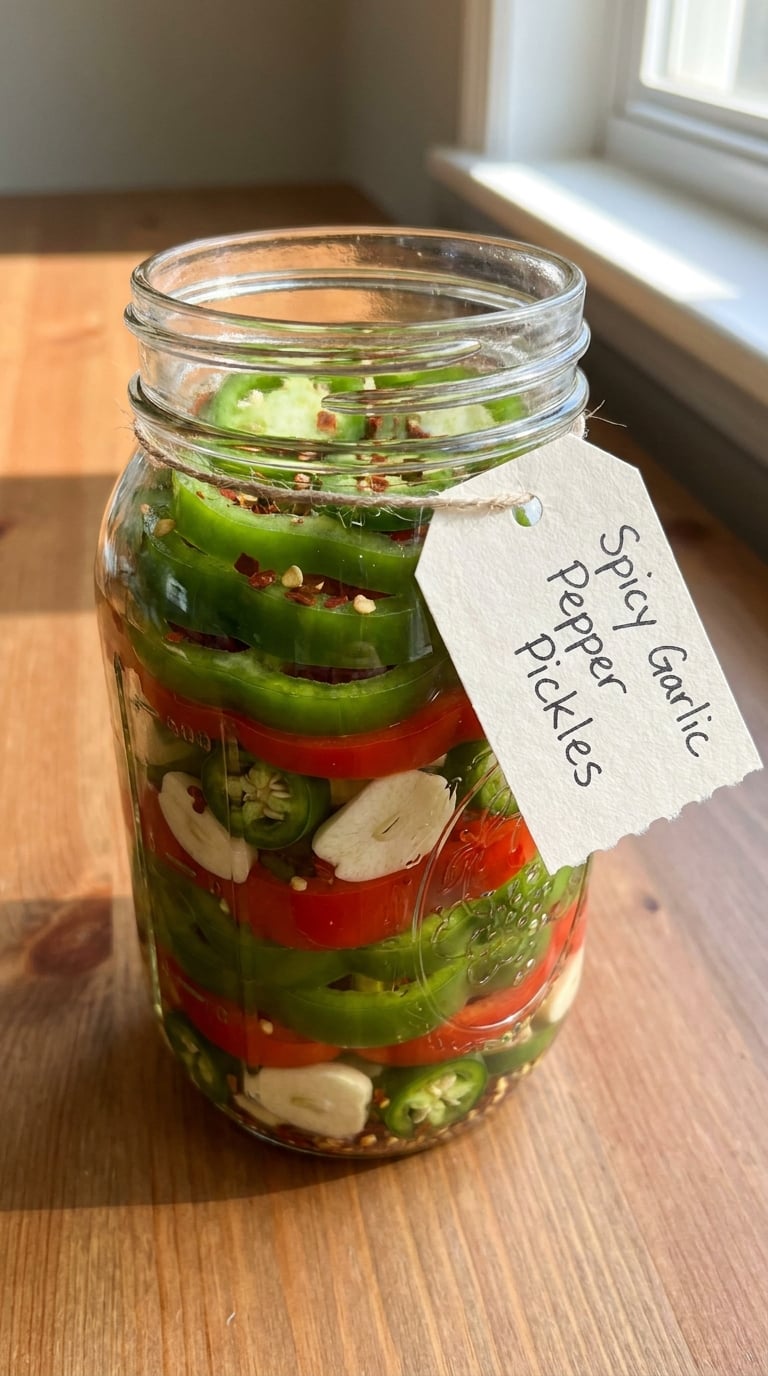
Thin-sliced bell peppers pickle fast and stay crunchy, which makes them the base for a hot jar. Adjust the heat with the seeds rather than the brine, since you cannot take the spice back out later.
Yield: 1 pint jar · Prep: 10 minutes · Cook: 2 minutes · Total: 12 minutes plus 2 days chilling · Difficulty: Easy
Ingredients
- 2 green bell peppers, sliced into rings
- 1 red bell pepper, sliced into rings
- 2 jalapenos, sliced thin, seeds removed for less heat
- 4 garlic cloves, thinly sliced
- 2 teaspoons red pepper flakes
- 1 teaspoon whole black peppercorns
- 3/4 cup distilled white vinegar
- 3/4 cup water
- 1 tablespoon granulated sugar
- 1 teaspoon kosher salt
Instructions
- Seed the bell peppers and cut them into even 1/4-inch rings.
- Remove the seeds from the jalapenos to lower the heat, keeping more if you want a serious jar.
- Toss the peppers, jalapenos, garlic, pepper flakes, and peppercorns in a clean pint jar.
- Heat the vinegar, water, sugar, and salt together until steaming, about 2 minutes.
- Pour the hot brine over the peppers, leaving 1/2 inch of headspace.
- Push everything down below the liquid line, seal, and let the jar cool 30 minutes on the counter.
- Refrigerate 48 hours, tasting one ring after the first day and again on day two to find the heat level you like.
Tip: Sugar is doing real work in this one. Straight vinegar on peppers tastes like raw vinegar for the first day, and the sugar rounds that off by day two.
Swap it: Skip the jalapenos entirely and add 2 teaspoons drained capers at the end for a briny tang instead of heat.
Storage: Refrigerated up to 3 weeks. The peppers stay crunchy, and the heat builds for about three days, so judge it on day three rather than day one.
4. Pickled Red Onions
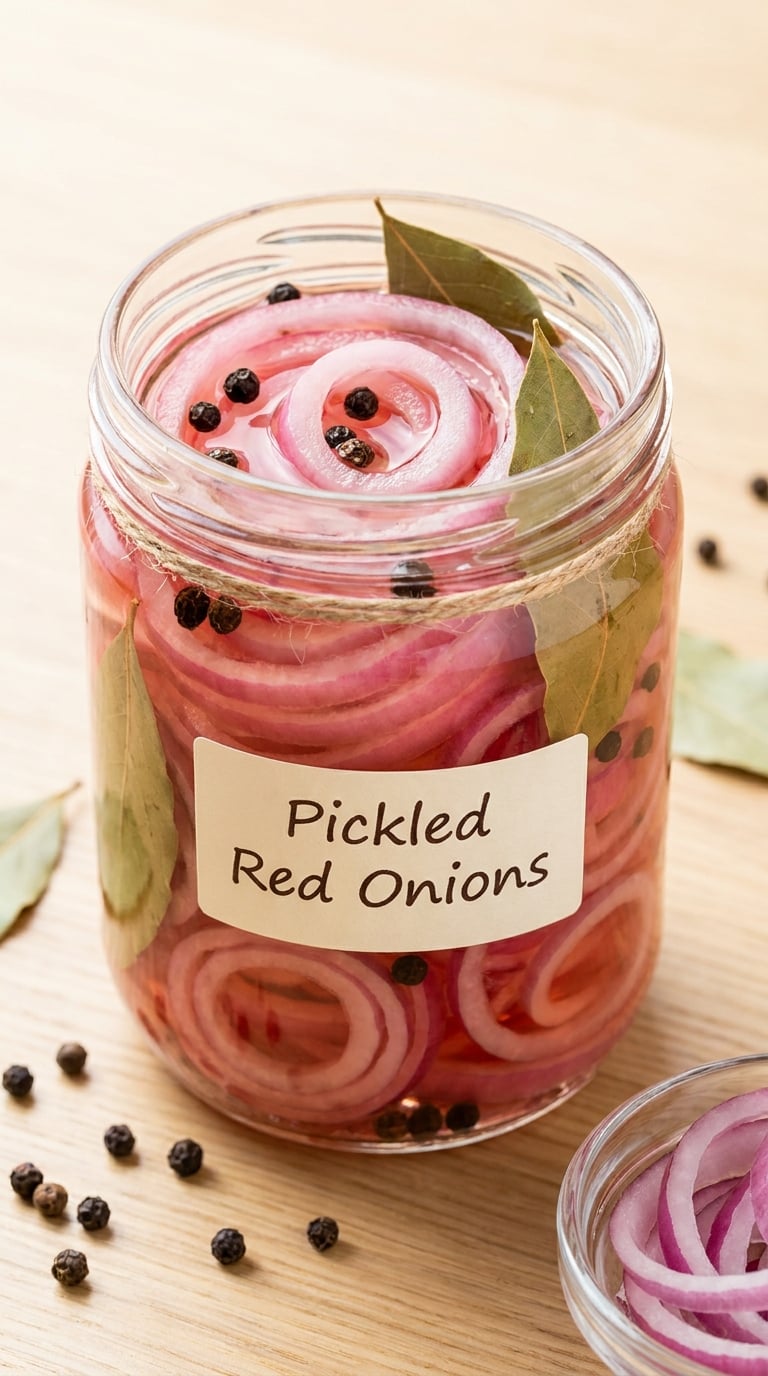
This is the fastest pickle here and the one I use the most. Thin red onion rings go from purple to bright pink in about an hour, and a small jar covers a whole batch of burgers.
Yield: 1 cup · Prep: 5 minutes · Cook: 3 minutes · Total: 8 minutes plus 1 hour chilling · Difficulty: Easy
Ingredients
- 1 large red onion, sliced into paper-thin rings
- 1/2 cup distilled white vinegar
- 1/2 cup water
- 1 teaspoon granulated sugar
- 1 teaspoon kosher salt
- 1 teaspoon whole black peppercorns
- 1 small bay leaf
Instructions
- Slice the onion as thin as you can and separate the rings into a bowl of cold water for 5 minutes.
- Drain the onion and pat it dry; this pulls out some of the raw bite.
- Pack the drained rings into a clean pint jar with the peppercorns and bay leaf.
- Heat the vinegar, water, sugar, and salt until the salt dissolves, about 3 minutes.
- Pour the brine over the onion, leaving 1/2 inch of headspace, and press the rings under the liquid.
- Seal the jar, let it cool 20 minutes on the counter, then refrigerate.
- Eat after 1 hour for sharp pink onions, or wait overnight for a softer, deeper flavor.
Tip: The cold-water soak is the trick. Ten minutes of it takes the harsh raw edge off and leaves the crunch, which is why these taste pickled and not just sour.
Swap it: Swap red onion for sliced radishes and it becomes a whole different pickle, sharper and more peppery, with the same brine.
Storage: Refrigerated up to 2 weeks. The onions soften steadily, so I make a new small jar whenever I run out mid-week.
5. Easy Pickled Green Beans
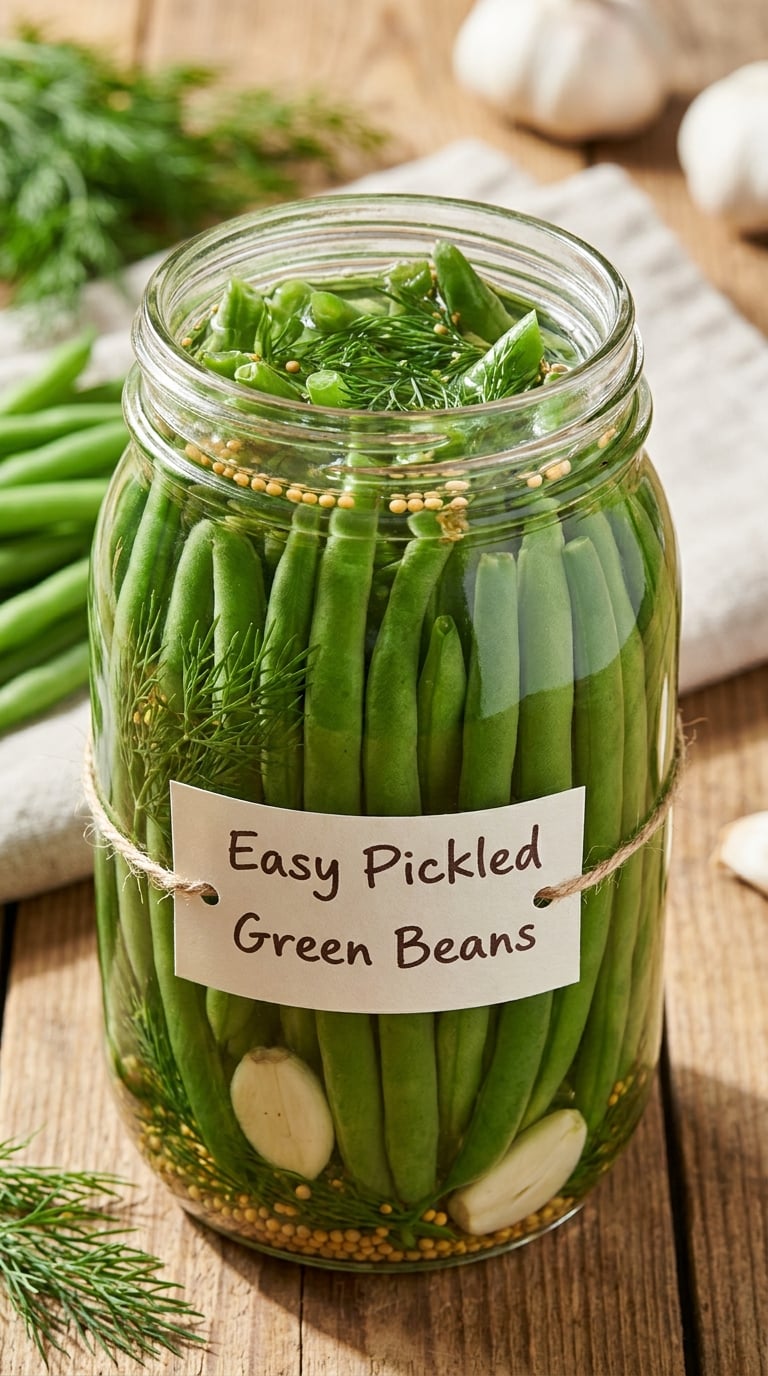
Green beans need a two-minute blanch, and that is the only real step between you and a jar of crisp beans. Blanching firms the fiber so the vinegar cannot turn them to strings, and the flavor gets sweeter and more green-tasting.
Yield: 1 pint jar · Prep: 5 minutes · Cook: 7 minutes · Total: 12 minutes plus 2 days chilling · Difficulty: Easy
Ingredients
- 1 pound fresh green beans, trimmed and left whole
- 3 sprigs fresh dill
- 2 garlic cloves, crushed
- 1 tablespoon mustard seed
- 1 teaspoon whole black peppercorns
- 1 cup distilled white vinegar
- 1 cup water
- 1 tablespoon granulated sugar
- 1 1/2 teaspoons kosher salt
Instructions
- Bring a pot of lightly salted water to a rolling boil.
- Blanch the beans for 2 minutes, then immediately move them to ice water for 2 minutes to stop the cooking.
- Drain the beans thoroughly and cut any in half so the short ones fit the jar flat.
- Stand the beans upright in a clean pint jar with the dill, garlic, mustard seed, and peppercorns tucked between them.
- Heat the vinegar, water, sugar, and salt together until steaming, about 4 minutes.
- Pour the brine over the beans, filling the jar so the liquid sits an inch above the topmost beans.
- Seal, cool 30 minutes, then refrigerate 48 hours.
Tip: Stand the beans vertically and use a slightly taller jar. Cramming them in horizontally bends and bruises them, and bruised spots turn dull fast.
Swap it: Use snow peas and drop the blanch entirely; they need only 30 seconds and are noticeably sweeter.
Storage: Refrigerated up to 3 weeks. They are the best candidate on this list for a water-bath canning batch later, once you have the hang of fridge pickles.
6. Pickled Cauliflower and Broccoli Florets
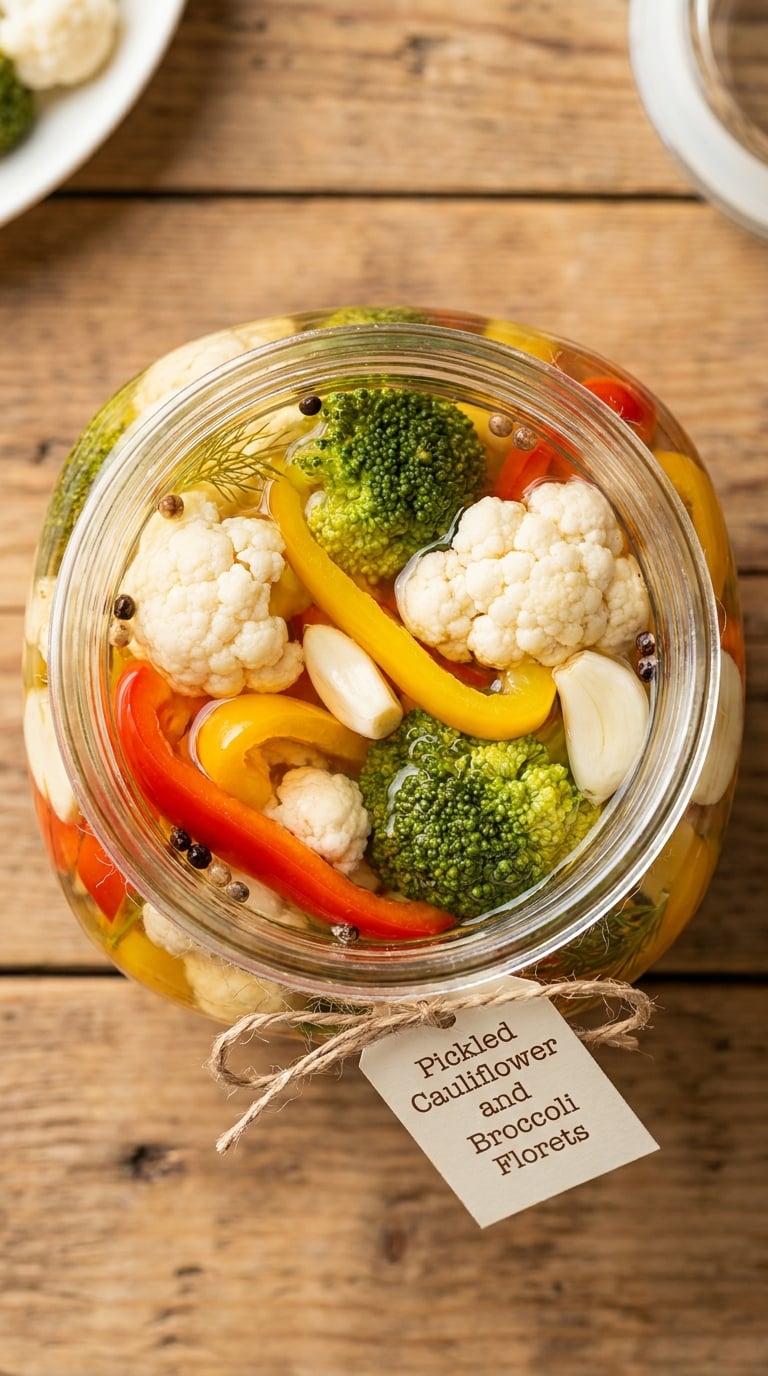
Cauliflower and broccoli are the same vegetable in a different outfit, and pickling flattens their difference. They take a hot brine happily and stay crunchy if you do not overcook them, which is the only thing to watch.
Yield: 1 pint jar · Prep: 15 minutes · Cook: 3 minutes · Total: 18 minutes plus 2 days chilling · Difficulty: Medium
Ingredients
- 1/2 small head cauliflower, cut into bite-size florets
- 1/2 head broccoli, cut into bite-size florets
- 1 red bell pepper, thinly sliced
- 3 garlic cloves, thinly sliced
- 1 tablespoon fresh ginger, sliced
- 1 teaspoon whole black peppercorns
- 3/4 cup distilled white vinegar
- 3/4 cup water
- 2 tablespoons granulated sugar
- 2 teaspoons kosher salt
Instructions
- Break the cauliflower and broccoli into small florets about the size of a quarter, keeping them tight so the pieces do not fall apart in the jar.
- Set the freshest-looking florets aside and use those; limp broccoli never recovers.
- Layer the vegetables, bell pepper, garlic, ginger, and peppercorns in a clean pint jar.
- Heat the vinegar, water, sugar, and salt until steaming, about 3 minutes.
- Pour the brine over the vegetables, leaving 1/2 inch of headspace, and press the florets down gently.
- Seal the jar and let it cool 30 minutes on the counter.
- Refrigerate 48 hours. Check one piece on day two; if the florets are still squeaky-hard, give them another day instead of a hot brine.
Tip: Let the brine cool for 3 full minutes after removing it from the heat. Fresh-from-boiling brine over cauliflower turns it soft and watery instead of crisp and sour.
Swap it: Leave out the ginger and add 1 teaspoon of ground turmeric to the brine for a golden, earthy version that is great next to rice.
Storage: Refrigerated up to 2 weeks, best in the first 10 days while the florets still have bite.
7. Sweet and Sour Pickled Beets
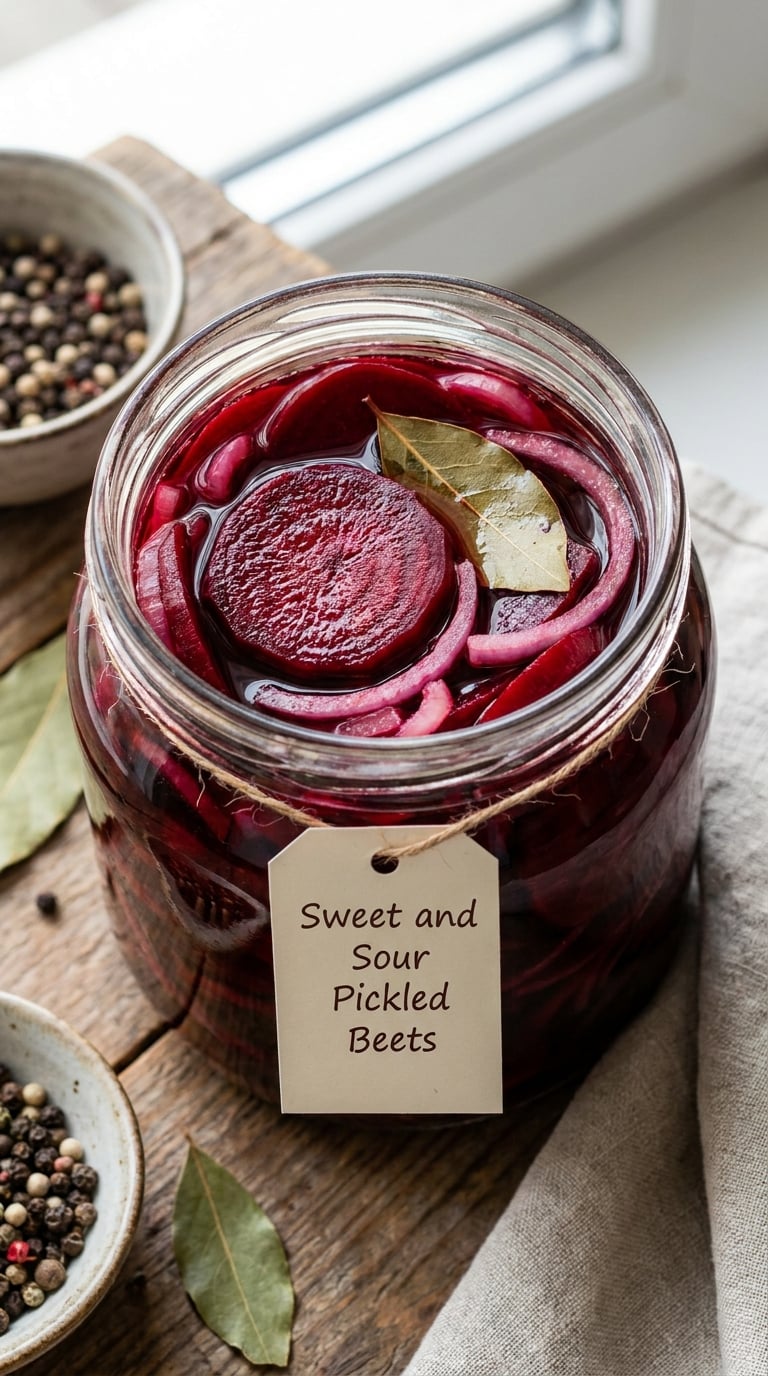
Beets stain everything, which is why the brine here is a little sweeter than the rest and gets one extra teaspoon of sugar than the standard ratio. They need a full three days to drink in the flavor, so plan ahead.
Yield: 1 pint jar · Prep: 12 minutes · Cook: 6 minutes · Total: 18 minutes plus 3 days chilling · Difficulty: Easy
Ingredients
- 1 pound beets, trimmed and sliced into 1/4-inch rounds
- 1/2 small red onion, thinly sliced
- 2 sprigs fresh dill
- 2 dried bay leaves
- 2 whole cloves
- 1 cup distilled white vinegar
- 1 cup water
- 1/4 cup granulated sugar
- 1 tablespoon kosher salt
Instructions
- Trim the beets but leave the skins on; they slip off easily after pickling and losing them first makes the rounds fall apart.
- Slice the beets into even rounds about 1/4 inch thick.
- Layer the beets, onion, dill, bay leaves, and cloves in a clean wide-mouth pint jar.
- Heat the vinegar, water, sugar, and salt together until the sugar fully dissolves, about 4 minutes.
- Pour the brine over the beets, leaving 1/2 inch of headspace.
- Press the slices down so they sit fully submerged, seal, and cool 30 minutes on the counter.
- Refrigerate 3 days before serving. Taste one slice each day; the last day is when the sugar and vinegar settle into balance.
Tip: Pour a thin layer of neutral oil over the top once the beets have pickled, if you are serving them straight. It cuts the earthy edge and stops them staining your plate.
Swap it: Use golden beets and white vinegar for a pale, milder pickle that looks better in a composed salad.
Storage: Refrigerated up to 3 weeks. Expect the whole fridge to smell faintly of beets, which is a good problem to have.
Beets are the most underrated vegetable in the crisper drawer. If you want a few more ideas for cooking them and other veg fast, easy anti-inflammatory diet recipes lean on the same roast-and-pickle approach.
8. Crunchy Pickled Cabbage Slaw
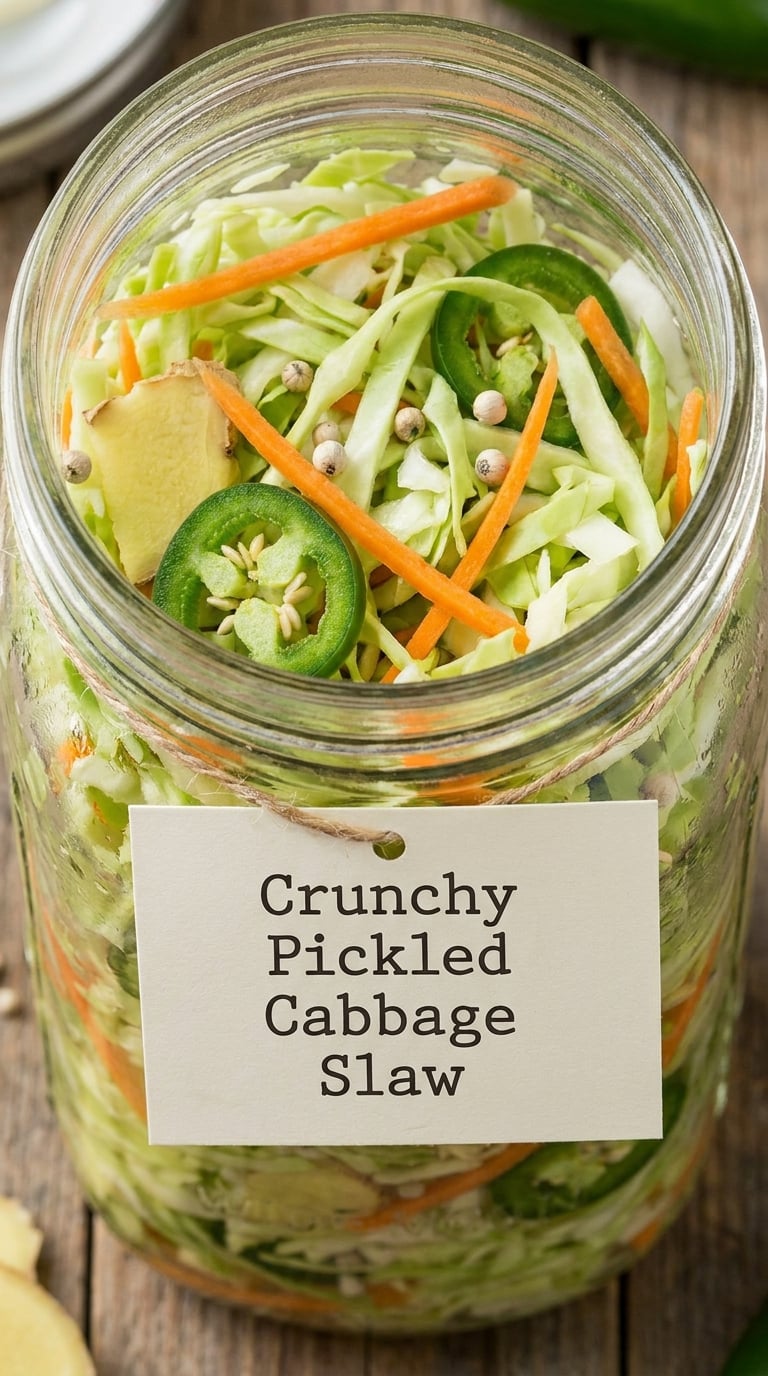
This is a pickle and a side dish in the same jar, which is why it earned a place here. With a shorter cure, the cabbage stays slaw-crisp and the car shreds keep their bite instead of turning to vinegar weight.
Yield: 3 cups · Prep: 15 minutes · Cook: 2 minutes · Total: 17 minutes plus 4 hours chilling · Difficulty: Medium
Ingredients
- 1/4 small head green cabbage, finely shredded
- 1 large carrot, grated
- 1/2 red onion, thinly sliced
- 1 jalapeno, thinly sliced, optional
- 1 tablespoon fresh ginger, grated
- 1/2 teaspoon white pepper
- 1/2 teaspoon kosher salt
- 1 cup distilled white vinegar
- 1 cup water
- 1 tablespoon granulated sugar
Instructions
- Shred the cabbage as finely as you can and grate the carrot.
- Salt the cabbage and grated carrot with the 1/2 teaspoon kosher salt in a large bowl.
- Massage the vegetables with your hands for 1 minute until they soften and release water, then let them sit 10 minutes.
- Drain off the water that collects; this is what keeps the slaw from turning soggy in the jar.
- Add the onion, jalapeno, ginger, and white pepper to the drained vegetables.
- Stir the vinegar, water, and sugar in a small saucepan and heat just to a simmer.
- Pour the hot brine over the vegetables, toss, and pack tightly into a clean quart jar, pressing down to remove air pockets.
- Cool 30 minutes, then refrigerate 4 hours. Eat within 3 days for the crunchiest texture.
Tip: The salting and draining step is not optional. Without it the cabbage releases its own water into the brine and the slaw sits in a puddle by morning.
Swap it: Add shredded radish for extra peppery crunch, or use rice vinegar to keep the flavor light enough to sit under grilled fish.
Storage: Refrigerated up to 5 days, and this is the one recipe that is not improved by waiting. Two to three days is the window before the cabbage softens.
9. Pickled Mushrooms with Garlic and Herbs
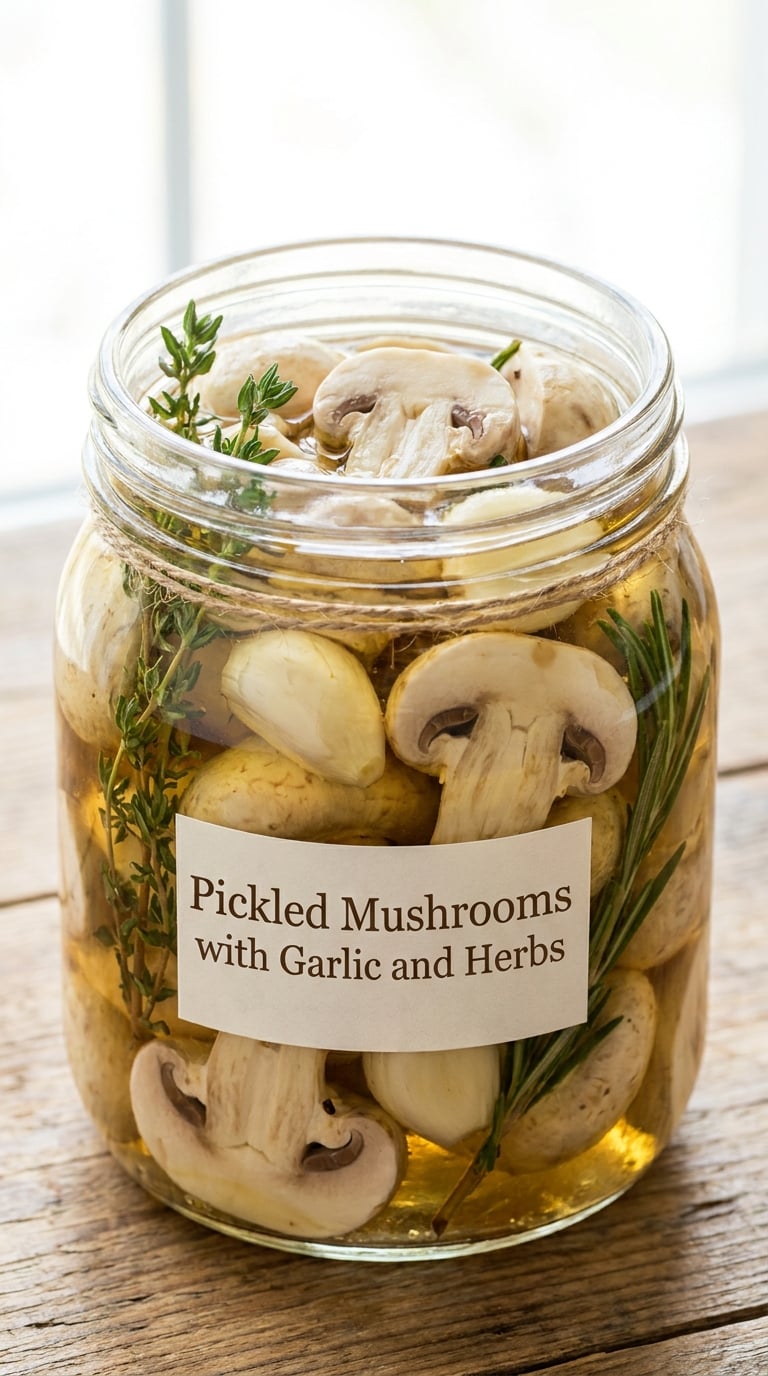
Mushrooms are the one vegetable that most beginners ruin by accident, because they drink brine like a sponge and go floppy. Use small firm buttons, cut them in half so the cut face takes up the liquid, and they hold their shape like a meaty little pickle.
Yield: 1 pint jar · Prep: 8 minutes · Cook: 2 minutes · Total: 10 minutes plus 2 days chilling · Difficulty: Easy
Ingredients
- 10 ounces small white button mushrooms, brushed clean and halved
- 4 garlic cloves, thinly sliced
- 2 sprigs fresh thyme
- 1 small sprig rosemary
- 2 tablespoons olive oil
- 1 teaspoon whole black peppercorns
- 1 cup distilled white vinegar
- 1/2 cup water
- 1 tablespoon granulated sugar
- 1 teaspoon kosher salt
Instructions
- Brush the mushrooms clean with a soft brush and cut each in half through the stem. Do not wash them, since the water they soak up is the softness problem.
- Pack the mushroom halves cut-side down in a clean pint jar with the garlic, thyme, and rosemary.
- Warm the olive oil in a small saucepan over low heat for 30 seconds, just until it smells herbal, then take it off the heat.
- Add the vinegar, water, sugar, and salt to the pan and heat until steaming, about 2 minutes.
- Pour the brine over the mushrooms, leaving 1/2 inch of headspace.
- Push the mushrooms down so the brine sits an inch above them, seal, and cool 30 minutes.
- Refrigerate 48 hours. They are ready earlier than most pickles, but taste much better on day two.
Tip: Never use cremini or portobello caps. Their gills hold water like a sponge, and they will be limp before you finish pouring.
Swap it: Swap the white button mushrooms for small shiitake stems only and add 1 teaspoon toasted sesame oil at the end for an Asian-leaning pickle.
Storage: Refrigerated up to 2 weeks. If they soften, they were probably washed rather than brushed; the brushing step is what keeps them firm.
10. Simple Pickled Mixed Vegetables
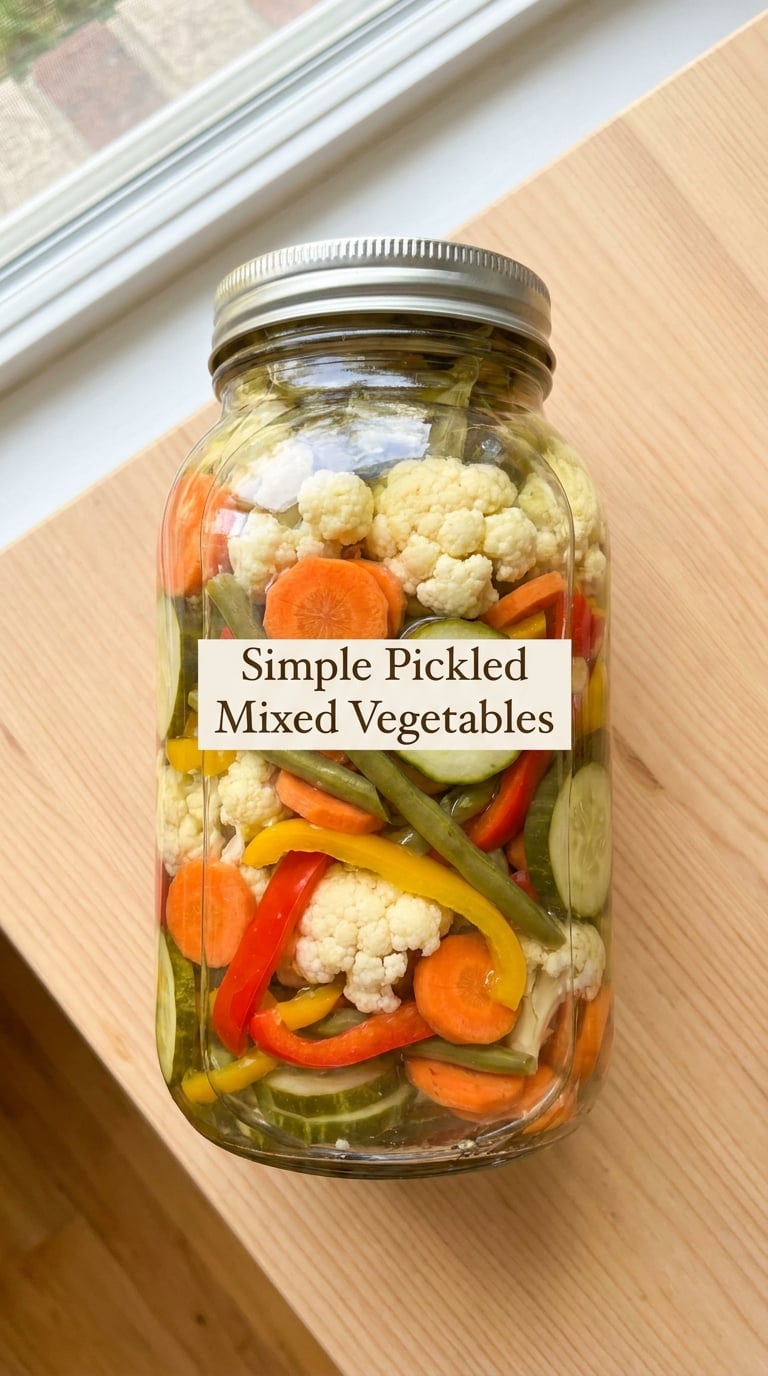
This is the recipe for the bottom of the crisper drawer. It is not a single flavor but a framework, and once you have made it once you will never need a written brine again. I use a two-quart jar and whatever else is in the drawer.
Yield: 2 quart jars · Prep: 15 minutes · Cook: 5 minutes · Total: 20 minutes plus 2 days chilling · Difficulty: Medium
Ingredients
- 2 cups cauliflower florets
- 2 cups carrot sticks
- 1 cup trimmed green beans
- 1 red bell pepper, sliced
- 1 cup cucumber chunks
- 1 small onion, cut into wedges
- 6 garlic cloves, crushed
- 2 tablespoons pickling salt or kosher salt
- 4 tablespoons granulated sugar
- 4 cups distilled white vinegar
- 2 cups water
- 3 tablespoons whole pickling spice, optional
Instructions
- Cut all the vegetables to a similar size, about 1-inch pieces, so everything pickles at the same rate.
- Blanch the cauliflower, carrots, and green beans together for 2 minutes, then plunge into ice water for 2 minutes.
- Layer the blanched vegetables, raw pepper, cucumber, onion, and garlic into two clean quart jars, packing the jars full.
- Bring the vinegar, water, salt, and sugar to a rolling boil in a large pot, stirring until dissolved.
- Add the pickling spice, or 2 tablespoons mustard seed with 1 tablespoon dried dill weed if you prefer two-note flavor.
- Ladle the brine over the packed vegetables, leaving 1/2 inch of headspace in each jar.
- Tap each jar on the counter to release air bubbles, wipe the rims clean, and seal.
- Cool 30 minutes on the counter, then refrigerate 48 hours.
Tip: Cut everything to one size. A jar where the cauliflower is done and the cucumber is still raw at the same moment is a jar you will pick at, not eat from.
Swap it: Skip the pickling spice for a clean vinegar pickle, or double the dill weed for a jar that tastes like the deli counter in July.
Storage: Refrigerated up to 3 weeks, and this is the size I make for picnics, potlucks, and weeknight plates built around hearty sides.
Tips for Making These
- Keep the vinegar at half the brine. A 50/50 vinegar-and-water brine is the workhorse for every recipe here. Distilled white vinegar gives the sharpest, cleanest pickle, and rice or apple cider vinegar trade sharpness for a softer edge. Avoid balsamic and any vinegar with added sugar or seasoning.
- Do not boil the brine hard. Heat it until steaming with small bubbles at the base of the pan. A hard boil cooks the vegetables and leaves them soft, which defeats the whole point.
- Pack the jar full and leave 1/2 inch of headspace. Vegetables floating above the brine line never pickle, and they turn the texture dull. Press everything down with clean tongs before you lid it, and wipe the rim with a damp cloth first. Household tongs carry moisture that clouds the brine and shortens the life in the jar.
- Cool the jar on the counter before refrigerating. About 30 minutes stops the heat from fogging the glass, and the warm brine finishes setting the texture evenly. Then cold it goes straight into the fridge.
- Use salt as seasoning, not as a safety net. In a vinegar pickle the acidity does the preserving. The salt is for flavor and firming, and 1 to 2 teaspoons per pint jar is the range that tastes right. Too much and the pickle needs a rinse before serving.
- Taste on a schedule, not on day one. Most of these need 24 hours to stop tasting like vinegar, and the beets, peppers, and mushrooms need the full two or three days. One taste at each stage tells you more than any recipe can.
Most people who avoid pickles are not anti-pickle, they are anti-fuss. A wide-mouth jar, a saucepan, a handful of pantry spices, and fifteen minutes is genuinely the whole list. If you want a second way to use the same basket of raw vegetables, easy Mediterranean diet recipes for beginners lean heavily on the same raw-vegetable prep.
Frequently Asked Questions
What is the easiest vegetable to pickle for beginners?
Cucumbers are the easiest, and they need no blanching. Small cucumbers or spears go straight into a jar, take a hot vinegar brine, and taste like pickles within 24 hours. Red onions are a close second because they only need 8 minutes of work. Start with cucumbers, learn the brine, then move to firm vegetables like green beans and carrots.
Do I need special equipment to make refrigerator pickles?
No. You need a glass jar with a lid, a small saucepan, a spoon, and clean tongs. A wide-mouth pint or quart mason jar is convenient but not required, since any heat-safe glass container that closes will work. You do not need canning equipment, a water bath, a thermometer, or a lid seal, because refrigerator pickles are never processed for shelf storage.
How long do homemade pickled vegetables stay fresh?
Refrigerator pickles stay good for 3 to 4 weeks in the fridge, as long as the vegetables stay submerged in brine. Onions and cabbage are best in the first 3 to 5 days while they are still crisp. Mushrooms and cauliflower soften noticeably after two weeks, so eat those first. If the brine drops below the vegetables or smells off, discard the jar.
Can I use less vinegar or add more salt to pickled vegetables?
Yes, with a caveat. Cutting the vinegar to 1 part vinegar to 3 parts water softens the flavor and shortens how long the jar keeps, so stay at 50/50 unless you are willing to eat the jar within a week. Adding salt is easy, but go gently: more than 2 teaspoons of kosher salt per pint makes the pickle taste like a brine and a rinse.
Why are my refrigerator pickles soft instead of crunchy?
The usual causes are a brine at a hard rolling boil, vegetables sitting above the brine line, and firm vegetables left raw when they needed a 2-minute blanch. Mushrooms are the exception, and soft ones are almost always washed rather than brushed. Reduce the heat to a gentle steam, pack the jar tightly, and blanch green beans, carrots, and cauliflower for 2 minutes before packing.
Are these pickled vegetable recipes safe for pantry storage?
No, not as written. Every recipe in this roundup is a refrigerator pickle and must stay in the fridge. The vinegar and a tested acidity ratio are what keep them safe for weeks chilled, and that protection disappears at room temperature. Shelf-stable canning is a separate process with tested recipes, sealed jars, and a boiling-water bath, and beginners should leave it until refrigerator pickles feel routine.
A Simple Place to Start
Make the Basic Refrigerator Dill Pickles first. Nothing in it can go badly: cucumbers take no blanching, the brine is the simple 50/50 vinegar-and-water kind, and even if you pack the jar loosely the result is still good. You will have something worth eating by tomorrow, and then the other nine are just a different vegetable in the same jar.
That is the whole trick behind these easy pickled vegetable recipes for beginners. One brine, ten vegetables, no equipment you do not already own.