
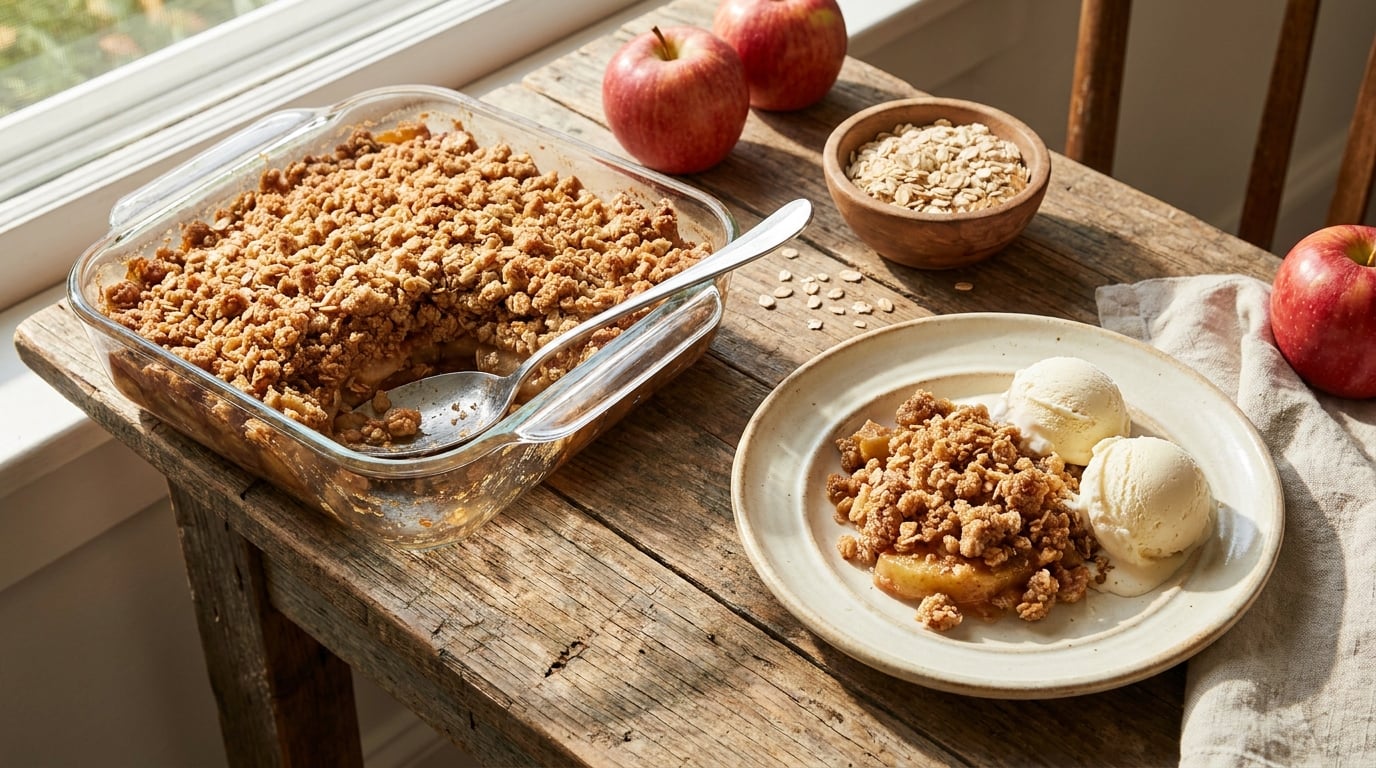
Easy apple recipes for fall baking are the ten bakes on this page: simple, forgiving recipes that turn an orchard haul into something worth eating, without a stand mixer, a specialty pan, or a from-scratch pie crust. I bake every fall with the same grocery-store apples you do, and these are the ones I actually make.
What they share: a short ingredient list, a store-bought shortcut where a from-scratch version would take an afternoon, and forgiving doneness cues that tell you when to pull the pan. Pick one for tonight, or scroll to the at-a-glance table and choose by the time you have. If you want more fall inspiration after this, the apple dessert recipes for fall roundup here goes wider on the dessert side.
Table of Contents
Easy Apple Recipes for Fall Baking at a Glance
Here is every recipe in this roundup, in the order it appears, with the time it takes and the occasion it fits best.
| Recipe | Total Time | Difficulty | Best For |
|---|---|---|---|
| 1. Classic Apple Crisp | 1 hour | Easy | A crowd dessert, holiday table |
| 2. Apple Cinnamon Muffins | 40 minutes | Easy | Breakfast, brunch, lunchbox |
| 3. Rustic Apple Galette | 1 hour 15 minutes | Easy | A casual dinner party centerpiece |
| 4. Mini Apple Hand Pies | 45 minutes | Easy | Portable dessert, small households |
| 5. Easy Apple Bundt Cake | 1 hour 15 minutes | Easy | Coffee cake, potluck |
| 6. Soft Apple Cookies with Cinnamon | 30 minutes | Easy | Freezer stash, kids baking |
| 7. Apple Cinnamon Loaf Bread | 1 hour 15 minutes | Easy | Afternoon snack, make-ahead breakfast |
| 8. Caramel Apple Turnovers | 45 minutes | Easy | Weeknight dessert, make-ahead |
| 9. Apple Streusel Bars | 50 minutes | Easy | Lunchboxes, brunch, gatherings |
| 10. Easy Apple Pie | 1 hour 35 minutes | Easy | Thanksgiving, a proper occasion |
How to Choose Easy Apple Recipes for Fall Baking
Start with the time you have. Under 45 minutes, the cookies, muffins, hand pies, and turnovers all fit a weeknight. Give yourself an afternoon and the crisp, galette, bars, and loaf are on the table.
Next, think about what you want to eat. Cake and muffins are the soft, moist options. Pastry bakes are the flaky ones: galette, hand pies, turnovers, and pie. Cookies and bars are the portable ones, and the bars are the best choice if the dessert has to travel.
Experience matters less than people think, because none of these need a mixer or a rolling pin. If the idea of laminated dough makes you nervous, skip the galette and start with the crisp. It is the most forgiving of the ten, and the one I hand to people who have never baked a pie.
1. Classic Apple Crisp
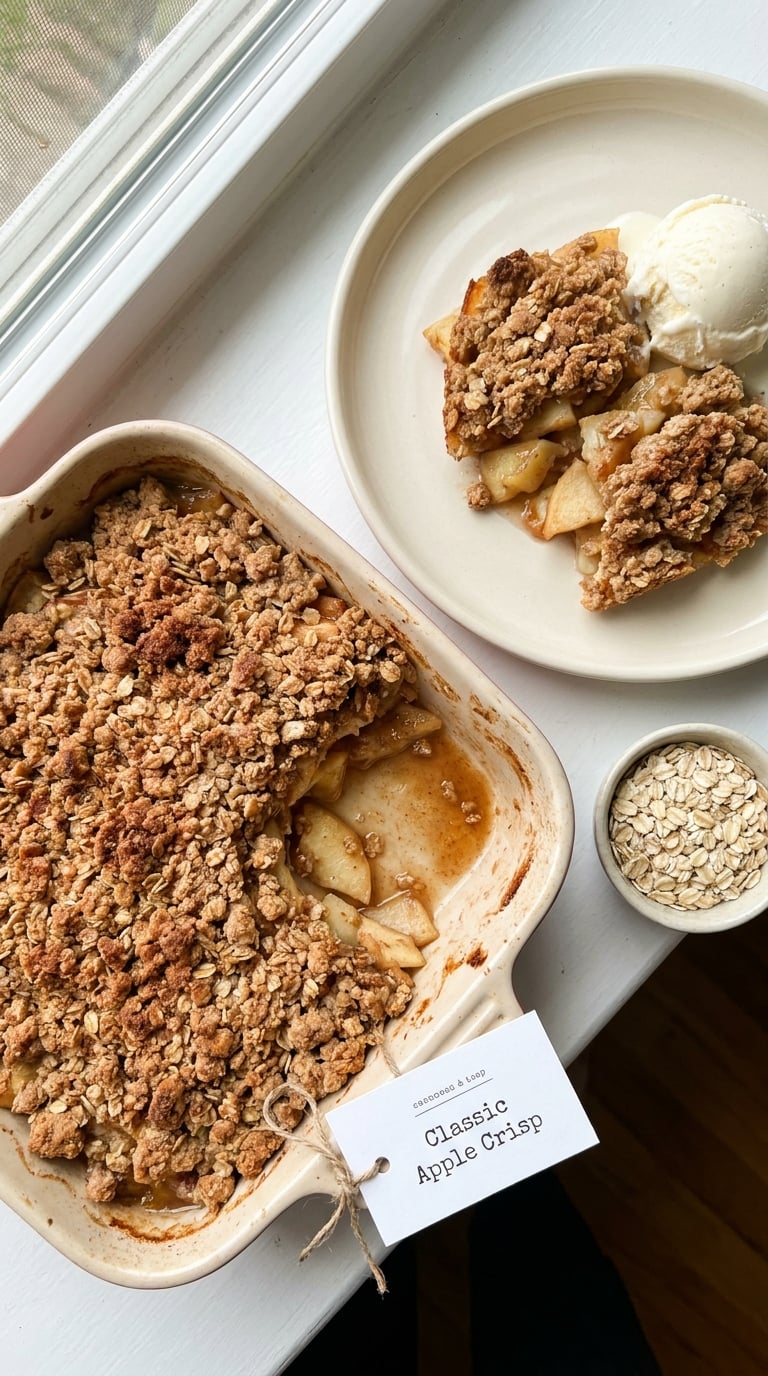
An apple crisp is baked fruit under a crumbly oat topping with no crust at all, and this version is the one I make most weeks of October. The topping goes from sandy to golden while the apples underneath turn soft but keep their shape, which is exactly the contrast you want.
Yield: 8 servings · Prep: 15 minutes · Cook: 45 minutes · Total: 1 hour · Difficulty: Easy
Ingredients
For the apples:
- 5 medium firm apples, such as Granny Smith, Honeycrisp, or Braeburn, peeled, cored, and sliced 1/4 inch thick
- 1/2 cup (100 g) granulated sugar
- 1 teaspoon ground cinnamon
- 1/2 teaspoon ground nutmeg
- 1 tablespoon lemon juice
- Pinch of fine salt
For the topping:
- 1 cup (90 g) old-fashioned rolled oats
- 3/4 cup (95 g) all-purpose flour
- 3/4 cup (150 g) packed light brown sugar
- 1/2 teaspoon ground cinnamon
- 1/2 teaspoon fine salt
- 1/2 cup (113 g) cold unsalted butter, cut into small pieces
Instructions
- Heat the oven to 375°F (190°C) and butter a 9 x 13 inch baking dish.
- Whisk the sugar, cinnamon, nutmeg, and salt together in a large bowl, then add the apple slices and lemon juice.
- Toss with your hands just until every slice is coated, then spread the apples in an even layer in the dish.
- Rub the butter into the flour, oats, brown sugar, cinnamon, and salt with your fingertips until the mixture holds together in loose clumps.
- Scatter the topping over the apples in an even layer, pressing down lightly so the crumble reaches the edges.
- Bake for 40 to 45 minutes, until the topping is deep golden and the juices bubble thickly at the edges of the dish.
- Rest for 20 minutes before serving so the filling can set.
Tip: Cold butter is the whole topping. If you work it in with your hands until it looks like flour, the crumble bakes up cakelike instead of crumbly.
Swap it: Use half brown sugar and half white sugar in the apple layer, and add 1/2 cup chopped pecans or walnuts for a crunchier version. For a gluten-free crumble, swap the flour for 1 cup almond flour and keep the oats.
Storage: Covered at room temperature for 2 days, or refrigerated for up to 4. It reheats well in a 325°F (160°C) oven for 10 minutes, which is better than the microwave for keeping the topping crisp.
2. Apple Cinnamon Muffins
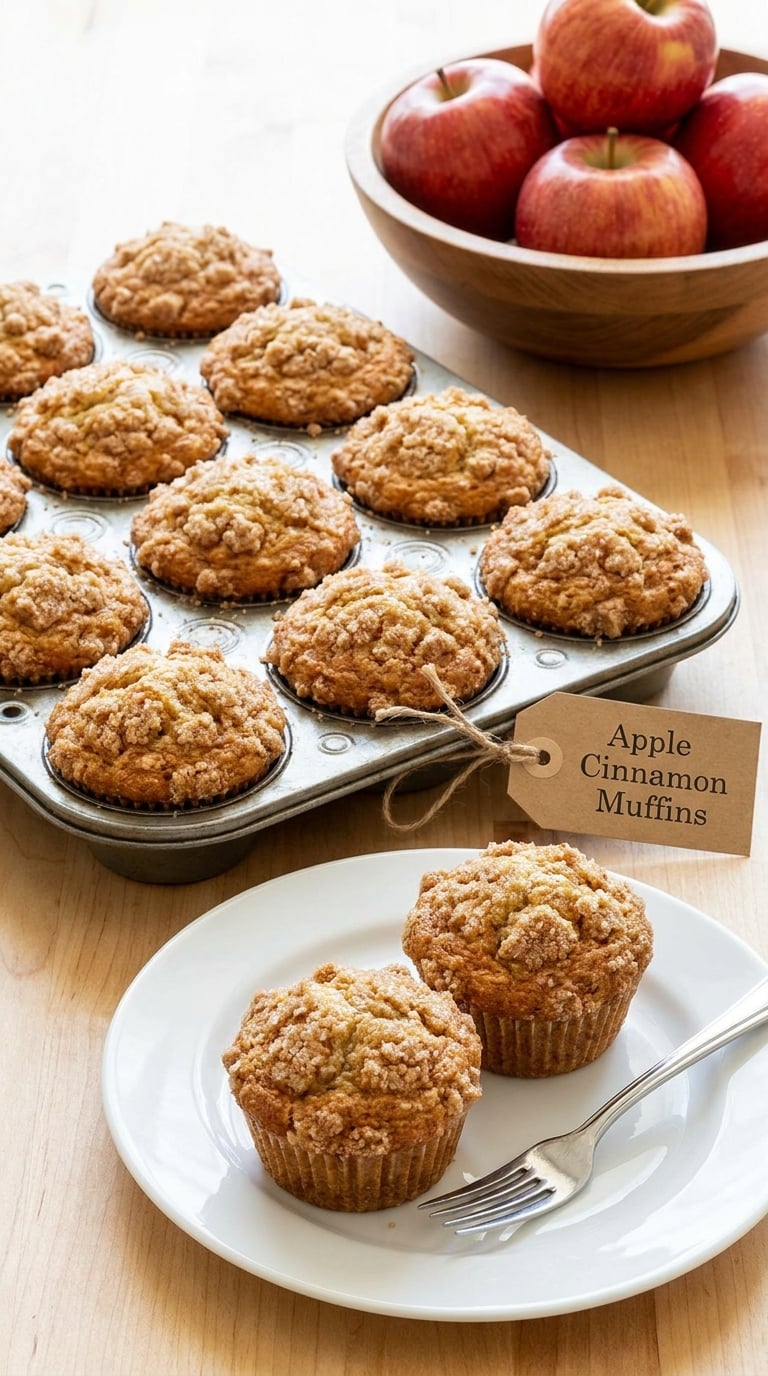
These are grated rather than diced, so the apple disappears into a crumb that stays moist for two days. The streusel on top is what makes them taste like a bakery, and it takes thirty seconds.
Yield: 12 muffins · Prep: 20 minutes · Cook: 20 minutes · Total: 40 minutes · Difficulty: Easy
Ingredients
- 1 1/2 cups (190 g) all-purpose flour
- 1 teaspoon baking powder
- 1/2 teaspoon baking soda
- 1/2 teaspoon fine salt
- 1 teaspoon ground cinnamon
- 1/4 teaspoon ground nutmeg
- 1/2 cup (113 g) unsalted butter, melted and cooled
- 3/4 cup (150 g) packed light brown sugar
- 1/3 cup (67 g) granulated sugar
- 2 large eggs, at room temperature
- 1 teaspoon pure vanilla extract
- 1/2 cup (120 ml) milk
- 1 cup (120 g) grated apple, coarsely grated, from about 1 large apple
For the streusel:
- 1/3 cup (40 g) all-purpose flour
- 1/3 cup (67 g) packed light brown sugar
- 1/2 teaspoon ground cinnamon
- 4 tablespoons (57 g) cold unsalted butter, cubed
- 1 tablespoon coarse sugar
Instructions
- Heat the oven to 400°F (205°C) and line a 12-cup muffin tin with liners.
- Whisk the flour, baking powder, baking soda, salt, cinnamon, and nutmeg together in a bowl.
- In a second bowl, whisk the melted butter, both sugars, eggs, and vanilla until smooth, then stir in the milk.
- Fold the dry ingredients into the wet just until no flour streaks remain, then fold in the grated apple.
- Divide the batter evenly between the cups, filling each about two-thirds full.
- Rub the cold butter into the streusel ingredients, pile the mixture on the muffins, and press a few coarse sugar crystals into each top.
- Bake for 18 to 20 minutes, until a skewer inserted in the center comes out with a few moist crumbs and the tops are golden.
- Cool in the tin for 5 minutes, then turn out onto a rack.
Tip: Squeeze the grated apple hard in a clean towel before it goes in. Extra water is the number one reason apple muffins turn out dense and gummy in the middle.
Swap it: For a dairy-free version, use an unsweetened plant milk that is not almond-flavored, since it will fight with the cinnamon. Add 1/2 cup chopped walnuts to the streusel for a nuttier top.
Storage: Store airtight at room temperature for 2 days. They freeze well for up to 3 months; thaw at room temperature wrapped in a towel, or warm one in a 300°F (150°C) oven for 6 minutes.
3. Rustic Apple Galette
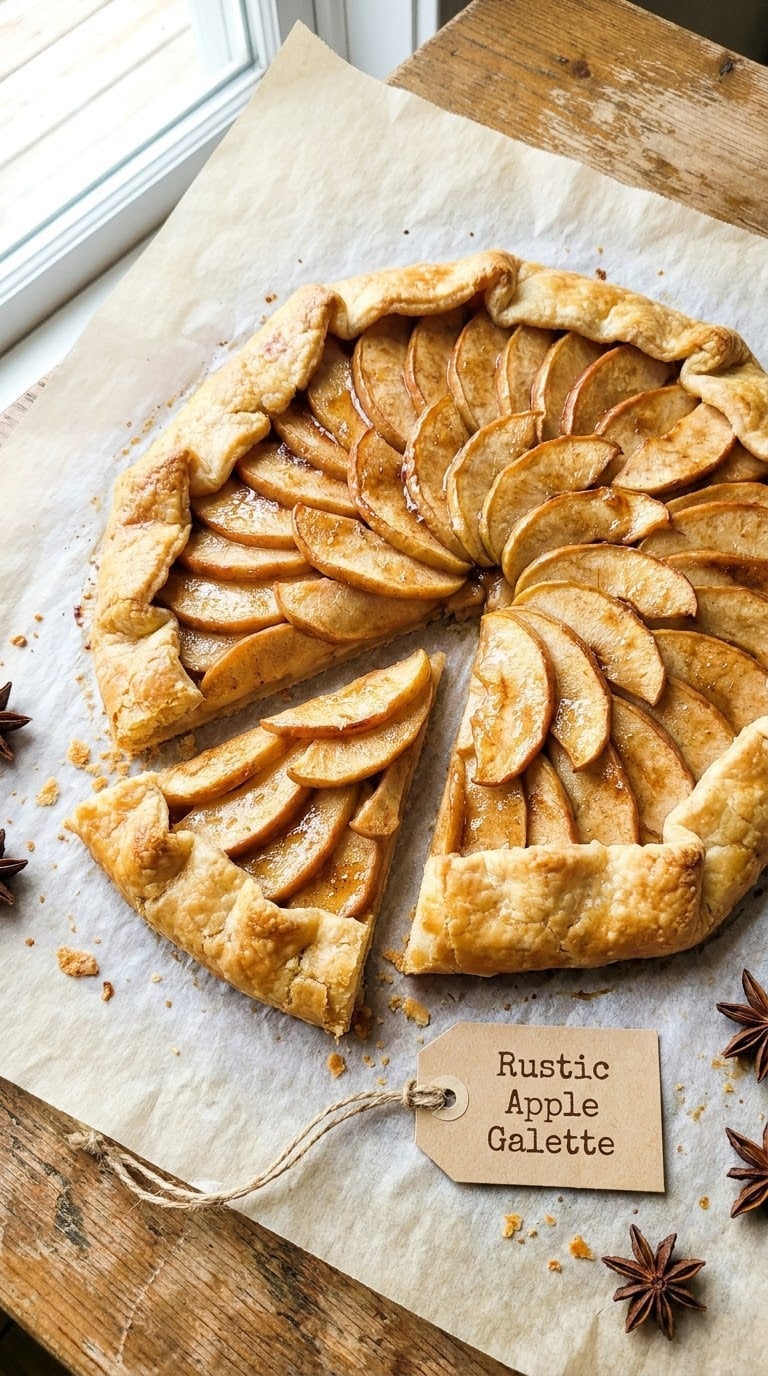
A galette is a free-form pie: one crust, no tin, and the filling is left visible in the middle. It looks like you did something impressive and takes about as long as a crisp, because the dough comes together in a single bowl with no chilling and no rolling pin.
Yield: 6 servings · Prep: 35 minutes · Cook: 40 minutes · Total: 1 hour 15 minutes · Difficulty: Easy
Ingredients
For the dough:
- 1 1/4 cups (155 g) all-purpose flour
- 1/2 teaspoon fine salt
- 10 tablespoons (140 g) cold unsalted butter, cubed
- 3 to 4 tablespoons ice water
For the filling:
- 3 medium firm apples, peeled and sliced 1/4 inch thick
- 1/3 cup (67 g) granulated sugar
- 1 tablespoon (8 g) all-purpose flour
- 1 teaspoon ground cinnamon
- 1/2 teaspoon pure vanilla extract
- 1 tablespoon lemon juice
- 1 large egg, beaten, for the egg wash
- 2 tablespoons coarse sugar, for the top
Instructions
- Heat the oven to 400°F (205°C). Line a baking sheet with parchment paper.
- Mix the flour and salt, then work in the cold butter with your fingertips until the mixture looks like coarse gravel, then add just enough ice water to bring it together. Do not knead it.
- Flatten the dough into a rough 10 inch round about 1/4 inch thick and transfer it to the prepared sheet, patching any cracks.
- Toss the apple slices with the sugar, flour, cinnamon, vanilla, and lemon juice.
- Arrange the slices in overlapping circles in the center of the dough, leaving a 2 inch border all the way around.
- Fold the border up over the fruit in about 8 pleats, press the pleats together, and brush the crust with egg wash and sprinkle with coarse sugar.
- Bake for 40 to 45 minutes, until the crust is deeply golden and the apple edges are caramelized.
- Rest for 15 minutes, then cut into wedges with a sharp knife.
Tip: Leave that 2 inch border alone. It is the steam vent, and filling the whole sheet with apples is what makes the center go soggy. Slide the baking sheet onto a wire rack the second it comes out so the bottom crust does not sit on a warm pan.
Swap it: Add 2 tablespoons finely chopped walnuts or a handful of dried cranberries to the filling. For a savory turn, skip the sugar and cinnamon and use sliced onion, 4 ounces of sharp cheddar, and black pepper instead.
Storage: Best the day it is baked, covered loosely, at room temperature for 2 days. It can be refrigerated for 3 days, though the crust softens. You can also roll and freeze the raw dough disc for up to 2 months and fill it when you are ready to bake.
4. Mini Apple Hand Pies
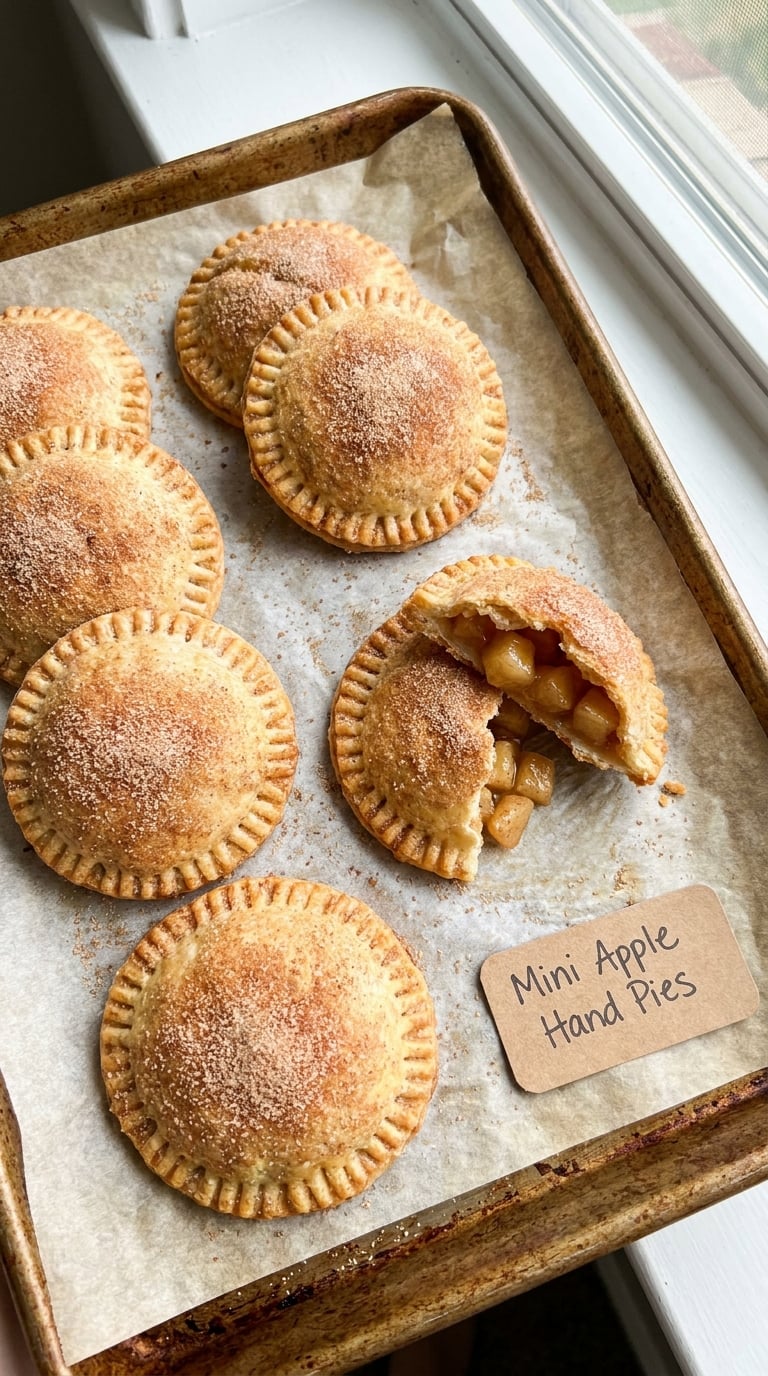
These use two sheets of refrigerated pie crust, so the whole thing is a filling job rather than a baking job. They are the recipe I make for a two-person household, because twelve small pies beat one big pie when you want dessert on a Wednesday.
Yield: 12 hand pies · Prep: 25 minutes · Cook: 20 minutes · Total: 45 minutes · Difficulty: Easy
Ingredients
- 2 sheets refrigerated pie crust at room temperature, about 15 minutes out of the fridge
- 2 medium apples, peeled and finely diced (about 1 1/2 cups)
- 1/4 cup (50 g) granulated sugar
- 1/3 cup (67 g) packed light brown sugar
- 1 tablespoon (8 g) all-purpose flour
- 1/2 teaspoon ground cinnamon
- 1/8 teaspoon ground nutmeg
- 1 tablespoon (14 g) unsalted butter, softened
- Pinch of fine salt
- 1 large egg, beaten, for the egg wash
- 1 tablespoon granulated sugar, mixed with 1/2 teaspoon ground cinnamon, for the tops
Instructions
- Heat the oven to 400°F (205°C) and line a baking sheet with parchment paper.
- Mix the diced apple with both sugars, flour, cinnamon, nutmeg, softened butter, and salt.
- Unroll the two crusts and cut six 4 inch circles from each sheet, then reroll the scraps and cut the remaining six.
- Set one circle on the sheet, spoon about 1 tablespoon of filling into the center, and leave a 1/2 inch border clear.
- Top with a second circle, press the edges together with a fork, and prick the top with a fork or toothpick so steam can escape.
- Brush with egg wash, sprinkle with the cinnamon sugar, and repeat with the remaining circles.
- Bake for 18 to 22 minutes, until the tops are deep golden and the filling is bubbling.
- Cool for 5 minutes on the sheet before moving them.
Tip: Fill no more than 1 tablespoon per pie. Every extra spoonful pushes juice straight out onto the baking sheet and onto the bottom crust, which is how you get a soggy little disc instead of a hand pie.
Swap it: Use 2 cups of your own cooked apple filling, cooled to room temperature, in place of the raw mixture. Half a can of apple pie filling also works in a pinch; just stir in 1/2 teaspoon cinnamon.
Storage: Keep at room temperature, covered, for 2 days, or refrigerate for up to 4 days and warm at 350°F (175°C) for 8 minutes. Unbaked hand pies freeze on a tray until solid, then transfer to a bag and keep frozen for up to 3 months; bake from frozen at 400°F (205°C), adding 5 to 7 minutes.
5. Easy Apple Bundt Cake
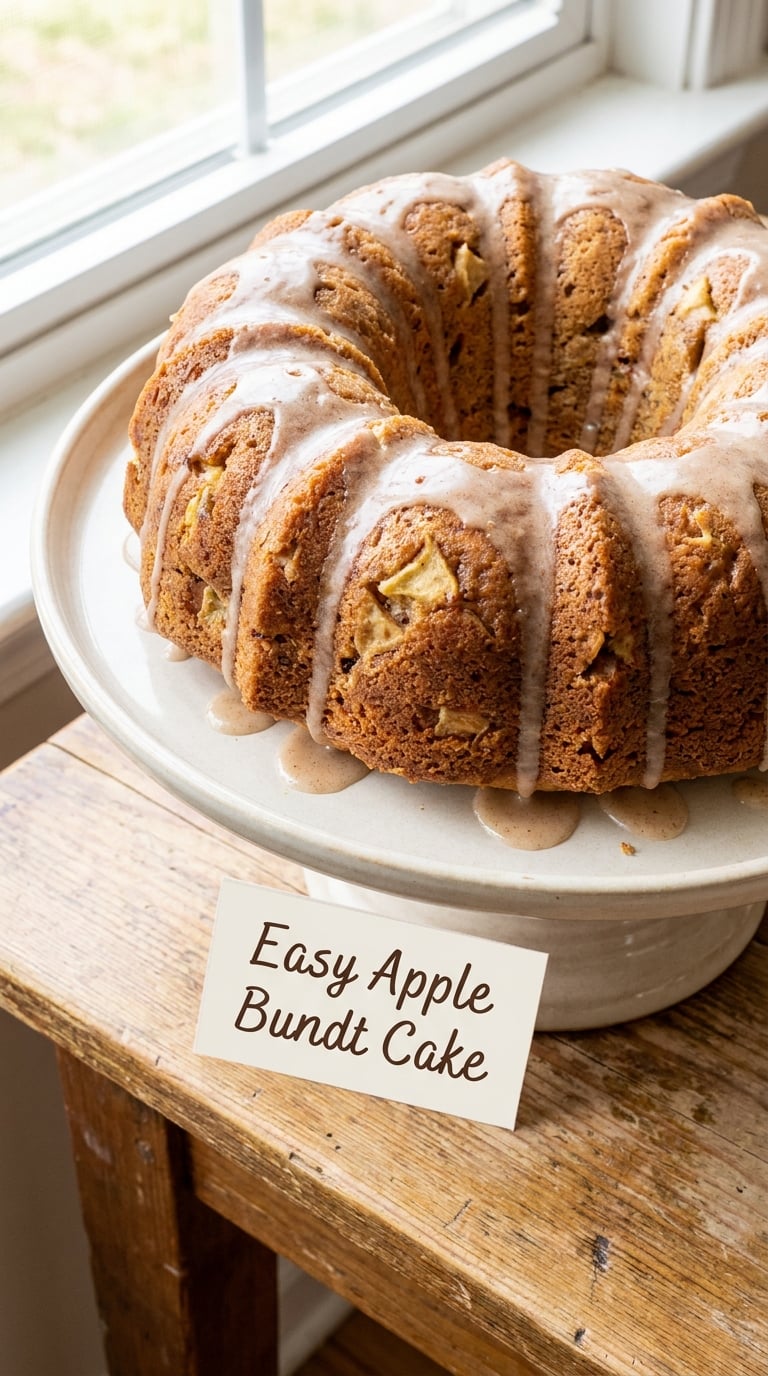
One bowl, one wooden spoon, no mixer, and a cinnamon glaze that makes it look like you planned ahead. This is the cake I bring to a potluck when I want something that holds up on a table for two hours.
Yield: 10 to 12 servings · Prep: 20 minutes · Cook: 55 minutes · Total: 1 hour 15 minutes · Difficulty: Easy
Ingredients
- 3/4 cup (170 g) unsalted butter, softened, plus more for the pan
- 3/4 cup (150 g) packed light brown sugar
- 1/2 cup (100 g) granulated sugar
- 2 large eggs
- 1 teaspoon pure vanilla extract
- 2 cups (250 g) all-purpose flour
- 1 1/2 teaspoons baking powder
- 1/2 teaspoon fine salt
- 1 teaspoon ground cinnamon
- 1/4 teaspoon ground nutmeg
- 1/2 cup (120 ml) apple cider
- 1 1/2 cups (180 g) peeled apples, diced small
For the glaze:
- 1 cup (120 g) powdered sugar
- 2 tablespoons (30 ml) milk
- 1/2 teaspoon ground cinnamon
- A few drops of water, if needed
Instructions
- Heat the oven to 350°F (175°C) and grease a 10 inch (25 cm) Bundt pan generously, getting into the ridges.
- Beat the butter and both sugars together until pale and fluffy, about 2 minutes, then beat in the eggs one at a time followed by the vanilla.
- In a separate bowl, whisk the flour, baking powder, salt, cinnamon, and nutmeg.
- Add the dry ingredients and the apple cider to the butter mixture in three additions, mixing gently until just combined.
- Fold in the diced apples, then fill the prepared pan two-thirds full and smooth the top.
- Bake for 50 to 60 minutes, until a skewer inserted into the thickest part comes out clean and the top springs back when pressed.
- Cool in the pan for 15 minutes, then turn out onto a rack, glaze, and serve.
Tip: Grease the pan properly, all the way down into the center tube, and dust it with a little flour. A Bundt that sticks usually tears out in pieces no amount of glaze can hide.
Swap it: Add 1/2 cup chopped walnuts to the batter for extra texture. For a lower-sugar version, swap the 1/2 cup of granulated sugar for 2 tablespoons of honey and add 2 extra tablespoons of cider if the batter looks tight.
Storage: Covered at room temperature for up to 3 days. It freezes for 3 months; wrap slices in plastic and foil, then thaw at room temperature or warm gently in a 325°F (160°C) oven. Glaze fresh, right before serving.
6. Soft Apple Cookies with Cinnamon
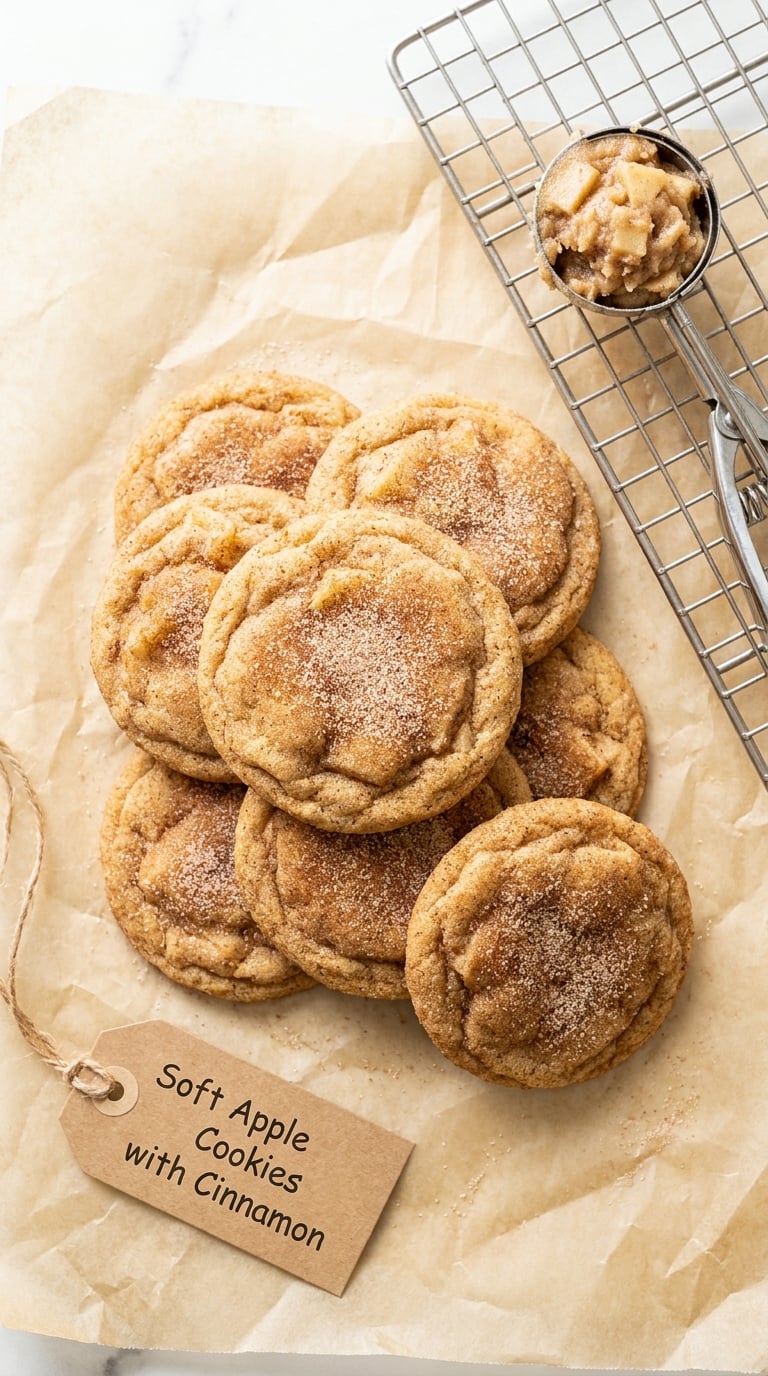
Grated apple is what makes these soft in the middle and keeps them chewy for two days, and a 2 tablespoon scoop keeps every one the same size so they finish baking at the same time. There is no chilling, so the whole batch is done in half an hour.
Yield: 24 cookies · Prep: 15 minutes · Cook: 12 minutes · Total: 30 minutes · Difficulty: Easy
Ingredients
- 1/2 cup (113 g) unsalted butter, softened
- 3/4 cup (150 g) packed light brown sugar
- 1/3 cup (67 g) granulated sugar
- 1 large egg
- 1 teaspoon pure vanilla extract
- 1 cup (120 g) apple, coarsely grated and squeezed dry
- 1 1/2 cups (190 g) all-purpose flour
- 1/2 teaspoon baking soda
- 1/2 teaspoon fine salt
- 1 teaspoon ground cinnamon
For the topping:
- 2 tablespoons (28 g) unsalted butter, melted
- 2 tablespoons (25 g) packed light brown sugar
- 1/2 teaspoon ground cinnamon
Instructions
- Heat the oven to 350°F (175°C) and line two baking sheets with parchment paper.
- Beat the softened butter and both sugars until creamy, then beat in the egg and vanilla.
- Whisk in the grated apple, then add the flour, baking soda, salt, and cinnamon, mixing only until the dough comes together.
- Using a 2 tablespoon scoop, place 24 balls of dough on the prepared sheets, spaced 2 inches apart.
- Brush the tops with melted butter and sprinkle with the brown sugar and cinnamon mix.
- Bake for 10 to 12 minutes, until the edges are set and the centers still look slightly underdone.
- Cool on the sheets for 5 minutes, then move to a rack. The cookies firm up as they cool.
Tip: Pull them out while the centers still look soft. They carry over as they cool, and the difference between a chewy cookie and a dry one is about two minutes of oven time.
Swap it: Add 1 cup (110 g) semisweet chocolate chips and reduce the cinnamon to 1/2 teaspoon. For a gluten-free version, use a 1:1 gluten-free flour blend and let the dough rest 10 minutes before scooping.
Storage: Keep in an airtight container at room temperature for 4 days, where they stay soft. They freeze flat in a bag for up to 3 months; a 30 second thaw in a 325°F (160°C) oven brings them back.
7. Apple Cinnamon Loaf Bread
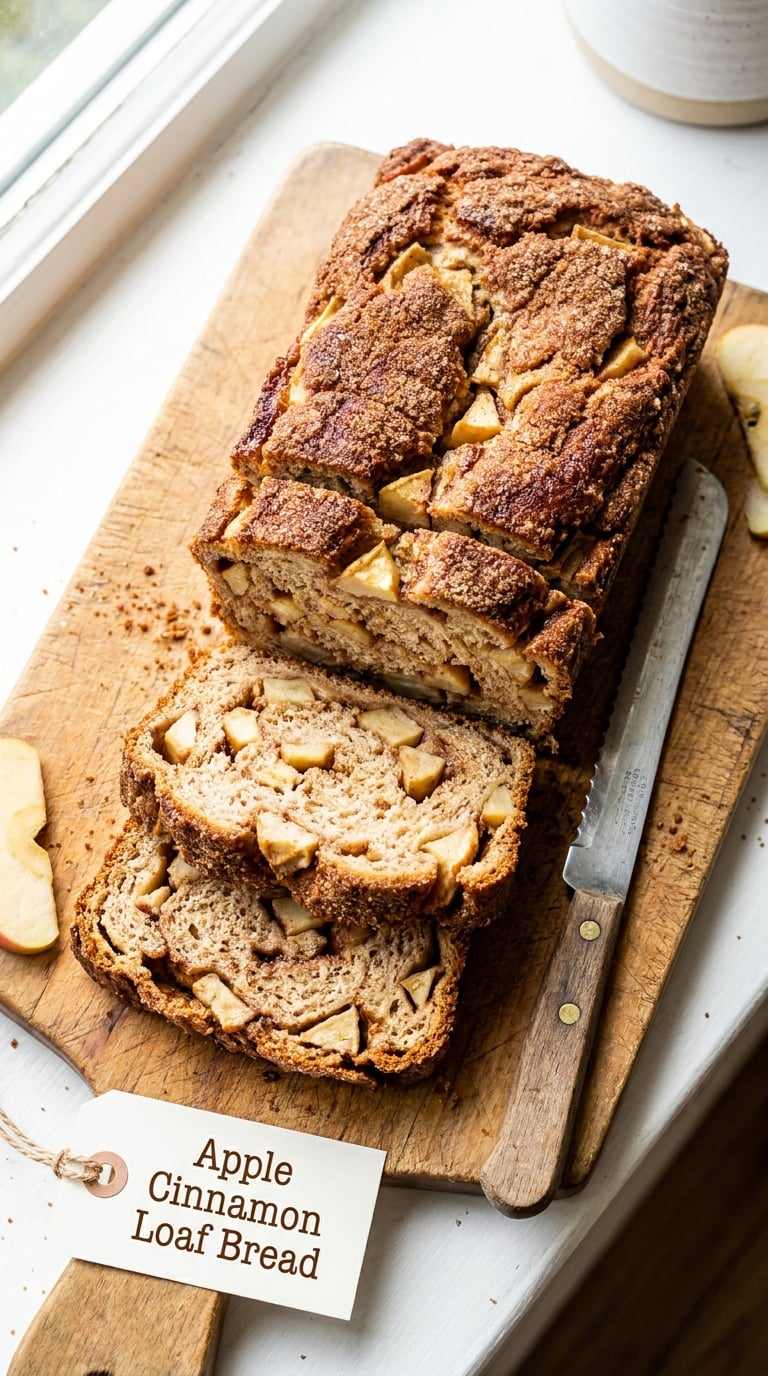
This is the loaf I bake the night before, so it is ready for breakfast and travels well to a gathering. Grated apple keeps the crumb moist for days, and the cinnamon-sugar top turns into a thin crackly shell as it bakes.
Yield: 1 loaf, 8 slices · Prep: 20 minutes · Cook: 55 minutes · Total: 1 hour 15 minutes · Difficulty: Easy
Ingredients
- 1 1/2 cups (190 g) all-purpose flour
- 1 teaspoon baking powder
- 1/4 teaspoon baking soda
- 1/2 teaspoon fine salt
- 1 teaspoon ground cinnamon
- 1/2 cup (113 g) unsalted butter, melted and cooled
- 1/2 cup (100 g) packed light brown sugar
- 1/3 cup (67 g) granulated sugar
- 2 large eggs
- 1 teaspoon pure vanilla extract
- 1/2 cup (120 ml) milk
- 3/4 cup (90 g) apple, coarsely grated and squeezed dry
For the top:
- 2 tablespoons (25 g) packed light brown sugar
- 1 teaspoon ground cinnamon
- 1 tablespoon (14 g) unsalted butter, melted
Instructions
- Heat the oven to 350°F (175°C) and line a 9 x 5 inch loaf pan with parchment paper, leaving an overhang.
- Whisk the flour, baking powder, baking soda, salt, and cinnamon together in a bowl.
- In a second bowl, whisk the melted butter, both sugars, eggs, and vanilla, then stir in the milk.
- Add the dry ingredients to the wet and stir just until the batter is smooth, then fold in the grated apple.
- Scrape the batter into the pan and spread it level, then scatter the brown sugar and cinnamon over the top and drizzle with melted butter.
- Bake for 50 to 55 minutes, until a skewer inserted into the center comes out clean and the top is golden brown.
- Cool in the pan for 15 minutes, then lift out by the parchment overhang and cool completely on a rack before slicing.
Tip: Squeeze the apple in a towel. Apples vary wildly in water content, and a loaf that looks right in the pan can bake up dense if the fruit was rinsed and not squeezed.
Swap it: Use melted coconut oil in place of the butter and unsweetened almond milk for a dairy-free loaf. Add 1/2 cup chopped walnuts, or 1/2 cup (80 g) dried cranberries and reduce the sugar by 2 tablespoons.
Storage: Wrapped, at room temperature for 3 days. It slices and freezes for up to 3 months, and the parchment liner lets you lift a frozen half-loaf straight out of the pan without it breaking. Toast slices for 3 minutes at 350°F (175°C).
8. Caramel Apple Turnovers
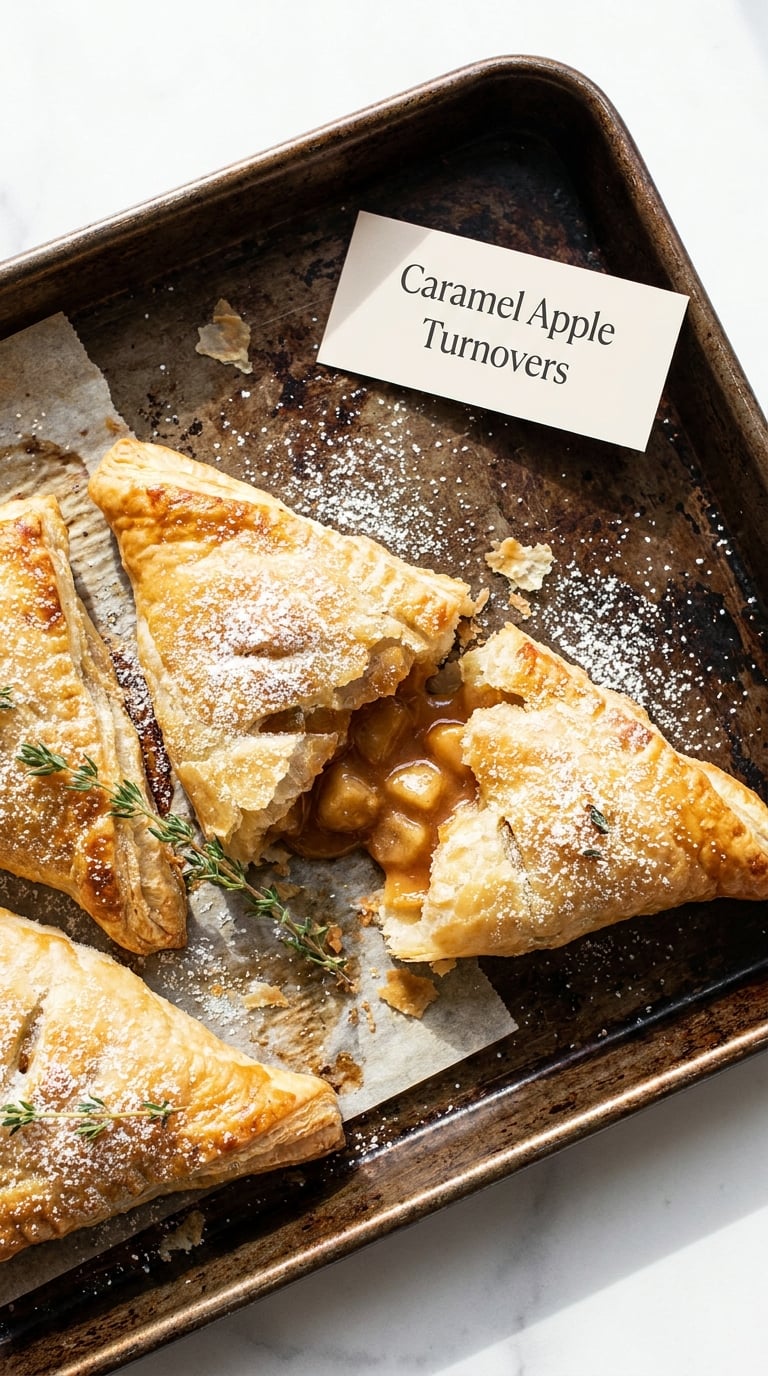
One sheet of puff pastry, one bowl of filling, and eight turnovers in under an hour. The caramel is cooked separately and cooled before it goes in, which is the detail that decides whether the pastry stays flaky or turns to paste.
Yield: 8 turnovers · Prep: 25 minutes · Cook: 22 minutes · Total: 45 minutes · Difficulty: Easy
Ingredients
- 1 sheet all-butter puff pastry, thawed in the fridge for 8 hours or overnight
- 2 medium apples, peeled and diced small (about 1 1/2 cups)
- 1/3 cup (67 g) packed light brown sugar
- 1 tablespoon (8 g) all-purpose flour
- 1 teaspoon ground cinnamon
- 1/8 teaspoon ground nutmeg
- Pinch of fine salt
- 1 tablespoon lemon juice
- 1/4 cup (60 ml) caramel sauce, homemade or store-bought, cooled to room temperature
- 1 large egg, beaten, for the egg wash
- 2 tablespoons coarse sugar
Instructions
- Heat the oven to 400°F (205°C) and line a baking sheet with parchment paper.
- Cook the diced apples with the brown sugar, flour, cinnamon, nutmeg, salt, and lemon juice in a skillet over medium heat for 6 to 8 minutes, until the juices thicken and the apples are soft but still hold their shape.
- Let the filling cool to room temperature, then stir in the caramel sauce.
- Roll the puff pastry out to a 10 x 12 inch rectangle on a lightly floured surface and cut it into 4 squares.
- Place a 2 tablespoon mound of filling in the center of each square, leaving a 1 inch border.
- Fold each square into a triangle along the diagonal, pinch the seam closed with your fingers, and crimp the edges with a fork.
- Brush with egg wash, scatter with coarse sugar, and refrigerate for 10 minutes while the oven finishes heating.
- Bake for 20 to 25 minutes, until the pastry is deeply golden and puffed at the seams.
Tip: Never pour hot caramel into puff pastry, and never pour it in a cold pan either. Warm filling melts the butter in the dough, and that is the whole reason the underside goes flat and chewy instead of flaky. Cool it on a plate for 10 minutes first.
Swap it: Use 1/2 cup well-drained canned apple pie filling for the apple base and add 2 tablespoons caramel. For an apple-rosemary version, leave out the cinnamon and add 1 teaspoon fresh chopped rosemary and a pinch of sea salt.
Storage: Best within 4 hours of baking, but they keep in an airtight container at room temperature for 2 days. Reheat at 350°F (175°C) for 8 minutes so the pastry re-crisps. Unbaked turnovers can be frozen flat for up to 2 months and baked from frozen, adding 5 minutes.
9. Apple Streusel Bars
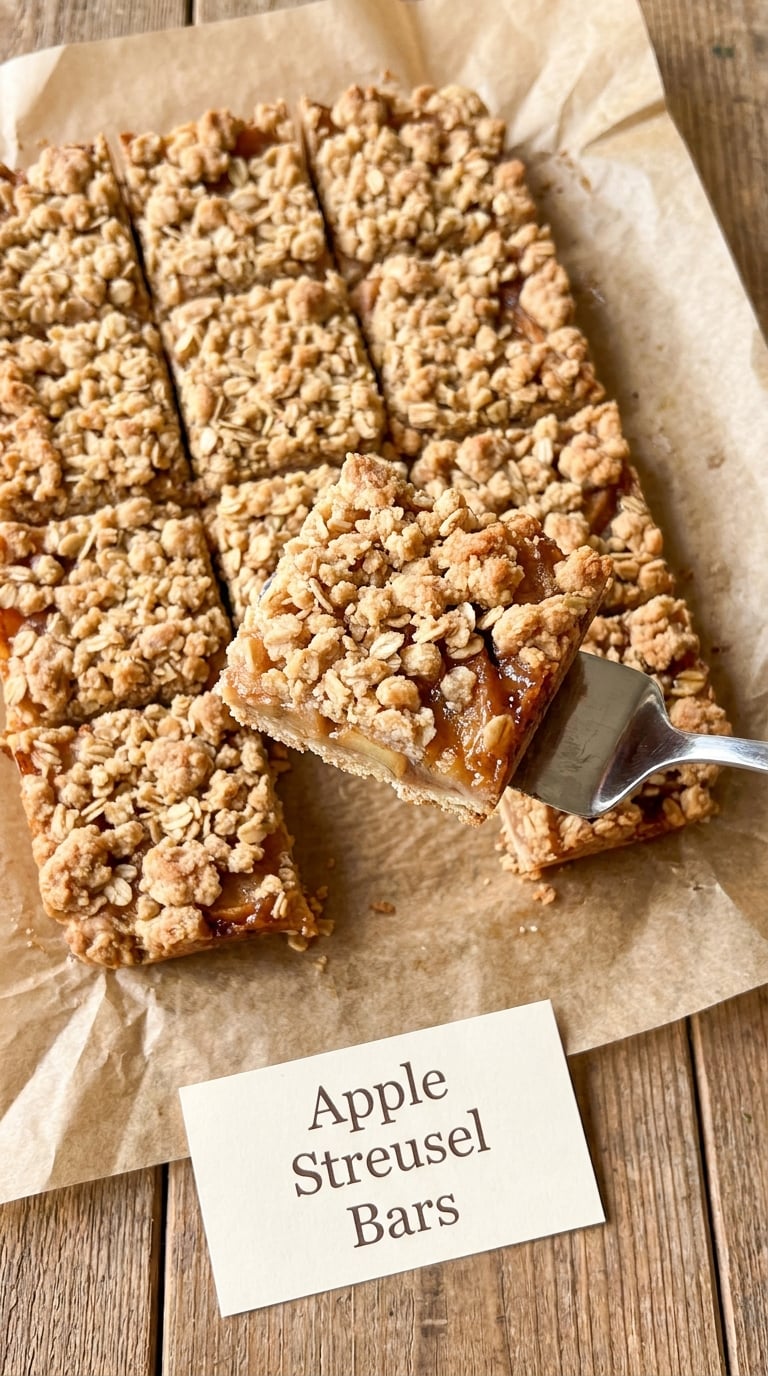
These are the bars to make when the dessert has to travel, because they hold together in a lunchbox, a car, or a Tupperware on the way to a gathering. It is an oat cookie base, a spiced apple layer, and a streusel top, baked in one pan.
Yield: 9 bars, 3 x 3 inch · Prep: 20 minutes · Cook: 38 minutes · Total: 50 minutes · Difficulty: Easy
Ingredients
For the base:
- 1 1/2 cups (190 g) all-purpose flour
- 1/4 cup (50 g) granulated sugar
- 1/2 teaspoon fine salt
- 10 tablespoons (140 g) cold unsalted butter, cubed
- 3 to 4 tablespoons ice water
For the apple layer:
- 3 medium apples, peeled and diced small (about 3 cups)
- 1/2 cup (100 g) packed light brown sugar
- 1 teaspoon ground cinnamon
- 1/4 teaspoon ground nutmeg
- 1 tablespoon (8 g) cornstarch
- 1 tablespoon lemon juice
For the streusel:
- 1/2 cup (60 g) all-purpose flour
- 1/3 cup (67 g) packed light brown sugar
- 1/2 cup (45 g) old-fashioned rolled oats
- 1/2 teaspoon ground cinnamon
- 5 tablespoons (70 g) cold unsalted butter, cubed
Instructions
- Heat the oven to 350°F (175°C) and line a 9 x 9 inch pan with parchment paper.
- Rub the cold butter into the flour, sugar, and salt, then add ice water a spoonful at a time until the dough clumps. Press it evenly into the bottom of the pan.
- Stir the cornstarch into the apple layer ingredients, then spread the apples over the crust in an even layer.
- Rub the streusel butter into the flour, brown sugar, oats, and cinnamon, then scatter it over the apples without pressing it down.
- Bake for 35 to 38 minutes, until the streusel is golden and the apple layer is bubbling thickly at the edges.
- Cool in the pan for 20 minutes, then lift out by the parchment and cut into 9 squares.
Tip: Add the cornstarch after you have measured the apples, and mix it into the dry sugar first. Sprinkling flour or starch over wet fruit leaves you with lumps that never dissolve, which is the grainy texture people blame on the apples.
Swap it: Add 1/3 cup chopped pecans to the streusel, or swap half the brown sugar for maple syrup. To make it gluten-free, use a 1:1 baking flour blend in both the base and the streusel.
Storage: Covered at room temperature for 3 days, or in the fridge for up to 5. They freeze well for 2 months; warm a square in a 325°F (160°C) oven for 10 minutes and the streusel comes back crisp.
10. Easy Apple Pie
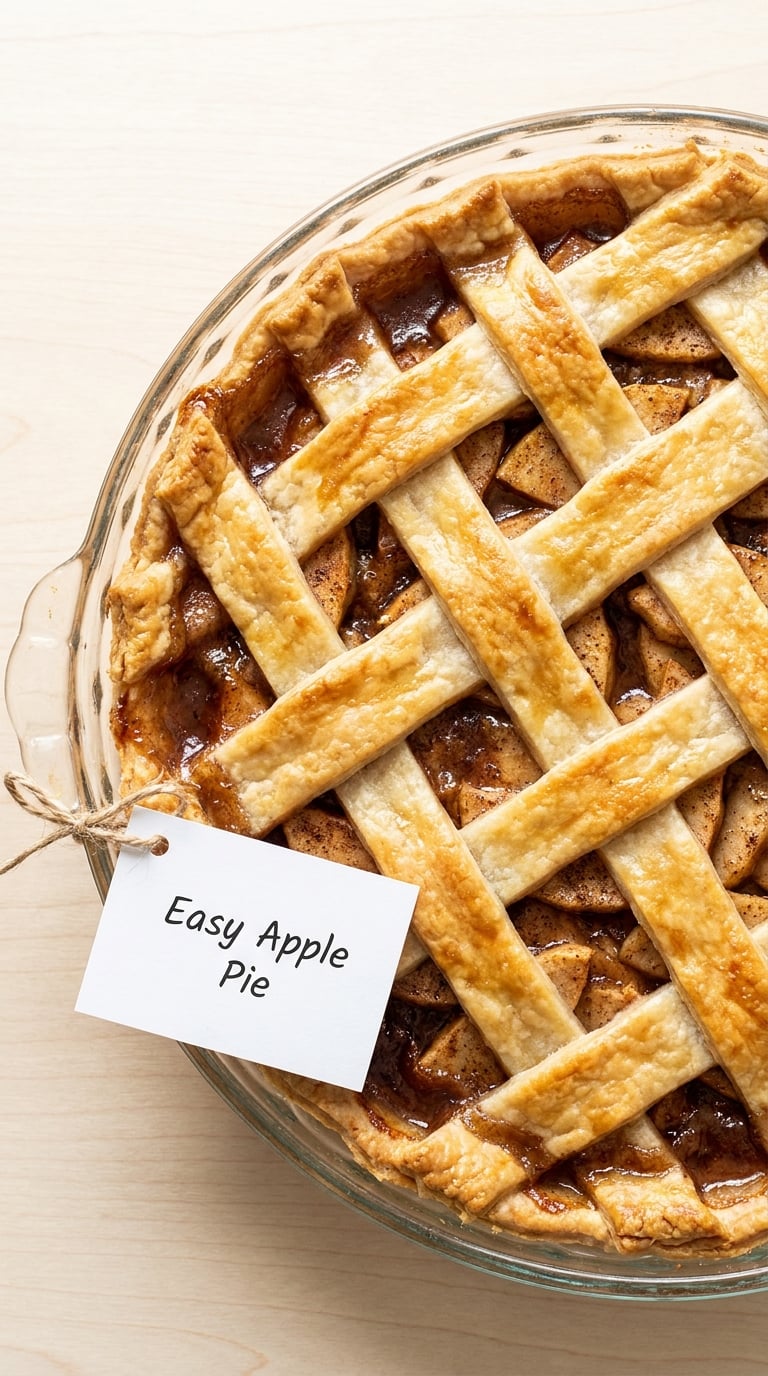
Two store-bought crusts, a filling cooked on the stovetop, and a lattice top that looks like a holiday bake. Cooking the filling first is the whole trick: it thickens the juices so the bottom crust stays crisp and the slices hold together on a plate.
Yield: 8 servings · Prep: 30 minutes · Cook: 65 minutes · Total: 1 hour 35 minutes · Difficulty: Easy
Ingredients
- 2 refrigerated pie crusts at room temperature, 9 inch, plus 1 extra crust if you want a full lattice top
- 3 pounds (1.4 kg) firm apples, such as Honeycrisp, Braeburn, or a mix, peeled, cored, and sliced 1/4 inch thick
- 3/4 cup (150 g) granulated sugar
- 2 tablespoons (16 g) all-purpose flour
- 1 teaspoon ground cinnamon
- 1/2 teaspoon ground nutmeg
- Pinch of fine salt
- 1 tablespoon lemon juice
- 1 tablespoon (14 g) unsalted butter
- 1 large egg, beaten, for the egg wash
- 2 tablespoons coarse sugar
Instructions
- Place one crust in a 9 inch pie dish, press it into the corners, and leave it unrefrigerated while you make the filling.
- Combine the sugar, flour, cinnamon, nutmeg, salt, and lemon juice in a large bowl, then add the apple slices and toss just until coated.
- Cook the apples in a large skillet over medium heat for 8 to 10 minutes, stirring occasionally, until they soften and the juices thicken to a syrup you can drag a spoon through.
- Stir in the butter, then transfer the filling to a bowl and let it cool for 15 minutes. Fill the crust with it, mounding the apples slightly in the center.
- Crimp the top crust around the edge, or cut eight 1 inch wide strips for a lattice and weave them over the filling, tucking the ends under the rim.
- Brush the top with egg wash, sprinkle with coarse sugar, and drape a sheet of foil loosely over the pie.
- Bake at 425°F (215°C) for 15 minutes, then remove the foil, drop the oven to 375°F (190°C), and bake for 45 to 55 minutes more, until the crust is deep golden and the filling bubbles up thickly through the lattice.
- Cool on a rack for at least 3 hours, or overnight, before slicing. Warm it gently if you like, but a pie that has rested cuts cleanly.
Tip: The 425°F start followed by a lower temperature is not a gimmick. The hot blast sets the butter in the crust so the bottom can stand up to a wet filling, and the lower finish cooks the apples without burning the top.
Swap it: Use 1/3 cup less sugar and add 1 tablespoon apple butter; long-baked apples hold up to less sugar. A sprinkle of 1/2 cup (80 g) dried cranberries or 1/2 cup chopped walnuts in the filling gives you a Thanksgiving-turkey table texture.
Storage: Loose foil at room temperature for 2 days, or refrigerated for up to 4 days. Baked pie freezes for 2 to 3 months; reheat a slice at 325°F (160°C) for 15 minutes to bring back the flakiness. This pie contains dairy, egg, and gluten.
Tips for Making These Apple Recipes
- Pick a firm apple. Granny Smith, Honeycrisp, Braeburn, Golden Delicious, and Jonagold hold their shape. McIntosh, Gala, Fuji, and Red Delicious break down into sauce, which is why the filling turns to mush and the slices collapse on the plate.
- Control the water before you control the oven. Squeeze grated apple in a towel, and toss sliced apples with a tablespoon of lemon juice the moment you cut them. A thin brown rim on a cut apple is where the extra liquid goes.
- Put the thickener in before the liquid. Whisk flour or cornstarch together with the sugar first, then add that dry mix to the fruit. Sprinkling thickener over wet apples leaves you with grainy pockets that never dissolve.
- Weigh the flour. Scooping from the measuring cup is the most common reason a loaf or a cake comes out dense. A cup of flour can vary by a quarter cup depending on how you scoop it.
- Read the crust, not the clock. Apple bakes finish when the edges are set and the center still gives a little, and every one of these keeps baking after it leaves the oven. Pulling early gives you the center-cooked, top-burnt result everyone dreads.
- Cool before you cut or freeze. Fruit desserts set as they cool, and warm filling turns any crust, bar, or hand pie soft in storage. A pie rested overnight slices cleanly enough to eat upright.
Almost every recipe here contains dairy, egg, and gluten. If you are baking for someone with a nut allergy, keep the add-in walnuts and pecans off the base recipe, since streusel and crumble toppings are the usual place they hide. A dedicated nut-free oat crumble keeps the topping crumbly without them.
If the bake is part of a bigger fall weekend, the easy fall dinner ideas for a family list keeps the rest of the menu from competing with dessert. For the visual side of the season, the cozy fall baking aesthetic ideas guide covers platters and styling for whatever ends up on your table.
Frequently Asked Questions
Which type of apple is best for fall baking?
Granny Smith, Honeycrisp, Braeburn, Golden Delicious, and Jonagold are the best baking apples because they are firm and keep their shape in the oven. Avoid McIntosh, Gala, Fuji, and Red Delicious for pies and crisps, since they break down into applesauce and leave you with a watery filling. Honeycrisp is delicious but juicy, so add a spoonful extra thickener when it is the only apple in the dish.
Do I need to peel apples before using them in these recipes?
Peel for pies, crisps, hand pies, and turnovers, where skin gets tough and chewy in long bakes. Leave it on for muffins, loaf bread, and cookies, where grated skin adds moisture and you never notice it. If you want to save time, peel a whole batch with a Y-peeler, drop the slices into lemon water, and drain them while you set up the rest of the bake.
How do I keep the apple filling from making the pastry soggy?
Four things do most of the work. Use firm apples, since soft ones release far more liquid. Add the flour or cornstarch before the liquid, mixed in with the sugar, so it distributes evenly. Cook the filling down and let it cool before it goes into the crust. Then protect the pastry: bake at 425°F (215°C) for the first 15 minutes and cool the finished pie on a rack, not on a warm countertop.
Can I make these apple recipes ahead of time?
Yes, and most of them get better for it. Apple crisp, galette, bars, and pie can be assembled the day before and baked the next morning, chilled. Muffins, loaf bread, and cookies keep for three days covered at room temperature. Unbaked hand pies and turnovers freeze flat for two to three months and bake straight from frozen, adding five to seven minutes.
What is the easiest apple recipe for a beginner baker?
The classic apple crisp. There is no crust to roll, no lattice to weave, and nothing that can collapse if you rush it. You toss apples with sugar and spices, rub butter into a dry topping, and bake 40 minutes. If the topping browns a minute faster than you expected, it is still good, which is exactly the freedom a first bake needs.
Can I freeze baked apple cookies, muffins, and quick breads?
Yes, and they thaw well. Cool them completely on a rack first, then wrap each one individually in plastic and foil so the moisture stays in. Cookies and muffins freeze for up to three months, quick breads for three as well, and whole apple pies for two to three. Warm anything straight from the freezer in a 325°F (160°C) oven rather than the microwave, so the crust or crumb does not go damp.
Bake Your Favorite Fall Apple Treat First
Start with the classic apple crisp. It is forgiving in every direction: the topping cannot fail, the filling cannot break, and it feeds eight from a dish most people already own. If you want a second bake this month, the soft apple cookies take half an hour and leave you with a freezer full.
That is the whole list. Ten easy apple recipes for fall baking, each one short on technique and long on the smell in your kitchen, and every one of them better for the week of the orchard haul than any other week of the year.