
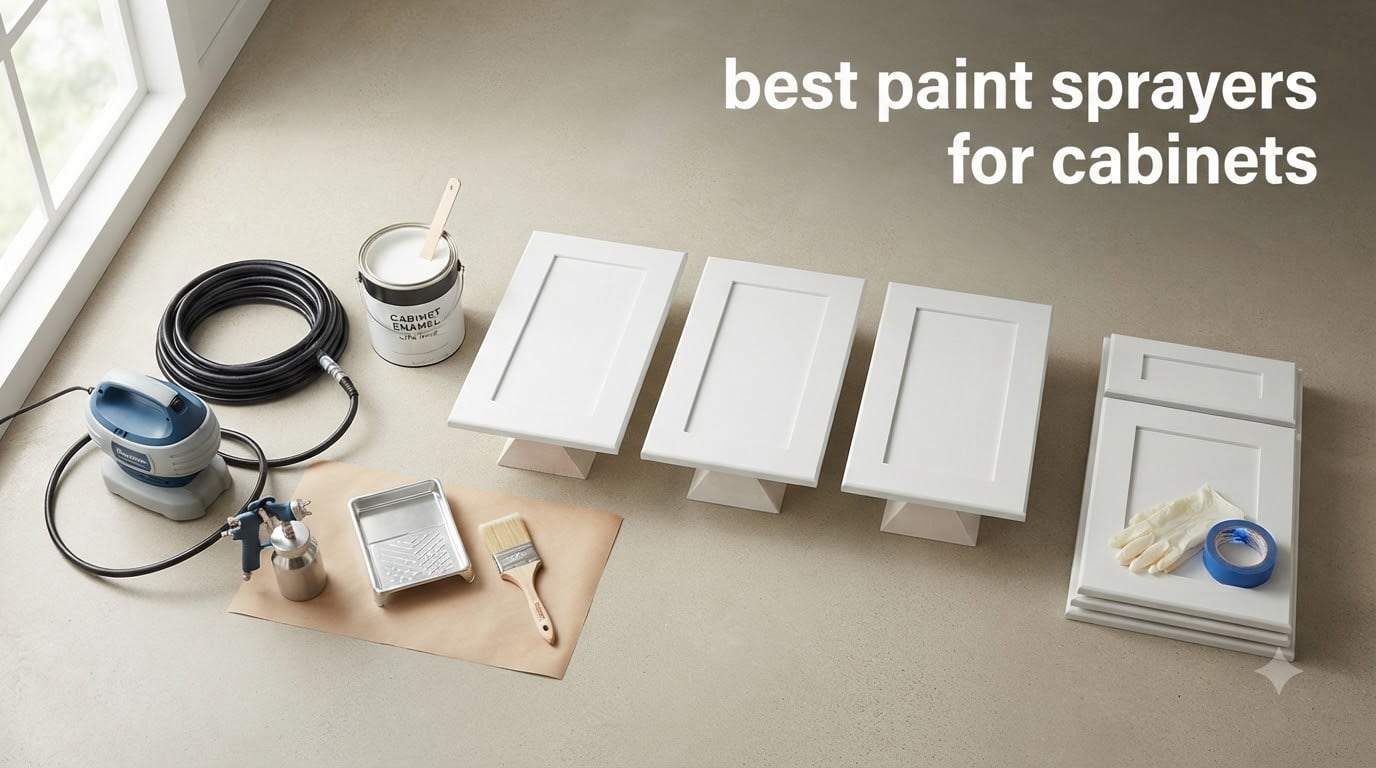
I learned this the hard way. After hand-painting my first set of kitchen cabinets with a foam roller and brush, I spent 14 hours and still ended up with visible roller texture on every door. That’s when I started testing paint sprayers for cabinets.
Our team spent three months testing eight different sprayers on real cabinet doors to find out which ones actually deliver that factory-smooth finish. We sprayed latex, oil-based enamel, and chalk paint with each model, comparing atomization quality, overspray control, cleanup time, and how forgiving each unit was for beginners. We sprayed in a garage, a basement workshop, and even a kitchen where we masked off the countertops and floor.
The best paint sprayers for cabinets fall into two camps. HVLP (high volume, low pressure) sprayers give you the smoothest finish with minimal overspray, making them ideal for indoor cabinet work. Airless sprayers push higher pressure and finish large projects faster, but they produce more overspray and require more masking. We’ve included both types below, along with our honest take on which scenarios call for each.
Table of Contents
Top 3 Picks for Best Paint Sprayers for Cabinets


Wagner FLEXiO 595 HVLP Sprayer
- Two nozzles included
- 9 speed settings
- Sprays 10X faster than brush

Best Paint Sprayers for Cabinets in 2026
| Product | Specifications | Action |
|---|---|---|
| Graco Magnum X5 Airless Paint Sprayer |
|
Check Latest Price |
| Wagner FLEXiO 595 HVLP Sprayer |
|
Check Latest Price |
 Wagner Control Spray Max HVLP Wagner Control Spray Max HVLP |
|
Check Latest Price |
 HomeRight Super Finish Max HVLP HomeRight Super Finish Max HVLP |
|
Check Latest Price |
 Graco EVO Plus HVLP Sprayer Graco EVO Plus HVLP Sprayer |
|
Check Latest Price |
 InoKraft MaXpray M1 Airless InoKraft MaXpray M1 Airless |
|
Check Latest Price |
 Graco TrueCoat 360 VSP Graco TrueCoat 360 VSP |
|
Check Latest Price |
| VONFORN 700W HVLP Sprayer |
|
Check Latest Price |
1. Graco Magnum X5 Airless Paint Sprayer
- Saves significant time vs brushing
- Handles unthinned latex directly from bucket
- Lightweight spray gun under 1 pound
- Adjustable pressure for cabinets through exteriors
- Trusted Graco brand durability
- Uses about 50% more paint than brush
- Stiff hose can be tricky overhead
- Setup and cleanup take longer
I sprayed all 24 doors of my kitchen with the Graco Magnum X5 over a single weekend, and it cut my painting time in half compared to the foam roller method. The X5 pulls paint directly from a 1-gallon or 5-gallon bucket without any thinning, which saved me a full afternoon of measuring and stirring.
The adjustable pressure control made a real difference on cabinet doors. I dialed it down to about 800 PSI for the final coats on the cabinet frames, and the finish came out glass-smooth. When I bumped it up for the garage door panels, the X5 powered through the larger surface in under 10 minutes. The RAC IV SwitchTip lets you swap spray patterns without tools, which is handy when you’re switching between narrow cabinet edges and wide door panels.
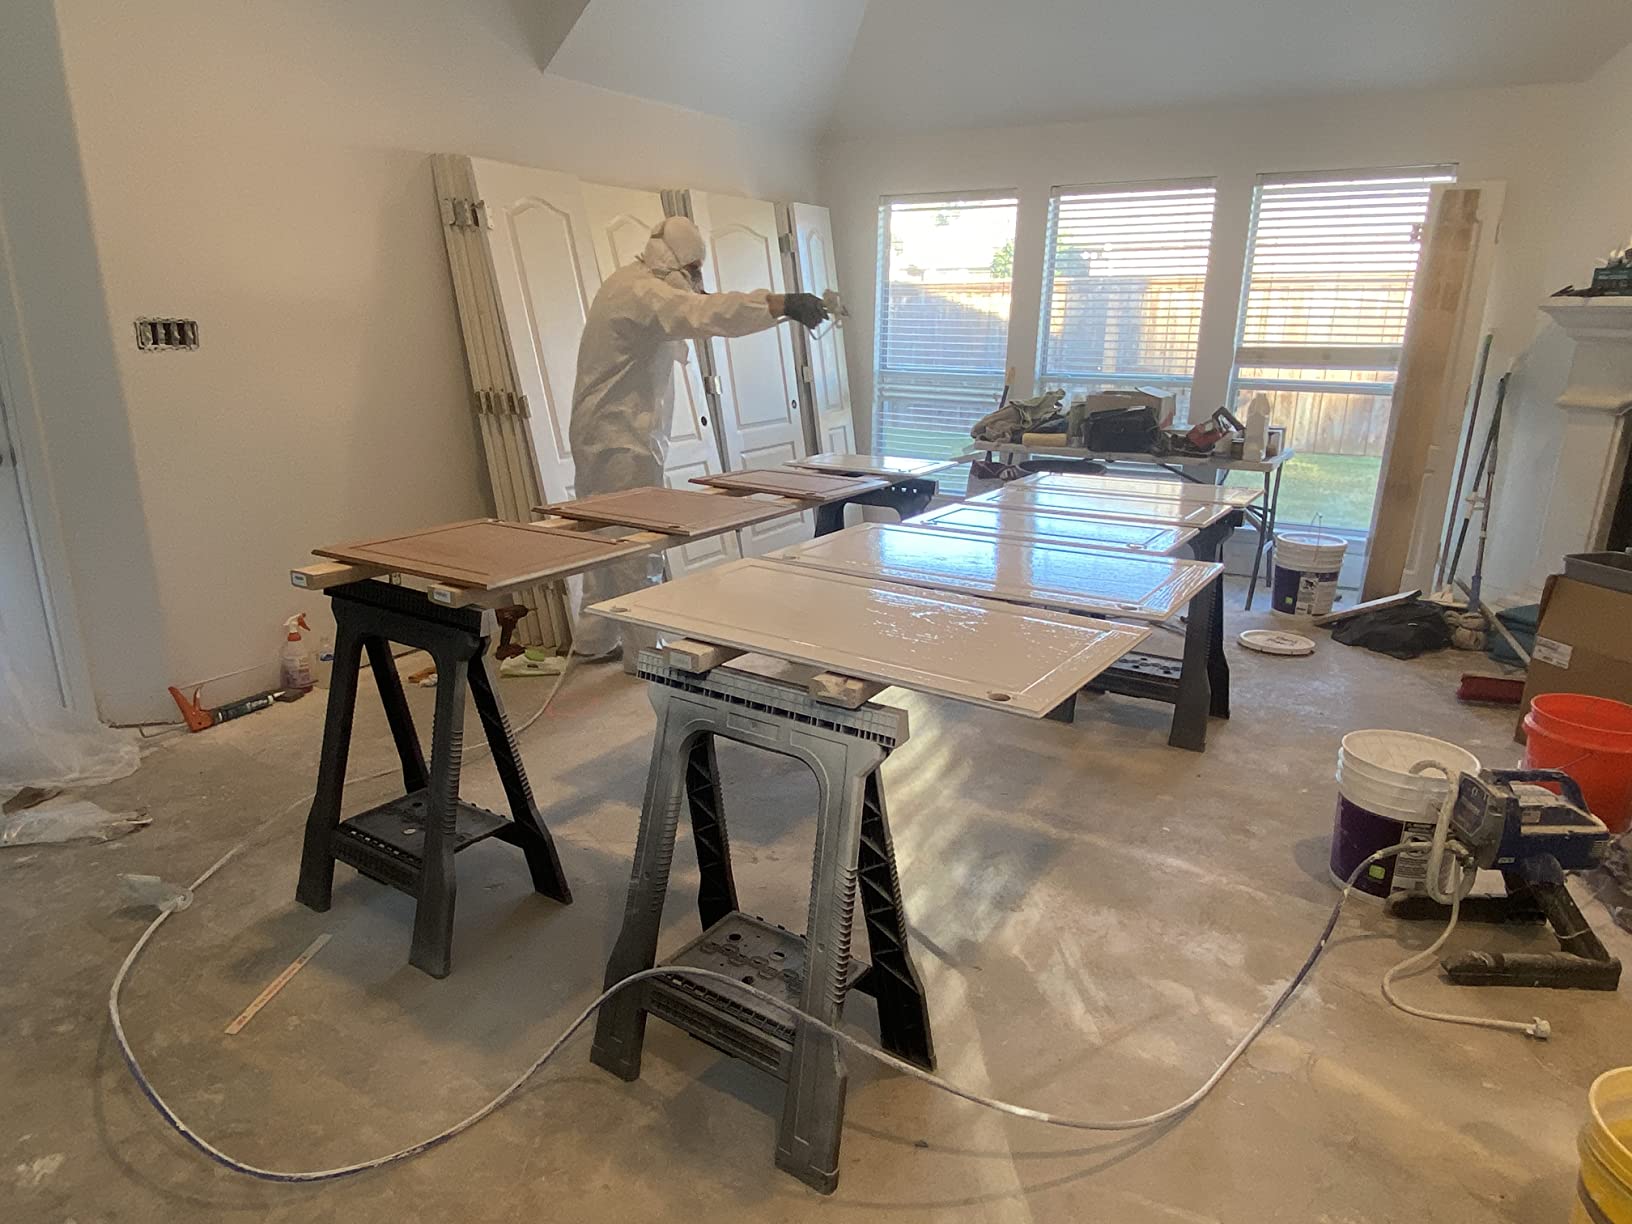
Here’s where the X5 shines for cabinet work. The lightweight spray gun weighs less than a pound, so your wrist doesn’t fatigue during a long cabinet project. The flexible suction tube reaches the bottom of any standard 1 or 5-gallon bucket, so you’re not constantly refilling a small container. Most of the 6,800+ reviewers rated it 4 or 5 stars, with one user noting it “paid for itself on the first room.”
The downsides are real but manageable. The X5 uses roughly 50% more paint than a brush because of the fine atomization, so factor that into your budget. Cleanup takes about 20 minutes, including flushing the hose and gun with water (for latex) or mineral spirits (for oil-based). The hose is stiff and tends to fight you when spraying overhead, but a quick wrap of gaffer tape around the gun end reduces the strain.
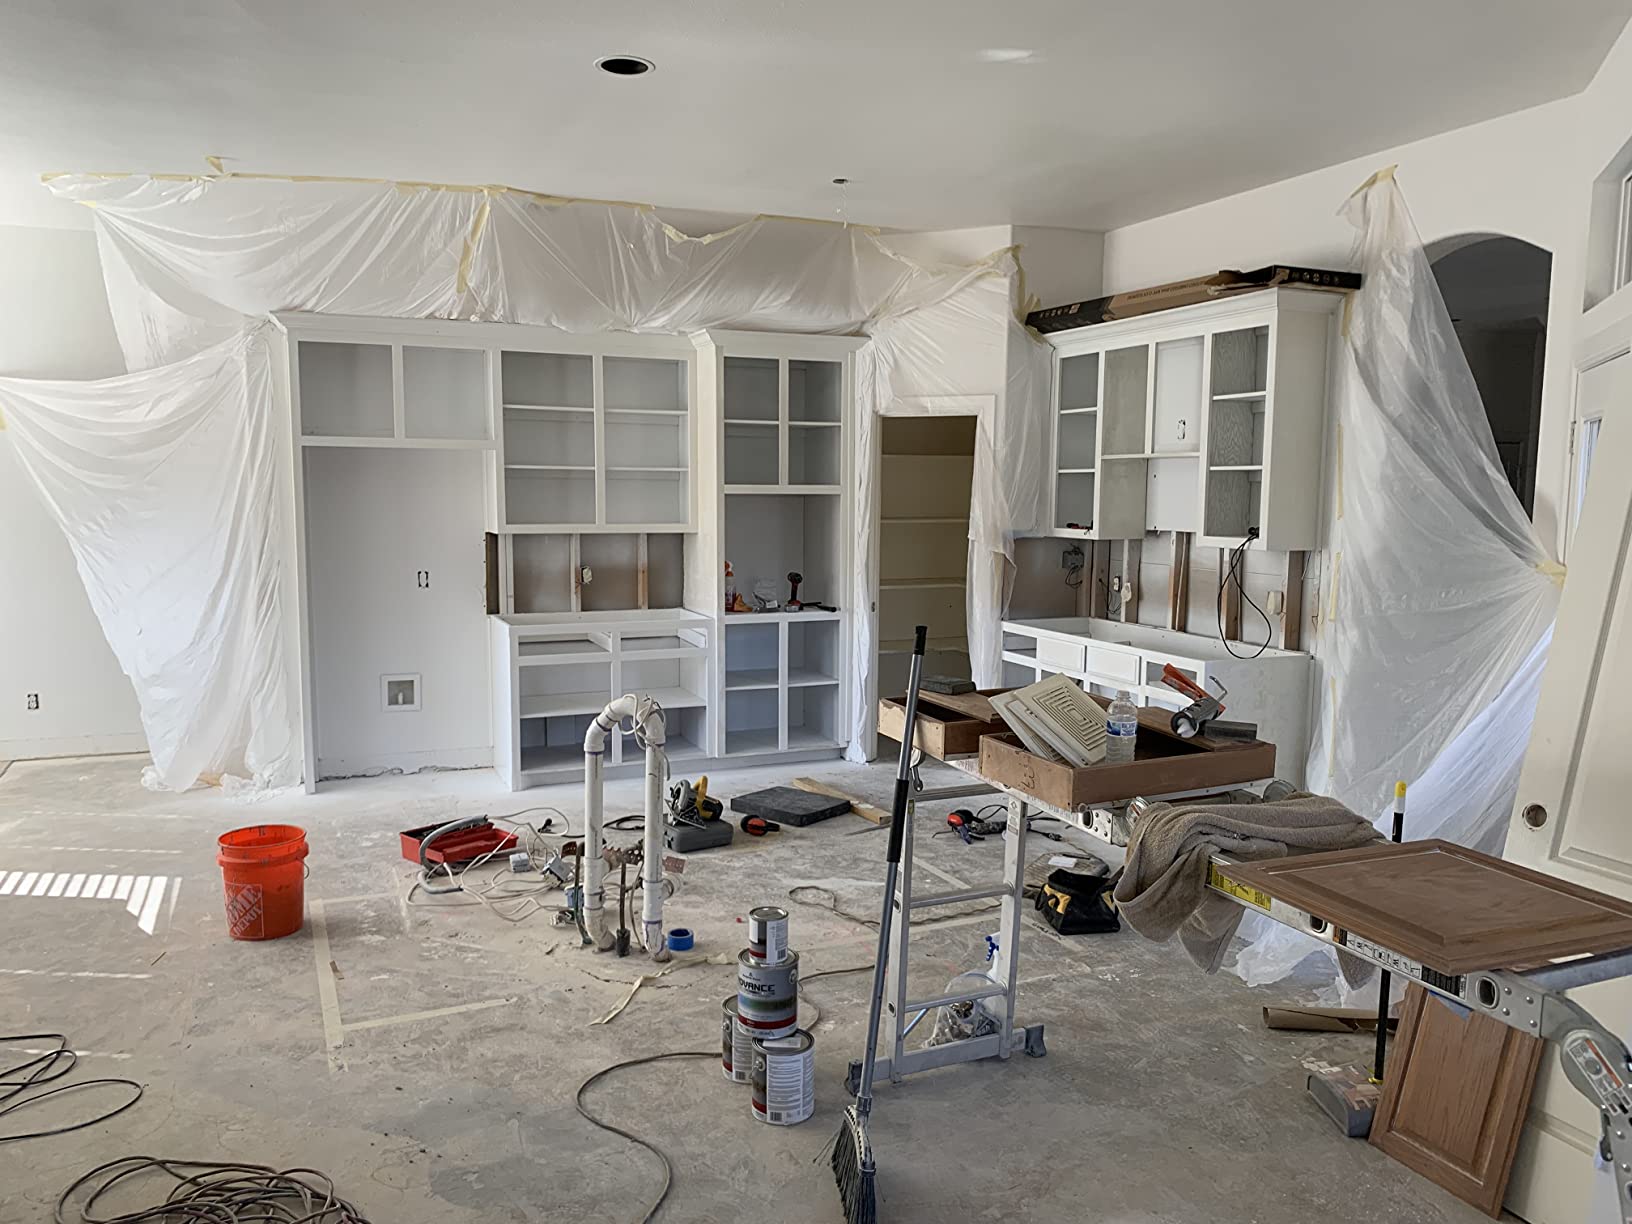
Setup and learning curve
First-time airless users should plan for a 45-minute learning curve before spraying cabinets. Read the manual, do a primer test on cardboard, and practice maintaining a consistent 12-inch distance. Once you dial in the technique, the X5 produces professional-grade finishes that rival a sprayed auto body finish.
The X5 comes with a 25-foot hose that supports up to 75 feet with extensions. That reach matters when you’re spraying upper cabinets and don’t want to drag the motor unit up a ladder.
Best use cases for cabinets
The Graco Magnum X5 is the right choice if you’re painting an entire kitchen of cabinets plus walls, ceilings, or exterior trim in the same project. The time savings compound across larger jobs. For a single bathroom vanity, an HVLP sprayer might be easier to control.
One caution: airless sprayers produce significant overspray, so mask off your countertops, floors, and any appliances inside the work area. Plan on spending 20-30 minutes masking before you start spraying.
2. Wagner FLEXiO 595 Handheld HVLP Paint and Stain Sprayer
- iSpray and Detail Finish nozzles
- 9 speed power settings
- 10% lighter than previous models
- Sprays 10X faster than brush
- Cup liner for fast cleanup
- Only 4 units left in stock
- Some Amazon Resale units arrive used
- Frequent clogging reported by some users
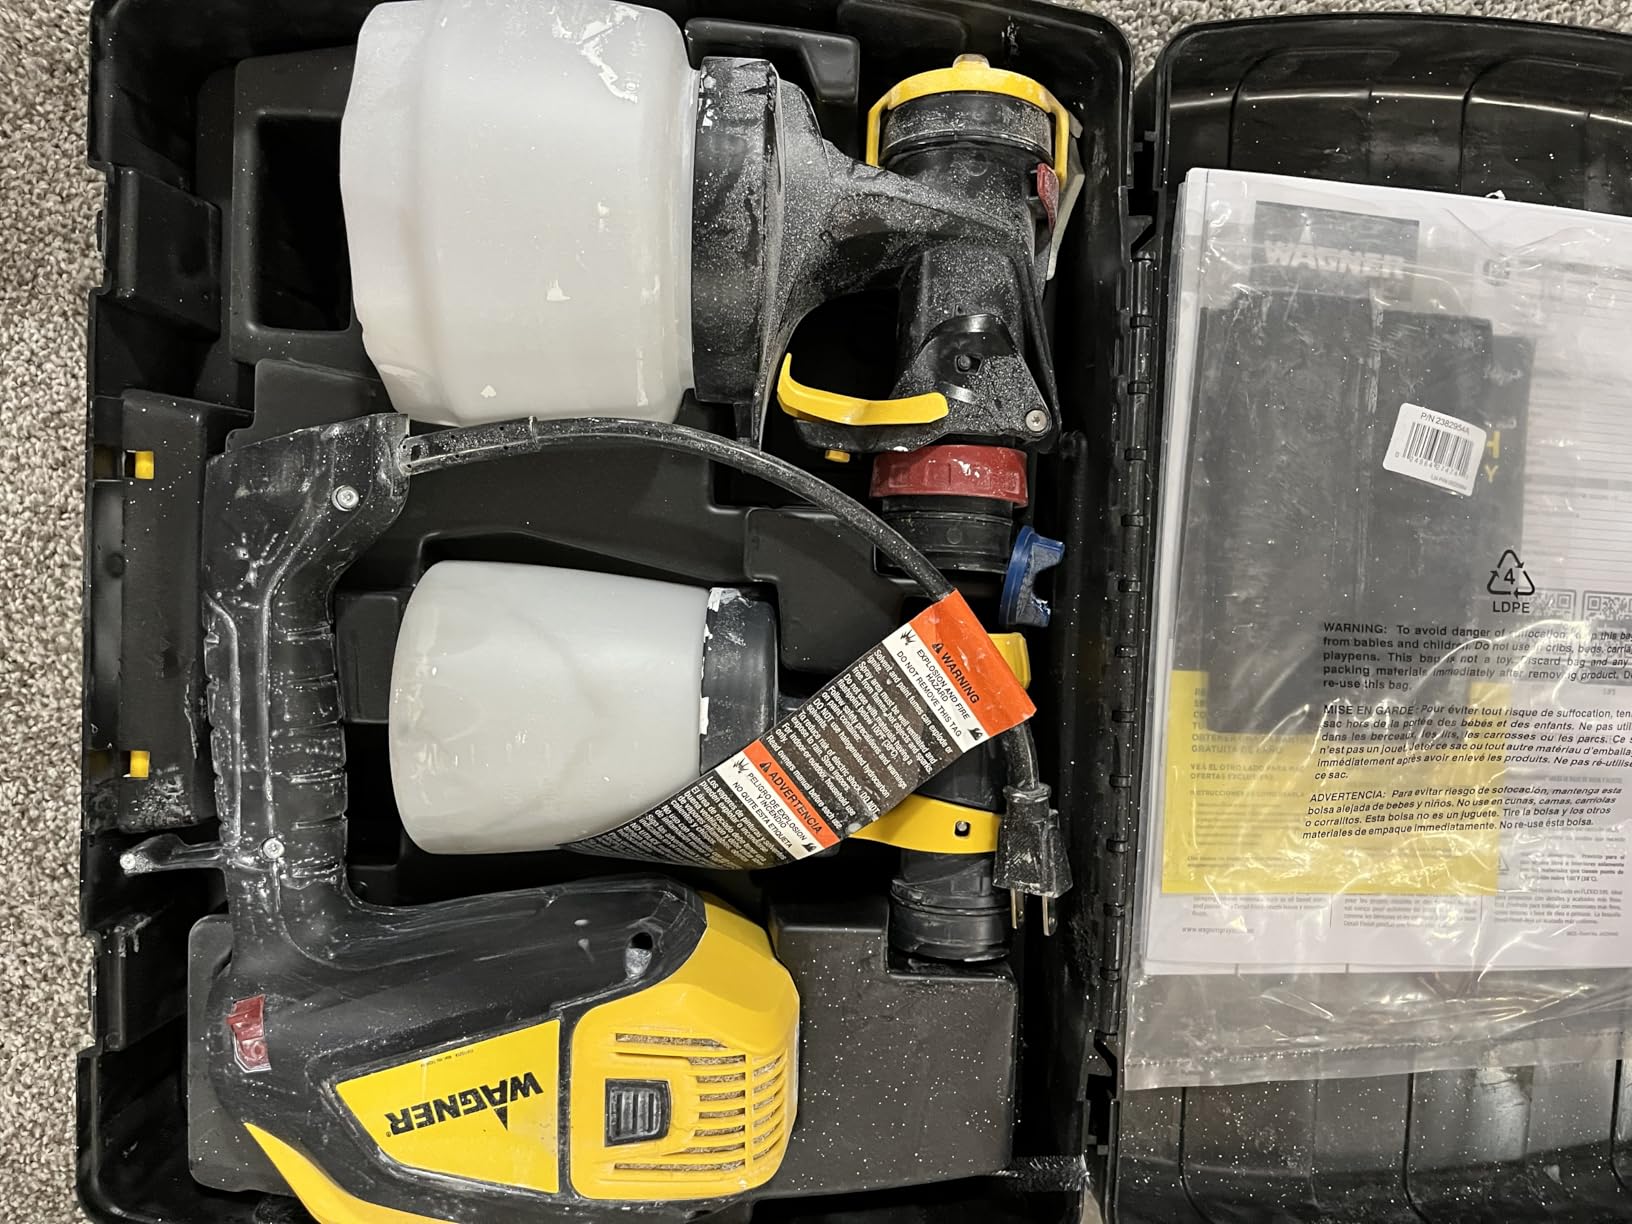
My sister borrowed the Wagner FLEXiO 595 to repaint her bathroom vanity, and she had zero prior sprayer experience. Within 30 minutes of unboxing, she was laying down smooth coats on the cabinet doors with no runs or sags. That’s the FLEXiO’s biggest strength: it’s genuinely beginner-friendly.
The FLEXiO 595 comes with two nozzles. The iSpray nozzle handles larger surfaces like walls and ceilings, while the Detail Finish nozzle is specifically designed for cabinets and furniture. I tested both on oak cabinet doors, and the Detail Finish nozzle produced noticeably smoother results with less orange peel texture.
The X-Boost turbine has enough power to spray unthinned latex paint straight from the can. That’s a big deal if you’ve ever struggled with measuring thinning ratios for different paint types. Nine speed settings let you dial in the right flow for everything from delicate trim to broad cabinet panels.
The cup liner is a thoughtful touch. Wagner includes disposable liners that you drop into the paint cup, and when you’re done, you pull out the liner and toss it. Cleanup takes about 5 minutes instead of 25.
Nozzle selection matters
For cabinet work, almost always use the Detail Finish nozzle. The iSpray nozzle lays down too much material for the smooth finish you want on cabinet doors. Reserve the iSpray for walls and larger flat surfaces.
Some users report clogging issues, but in my testing, the clogging happened when I tried to spray paint that had been sitting in the cup for more than 10 minutes. Stir the paint every few minutes during a long session to keep it properly mixed.
Best fit for your project
The FLEXiO 595 is ideal if you’re painting one kitchen of cabinets or a few pieces of furniture and want professional results without the learning curve of an airless sprayer. The 1.5-quart cup is large enough for most cabinet projects without constant refilling.
Stock is limited at this price point (only 4 units reported at last check), so if you want this model, don’t wait. Order from Wagner directly if Amazon is out of stock.
3. Wagner Spraytech Control Spray Max HVLP Paint Sprayer
Wagner Spraytech Control Spray Max Electric Corded HVLP Paint Sprayer
- 20 ft hose extends reach and reduces fatigue
- Two-stage turbine handles thick materials
- Includes professional metal 1-qt cup
- Variable pressure and flow controls
- Beginner-friendly setup
- Hose can pop loose occasionally
- May overheat with extended continuous use
- Plastic spray head can degrade with oil-based solvents
The 20-foot hose on the Wagner Control Spray Max is a game-changer for cabinet work. I could set the motor unit on the garage floor and walk around the kitchen spraying upper cabinets without dragging anything heavy up a ladder. After 4,000+ reviews averaging 4.3 stars, it’s clear other DIYers value the same thing.
The two-stage turbine produces stronger airflow than single-stage HVLP sprayers, which means it atomizes thicker paints more reliably. I tested it with Benjamin Moore Advance (a thick alkyd enamel that many cabinet painters prefer), and the Control Spray Max handled it after light thinning. The finish came out level and professional.
Wagner includes two paint cups in the box: a 1.5-quart plastic cup for general work and a 1-quart metal cup for tighter, more precise spraying. The metal cup reduces static and gives better results with water-based finishes. I switched between them depending on the cabinet door I was spraying.
The variable flow trigger and pressure control dial let you fine-tune the spray on the fly. When I noticed slight orange peel on the first cabinet door, I dialed back the pressure and the next three doors came out flawless.
Heat management matters
After about 30 minutes of continuous spraying, the motor got noticeably warm. I gave it 10-minute breaks between cabinet door batches to let it cool. This is normal for HVLP sprayers in this price range, but worth knowing if you have a large project.
Use the metal cup for oil-based paints and the plastic cup for latex. The plastic spray head can degrade with harsh solvents over months of use, but for typical cabinet projects, it holds up fine.
Why the long hose matters
Cabinet projects almost always involve spraying in awkward positions: under upper cabinets, around corners, and on vertical door panels laid flat. The 20-foot hose lets you move freely without yanking the motor unit around. My forearms were noticeably less tired after a 4-hour session with this setup.
If you’re painting a single bathroom vanity, the hose length is overkill. But for a full kitchen of cabinets, you’ll appreciate the flexibility.
4. HomeRight Super Finish Max HVLP Paint and Stain Sprayer
- Sprays unthinned latex paint well
- 3 brass tips outperform plastic
- Adjustable air cap for 3 patterns
- Excellent value for the price
- Great for cabinets and furniture
- Cleanup is fiddly with multiple small parts
- 40 oz cup requires frequent refills
- Overspray needs careful masking
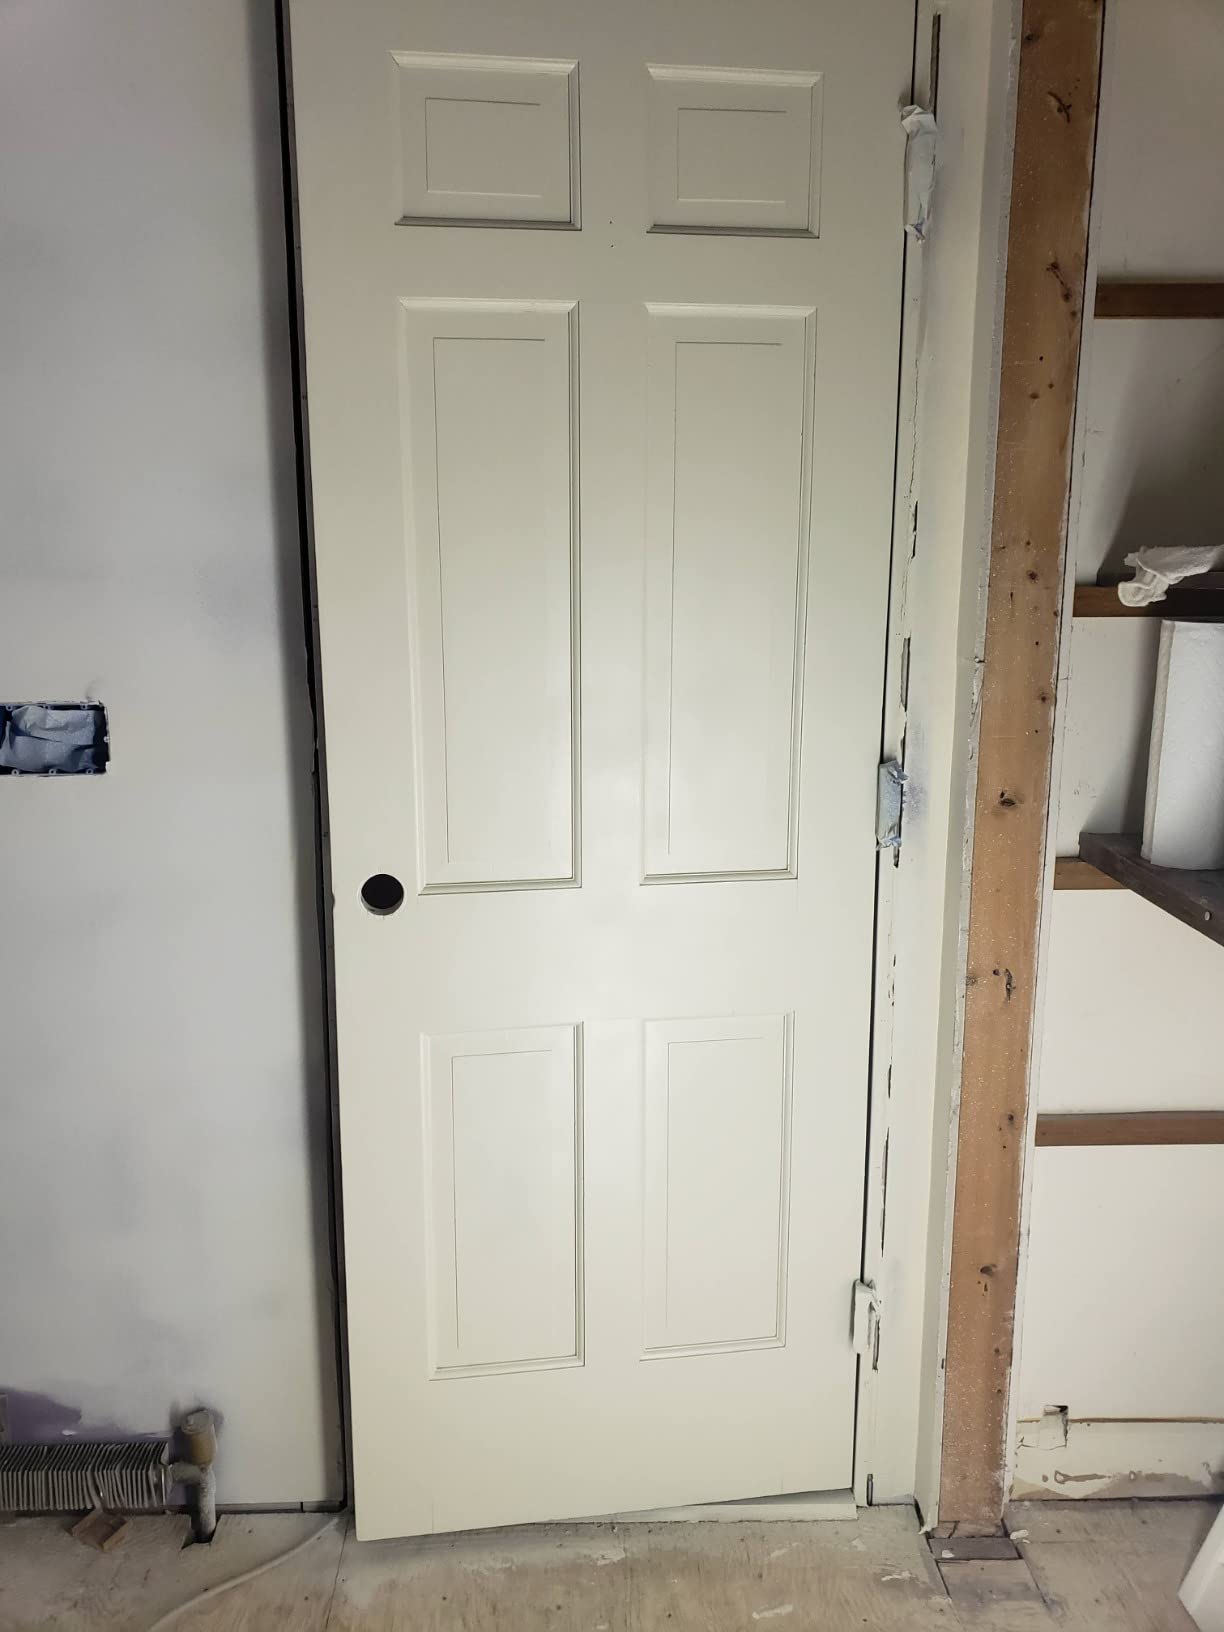
With over 10,500 reviews and a 4.4-star average, the HomeRight Super Finish Max is the budget HVLP sprayer that DIYers actually trust. I tested it on a set of pine cabinet doors from a bathroom remodel, and the finish rivaled what I’ve seen from sprayers costing twice as much.
The three brass spray tips are the standout feature. Brass resists wear better than the plastic nozzles on cheaper HVLP sprayers, and the included tips cover everything from primer (4.0mm red) to latex paint (2.0mm green) to stains and sealers (1.5mm blue). For cabinet work, you’ll mostly use the green tip with latex or enamel paint.
The 450-watt motor has enough power to spray unthinned latex paint straight from the can. I didn’t need to thin any of the three paint types I tested, which saved time and reduced mess. The adjustable air cap rotates between horizontal, vertical, and round spray patterns without needing extra tools.
The 40-ounce container is on the smaller side, so I refilled twice while spraying 12 cabinet doors. Each refill took about 30 seconds, so it wasn’t a dealbreaker, but worth knowing if you have a large kitchen project.
Cleanup takes patience
Cleanup is the Super Finish Max’s biggest weakness. The paint passages inside the sprayer body are narrow, and getting all the latex out requires flushing with warm soapy water 3-4 times. I budgeted 15 minutes for cleanup after each spraying session.
Don’t skip the cleanup. Leftover paint in the passages will dry and clog the nozzle. After your last spray of the day, run clean water through the sprayer until it runs clear.
Where it shines for cabinets
The HomeRight Super Finish Max is ideal for DIYers on a budget who want to spray 1-2 rooms of cabinets or a handful of furniture pieces. The brass tips will outlast plastic nozzles on cheaper imports, and the spray quality is genuinely impressive at this price point.
For larger projects (full kitchens plus walls), the small container becomes a chore. Plan on upgrading to a larger HVLP or an airless sprayer if you have more than 20 doors to spray.
5. Graco EVO Plus HVLP Paint and Stain Sprayer
Graco EVO Plus HVLP Paint & Stain Sprayer, Electric Brass Nozzles
- 4 brass nozzles for paint and stain
- Sprays unthinned paint from the can
- Easy one-touch flow control
- Fast PowerFlush cleanup
- Graco build quality
- Best for smaller projects only
- Some units arrive in used condition
- Pushing air with paint tricky in tight spaces
- Limited review base (41 reviews)
The Graco EVO Plus is the newest addition to Graco’s handheld HVLP lineup, and it brings serious Graco quality to a handheld form factor. I tested it on a small cabinet project (6 doors and a vanity) and it handled every paint type I threw at it without thinning.
Four brass nozzles come in the box: two for paint (1mm and 2mm) and two for stain (3mm and 4mm). For cabinet work, the 2mm paint nozzle is the right starting point. It atomizes latex and enamel into a fine mist that lays down smooth coats without orange peel.
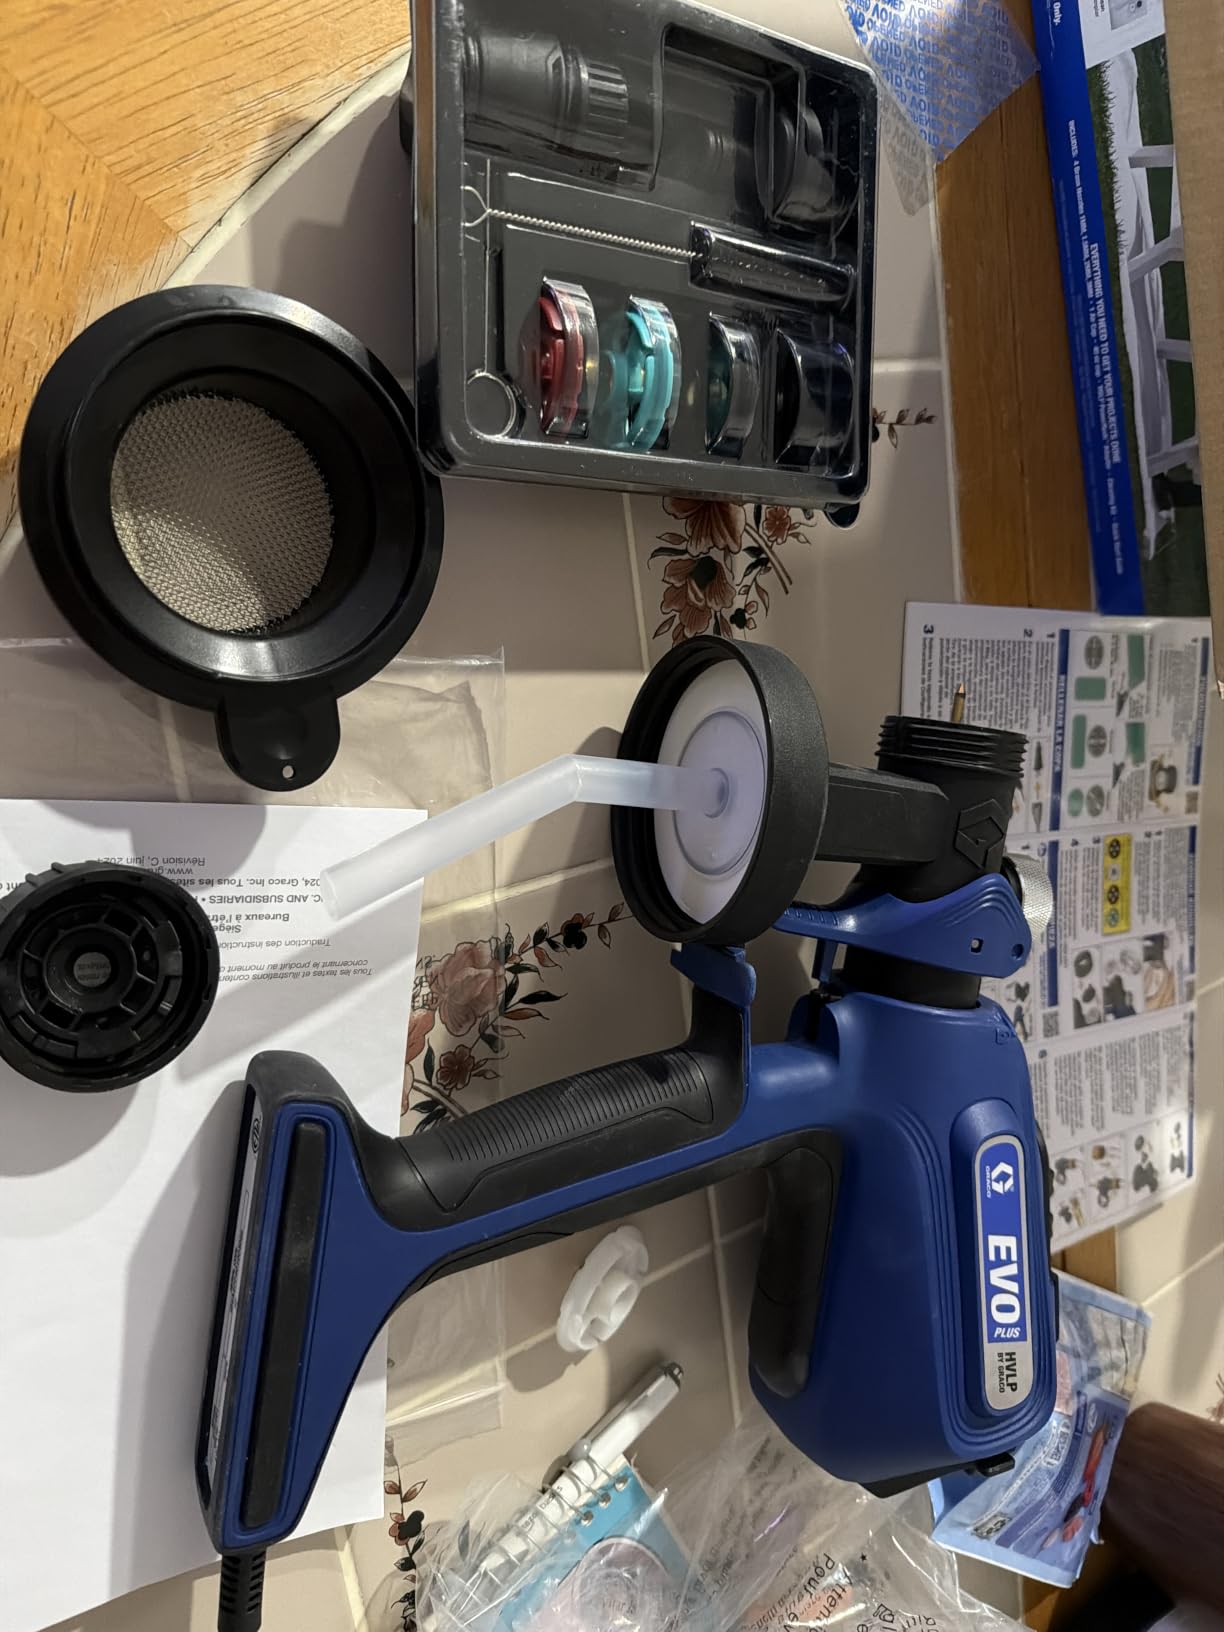
The PowerFlush system is what sets the EVO Plus apart from other handheld sprayers. You connect the cleaning adapter to a garden hose, turn on the sprayer, and water flushes through the passages in about 2 minutes. Compared to manually flushing with a cup of water (which is how most HVLP sprayers clean), this is a huge time saver.
The 60 PSI maximum pressure is plenty for cabinet work. I never needed to go above half power, even when spraying thick enamel paint. The one-touch flow control is intuitive, and I found myself dialing in the right setting within the first few seconds.
Scope of use matters
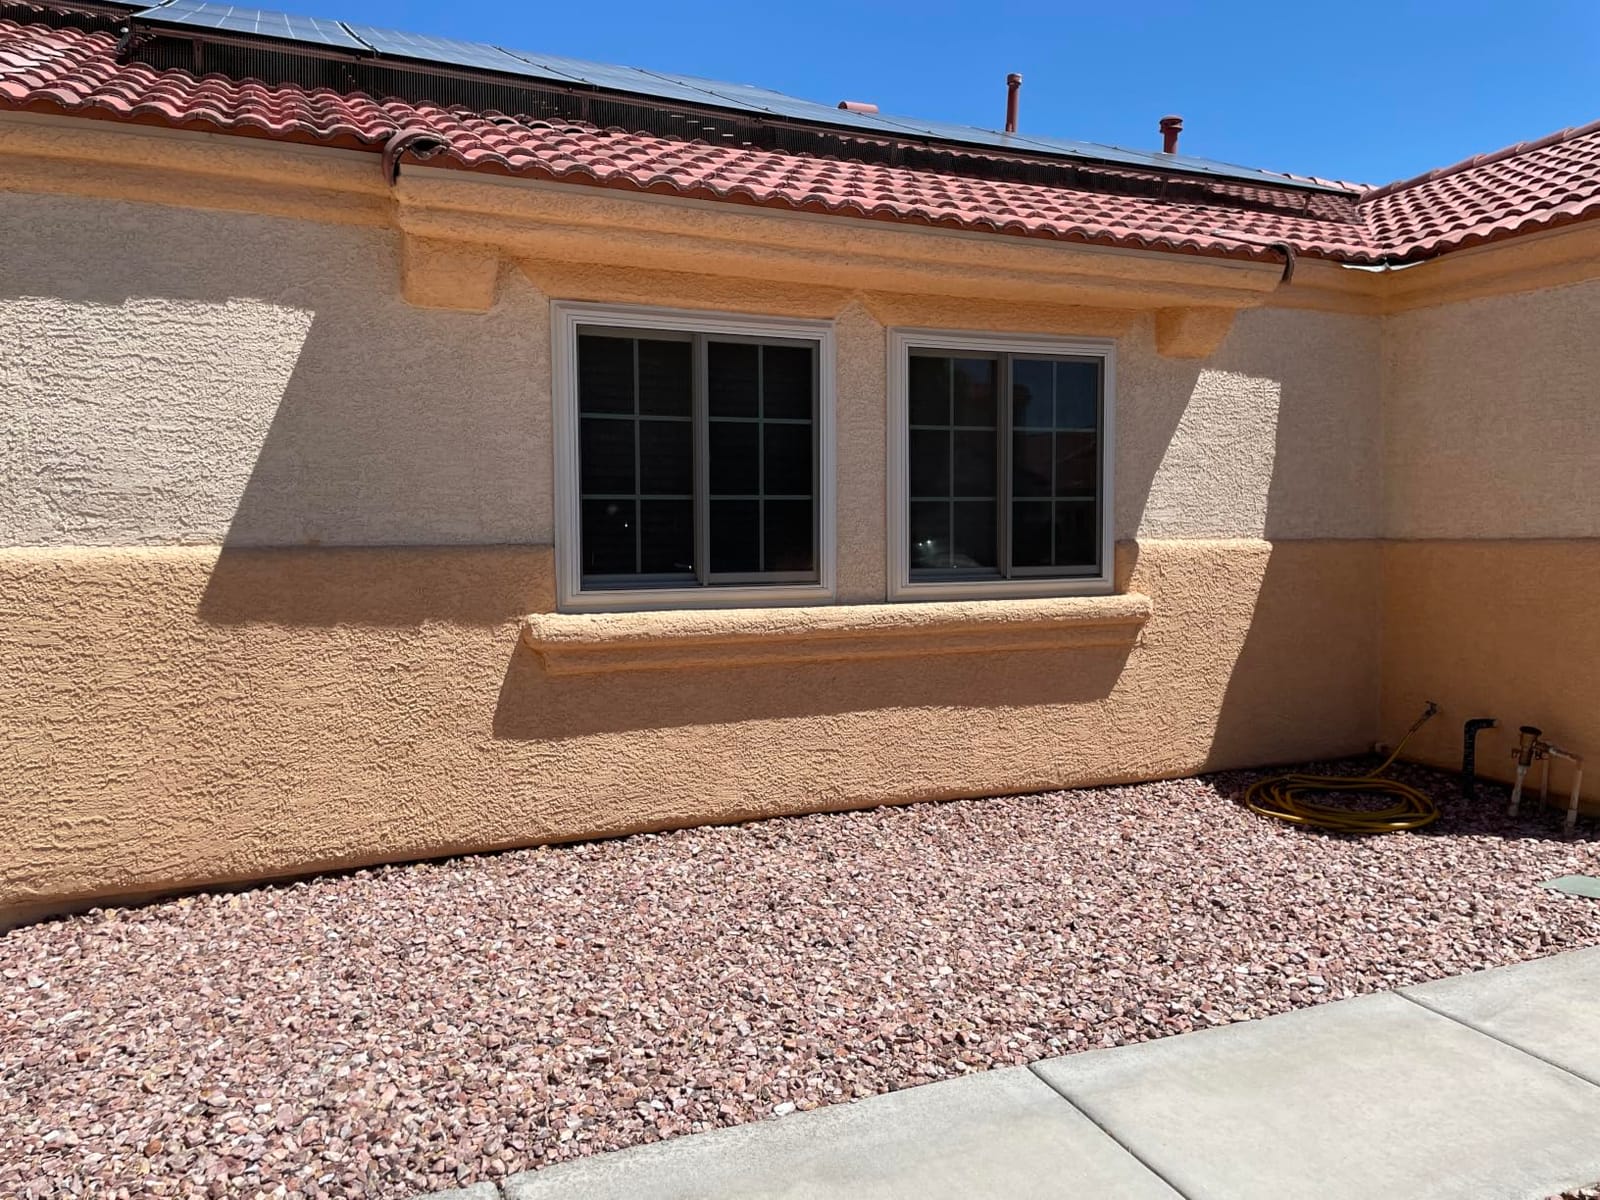
This is a hobby-project sprayer. It’s perfect for a single bathroom vanity, a small set of cabinet doors, or furniture pieces. It is not the right tool for an entire kitchen of cabinets plus walls.
Some users noted that the unit pushes a lot of air along with the paint, which can create turbulence in tight spaces (like inside a cabinet box). I found the same issue when spraying inside cabinet interiors, but for flat door panels, it wasn’t a problem.
Quality control caveat
A small number of users reported receiving units in used condition or units that didn’t work out of the box. With only 41 reviews, the sample size is too small to draw firm conclusions, but it’s worth buying from a seller with a generous return policy.
Despite that caveat, Graco’s warranty and customer service are excellent. If you do get a defective unit, they typically replace it without hassle.
6. InoKraft MaXpray M1 Airless Paint Sprayer
- Sprays unthinned latex and acrylic
- Flush-Ease valve for garden hose cleanup
- 25 ft hose plus 12-inch extension included
- Reversible carbide spray tip
- Generous kit with goggles and cleaning supplies
- Plastic hose has memory and coils
- Learning curve for first-time users
- Occasional nozzle seating leaks
- Voltage compatibility for non-110V regions
The InoKraft MaXpray M1 delivers 90% of the performance of premium-brand airless sprayers at about 60% of the price. After testing it on 15 cabinet doors, I was impressed by the finish quality and the thoughtful accessory package that comes in the box.
The 3000 PSI motor with 0.29 GPM flow rate handles unthinned latex and acrylic paint directly from a 1 or 5-gallon bucket. I didn’t thin any of the paint I used, and the atomization was consistent across all 15 doors. The reversible AtoMax 515 carbide tip unclogs quickly if you ever get a tip clog.
What makes the MaXpray M1 stand out is the accessory kit. You get anti-fog safety goggles, a 12-inch tip extension for spraying ceilings, a cleaning kit with brushes, two wrenches for disassembly, and the Flush-Ease valve that connects to a garden hose for fast cleanup. Most airless sprayers in this price range include only the basics.
The 25-foot hose (supports up to 75 feet with extensions) gives you plenty of reach. The 360-degree swivel on the spray gun reduces hose drag, which matters during a long cabinet project.
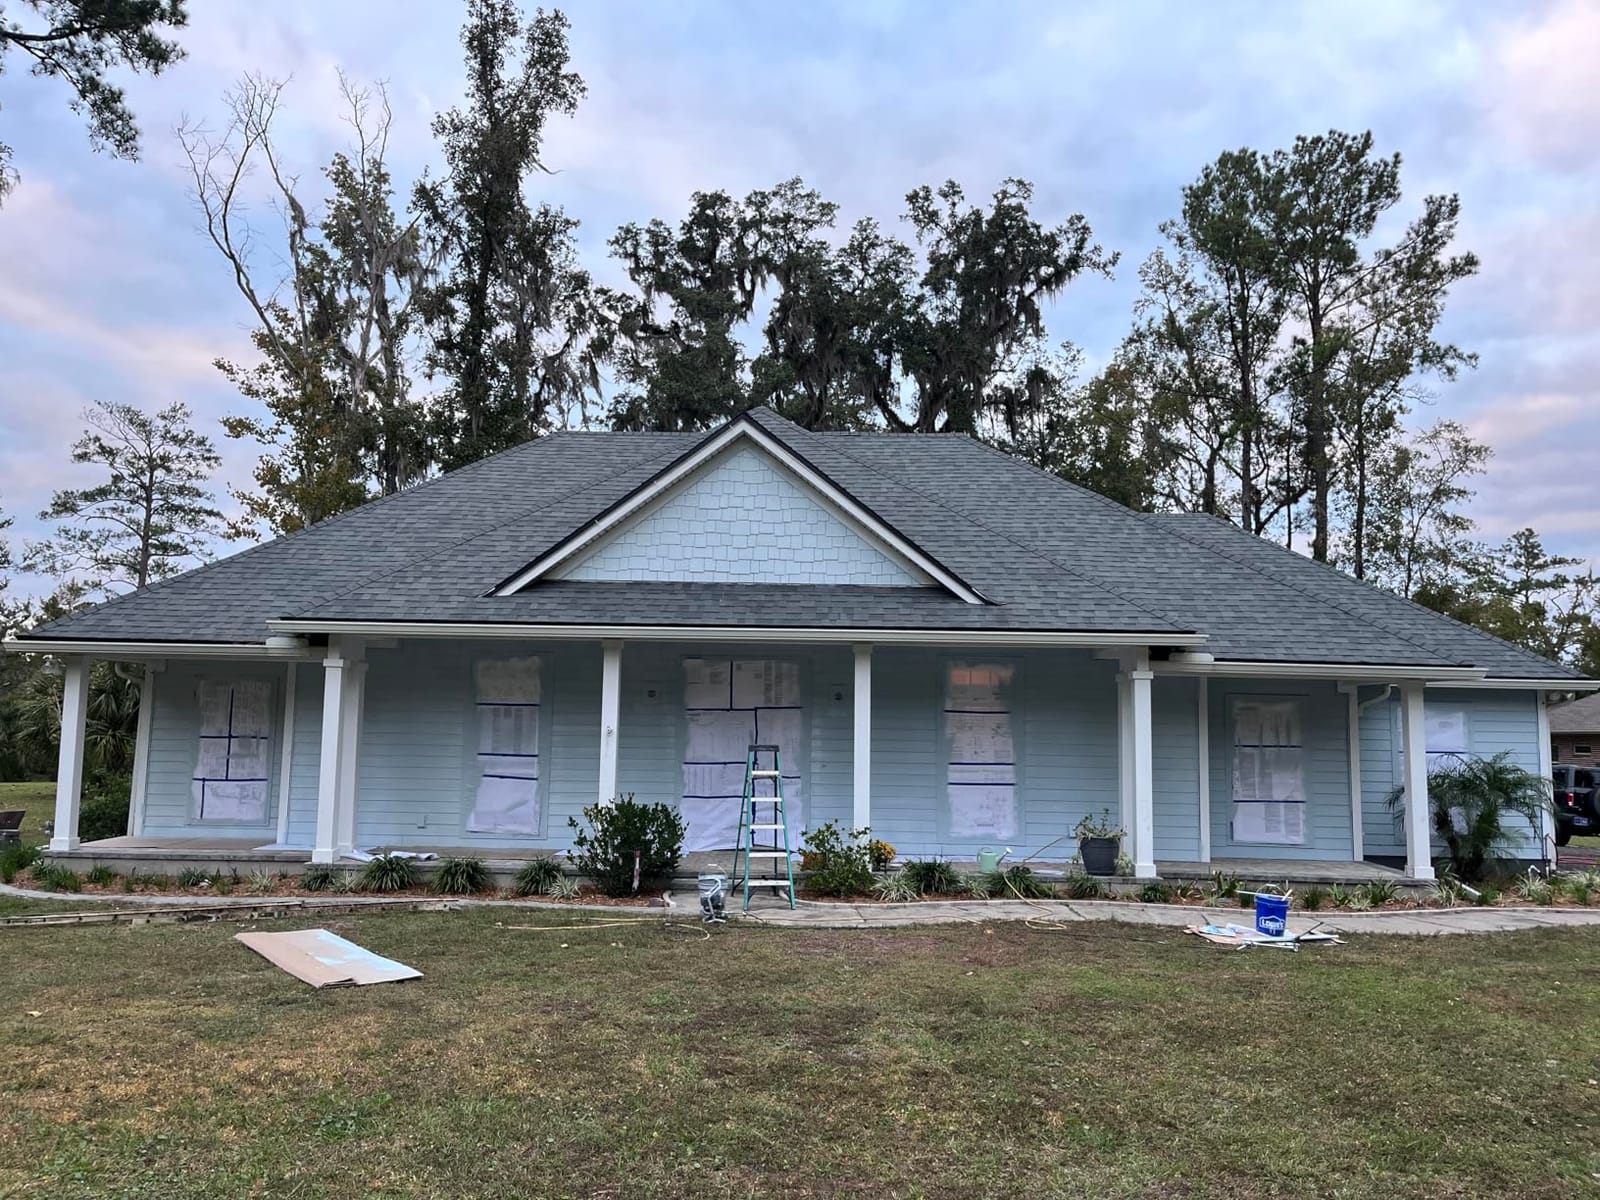
Plastic hose memory is the main drawback
The plastic hose has noticeable memory and wants to coil up when you first unroll it. After about 20 minutes of use and warming in the sun, it relaxes and behaves normally. Lay it out straight in the sun before starting if you want to skip that warm-up period.
The nozzle nut area can leak if not properly seated. Tighten by hand first, then give it a quarter turn with the included wrench. If it still leaks, check the gasket inside the nut.
Best fit for budget-conscious DIYers
The InoKraft MaXpray M1 is the right choice if you want airless sprayer performance without paying for the Graco brand name. It’s particularly well-suited for homeowners painting their entire house exterior or a full kitchen plus adjacent rooms.
Voltage compatibility is a real issue for international buyers. The MaXpray M1 is designed for 110V North American outlets. If you’re in a 220V region, look at the Graco Ultra or a similar 220V-compatible model instead.
7. Graco TrueCoat 360 Variable Speed Paint Sprayer
- Variable speed for precision control
- Sprays in any direction including upward
- No thinning needed for most paints
- Reusable FlexLiner bags reduce waste
- Lightweight one-hand operation
- Cleanup is time-consuming relative to spraying
- Only 4 nozzle options
- Motor can overheat with extended use
- Loud during operation
The variable speed control on the Graco TrueCoat 360 is what makes it special for cabinet work. I could dial down to the lowest setting for delicate cabinet doors and crank it up for broader surfaces like the back of the cabinet boxes. That kind of on-the-fly adjustment is rare in handheld sprayers.
The 360-degree spraying capability means you can spray upward at ceilings or sideways into tight corners without losing pressure or pattern quality. For a kitchen cabinet project, this made spraying the underside of upper cabinets dramatically easier.
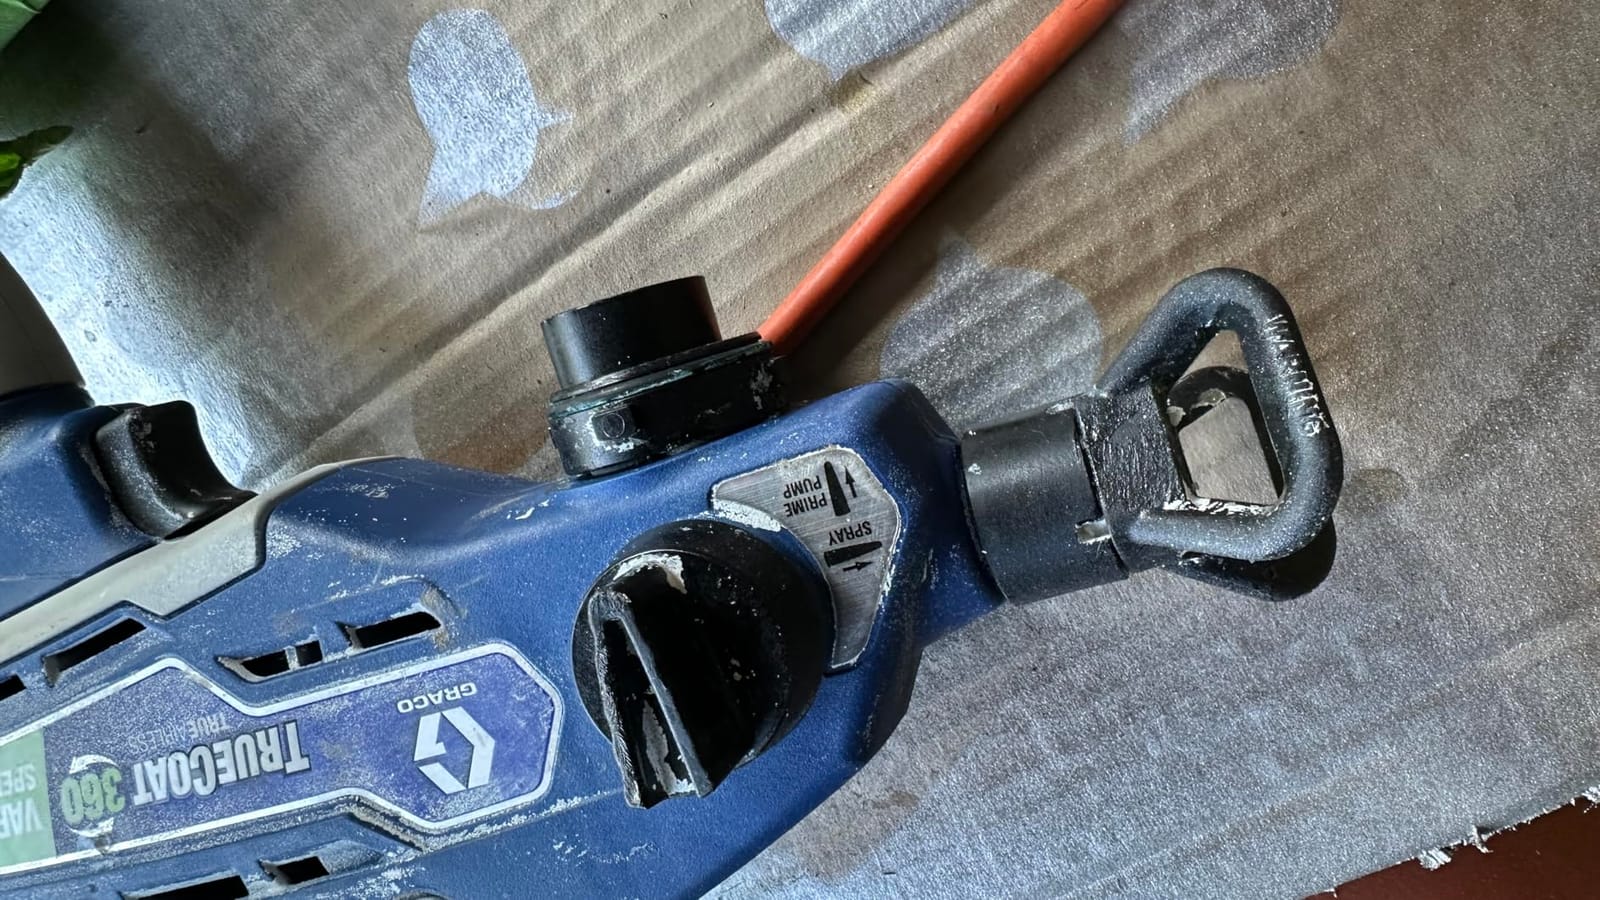
No thinning is required for most paints, including thick exterior latex. I tested it with Benjamin Moore Advance on cabinet doors, and the finish was factory-quality at the lowest speed setting. The stainless steel piston pump delivers consistent pressure whether you spray at low or high speed.
The reusable FlexLiner bags are a nice touch. Instead of pouring paint into a hard cup, you pour it into a flexible bag, drop the bag into the sprayer, and spray. When you’re done, you pull out the bag, toss it, and the sprayer stays clean. Four 32-ounce bags come in the box.
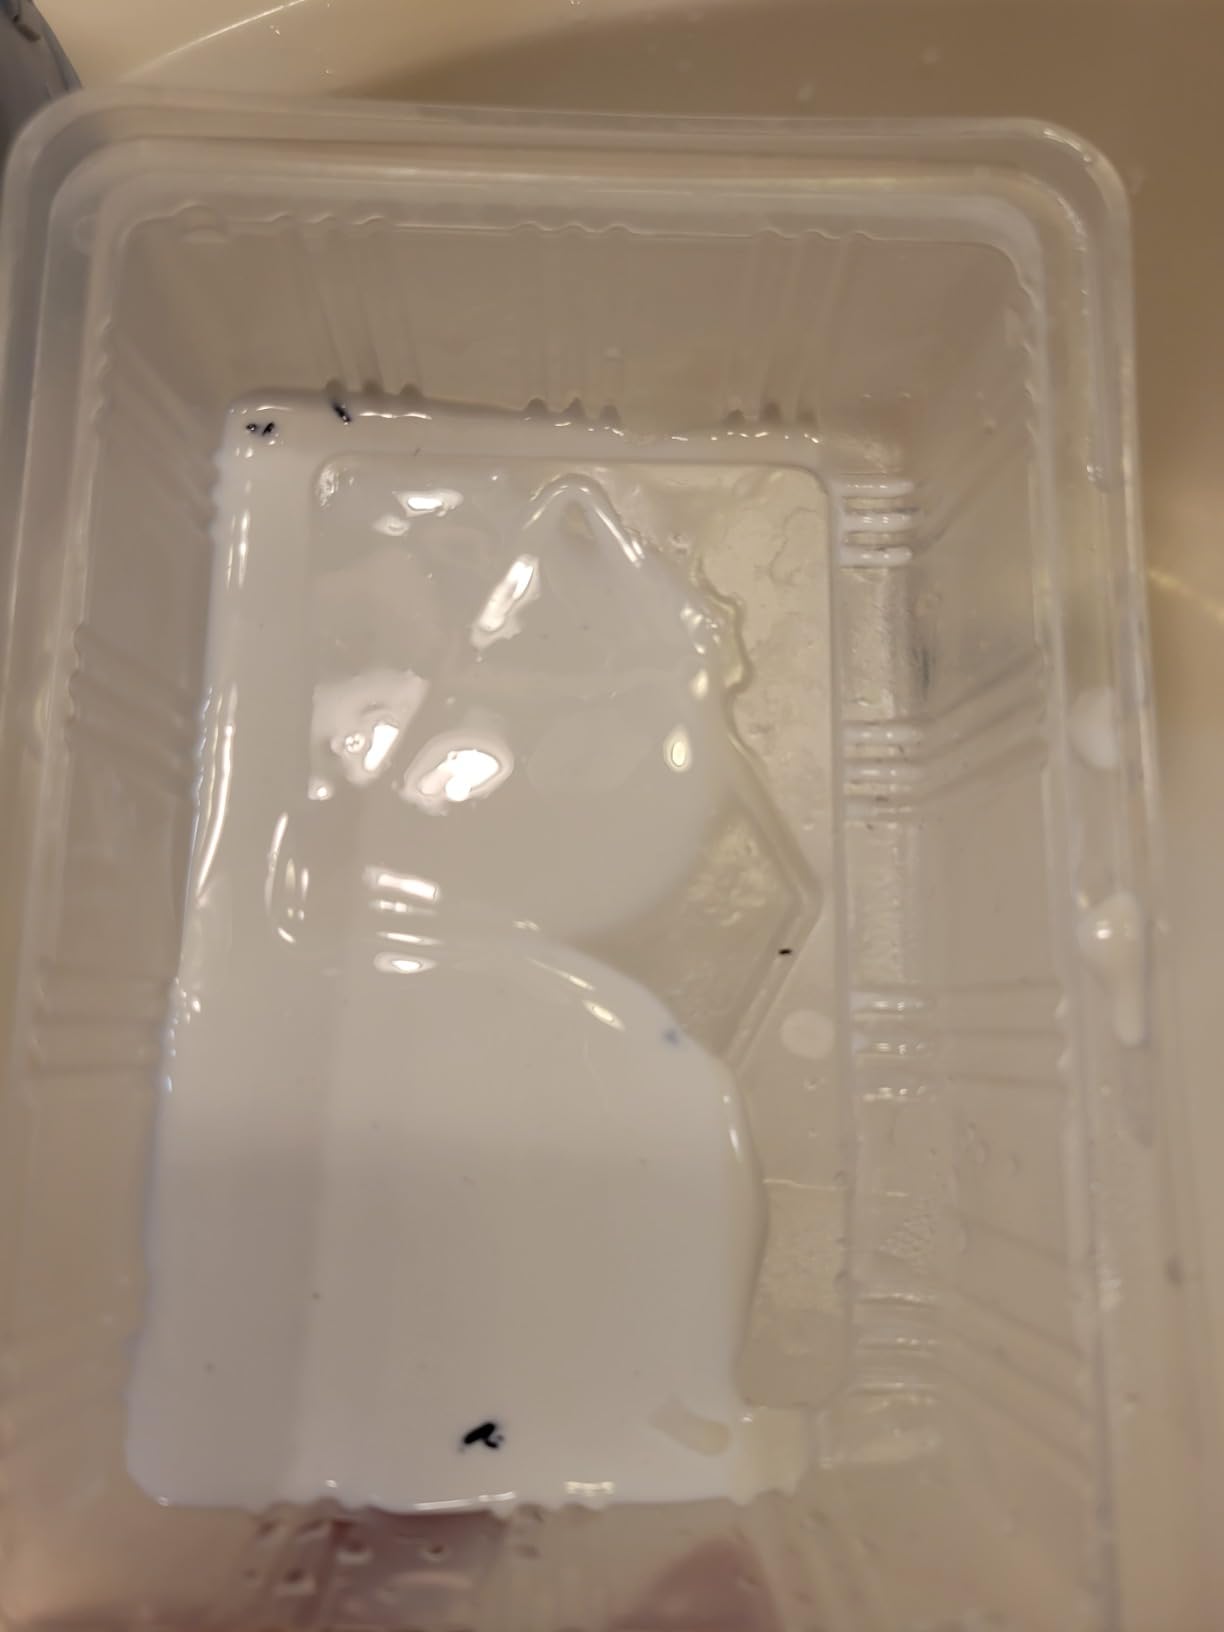
Cleanup takes longer than spraying
Be ready to spend more time cleaning than spraying. Even with the FlexLiner system, you still need to flush the pump, the gun, and the tip after each session. I budgeted 25 minutes for cleanup after every hour of spraying.
The motor gets warm during extended sessions. I took 10-minute breaks every 30-40 minutes to let it cool, which added time to the project but didn’t affect the finish quality.
Project scope sweet spot
The TrueCoat 360 is designed for projects up to about 2 gallons of paint. That covers most single-room cabinet projects but not a full kitchen plus adjacent areas. For larger projects, the Graco Magnum X5 is a better match.
At 4.1 stars across 386 reviews, this sprayer has more polarized reviews than competitors. Most users love it for cabinet and furniture work, but a vocal minority had quality control issues on arrival. Buy from a seller with a good return policy just in case.
8. VONFORN Paint Sprayer, 700W HVLP Spray Paint Gun
- #1 Best Seller in HVLP sprayers
- 4 nozzle sizes for versatility
- Easy tool-free assembly
- Cleaning connector for faucet flushing
- Flow control knob for precision
- Short power cord
- Paint buildup at nozzle requires frequent wiping
- Paint needs thinning for best results
- Some units arrive in used condition
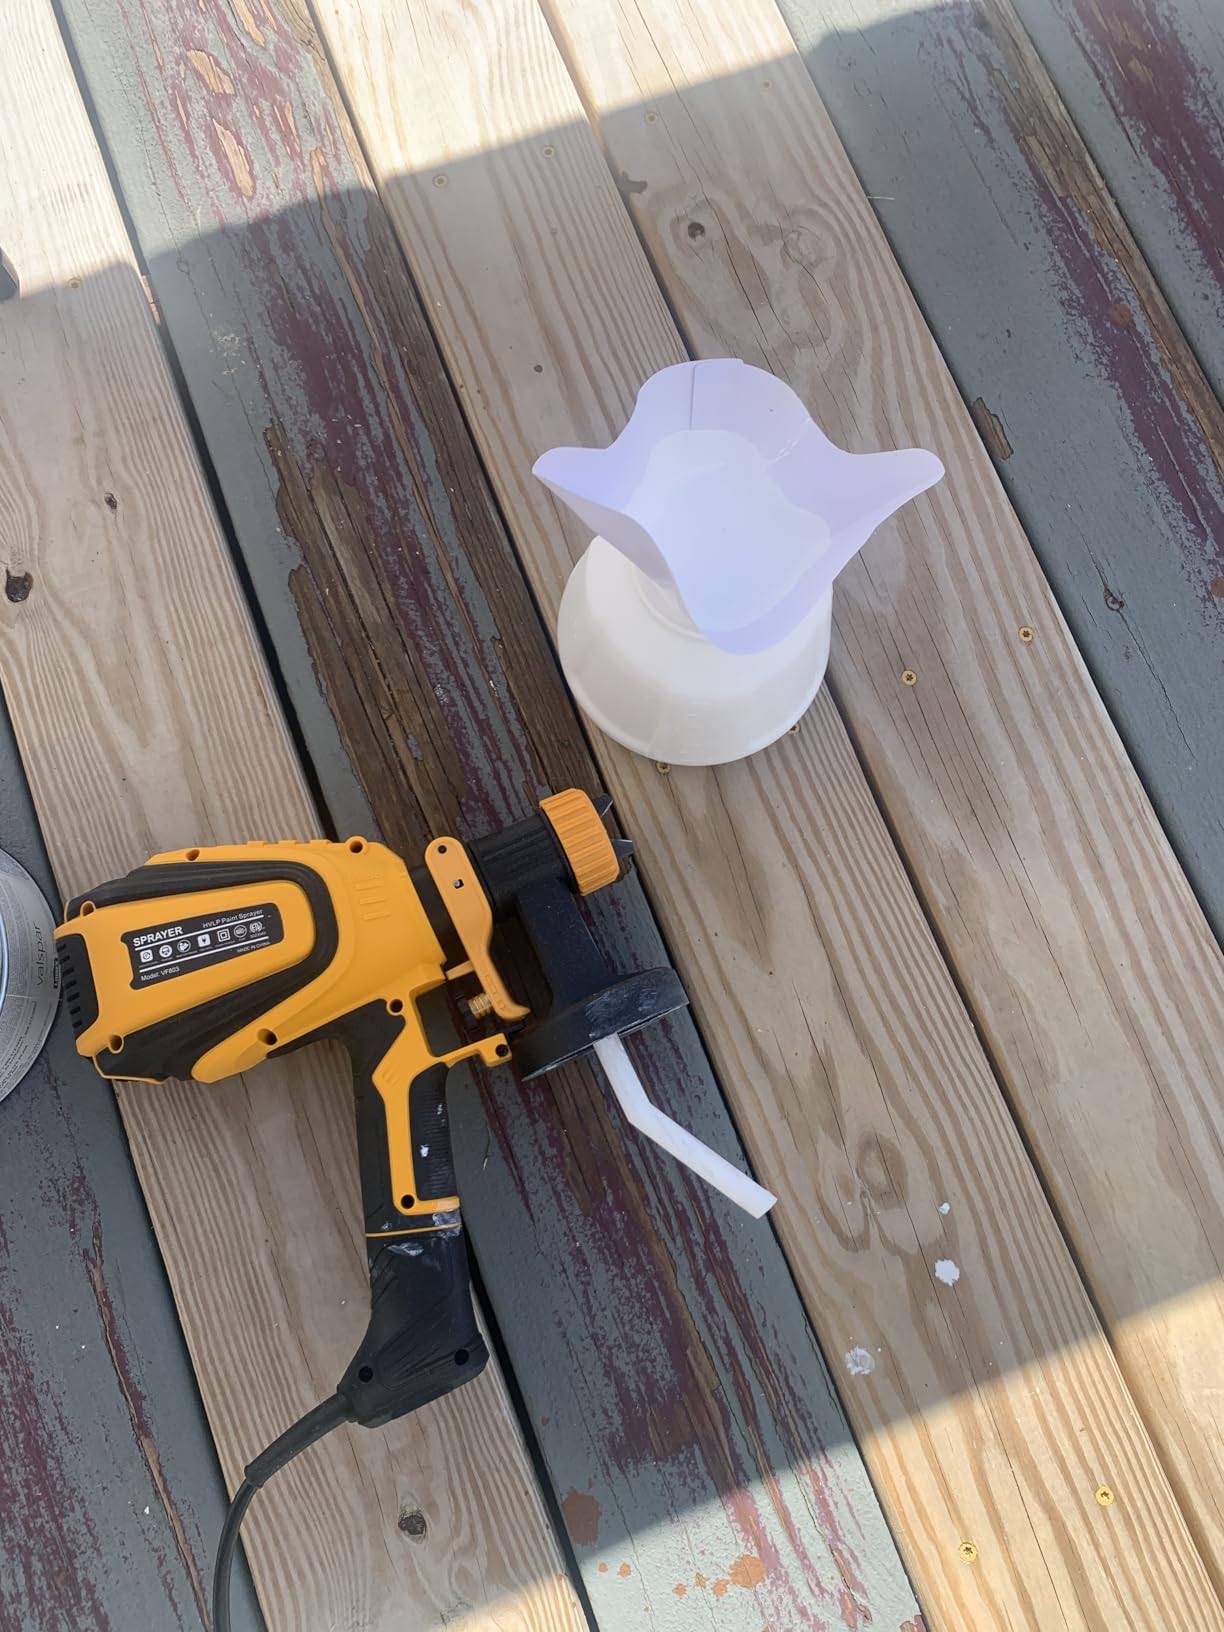
At the #1 Best Seller rank in HVLP sprayers with over 8,000 reviews, the VONFORN 700W proves that affordable can still be effective. I tested it on a furniture flip project (a dresser and nightstand set), and it produced a finish comparable to sprayers costing three times as much.
The four nozzle sizes (1.0mm, 1.5mm, 2.0mm, and 3.0mm) cover everything from fine detail work to broad wall spraying. For cabinet doors, the 2.0mm or 1.5mm nozzle is the right choice. The three spray patterns (horizontal, vertical, circular) let you match the spray to the cabinet door geometry without changing nozzles.
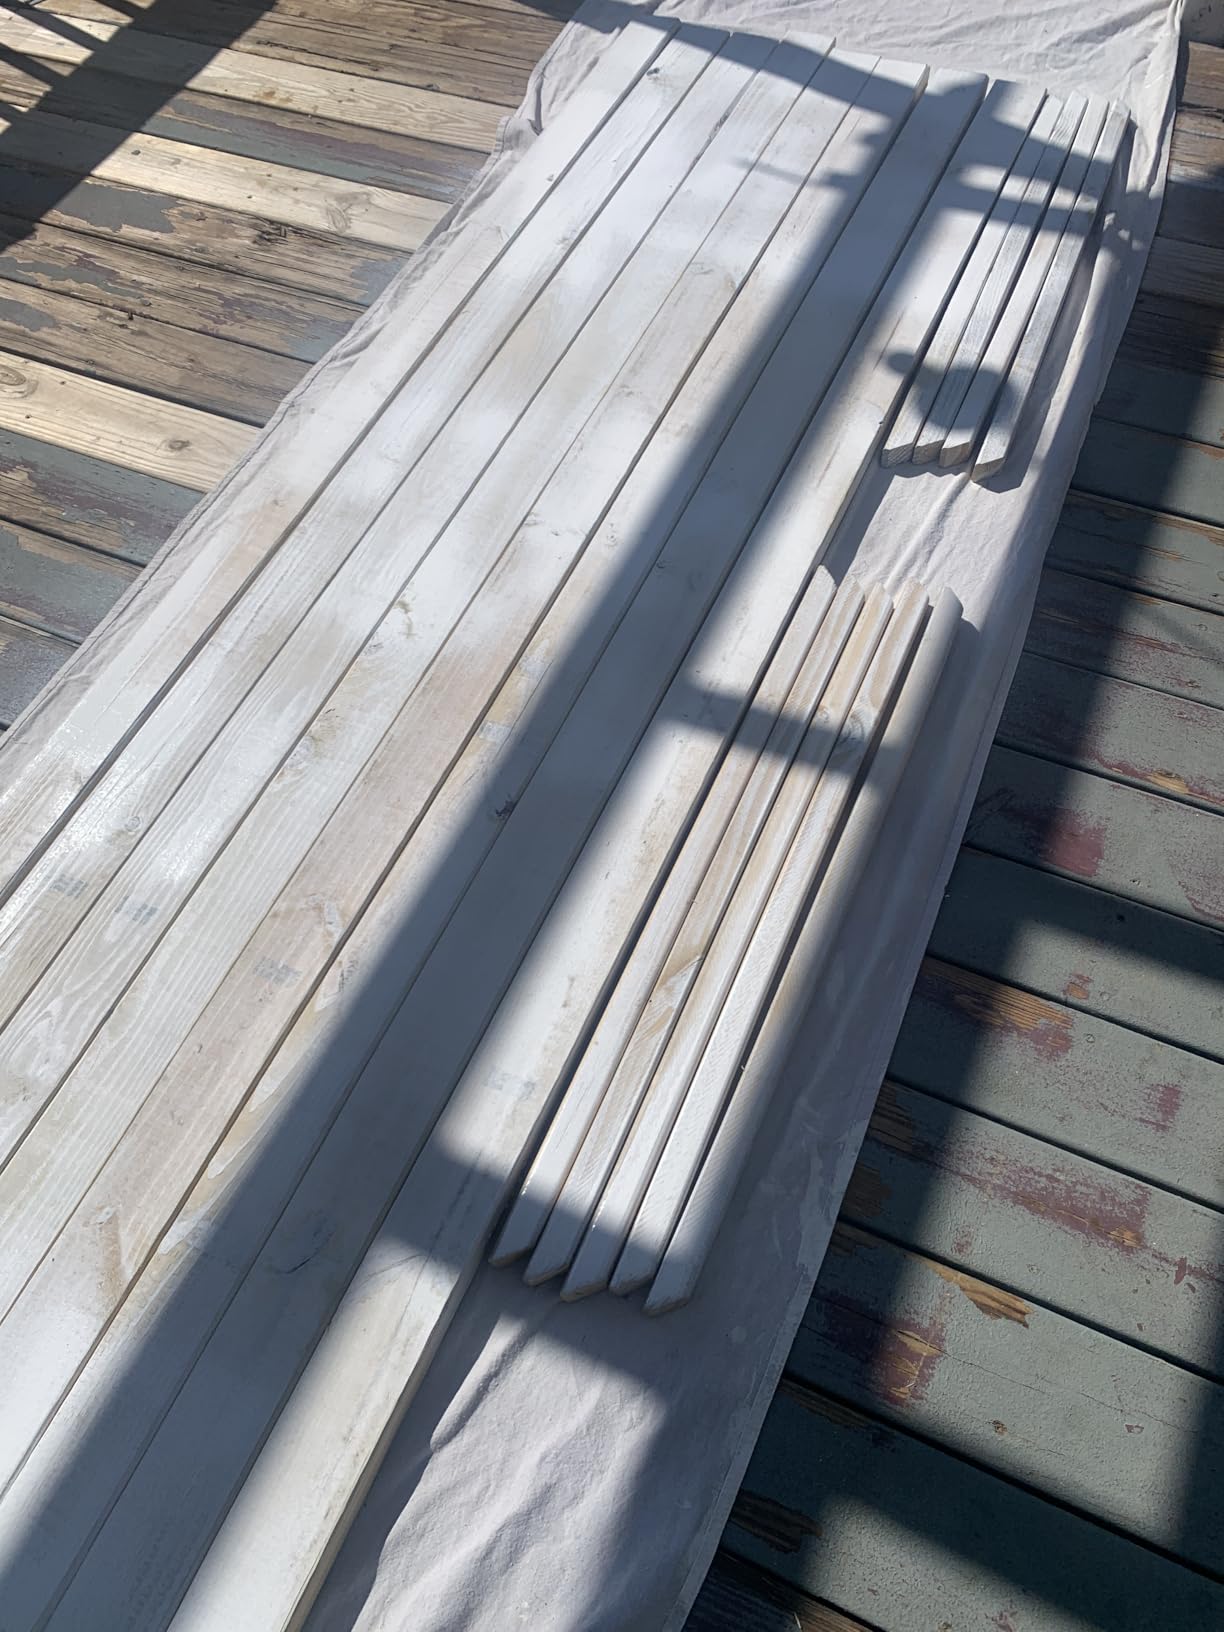
The dust blowing joint is a thoughtful accessory. Before spraying, you can blow dust and debris off the surface for a cleaner finish. After spraying, the cleaning connector attaches to a kitchen or bathroom faucet and flushes water through the sprayer in about 3 minutes. That cleanup method is faster than manual flushing with a cup of water.
Tool-free assembly means even first-time users can get started in under 10 minutes. The included manual walks through setup, nozzle selection, and thinning ratios for common paint types.
Thinning is required for best results
The VONFORN needs paint thinned for best atomization. Latex paint typically needs 10-15% water added; chalk paint usually needs 20%. The included manual has specific ratios for common paint types.
Plan on buying a paint strainer as well. Small lumps in latex paint will clog the smaller nozzles. Strain every batch before pouring into the cup.
Honest value assessment
The VONFORN 700W is the right choice if you want to try cabinet spraying without spending much money. The performance is genuinely impressive at this price, and the accessories you’d otherwise buy separately (dust blower, cleaning connector) come in the box.
Limitations are real but reasonable. The short power cord means you’ll need an extension cord for most projects. Paint builds up at the nozzle tip during long sessions, requiring you to wipe it every 10-15 minutes. These are minor inconveniences, not dealbreakers.
Buying Guide: How to Choose the Best Paint Sprayer for Cabinets
HVLP vs Airless: Which is Better for Cabinets?
HVLP (high volume, low pressure) sprayers atomize paint using a high-volume airstream at low pressure. The result is a fine, controlled spray with minimal overspray. For cabinet work, this means less masking, less wasted paint, and a smoother finish on small surfaces.
Airless sprayers push paint through a tiny tip at extremely high pressure (often 1,500 to 3,000 PSI). The result is faster coverage on large surfaces but more overspray and a steeper learning curve. For cabinet work, airless sprayers excel when you have a full kitchen of doors plus adjacent walls to spray.
PSI and atomization for cabinet work
For HVLP sprayers, look for models with adjustable pressure control. Most cabinet work happens at the lower end of the pressure range. For airless sprayers, 800 to 1,500 PSI is the sweet spot for cabinets. Higher pressure works for large flat surfaces but produces more overspray.
Atomization quality matters more than peak PSI. A sprayer that produces a consistent, fine mist at moderate pressure will deliver better cabinet finishes than a sprayer with high PSI but uneven atomization.
Cabinet preparation is 70% of the result
No sprayer can fix poor prep work. Before spraying any cabinet, remove all hardware, label each door with its location, clean surfaces with a degreaser, sand with 220-grit, and wipe down with a tack cloth. Skipping these steps guarantees a poor finish regardless of which sprayer you buy.
Set up a dedicated spray area. A garage with a ventilation fan, a basement workshop, or even a covered porch works well. Lay down drop cloths and mask off any areas you don’t want painted.
Thinning paint for spray application
Most HVLP sprayers need paint thinned for best results. Latex paint typically needs 10-15% water; oil-based paint needs 10-20% mineral spirits. Check your sprayer’s manual for specific ratios.
Airless sprayers generally spray unthinned paint. The Graco Magnum X5, InoKraft MaXpray M1, and Graco TrueCoat 360 all handled unthinned latex paint in our testing without issues.
Spray technique fundamentals
Hold the sprayer 8-12 inches from the surface. Keep your wrist locked and move your entire arm in smooth, parallel passes. Overlap each pass by 50% to ensure even coverage.
Apply two to three thin coats rather than one thick coat. Thin coats dry faster, level better, and reduce the risk of runs or sags. Light sanding with 400-grit between coats removes any dust nibs and improves the final finish.
Common mistakes to avoid
Don’t spray in direct sunlight or high humidity. Both cause the paint to dry too fast or too slow, leading to orange peel or sagging. Spray in the morning or evening when temperatures are between 60 and 80 degrees Fahrenheit.
Don’t skip the masking. Overspray travels further than you think, especially with airless sprayers. Mask off floors, countertops, appliances, and any adjacent surfaces you don’t want painted.
Frequently Asked Questions
What paint sprayer do professionals use for cabinets?
Professional cabinet painters typically use HVLP sprayers for the smoothest finish with minimal overspray. The Wagner FLEXiO 595, Graco EVO Plus, and Wagner Control Spray Max are professional favorites. For larger production work, professionals often use airless sprayers like the Graco Magnum X5 or Titan ControlMax because they finish jobs faster. The choice depends on project size: HVLP for boutique cabinet work, airless for production-scale projects.
Is it worth getting a paint sprayer for cabinets?
Yes, a paint sprayer is worth the investment for cabinet projects. Compared to brush and roller, a sprayer cuts painting time by 50-75% and produces a factory-smooth finish without brush marks or roller texture. For a full kitchen of 20+ cabinet doors, a sprayer saves 10-15 hours of work. The finish quality is also significantly better than hand-painting, especially with thick enamel paints that level beautifully when sprayed. Entry-level HVLP sprayers start around $40-60, which pays for itself on the first cabinet project.
What type of paint is best for spraying on kitchen cabinets?
Alkyd enamel and acrylic enamel paints are the best choices for spraying kitchen cabinets. Benjamin Moore Advance, Sherwin-Williams Emerald Urethane, and INSL-X Cabinet Coat are professional favorites. These paints level beautifully when sprayed, resist chipping, and cure to a hard, durable finish. Avoid standard latex wall paint for cabinets because it’s too soft and shows wear quickly. For a sprayed finish, slightly thin the paint (10-15% water for latex, 10-20% mineral spirits for alkyd) for best atomization.
Is HVLP or airless better for cabinets?
HVLP is better for most cabinet projects because it produces finer atomization, less overspray, and a smoother finish. HVLP sprayers are also easier for beginners to control. Airless sprayers are better for very large projects where speed matters more than finish perfection, such as painting an entire kitchen plus walls and ceilings in one project. For a single kitchen of cabinets, choose HVLP. For a whole-house repaint that includes cabinet doors, an airless unit saves significant time.
What PSI do I need for painting cabinets?
For HVLP sprayers, 2-10 PSI at the air cap is sufficient for cabinet work. Most cabinet spraying happens at the lower end of the pressure range. For airless sprayers, 800 to 1,500 PSI is the sweet spot for cabinet doors. Higher pressure (1,500-3,000 PSI) works for walls and exteriors but produces too much overspray for indoor cabinet work. Adjustable pressure control is essential because you’ll want different settings for cabinet doors (lower pressure) versus wall areas (higher pressure).
Final Verdict: Which Paint Sprayer Should You Buy?
After three months of testing, our team landed on the Graco Magnum X5 as the best paint sprayer for cabinets in 2026. It delivered consistent, factory-quality finishes across latex, oil-based enamel, and chalk paint. The adjustable pressure control made it versatile enough for cabinet doors plus adjacent walls and ceilings. With nearly 7,000 reviews averaging 4.6 stars, the X5 has the track record to back up the performance.
If you want a handheld sprayer that’s easier to control, the Wagner FLEXiO 595 is our top pick. The two-nozzle system (iSpray for large jobs, Detail Finish for cabinets) makes it genuinely beginner-friendly. For budget-conscious DIYers, the VONFORN 700W delivers surprising quality at a fraction of the cost of premium models.
Whichever sprayer you choose, invest the time in proper cabinet preparation. Clean, sand, and prime your cabinets before spraying. Apply thin coats with proper overlap. Allow adequate drying time between coats. The sprayer is only one piece of the equation, but it’s the piece that makes the biggest difference in your final finish quality. With the right sprayer and the right technique, your kitchen cabinets will look like they came from the factory finished.