
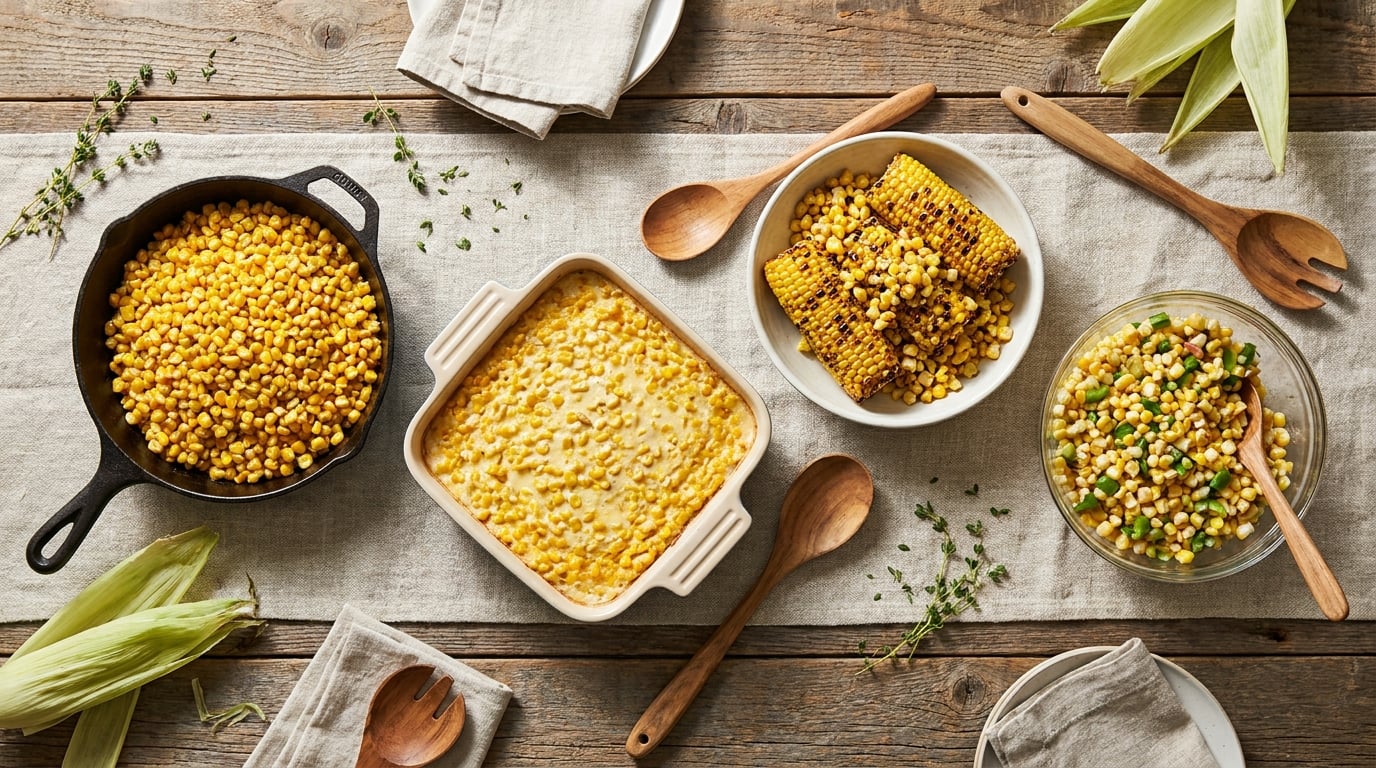
Easy corn side dish recipes for summer cookouts are the thing I look for every June, when the market is stacked with sweet corn and the grill is already warm. Here are twelve complete recipes built for a crowd: short ingredient lists, honest cook times, and steps you can read on a phone while the charcoal heats up. Eleven of the twelve can be made ahead, and most are on the table in under an hour.
Corn is at its best in the middle of summer, it pairs with almost anything coming off a grill, and it holds up well on a picnic table. If corn is already the star at your gathering, our BBQ side dish ideas have you covered, and the summer appetizer roundup handles the snack table.
Table of Contents
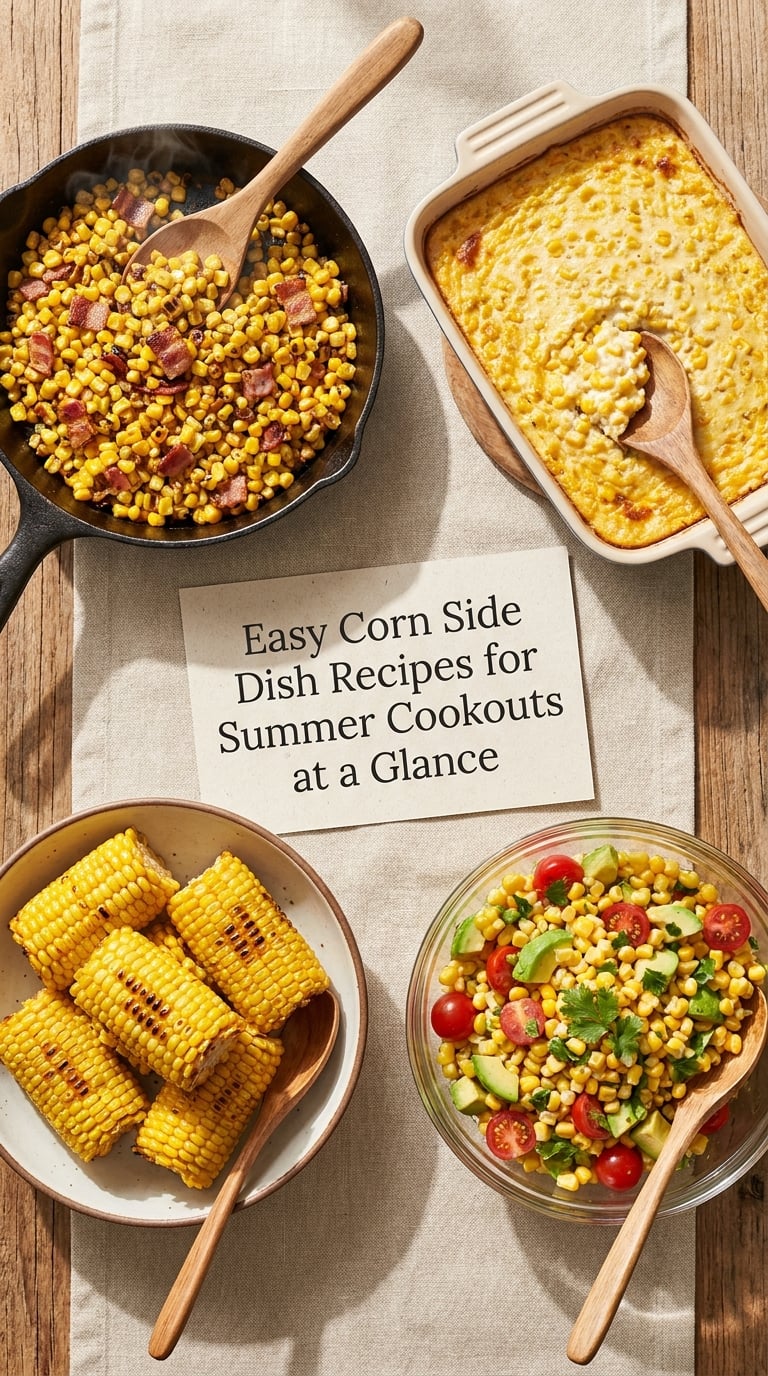
Easy Corn Side Dish Recipes for Summer Cookouts at a Glance
| Recipe | Time | Difficulty | Best for |
|---|---|---|---|
| 1. Garlic Butter Skillet Corn with Herbs | 10 min | Easy | Weeknight dinners and last-minute cookouts |
| 2. Charred Corn and Avocado Salad | 28 min | Easy | No-cook picnics and light buffets |
| 3. Creamy Corn Casserole | 60 min | Easy | Buffet tables and potlucks |
| 4. Smoky Grilled Corn with Chili-Lime Butter | 17 min | Easy | Grilling alongside the main |
| 5. Mexican Street Corn-Style Pasta Salad | 32 min | Easy | Large crowds and travel-friendly sides |
| 6. Southern Corn Pudding | 65 min | Easy | Make-ahead dinners, served warm or chilled |
| 7. Corn Fritters with Honey-Lime Yogurt Sauce | 32 min | Medium | Casual cookouts and appetizer tables |
| 8. Roasted Corn and Pepper Pasta | 45 min | Easy | Family cookouts and picky eaters |
| 9. Easy Corn and Black Bean Dip | 25 min | Easy | Snack tables and make-ahead starters |
| 10. Fresh Corn Succotash with Lemon Butter | 25 min | Easy | Warm-weather sides that need no cheese |
| 11. Cheesy Corn Muffin Cups | 37 min | Easy | Hand-held sides and kids |
| 12. Honey Roasted Corn with Feta and Herbs | 40 min | Easy | Oven-only hosting and warm-weather plates |
1. Garlic Butter Skillet Corn with Herbs
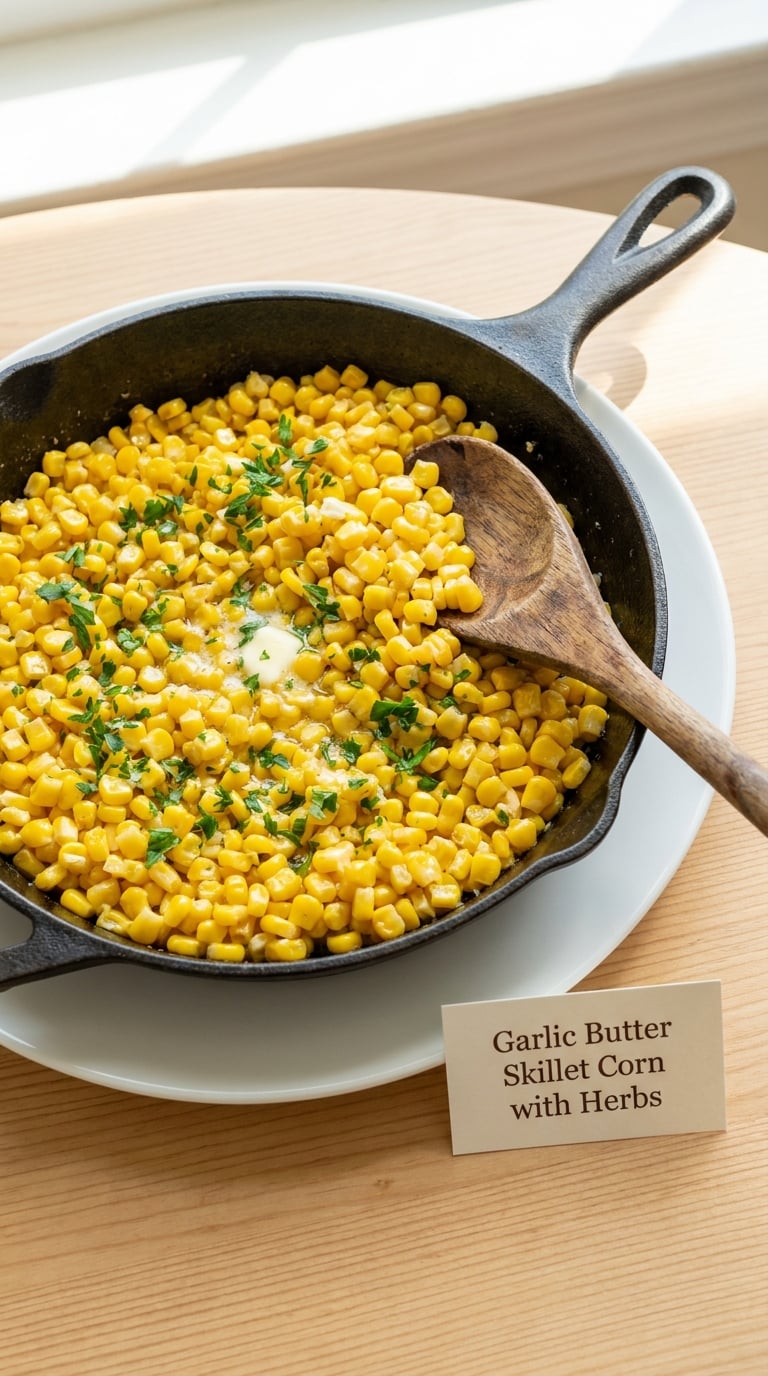
This is the recipe I make when the guests are already on the way and the cob is still shucked. Ten minutes, one pan, and the butter browns slightly so the kernels taste roasted rather than boiled.
Yield: 4 servings · Prep: 5 min · Cook: 5 min · Total: 10 min · Difficulty: Easy
Ingredients
- 3 cups corn kernels, fresh or frozen and thawed
- 2 tablespoons unsalted butter
- 2 garlic cloves, finely minced
- 1/2 teaspoon fine sea salt
- 1/4 teaspoon black pepper
- 2 tablespoons chopped fresh parsley or cilantro
- 1 tablespoon fresh lemon juice
- Pinch of red pepper flakes, optional
Instructions
- Set a 12-inch skillet over medium heat and add the butter.
- Cook the butter until it foams, about 60 seconds, then add the garlic and stir for 30 seconds until fragrant but not brown.
- Add the corn in one layer and leave it undisturbed for 2 minutes so the bottom picks up light color.
- Stir and cook 2 to 3 minutes more, until the kernels are steaming hot and glossy with a few browned spots.
- Season with the salt, pepper, and red pepper flakes, then turn off the heat.
- Fold in the parsley and lemon juice and spoon into a warm bowl.
Tip: Pat frozen corn dry in a clean towel before it hits the pan, and keep the heat at medium. Extra water plus hot butter is how the garlic burns and the kernels turn grey.
Swap it: Use olive oil instead of butter for a dairy-free version. Cilantro and lime works nicely in place of parsley and lemon if the cookout is going Mexican.
Storage: Keeps 3 days covered in the fridge. Reheat in a skillet over medium-low for about 3 minutes, or microwave 90 seconds. You can also cook the corn up to a day ahead and finish it with fresh butter and herbs right before serving.
2. Charred Corn and Avocado Salad
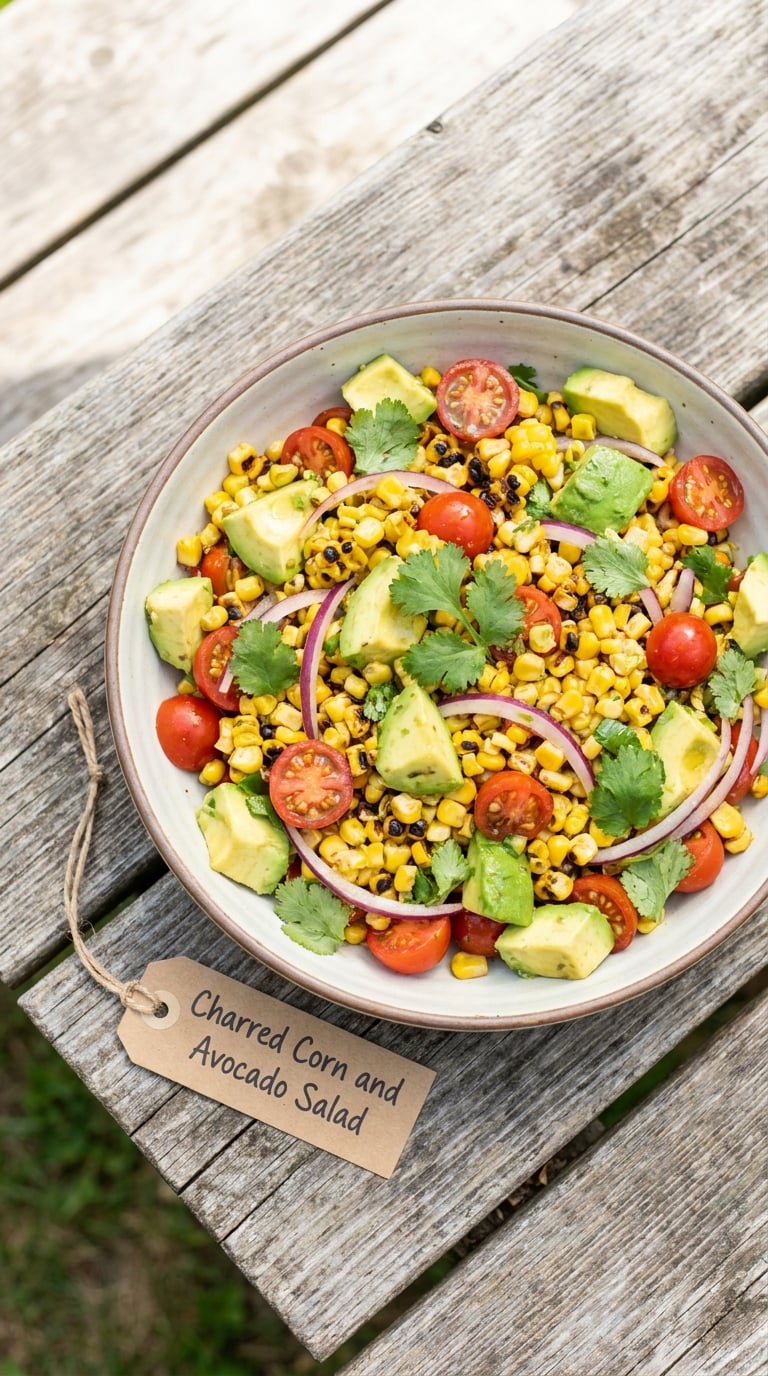
Char the ears, slice everything else, and let the lime do the work. This is the one salad that tastes best at room temperature and slightly sunny, which makes it right for picnics where there is no fridge in reach.
Yield: 6 servings · Prep: 20 min · Cook: 8 min · Total: 28 min · Difficulty: Easy
Ingredients
- 4 ears fresh corn, husks removed
- 1 large ripe avocado, diced
- 1 cup cherry tomatoes, halved
- 1/2 small red onion, very thinly sliced
- 1/2 cup cilantro leaves, roughly torn
- 2 limes
- 3 tablespoons olive oil
- 1/2 teaspoon fine sea salt
- 1/4 teaspoon chili powder
- 1 teaspoon granulated sugar
Instructions
- Heat a cast iron skillet or grill pan over high heat and dry it well.
- Lay the ears in the pan and turn every 2 minutes for 8 to 10 minutes, until kernels are blistered in dark patches and the cobs feel heavy.
- Transfer the corn to a plate and cool for 5 minutes, then cut the kernels off the cobs with a sharp knife.
- Whisk the juice of one lime with the olive oil, salt, chili powder, and sugar.
- Throw the corn, tomatoes, red onion, and cilantro with the dressing in a large bowl.
- Toss the avocado with the second lime juice, add it to the bowl, and fold gently so the cubes stay whole.
Tip: Add the avocado at the very end, right before serving. Tossing it early crushes it and the dressing turns the whole salad watery within an hour.
Swap it: Skip the cilantro for basil or parsley. A tablespoon of crumbled cotija or feta on top turns this into a heavier side; leave it off for a vegan plate.
Storage: Keeps 3 days covered, but the avocado browns. Dress everything except the avocado up to 2 days ahead and fold in the fruit on the day. Serve within 2 hours of assembly, or keep it in a cooler.
3. Creamy Corn Casserole
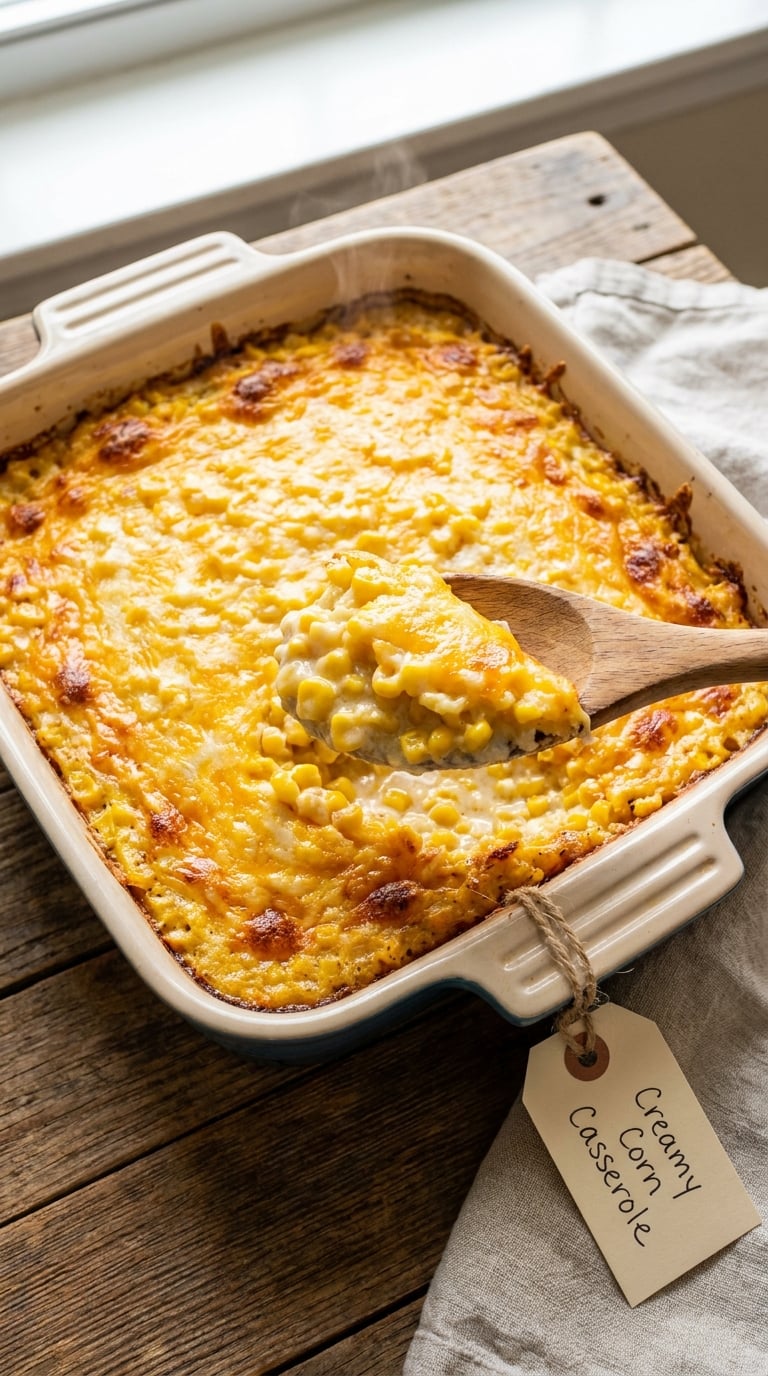
The dish that disappears first at every potluck. It is rich, it travels well, and it reheats on a buffet table without turning to glue.
Yield: 8 servings · Prep: 15 min · Cook: 45 min · Total: 60 min · Difficulty: Easy
Ingredients
For the sauce:
- 2 tablespoons unsalted butter
- 2 tablespoons all-purpose flour (30 g)
- 1/4 teaspoon fine sea salt
- 1 cup whole milk
- 1/2 cup heavy cream
For the casserole:
- 2 cups corn kernels, fresh or frozen
- 1/2 cup diced red bell pepper, optional
- 1 cup shredded cheddar cheese (115 g)
- 2 large eggs, lightly beaten
- 1/2 cup panko or breadcrumbs (50 g)
- 1 tablespoon butter, melted, for the top
Instructions
- Heat the oven to 350°F (175°C) and butter an 8-inch square baking dish.
- Melt 2 tablespoons butter in a medium saucepan over medium heat, then whisk in the flour and salt.
- Whisk in the milk and cream and cook, stirring, for 3 to 4 minutes until the sauce coats the back of a spoon.
- Take the pan off the heat and stir in the corn, bell pepper, and 3/4 cup of the cheddar.
- Let the mixture cool 5 minutes, then whisk in the beaten eggs.
- Pour into the dish, scatter the remaining cheese and the panko over the top, and drizzle with the melted butter.
- Bake 40 to 45 minutes, until the edges are deep golden and the center still wobbles slightly when you shake the dish.
- Rest 10 minutes before cutting so the slices hold together.
Tip: Use an 8-inch square dish. The extra depth is what gives you that soft, almost pudding-like middle, and a 9×13-inch pan will bake through in about 35 minutes.
Swap it: Skip the cream and use 1.5 cups milk for a lighter version. For a gluten-free bake, use a 1:1 gluten-free flour blend and replace the panko with cornmeal. A vegan version works with oat milk, plant butter, and vegan cheese, though the texture is slightly less creamy.
Storage: Keeps 4 days covered in the fridge. Reheat a portion in the microwave for 2 minutes, or cover and warm the whole dish at 350°F (175°C) for 20 minutes. Make ahead by assembling everything but the topping up to 24 hours ahead, then bake from cold and add 10 minutes to the bake time. It also freezes unbaked for up to 2 months.
4. Smoky Grilled Corn with Chili-Lime Butter
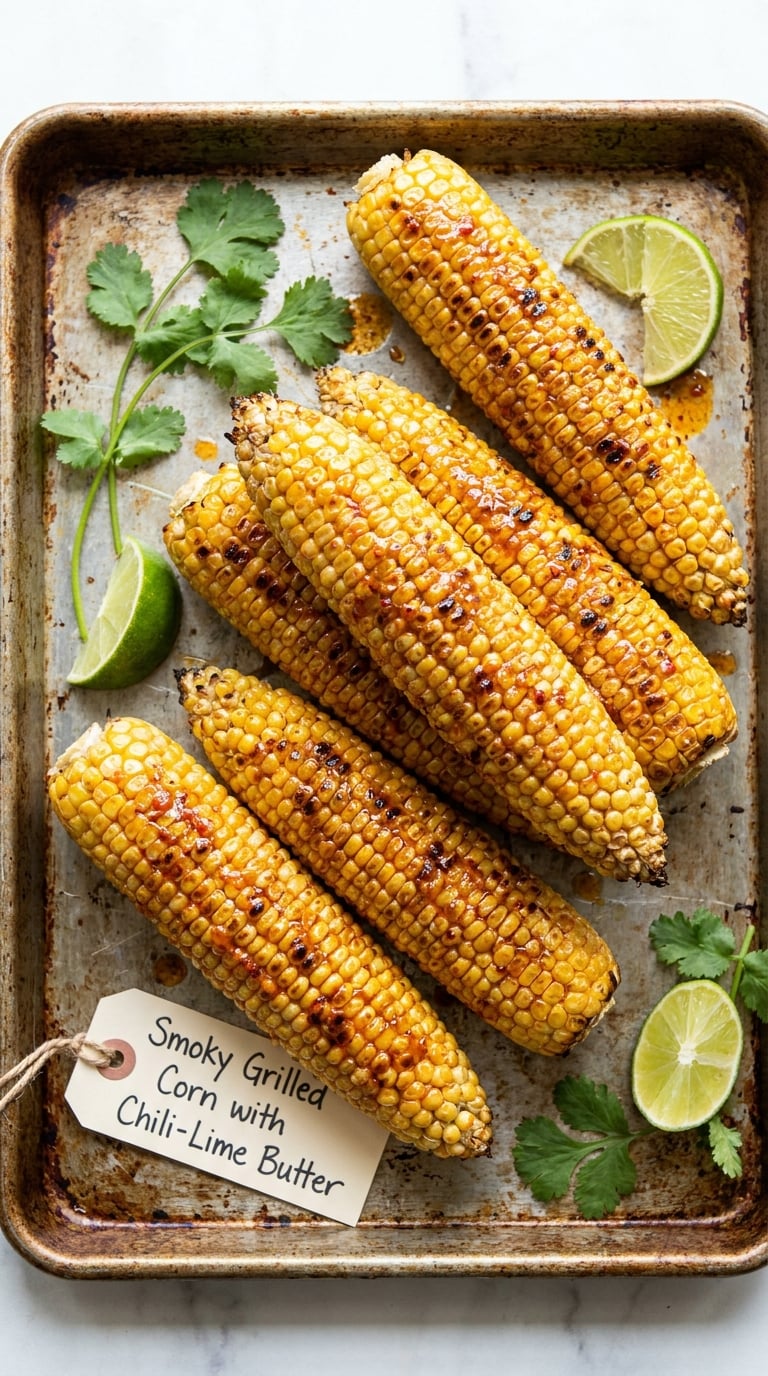
Eight ears, one bowl of butter, and the whole table turns into a street food stand. The chili-lime butter is mixed while the grill preheats, so the timing feels effortless even though the flavor is sharp.
Yield: 8 servings · Prep: 5 min · Cook: 12 min · Total: 17 min · Difficulty: Easy
Ingredients
- 8 ears corn, husks on
- 4 tablespoons unsalted butter, softened
- 1 teaspoon chili powder
- 1/2 teaspoon smoked paprika
- 1/2 teaspoon fine sea salt
- 1 lime
- 1/2 cup crumbled cotija or feta cheese
- 1/4 cup chopped cilantro
- 1 tablespoon neutral oil, for the grates
Instructions
- Soak the ears in cold water for 30 minutes if you have time, then pat them completely dry. Soaking is optional but it helps the husks stay damp and the kernels from scorching.
- Preheat a gas grill to high heat, about 450°F (230°C), or build a charcoal fire and let it turn ash gray.
- Mash together the softened butter, chili powder, paprika, and salt, then squeeze in the lime juice.
- Oil the grates, set the ears on, and turn them every 2 minutes for 10 to 12 minutes total.
- Check for even browning and a kernel that pops and releases a little milk when you squeeze it, which means it is done.
- Pull the ears into a dish, strip the husks back, and brush each cob generously with the chili-lime butter.
- Scatter the cotija and cilantro over the top and serve right away.
Tip: Dry ears and well-oiled grates. Standing water on the husk is what makes corn catch and scorch before the inside cooks through.
Swap it: Make the butter dairy-free by using olive oil or a vegan butter spread. An air fryer works too: cook at 400°F (200°C) for 10 to 12 minutes, turning the ears halfway, and add the butter at the end.
Storage: Grilled corn keeps 3 days wrapped in foil in the fridge. Reheat on a hot sheet pan at 375°F (190°C) for 8 minutes, then brush with the butter again. To hold warm before guests eat, pile the cobs in a low covered dish in a warm oven, no hotter than 200°F (95°C).
5. Mexican Street Corn-Style Pasta Salad
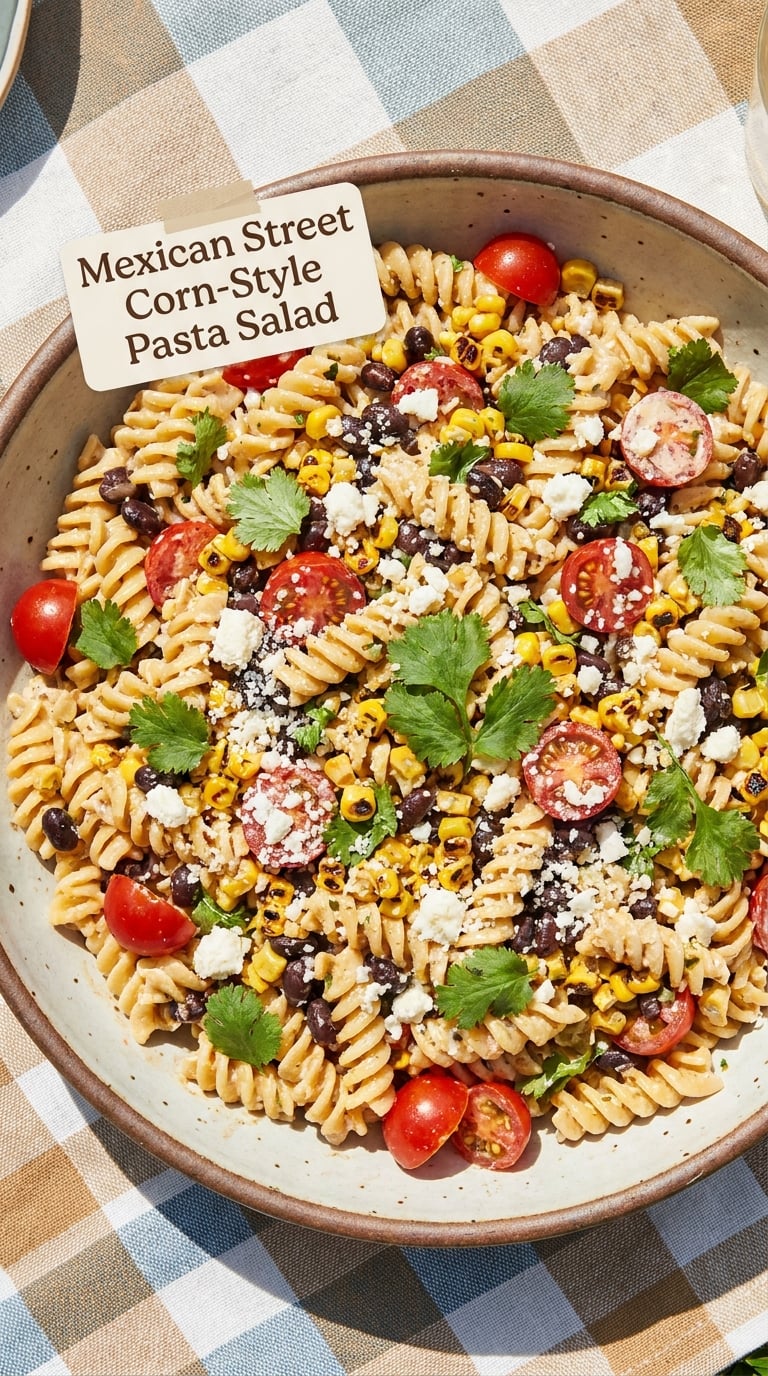
A full pasta salad gets heavy by the third helping, so this one leans on corn, black beans, and a lime-mayo dressing instead. It also travels better than a green salad, which makes it my pick for a potluck or a long drive to the lake.
Yield: 12 servings · Prep: 20 min · Cook: 12 min · Total: 32 min · Difficulty: Easy
Ingredients
- 1 pound (450 g) rotini or medium pasta shells
- 3 cups corn kernels, fresh or frozen
- 1 can (15 oz / 425 g) black beans, drained and rinsed
- 1 cup cherry tomatoes, halved
- 1/2 red onion, finely diced
- 3/4 cup crumbled cotija cheese (85 g)
- 1 cup mayonnaise
- 1/4 cup sour cream
- 2 limes, juiced
- 1 teaspoon chili powder
- 1/2 teaspoon ground cumin
- 1/2 cup chopped cilantro
- 1 teaspoon fine sea salt
Instructions
- Bring a large pot of salted water to a boil and cook the pasta for 9 to 11 minutes, until just al dente.
- Drain the pasta, rinse it under cold running water for 30 seconds, and let it drain in a colander for 5 minutes.
- Whisk the mayonnaise, sour cream, lime juice, chili powder, cumin, and salt together in a large bowl.
- Add the pasta and stir until every piece is coated.
- Fold in the corn, black beans, tomatoes, red onion, and half the cilantro.
- Add the cotija, toss once more gently, and chill for at least 20 minutes before serving.
Tip: Rinsing the pasta and letting it drain fully is what keeps the salad from turning into paste on a warm table. A little extra lime juice before serving wakes it back up.
Swap it: For a vegan version, use vegan mayo and a crumbled vegan cotija-style cheese, or top with diced avocado instead. A gluten-free pasta works exactly the same way.
Storage: Keeps 3 days covered in the fridge, and the flavors are better on day two. Serve cold from a cooler, under 2 hours. To scale up, this doubles easily, but make it in two bowls so the salad stays cold instead of warming the whole batch.
6. Southern Corn Pudding
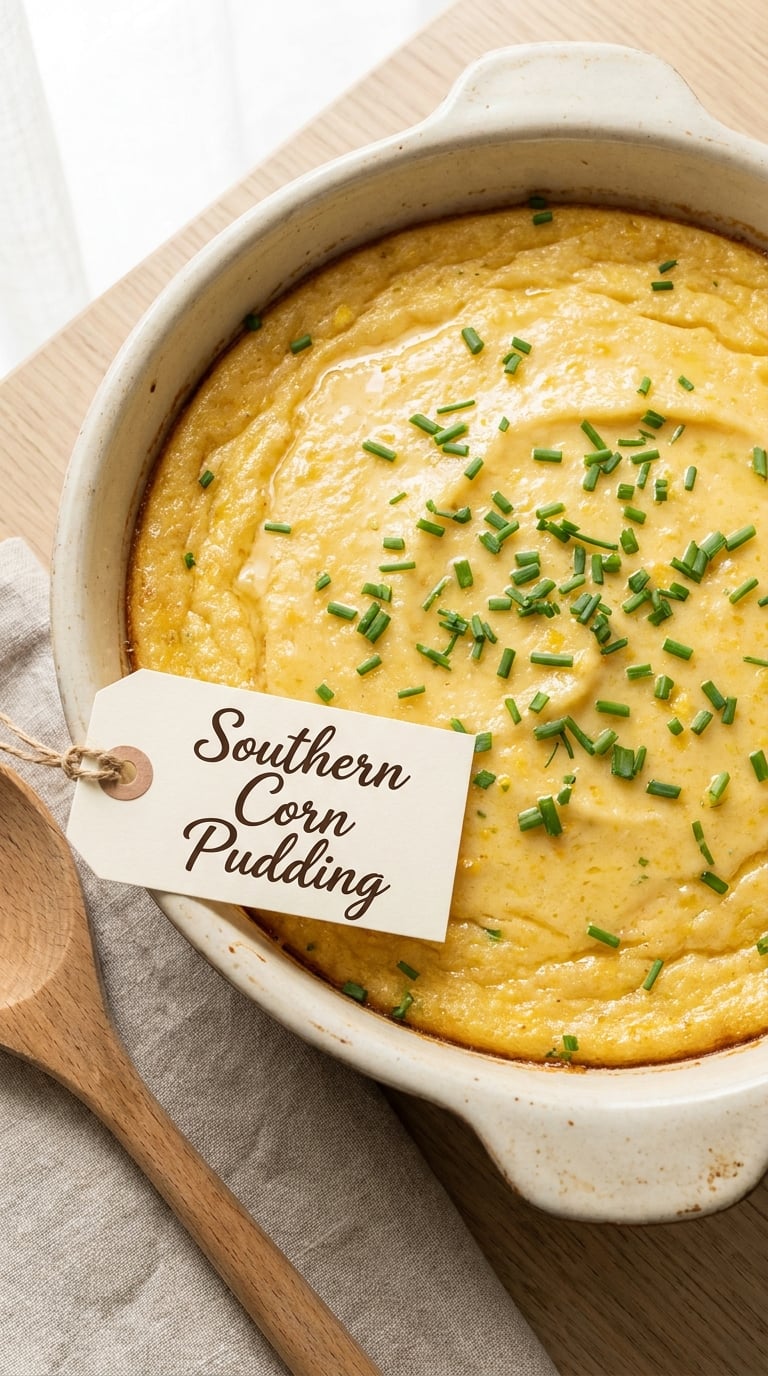
Silky, barely sweet, and built on eggs rather than starch, so it sets like a thin custard. It works as a side next to grilled chicken, and it is perfectly good cold the next morning.
Yield: 10 servings · Prep: 15 min · Cook: 50 min · Total: 65 min · Difficulty: Easy
Ingredients
- 1/2 cup unsalted butter (113 g), plus more for the dish
- 1/4 cup granulated sugar (50 g)
- 4 large eggs
- 4 cups whole milk (1 quart / 950 ml)
- 2 cups corn kernels, fresh or frozen
- 1 teaspoon pure vanilla extract
- 1/2 teaspoon fine sea salt
- 2 tablespoons chopped chives, or 1 split vanilla bean, optional
Instructions
- Heat the oven to 350°F (175°C) and butter a 9×13-inch baking dish.
- Cream the butter and sugar together until pale and fluffy, about 1 minute.
- Add the eggs one at a time, whisking after each until the mixture is smooth.
- Whisk in the milk, corn, vanilla, and salt, then pour into the dish.
- Bake 45 to 50 minutes, until the top is lightly golden and a knife inserted near the center comes out clean with a little liquid.
- Cool 30 minutes at room temperature, then refrigerate if serving cold.
Tip: For a smoother texture, pulse half the corn kernels with 1 cup of the milk in a blender for 15 seconds, then stir them back in. And do not over-bake it, or the eggs tighten and the surface turns rubbery.
Swap it: To make it lactose-free, use lactose-free milk, or swap 2 cups of the milk for unsweetened almond milk. The eggs do the setting, so the custard still holds.
Storage: Keeps 4 days covered in the fridge. You can assemble it unbaked up to 24 hours ahead and bake it straight from the cold, adding about 8 minutes and starting to check at 50 minutes. Portions freeze well for up to 2 months; thaw in the fridge overnight.
7. Corn Fritters with Honey-Lime Yogurt Sauce
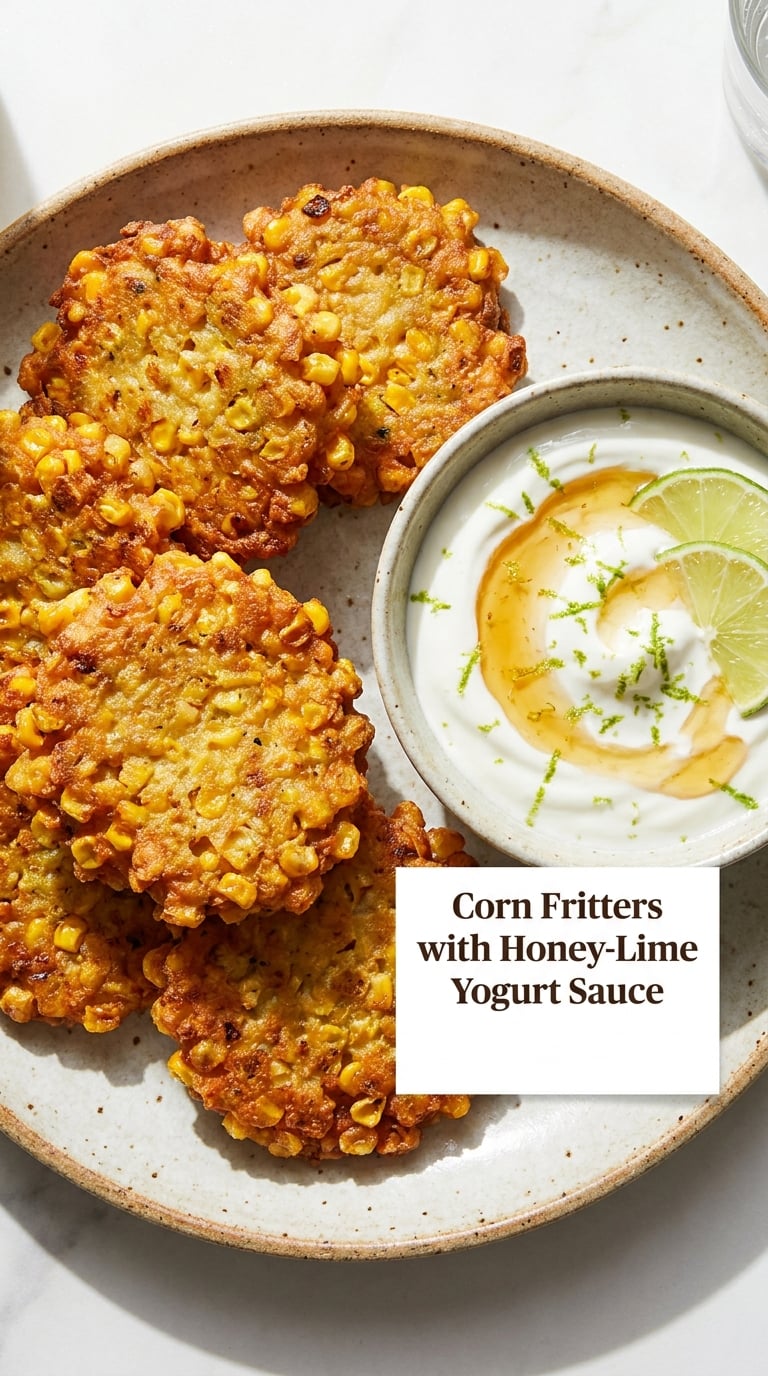
Corn fritters go over well because they are the rare side people eat standing up. The batter is loose, the outside is properly crisp, and the yogurt sauce takes five minutes to stir together.
Yield: about 20 fritters, 8 servings · Prep: 20 min · Cook: 12 min · Total: 32 min · Difficulty: Medium
Ingredients
For the fritters:
- 2 cups corn kernels, fresh or frozen (250 g)
- 1/2 cup all-purpose flour (65 g)
- 1/3 cup cornmeal (40 g)
- 1 teaspoon baking powder
- 1/2 teaspoon fine sea salt
- 2 large eggs, lightly beaten
- 1/3 cup whole milk
- 1/2 cup shredded cheddar cheese (55 g), optional
- 1/2 cup chopped scallions
- 1 cup neutral oil, for frying
For the honey-lime sauce:
- 3/4 cup plain Greek yogurt
- 2 tablespoons honey
- 1 tablespoon fresh lime juice
- Pinch of salt
Instructions
- Whisk the flour, cornmeal, baking powder, and salt together in a bowl.
- Whisk the eggs and milk together in a second bowl, then pour into the dry ingredients and stir until just combined.
- Fold in the corn, cheese, and scallions, then let the batter rest 10 minutes so the flour hydrates.
- Stir the yogurt, honey, lime juice, and salt together and chill until serving.
- Heat 1 inch of oil in a heavy skillet to 350°F (175°C), until a drop of batter sizzles immediately.
- Drop heaping tablespoon portions of batter, leaving room to spread, and fry 2 to 3 minutes per side until deep golden.
- Drain on a wire rack rather than paper towels so the bottoms stay crisp, then serve with the sauce.
Tip: That 10-minute rest is what keeps the fritters in one piece. If the batter still loosens after resting, stir in another 2 tablespoons of flour.
Swap it: To bake, heat the oven to 425°F (220°C), spray the tops of the fritters with oil, and bake 12 to 14 minutes, flipping once. An air fryer needs 8 to 10 minutes at 400°F (200°C).
Storage: Fritters keep 3 days in the fridge in a single layer. Reheat at 400°F (205°C) for 6 to 8 minutes, or in an air fryer for 4 minutes, so the crust comes back. They freeze flat for up to 2 months.
8. Roasted Corn and Pepper Pasta
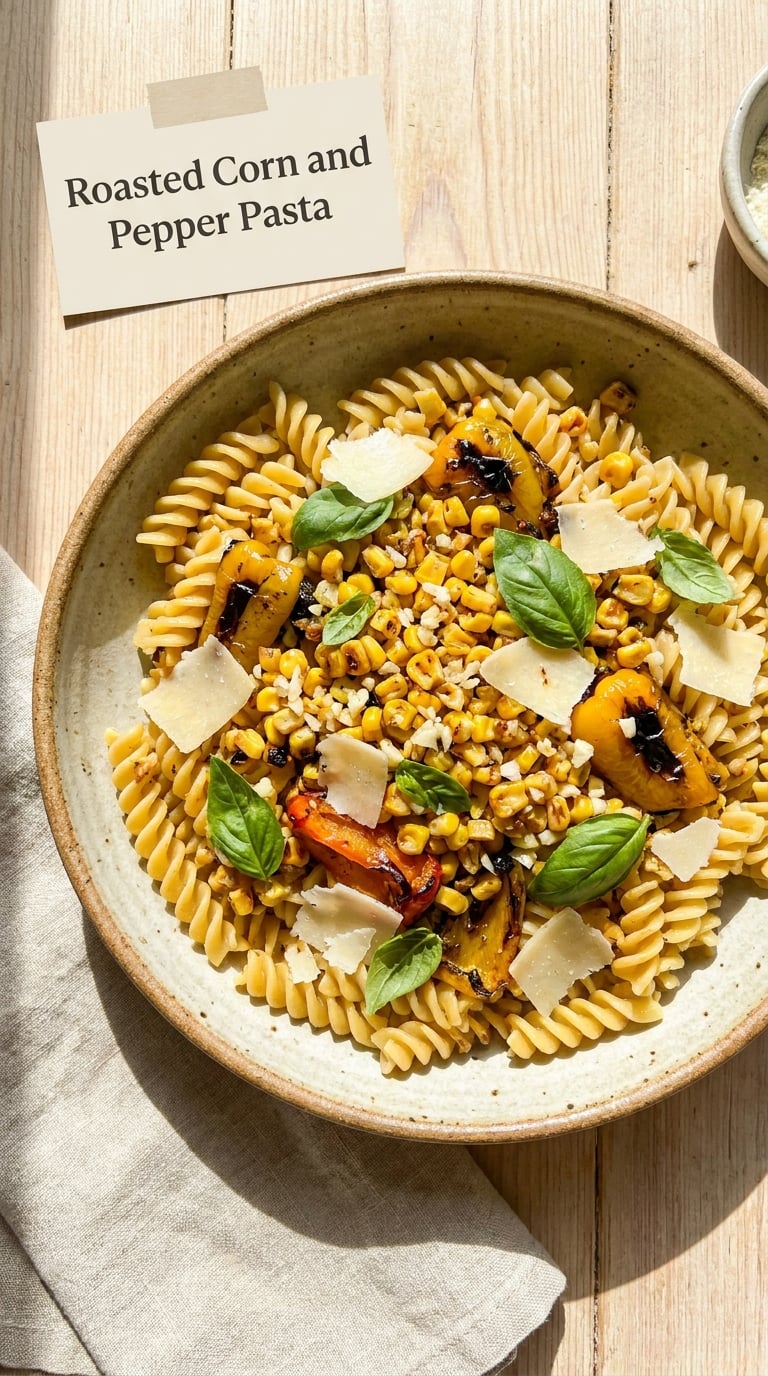
Everything roasts on one sheet pan, so the active cooking is about as short as it gets. A light cream sauce ties the sweet corn and smoky peppers together, and kids eat it without complaint.
Yield: 6 servings · Prep: 15 min · Cook: 30 min · Total: 45 min · Difficulty: Easy
Ingredients
- 2 cups corn kernels, fresh or frozen
- 1 red bell pepper, cut into 1-inch strips
- 1 yellow bell pepper, cut into 1-inch strips
- 1 small yellow onion, cut into 1-inch strips
- 4 garlic cloves, left whole and unpeeled
- 3 tablespoons olive oil
- 1 teaspoon fine sea salt
- 12 oz (340 g) farfalle or rotini
- 1 cup cherry tomatoes, halved
- 1/2 cup heavy cream
- 1/2 cup grated Parmesan, plus more to finish
- 1/3 cup fresh basil leaves
- 1/2 teaspoon red pepper flakes
Instructions
- Heat the oven to 425°F (220°C) and spread a rimmed sheet pan with 1 tablespoon of olive oil.
- Arrange the corn, peppers, and onion on the pan, drizzle with the remaining oil, season with the salt, and roast 20 minutes.
- Squeeze the roasted garlic cloves out of their skins and add them to the pan with the tomatoes for the last 5 minutes.
- While the vegetables roast, cook the pasta in well-salted water for 10 to 11 minutes, then reserve 1 cup of the water and drain.
- Warm the cream in the same pot over low heat, add the roasted vegetables, and simmer 3 minutes.
- Add the pasta and 1/2 cup of the reserved water, and toss until the sauce turns glossy and clings.
- Take off the heat and fold in the Parmesan, basil, and red pepper flakes.
Tip: Give the vegetables room on the pan. Crowded corn and peppers steam instead of roasting, and you lose the browned edges that carry the whole dish.
Swap it: For a dairy-free version, skip the cream and use 1/2 cup olive oil with a splash of the pasta water, then season with lemon zest and a little nutritional yeast. Zucchini or broccoli work in place of one of the peppers.
Storage: Keeps 4 days covered in the fridge. Reheat on the stove over low heat with a splash of water for 4 minutes, or microwave in 2-minute bursts. A splash of fresh basil after reheating makes it taste new again.
If you want a main course to serve alongside, our ground beef and corn recipes pair well with this pasta.
9. Easy Corn and Black Bean Dip
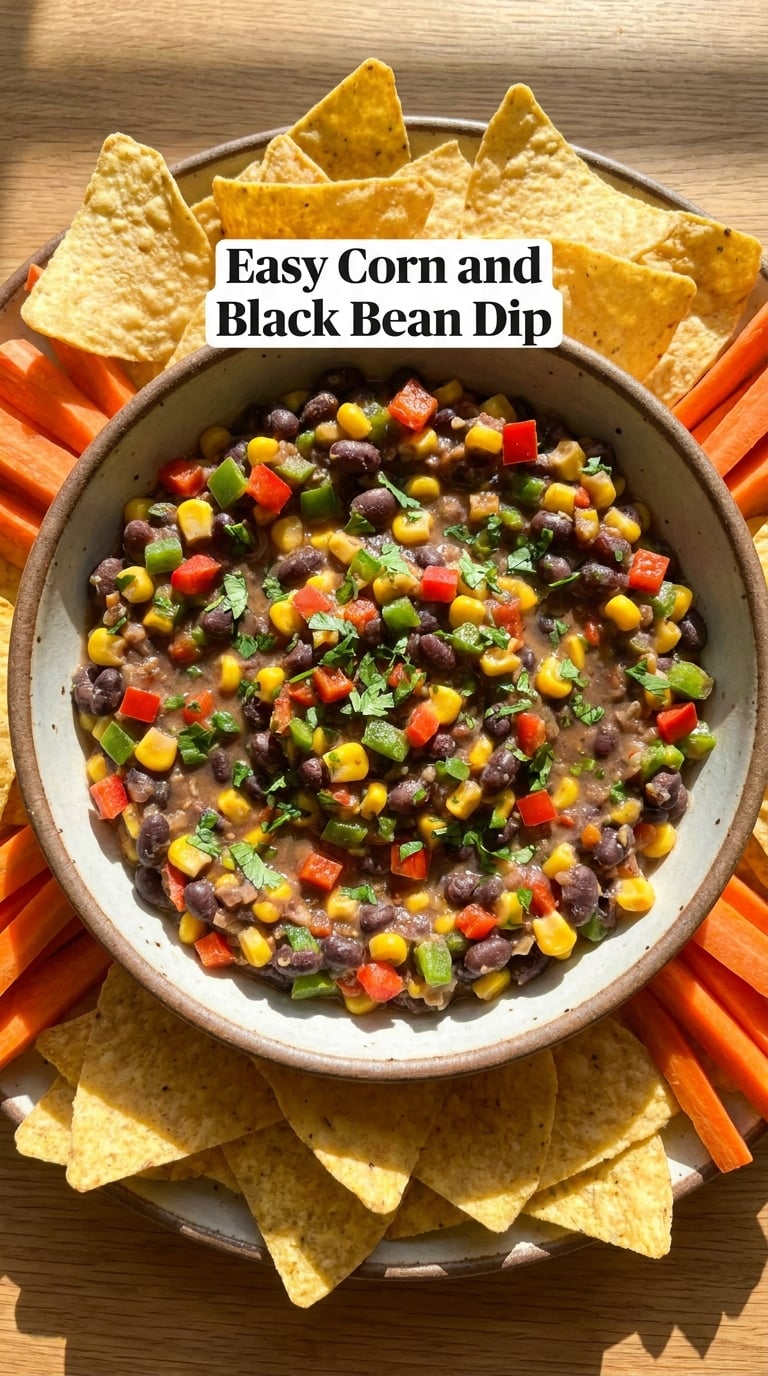
Warm dip, straight from the skillet, and it scoops beautifully with chips. The texture is the whole trick: mash about a third of it and leave the rest whole so people can pick out whole kernels.
Yield: about 10 servings as an appetizer · Prep: 10 min · Cook: 15 min · Total: 25 min · Difficulty: Easy
Ingredients
- 2 tablespoons unsalted butter
- 1/2 yellow onion, finely diced
- 1 red bell pepper, finely diced
- 2 garlic cloves, minced
- 3 cups corn kernels, fresh or frozen
- 1 can (15 oz / 425 g) black beans, drained and rinsed
- 1 can (8 oz / 225 g) cream cheese, softened
- 1 teaspoon chili powder
- 1/2 teaspoon ground cumin
- 1 cup shredded cheddar cheese (115 g)
- 1/2 cup chopped cilantro
- 1 lime, juiced
- Tortilla chips and carrot sticks, for serving
Instructions
- Melt the butter in a large skillet over medium heat and add the onion and bell pepper.
- Cook 5 to 6 minutes, stirring, until the onion is soft and the pepper edges are just softening.
- Add the garlic and stir for 30 seconds, then add the corn, beans, chili powder, and cumin.
- Cook 4 to 5 minutes until the mixture is hot and most of the liquid has cooked away.
- Take the pan off the heat and mash about a third of the mixture with a potato masher, leaving the rest whole.
- Stir in the cream cheese until it melts, then fold in the cheddar, cilantro, and lime juice.
- Serve warm, about 115°F (46°C) to 130°F (54°C), with chips and carrot sticks.
Tip: Take the pan off the heat before the cream cheese goes in. Adding it over high heat makes the cheese grainy and can split it.
Swap it: A dairy-free cream cheese works and the dip stays just as creamy. For a gluten-free table, serve it with cucumber and pepper strips, or with gluten-free crackers. Note that the dish contains dairy, and a standard tortilla chip adds gluten.
Storage: Keeps 4 days covered in the fridge, and it is better on day two. Make it up to 2 days ahead. Reheat in a covered casserole dish at 350°F (175°C) for 15 to 20 minutes, or serve it cold straight from the fridge if you prefer.
10. Fresh Corn Succotash with Lemon Butter
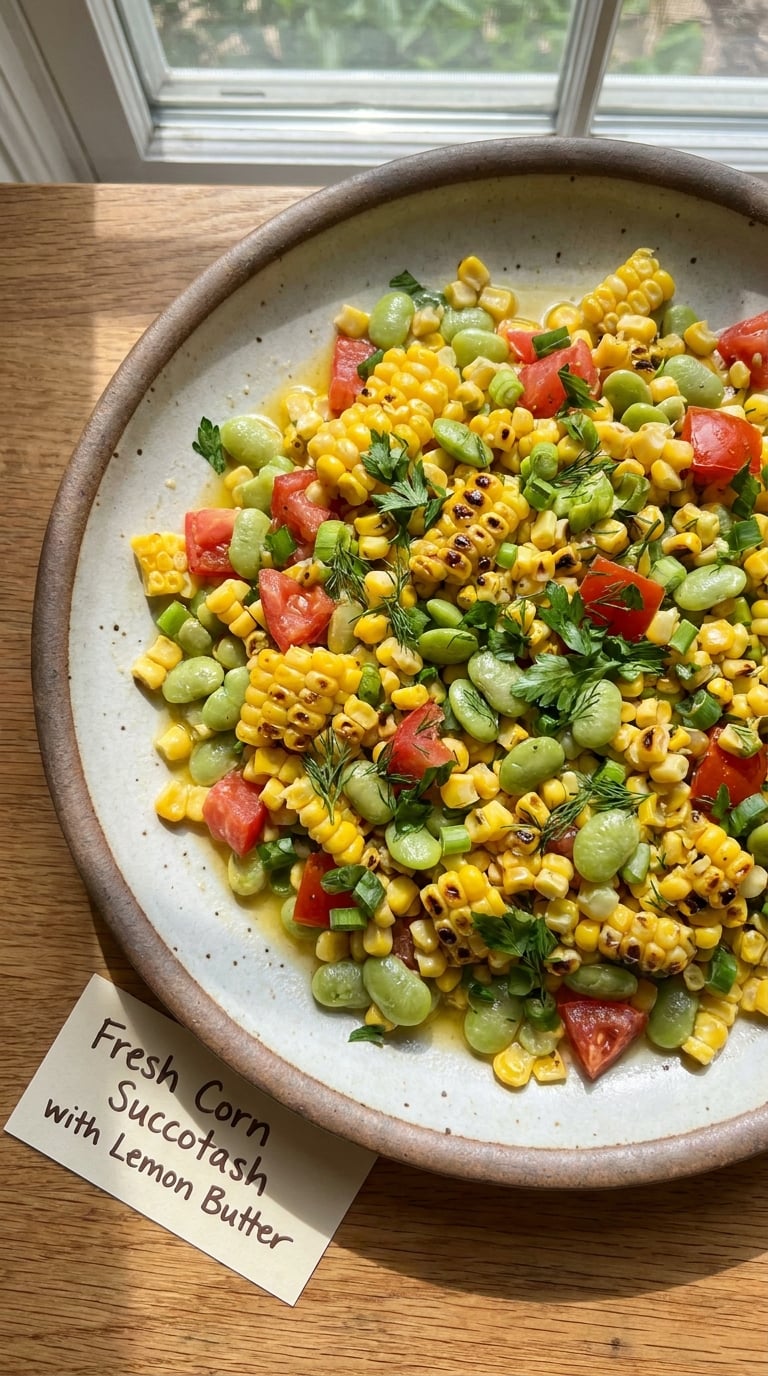
Succotash is the lightest thing on this list, and the one dish that feels like summer instead of a buffet. It takes one pan, one pot, and about ten minutes of actual cooking.
Yield: 6 servings · Prep: 15 min · Cook: 10 min · Total: 25 min · Difficulty: Easy
Ingredients
- 3 cups corn kernels, fresh or frozen
- 1 cup lima beans, or shelled edamame
- 1 cup diced tomatoes
- 1/2 cup sliced scallions
- 3 tablespoons unsalted butter
- 1 lemon, zested and juiced
- 1/2 teaspoon fine sea salt, plus more for edamame
- 1/4 teaspoon black pepper
- 2 tablespoons chopped fresh parsley or basil
Instructions
- Boil the lima beans in salted water for 8 to 10 minutes until tender, or use frozen edamame straight from the bag.
- While they cook, melt the butter in a large skillet over medium heat.
- Add the corn and cook 4 minutes, stirring once or twice, until the kernels turn glossy and just soften.
- Add the lima beans and cook 3 more minutes, until everything is heated through.
- Take the pan off the heat, then stir in the tomatoes, scallions, lemon zest, and lemon juice.
- Season with salt and pepper and scatter the parsley over the top.
Tip: Add the tomatoes after the heat is off. Cooked any longer, they release their water and turn the bottom of the pan into a thin soup.
Swap it: Use olive oil instead of butter for a dairy-free version, and edamame for lima beans if you want a vegan plate. Frozen succotash blends work too, just cook from frozen and skip the boiling step.
Storage: Keeps 3 days covered in the fridge, though the lima beans soften further by day two. It can be made a day ahead, but squeeze the lemon in just before serving so the brightness stays sharp. Serve at room temperature for up to 2 hours outdoors.
11. Cheesy Corn Muffin Cups
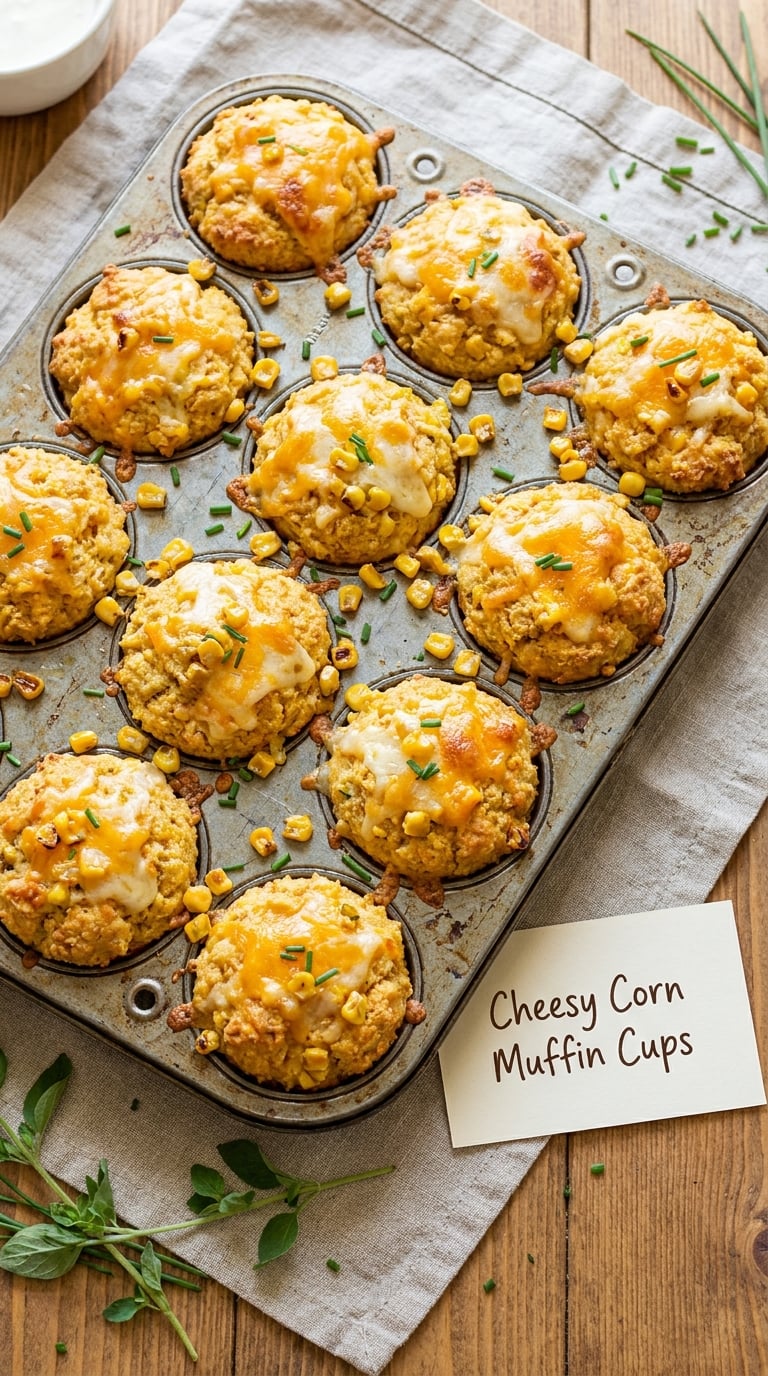
These are the answer for a cookout where nobody wants to sit down. They hold in one hand, they travel in a muffin tin covered in foil, and they can be baked the day before.
Yield: 12 muffin cups · Prep: 15 min · Cook: 22 min · Total: 37 min · Difficulty: Easy
Ingredients
- 1 cup corn kernels, fresh or frozen
- 1 cup shredded cheddar or Monterey Jack cheese (115 g)
- 1/2 cup whole milk
- 1/4 cup unsalted butter, melted and cooled (30 g)
- 2 large eggs
- 1 cup all-purpose flour (125 g)
- 1/3 cup cornmeal (40 g)
- 1 tablespoon baking powder
- 1/2 teaspoon fine sea salt
- 1/4 cup chopped scallions
Instructions
- Heat the oven to 400°F (205°C) and grease the top of each cup in a standard 12-count muffin tin, very lightly.
- Whisk the flour, cornmeal, baking powder, and salt together in a large bowl.
- Whisk the eggs, milk, and melted butter in a second bowl, then pour into the dry ingredients and stir just until combined.
- Fold in the corn, 3/4 cup of the cheese, and the scallions.
- Divide the batter between the cups, filling each about two-thirds full.
- Scatter the remaining cheese over the tops and bake 18 to 22 minutes, until the tops are golden and a toothpick comes out clean.
- Cool 5 minutes in the tin before lifting them out.
Tip: Grease only the top of each cup, not the sides. The batter bakes against the tin and releases on its own if you leave the sides alone.
Swap it: These are already vegetarian. For a gluten-free version, use a 1:1 gluten-free flour blend in place of the flour and check that the cornmeal is certified gluten free. Adding 1/2 cup of chopped ham makes them a main dish instead of a side.
Storage: Keep 4 days in a covered container in the fridge. Rewarm at 350°F (175°C) for 8 to 10 minutes, or microwave 45 seconds per cup. They freeze for up to 2 months and reheat from frozen in about 12 minutes.
For a table with more bakes, our easy side dish ideas have the same make-and-freeze rhythm.
12. Honey Roasted Corn with Feta and Herbs
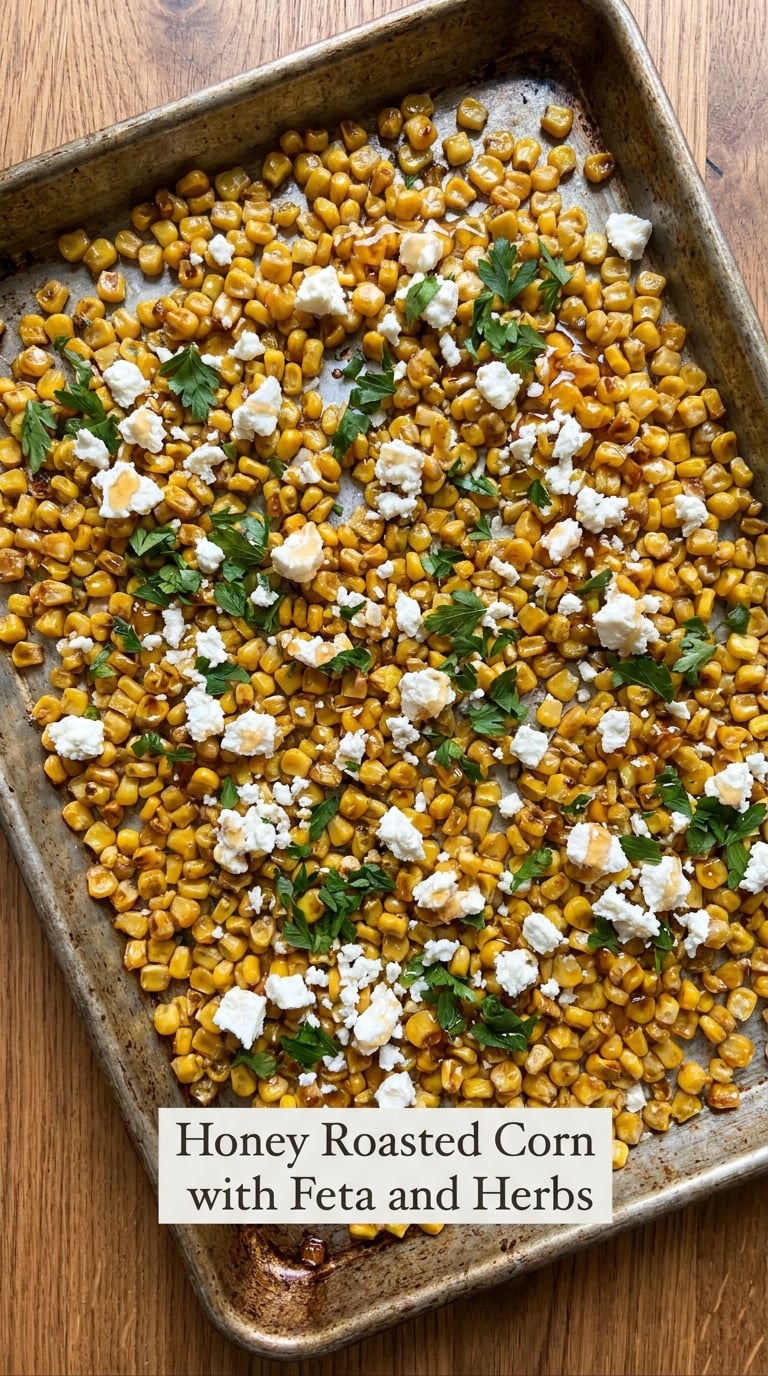
The last recipe here is the one I make when the grill belongs to someone else. It roasts in the oven, it is good warm or at room temperature, and it travels better than almost anything else on the list.
Yield: 6 servings · Prep: 10 min · Cook: 30 min · Total: 40 min · Difficulty: Easy
Ingredients
- 6 cups corn kernels, from 6 fresh ears or frozen (450 g)
- 3 tablespoons olive oil
- 1 teaspoon fine sea salt
- 1/2 teaspoon smoked paprika
- 1/4 cup honey
- 1/2 cup crumbled feta (75 g)
- 1/4 cup chopped fresh parsley
- 1 tablespoon chopped chives
- 1 teaspoon lemon zest
Instructions
- Heat the oven to 425°F (220°C) and put a rimmed sheet pan in the oven to heat up for 10 minutes.
- Toss the corn with 2 tablespoons of the olive oil, the salt, and the paprika.
- Spread the corn in a single layer on the hot pan and roast 20 to 25 minutes, stirring once, until the kernels are browned at the edges.
- Whisk the remaining tablespoon of olive oil with the honey, and drizzle it over the hot corn.
- Return the pan to the oven for 5 minutes, until the honey looks glossy and has started to caramelize.
- Scatter the feta, parsley, chives, and lemon zest over the top and serve warm.
Tip: A hot sheet pan gives you the browned edges a cold pan cannot. If you skip the preheat, the kernels still roast, they just come out paler and more steamed than caramelized.
Swap it: This is vegan as written if you leave off the feta, or use a crumbled vegan feta-style cheese. Swap the honey for maple syrup for a smokier finish, or use grilled ears from recipe number 4 if the oven is already occupied.
Storage: Keeps 4 days covered in the fridge. Reheat on a sheet pan at 350°F (175°C) for 10 minutes and add the feta after, so it does not turn rubbery. It can be roasted a day ahead and finished with honey and feta on the day of the party.
Tips for Making These
How to scale easy corn side dish recipes for summer cookouts
Plan on 1 ear of corn, or about 1/2 cup of kernels, per person for a side dish. If corn is one of several sides on a buffet, drop to 1/3 cup per person. For a picnic where it is the only vegetable, go to 3/4 cup so nobody leaves hungry.
Picking and prepping the corn
- Buy at the milk stage. Squeeze a kernel near the tip of the ear. If it pops and runs milky white juice, it is sweet and tender. Clear liquid means wait a few more days, and no liquid at all means the sugar has turned to starch and the corn will taste flat no matter what you do to it.
- Use frozen corn without apology. It is picked and frozen at peak sweetness, and cooks in half the time. Pat it dry in a towel before it goes in a hot pan, or the extra water stops anything from browning.
- Stop the scorch. Soak ears in husk for 30 minutes before grilling, dry them completely, and oil the grates. Standing water on the husk is what burns before the center cooks through.
- Work ahead in order. The pasta salad, dip, and casserole can all be built a day or two early. The skillet corn, grilled corn, and fritters should be finished on the day, since they are at their best in the first hour.
- Keep hot and cold apart. Set cold salads and dips on one end of the table in a cooler with ice packs, and hot casseroles on the other. Bring out dips in small batches, and clear anything that has sat out longer than 2 hours.
- Adjust the seasoning to the table. Add the salt and the lime at the end for a buffet, where flavors fade as a dish sits. Add them earlier for a family dinner, where the side is eaten within minutes.
For lighter corn sides with a different approach to sugar and salt, our diabetic side dish recipes are worth a look.
Frequently Asked Questions
Can I make corn side dishes ahead of a summer cookout?
Yes. The creamy corn casserole, corn pudding, black bean dip, and Mexican street corn pasta salad all keep three to four days covered in the fridge. Assemble the casserole and pudding the day before and bake them straight from cold, adding about ten minutes to the bake time. Toss the dressing for the pasta salad the night before, then add it in the morning so the pasta does not turn soft.
Which of these easy corn side dish recipes are best served cold?
The charred corn and avocado salad, the honey roasted corn with feta, and the Mexican street corn pasta salad are all good cold or at room temperature. Make the avocado salad no more than a couple of hours ahead, since the fruit browns and the salad gets watery. The skillet corn and grilled corn are best warm, while the casserole and pudding work either way.
How do I keep corn salad and dips from getting watery?
Drain everything well. Pat frozen or canned corn dry with a towel, dice tomatoes into small pieces, salt them for 15 minutes in a colander, and drain that too. Keep avocado out until the final minute. A lime or vinegar dressing is far more stable than a watery tomato-based one, and storing the salad in a bowl covered loosely prevents condensation from dripping back in.
Should I use fresh, frozen, or canned corn for cookout recipes?
Fresh corn is the most flavorful and needs nothing but a quick char. Frozen corn works in the cooked dishes like the casserole, dip, and succotash, and it is what I use in the off-season. Canned corn is fine for the skillet recipe, where butter, garlic, and herbs carry the flavor, but drain and rinse it first to wash off the starchy liquid.
What corn side dish can I make in less than 15 minutes?
Garlic butter skillet corn takes about ten minutes from a cold start, and it is the one I make when people arrive early. If you already have cooked corn in the fridge, it comes together in three minutes with butter, garlic, and herbs. The charred corn and avocado salad is the other quick option, at under half an hour with nothing to cook beyond the cobs.
How should I transport corn dishes to an outdoor gathering?
Carry cold dishes in a cooler with ice packs, out of direct sun, and get them into a shaded spot on arrival. A tight lid matters more than the container. Take hot casseroles and puddings in a foil-covered dish wrapped in towels so they stay warm on the drive, then set hot and cold sides at opposite ends of the table and put dips out last.
Conclusion
Start with the garlic butter skillet corn if this is your first time cooking for a crowd. Ten minutes, seven ingredients, and it goes with anything on the grill.
If you would rather be at the party than in the kitchen, the creamy corn casserole or the Mexican street corn pasta salad will hold perfectly for a day or two. These easy corn side dish recipes for summer cookouts scale the same way, so pick the one that matches your menu and you have got a summer table that looks like you planned it weeks in advance.