
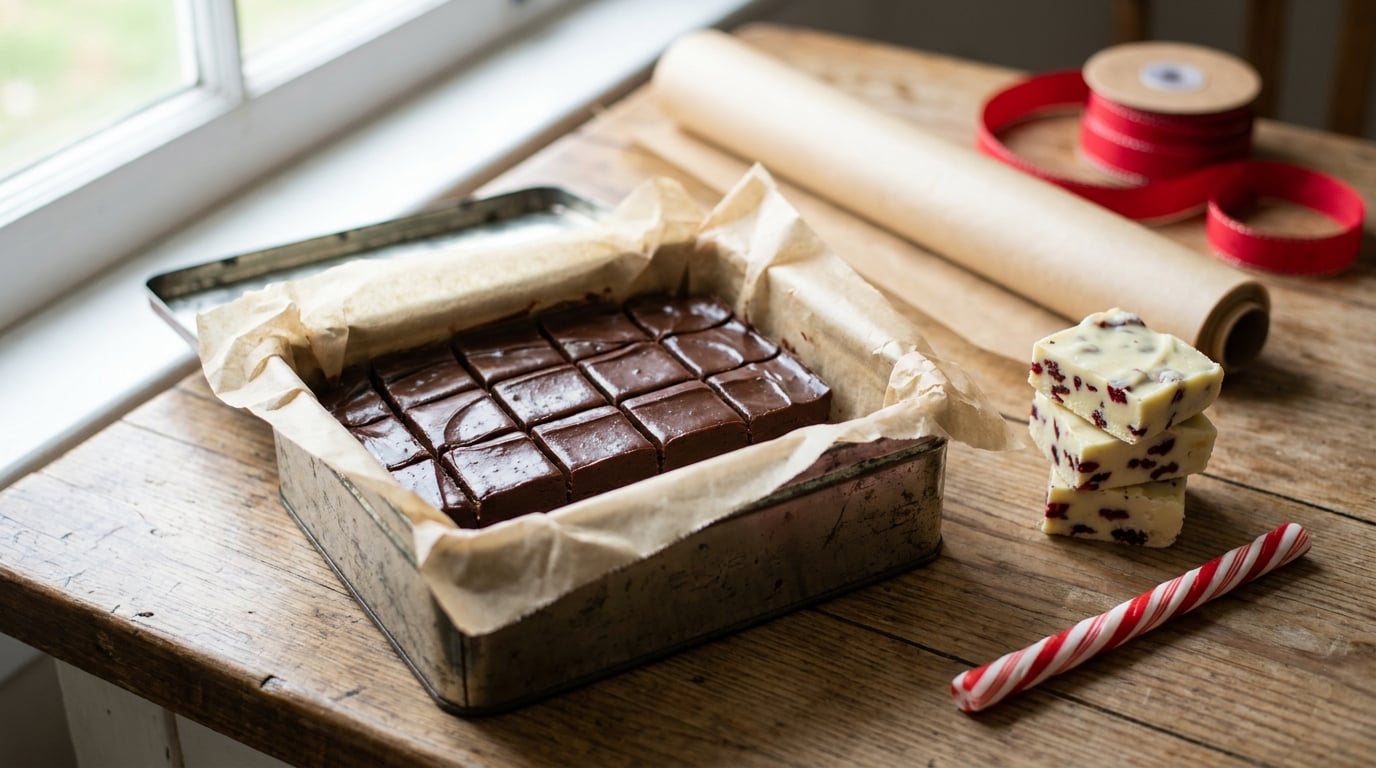
The easiest fudge recipe is three ingredients: sweetened condensed milk, semi-sweet chocolate chips and butter, cooked for four minutes, poured into a lined pan and left to set for three hours. No candy thermometer, no beating, no oven. Every recipe below follows that same forgiving structure, so these easy fudge recipes for Christmas gifts are the ones you can make even when the rest of December is already full.
They are for the cook who has a list of twenty people to give a little something to and no time to spare. Each one gives an exact yield, how long it needs to chill, and which tin to put it in. Several are nut-free or dairy-free with a simple swap, which matters if you are gifting to a classroom or a neighbour with a nut allergy.
Table of Contents
Easy Fudge Recipes for Christmas Gifts at a Glance
| Recipe | Total time | Difficulty | Best for |
|---|---|---|---|
| 1. Classic Chocolate Fudge | 3 hr 15 min | Easy | Everyone on the list, plus your first pan |
| 2. Vanilla Bean Fudge | 4 hr | Easy | Children, coworkers, holiday hosts |
| 3. Peanut Butter Chocolate Fudge | 3 hr 30 min | Easy | Teenagers and peanut butter fans |
| 4. Rocky Road Fudge | 4 hr 15 min | Easy | Kids, plus a forgiving batch for beginners |
| 5. Peppermint Fudge | 4 hr | Easy | Traditionalists and last-minute cookie swap-ins |
| 6. Salted Caramel Fudge | 4 hr 45 min | Medium | Adults who like something richer than chocolate |
| 7. White Chocolate Cranberry Fudge | 4 hr 30 min | Easy | Coworkers, teachers, hosts |
| 8. Chocolate Walnut Fudge | 4 hr | Easy | Grandparents, uncles, traditionalists |
| 9. Holiday Cookie Dough Fudge | 3 hr 30 min | Easy | Kids, party favours, soft-texture fans |
| 10. Maple Bacon Fudge | 4 hr 30 min | Medium | The person who is hard to buy for |
For the gifting math: a 9×9-inch pan cut into 1-inch squares gives you 36 pieces. That is nine small tins at four pieces each, or four larger boxes at eight pieces each. Plan on two or three pans if you are covering both coworkers and family, and keep the pans in the fridge while you slice and pack.
1. Classic Chocolate Fudge
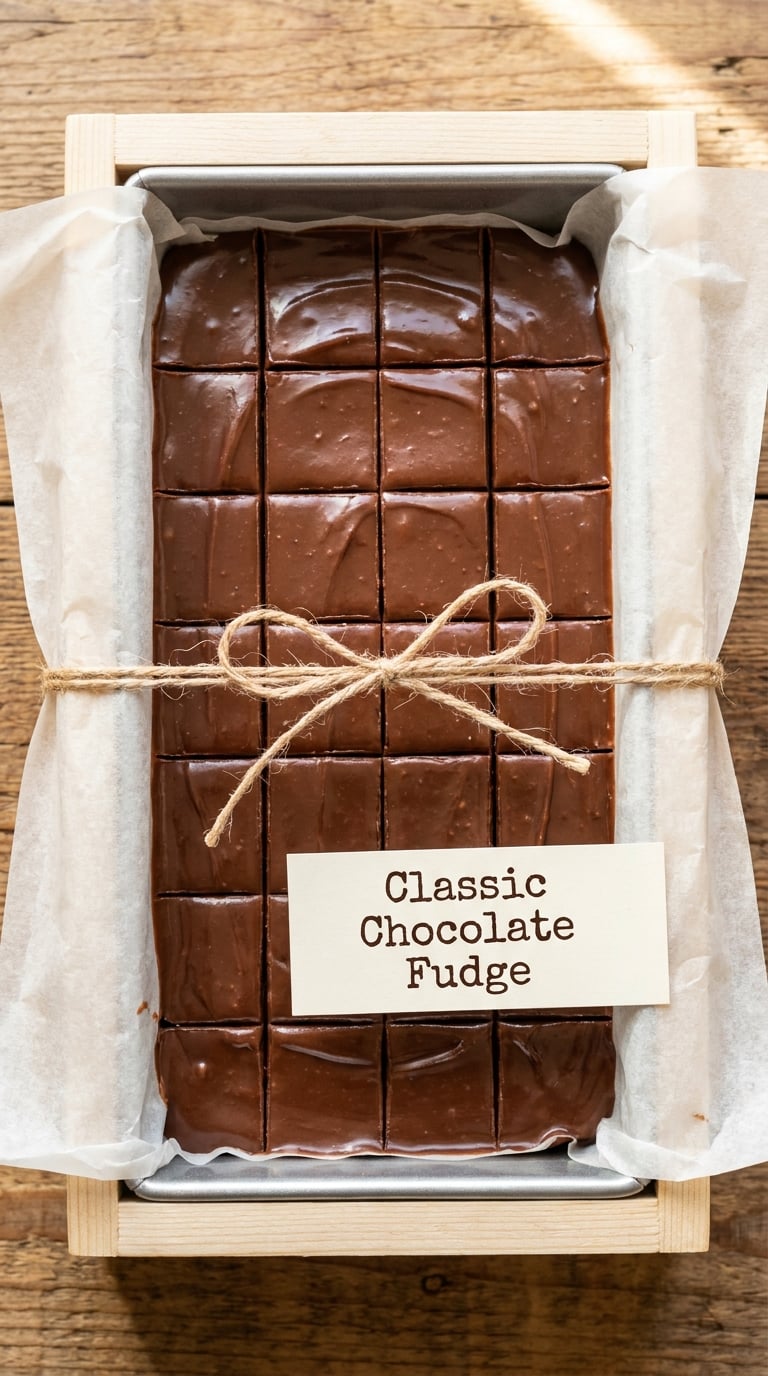
This is the one I hand to anyone who says they have never made fudge. Four minutes at the stove, one pan, and a sliceable set every time. Make it first because the leftovers make a very good lunch on the twenty-third.
Yield: 36 pieces · Prep: 5 min · Cook: 5 min · Chill: 3 hr · Total: 3 hr 15 min · Difficulty: Easy
Ingredients
- 2 cups (340 g) semi-sweet chocolate chips
- 1 can (14 oz / 397 g) sweetened condensed milk
- 2 tbsp unsalted butter
- 1 tsp vanilla extract
- 1/4 tsp fine sea salt
Instructions
- Line a 9×9-inch baking pan with parchment paper, letting the paper rise up two sides so you can lift the fudge out later.
- Put the butter in a medium saucepan over medium-low heat and let it melt without browning.
- Add the condensed milk and stir constantly until it just reaches a slow simmer, about 3 to 4 minutes. Do not let it boil hard.
- Take the pan off the heat and add the chocolate chips. Let them sit for 2 minutes, then stir until completely smooth.
- Stir in the vanilla and salt, then pour the mixture into the lined pan.
- Spread to the corners with an offset spatula and tap the pan once on the counter to release bubbles.
- Chill undisturbed for 3 hours, then lift out and cut into 36 squares with a sharp knife wiped between cuts.
Tip: If you only have unsalted butter and no salt, the fine sea salt at the end is what stops it tasting flat and sweet. Do not skip it.
Swap it: Use dark chocolate chips for a less sweet bake, or add a tablespoon of instant coffee powder to deepen the cocoa flavour.
Storage: 1 week sealed at room temperature, 2 weeks in the fridge, 3 months in the freezer. It travels well in a rigid tin.
2. Vanilla Bean Fudge
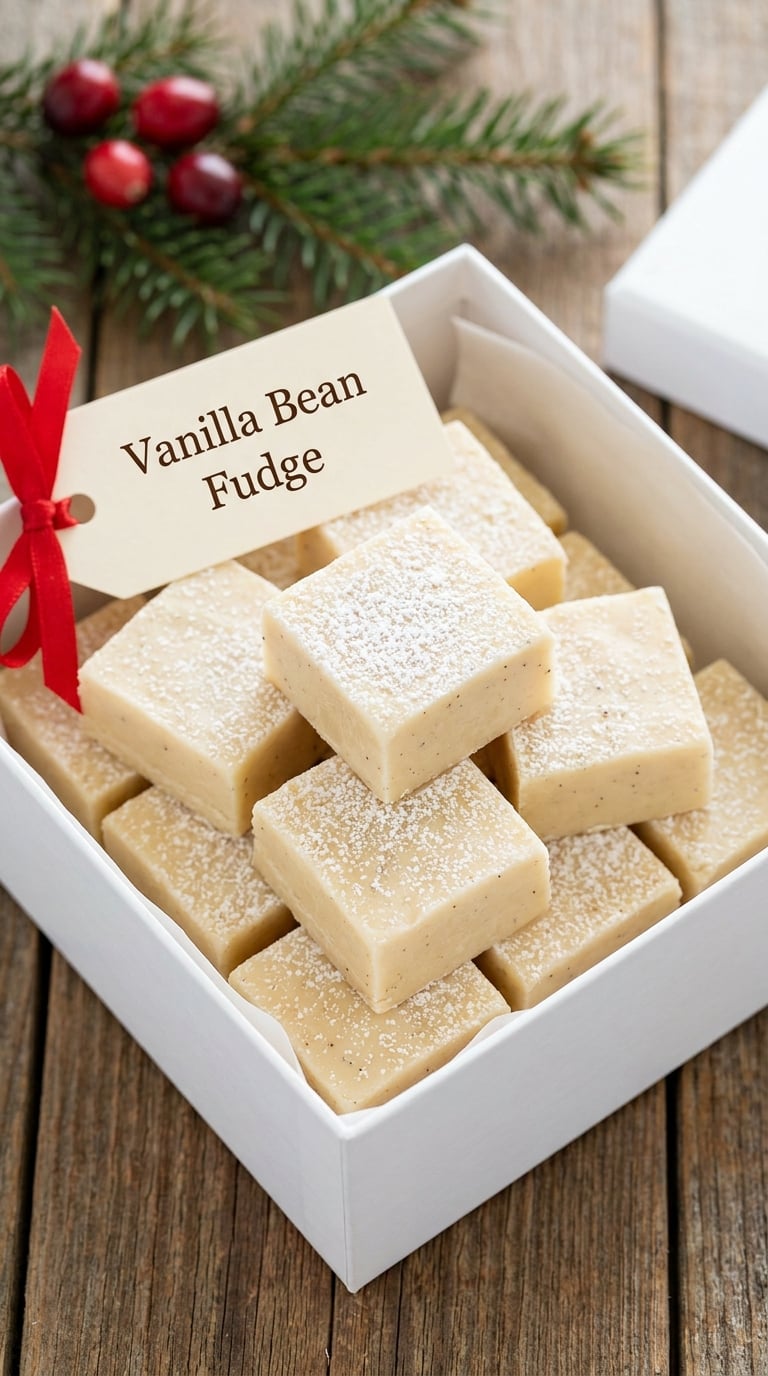
Vanilla bean fudge tastes like a grown-up marshmallow and is the one I send to kids’ teachers and to the in-laws. The flavour is mild enough that nobody has to have an opinion about it. White chocolate sets softer than dark, so it needs a longer chill.
Yield: 36 pieces · Prep: 5 min · Cook: 5 min · Chill: 4 hr · Total: 4 hr · Difficulty: Easy
Ingredients
- 2 cups (340 g) white chocolate chips
- 1 can (14 oz / 397 g) sweetened condensed milk
- 3 tbsp unsalted butter
- 2 tsp vanilla bean paste or vanilla extract
- 1/4 tsp fine sea salt
- Confectioners’ sugar, for dusting (optional)
Instructions
- Line a 9×9-inch pan with parchment paper.
- Melt the butter over medium-low heat until just liquid.
- Add the condensed milk and stir until it simmers gently, 3 to 4 minutes, without boiling.
- Off the heat, add the white chocolate chips. Wait 2 minutes before stirring so they soften rather than seize.
- Beat in the vanilla bean paste and salt until the mixture is glossy and smooth.
- Pour into the pan, smooth the top, and tap the pan to settle it.
- Chill 4 hours until firm to the touch, then lift out and cut into 36 squares. Dust lightly with confectioners’ sugar just before gifting.
Tip: White chocolate will not melt smoothly over high heat, which makes it seize. If it suddenly turns grainy in the pan, take it off the heat and stir in a tablespoon of hot water until it comes back together.
Swap it: For a subtle coffee flavor, use 1 tsp instant espresso powder with the vanilla. It tastes like a drinkable dessert.
Storage: 5 days sealed at room temperature, 2 weeks in the fridge, 2 to 3 months in the freezer. Dust the top just before it is eaten.
3. Peanut Butter Chocolate Fudge
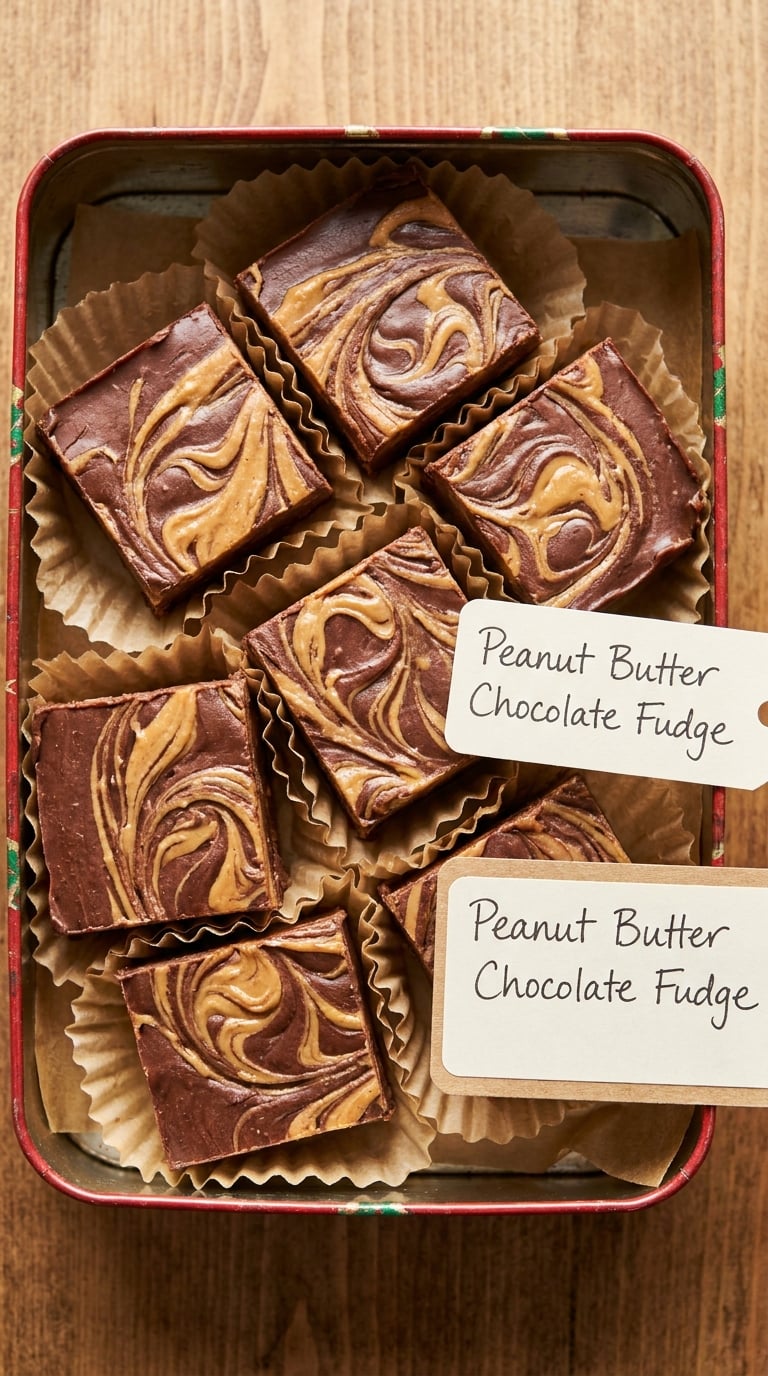
Sweet and salty fudge that teenagers and teenagers-at-heart lose their minds over. Peanut butter is also a useful allergen to think about early, so read the note below before you commit to a batch for a classroom.
Yield: 32 pieces · Prep: 5 min · Cook: 5 min · Chill: 3 hr 30 min · Total: 3 hr 30 min · Difficulty: Easy
Allergen note: Contains peanuts. For nut-free gifting, use the swap below and keep the peanut butter pan strictly away from other batches.
Ingredients
- 2 cups (340 g) semi-sweet chocolate chips
- 1 can (14 oz / 397 g) sweetened condensed milk
- 2 tbsp unsalted butter
- 1/2 cup (135 g) creamy peanut butter, plus 2 tbsp for swirling
- 1 tsp vanilla extract
Instructions
- Line a 9×9-inch pan with parchment paper.
- Melt the butter, then add the condensed milk and stir over medium-low heat until it simmers for 3 to 4 minutes.
- Remove from the heat and stir in the chocolate chips until smooth, then the vanilla and 1/2 cup of the peanut butter.
- Pour into the pan and smooth the surface.
- Drizzle the extra peanut butter over the top and swirl with the tip of a knife. Leave the lines, do not overwork it.
- Chill 3 hr 30 min, then lift out and cut into 32 squares. Set each square in a paper cupcake liner for packing.
Tip: Use creamy peanut butter, not the natural drizzling kind. Natural peanut butter separates and seizes into the fudge, leaving an oily layer in the pan.
Swap it: For a nut-free version, use sunflower seed butter at the same 1/2 cup measure. Check that the label says nut-free if you are serving a school room.
Storage: 1 week sealed at room temperature, 2 weeks in the fridge, 2 months in the freezer. It softens in a hot car, so keep it out of direct sun when it is sitting in a gift box.
4. Rocky Road Fudge
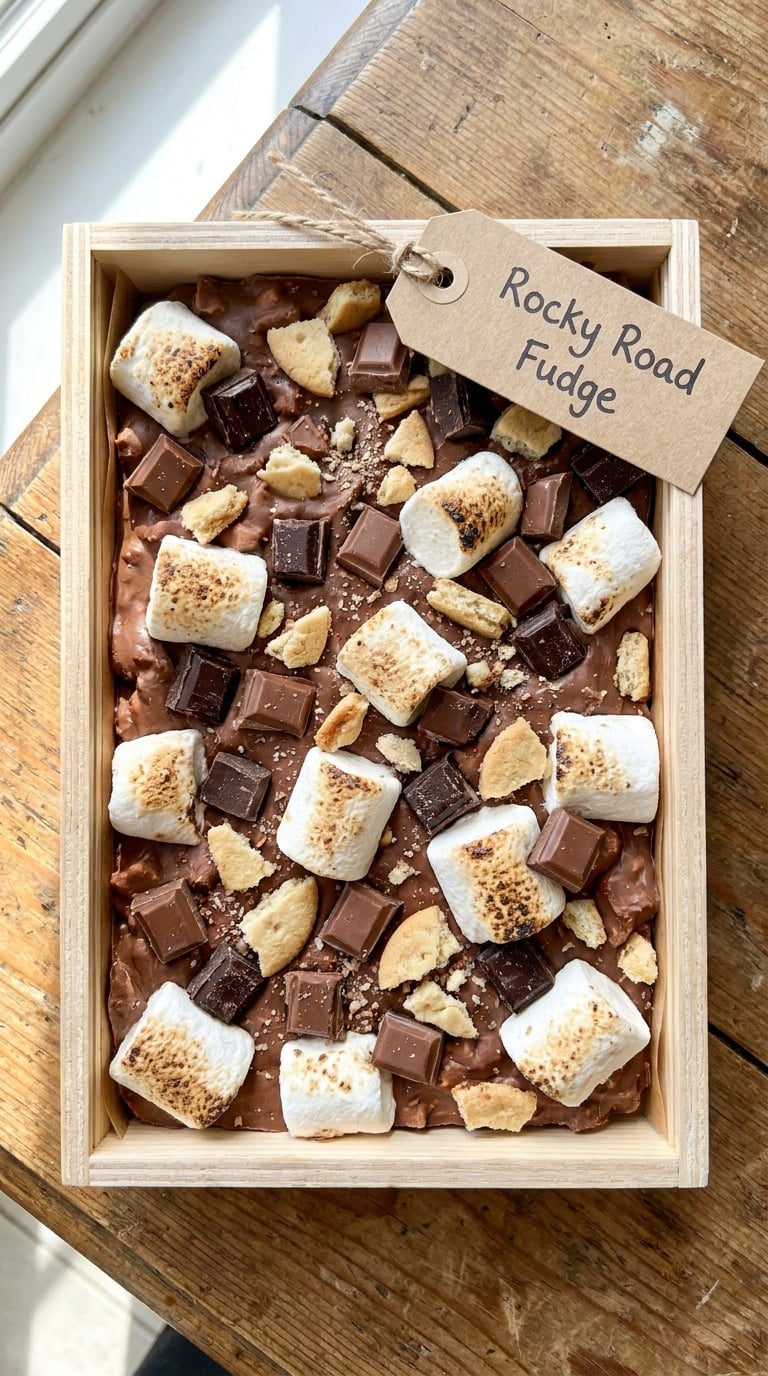
Rocky road is the one to make when you want the batch to look impressive without any real technique. Everything gets stirred into the same base, so there is no layering to get wrong. It is also the recipe children ask for by name, which makes it useful for party favours.
Yield: 32 pieces · Prep: 10 min · Cook: 5 min · Chill: 4 hr 15 min · Total: 4 hr 15 min · Difficulty: Easy
Ingredients
For the fudge base:
- 2 cups (340 g) semi-sweet chocolate chips
- 1 can (14 oz / 397 g) sweetened condensed milk
- 2 tbsp unsalted butter
For the mix-ins:
- 1 cup (150 g) mini marshmallows
- 1 cup (90 g) crushed graham crackers or chocolate sandwich cookies
- 1 cup (140 g) semi-sweet chocolate chunks
Instructions
- Line a 9×9-inch pan with parchment paper.
- Melt the butter, add the condensed milk, and stir for 3 to 4 minutes until it simmers.
- Off the heat, stir in the chocolate chips until the mixture is completely smooth.
- Let it sit for 3 minutes so it cools slightly. Very hot fudge melts the marshmallows and you lose all the texture.
- Fold in the mini marshmallows, the crushed cookies and the chocolate chunks with a spatula until the pieces are evenly spread.
- Press the top flat with the back of the spatula, then chill 4 hr 15 min.
- Lift out, cut into 32 squares, and pack each one upright in a paper liner so the texture shows.
Tip: Crush the cookies coarse. Fine crumbs disappear into the chocolate, and you lose the contrast that makes rocky road worth eating.
Swap it: Use toasted coconut flakes, chopped toffee bits, or broken pretzel pieces in place of the graham crackers.
Storage: 4 days in an airtight tin at room temperature, 10 days in the fridge, 2 months in the freezer. The marshmallows stiffen in the fridge, so take the tin out 30 minutes before serving.
5. Peppermint Fudge
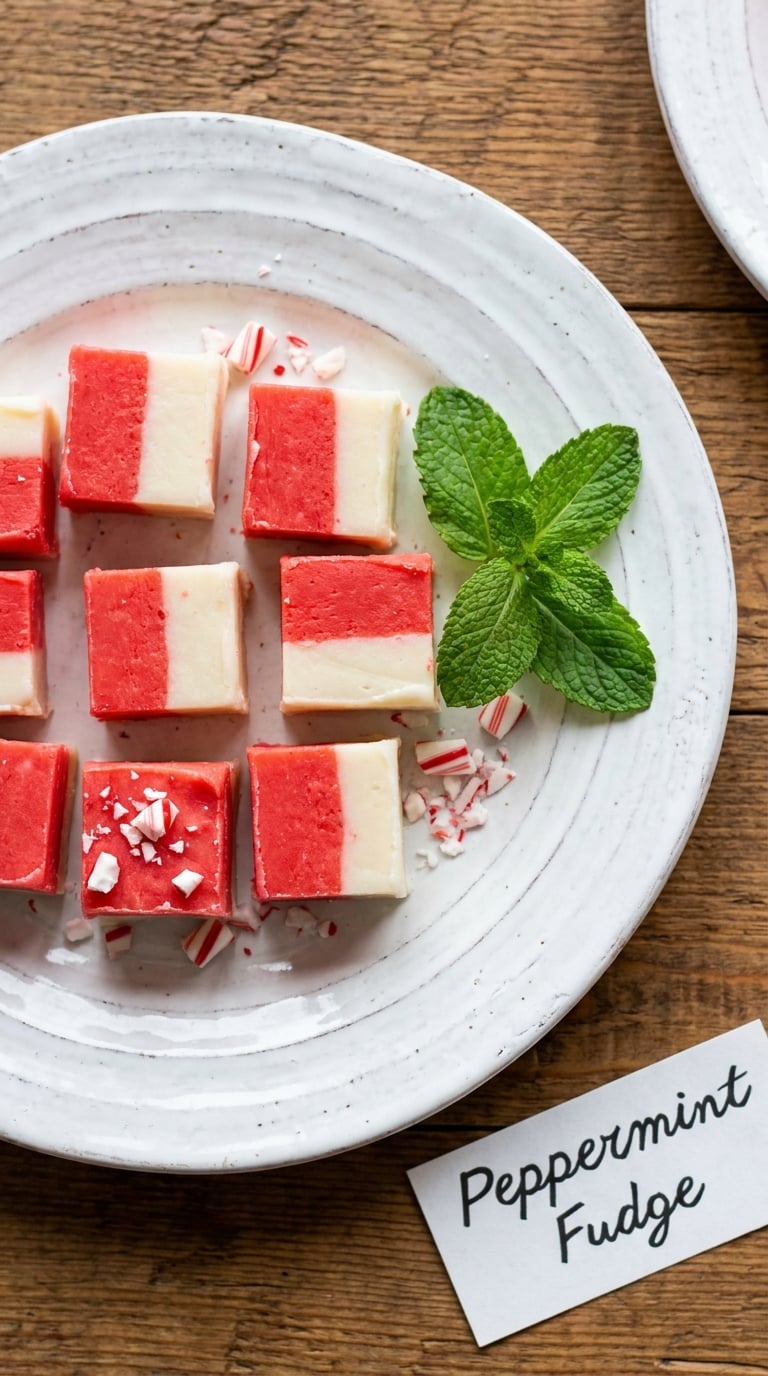
Peppermint fudge is the one people expect to find in a Christmas tin, and the red-and-white version looks like a party. Extract strength is the only thing that can go wrong, so measure it rather than pour until it smells right.
Yield: 36 pieces · Prep: 5 min · Cook: 5 min · Chill: 4 hr · Total: 4 hr · Difficulty: Easy
Ingredients
- 2 cups (340 g) white chocolate chips
- 1 can (14 oz / 397 g) sweetened condensed milk
- 3 tbsp unsalted butter
- 2 tsp peppermint extract
- 1/4 tsp fine sea salt
- 1/4 cup (35 g) crushed candy cane or peppermint bark
- Red gel food coloring, for the second layer
Instructions
- Line a 9×9-inch pan with parchment paper.
- Melt the butter over medium-low heat, add the condensed milk, and stir for 3 to 4 minutes until it just simmers.
- Off the heat, stir in the white chocolate chips until smooth, then the extract and salt.
- Pour two thirds of the mixture into the pan and smooth it into an even layer.
- Stir a few drops of red gel coloring into the remaining third and spread it on top for a two-tone effect.
- Scatter the crushed candy cane over the top and press it in lightly with your fingertips.
- Chill 4 hours, then lift out and cut into 36 squares with a knife wiped clean between every line.
Tip: Two teaspoons of extract is the ceiling. Peppermint gets stronger as the fudge chills, so a batch that tastes right hot can be overpowering after four hours.
Swap it: For a milder version for young children, use 1 tsp extract. For a creamier texture, melt 6 oz cream cheese with the butter and reduce the condensed milk to 3/4 cup.
Storage: 1 week sealed at room temperature, 2 weeks in the fridge, 3 months in the freezer. The candy cane topping softens in humidity, so store it airtight.
6. Salted Caramel Fudge
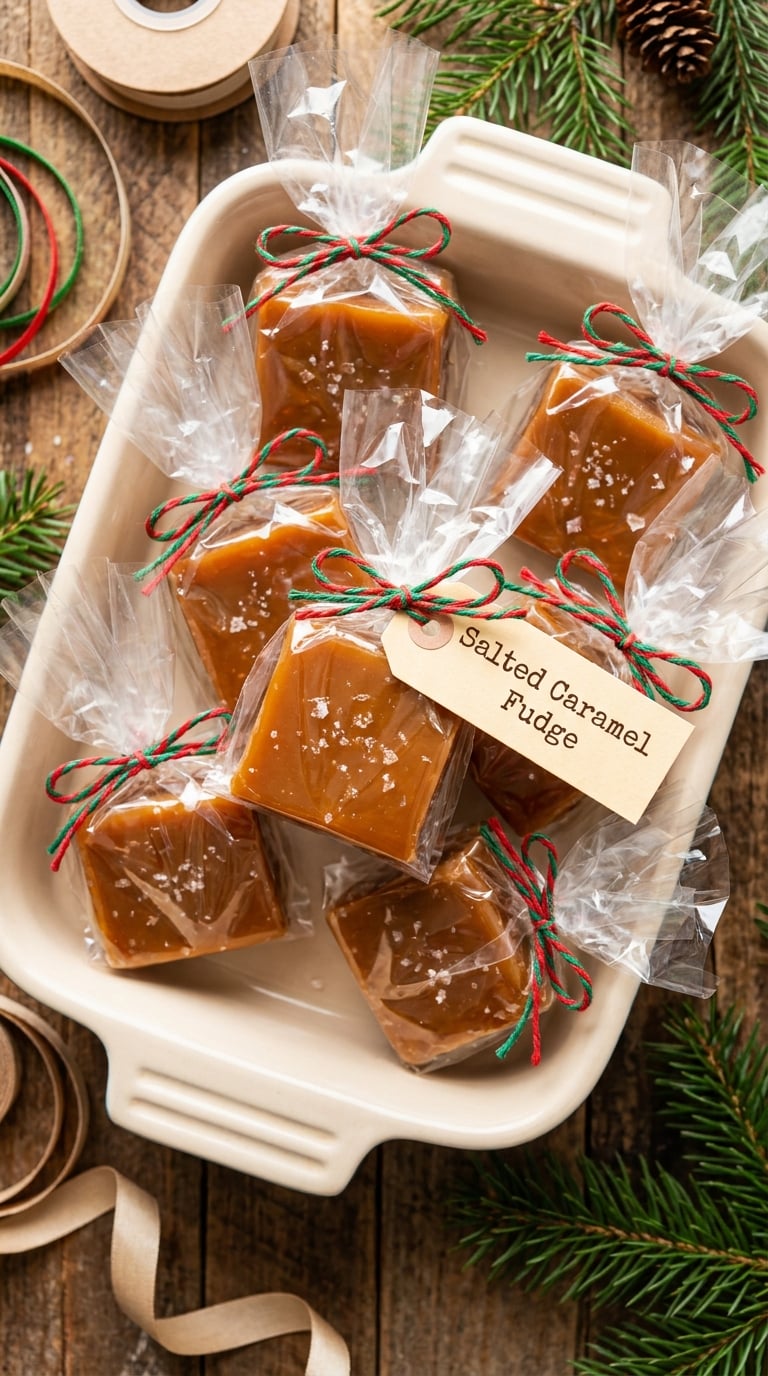
Salted caramel fudge tastes like the top of a crème brûlée and it is the one recipe on this list that asks you to watch a thermometer. If you own a candy thermometer, use it; if you do not, the visual cues in the steps work fine.
Yield: 30 pieces · Prep: 10 min · Cook: 20 min · Chill: 4 hr 15 min · Total: 4 hr 45 min · Difficulty: Medium
Ingredients
- 2 cups (340 g) white chocolate chips or finely chopped white chocolate
- 1/2 cup (115 g) unsalted butter
- 1 cup packed (200 g) light brown sugar
- 1/2 cup (120 ml) heavy cream
- 1 can (14 oz / 397 g) sweetened condensed milk
- 1 tsp vanilla extract
- 1/2 tsp flaky sea salt, plus more for the top
Instructions
- Line a 9×9-inch pan with parchment paper and chop the white chocolate finely so it melts evenly.
- Put the butter in a heavy saucepan and melt over medium heat.
- Stir in the brown sugar and cook, stirring constantly, until it bubbles and the mixture smells like toffee, about 3 minutes.
- Pour in the heavy cream and stir while it bubbles hard, then cook until the bubbles slow and cling to the edges of the pan.
- Attach the candy thermometer and continue cooking to 300°F (149°C). Without a thermometer, stop when the sauce coats a spoon and runs slowly off the edge.
- Stir in the condensed milk and cook 2 more minutes, until the mixture thickens and pulls away from the pan sides.
- Remove from the heat, stir in the chopped white chocolate, vanilla and 1/2 tsp of the flaky salt. Keep stirring until glossy.
- Pour into the pan, scatter the remaining salt over the top, and chill 4 hr 15 min before cutting into 30 squares.
Tip: A firm, dry hot dog of caramel in cold water reaches 300°F (149°C) soft-ball stage. If yours goes hard and rubbery, you have taken it too far.
Swap it: For a straight chocolate version, leave out the brown sugar and cream and use the classic chocolate base, then finish it with a tablespoon of caramel sauce and flaky salt.
Storage: 1 week sealed at room temperature, 2 weeks in the fridge, 3 months in the freezer. Wrap each square in parchment, not cellophane, or the caramel surface will sweat.
7. White Chocolate Cranberry Fudge
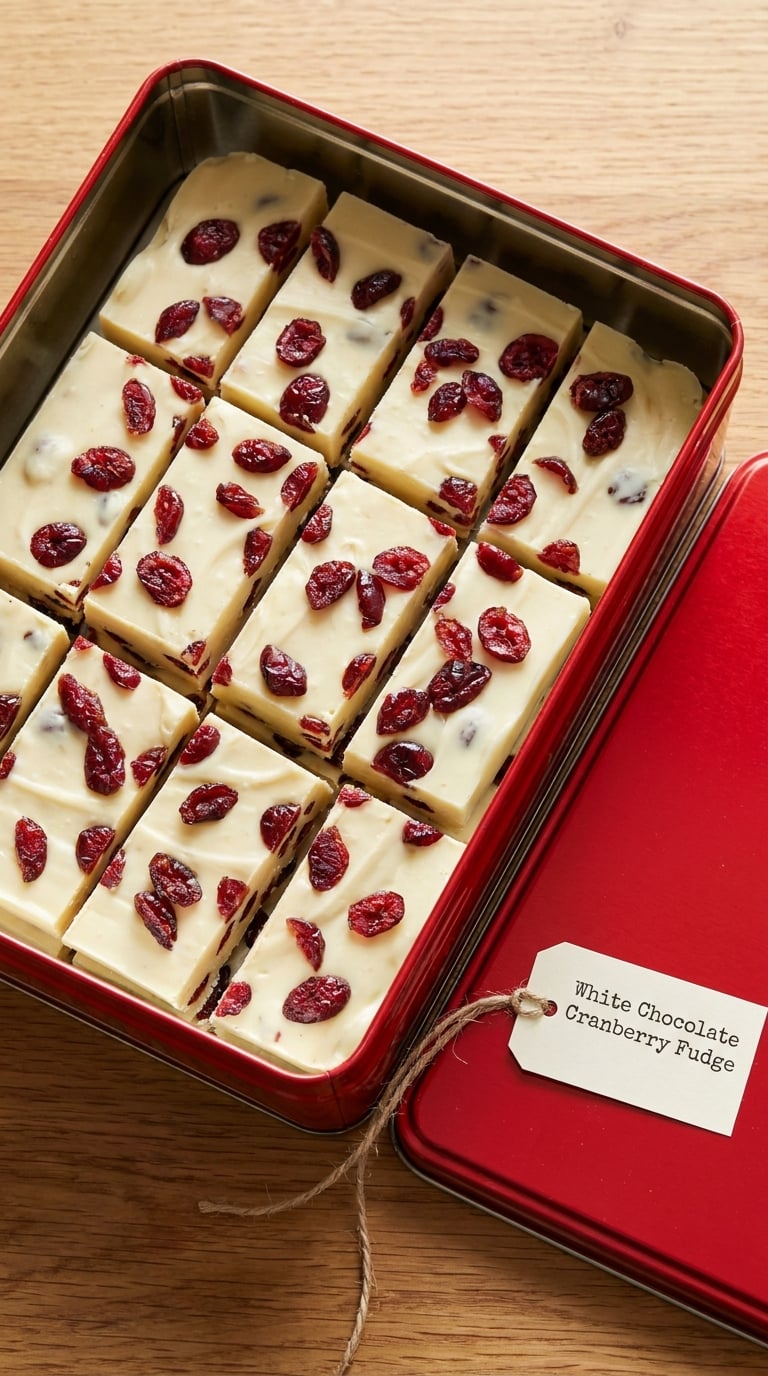
White chocolate cranberry is the sweet-sharp one on the list, and it looks festive without a single drop of red food coloring. Cutting it into bars rather than squares makes it look hand-made in a way that reads well for coworkers and hosts.
Yield: 24 bars · Prep: 8 min · Cook: 6 min · Chill: 4 hr 15 min · Total: 4 hr 30 min · Difficulty: Easy
Allergen note: Contains milk and, in most brands, soy. Use certified dairy-free white chocolate plus a dairy-free condensed milk alternative if the recipient cannot have dairy.
Ingredients
- 2 cups (340 g) white chocolate chips
- 1 can (14 oz / 397 g) sweetened condensed milk
- 2 tbsp unsalted butter
- 1 cup (150 g) dried cranberries or dried cherries
- 1 tsp vanilla extract
- 1 tablespoon orange zest, optional
- 1/4 cup chopped pistachios, optional (note the nut allergen)
Instructions
- Line a 9×9-inch pan with parchment paper.
- Melt the butter, add the condensed milk, and stir over medium-low heat for 3 to 4 minutes until it simmers.
- Remove from the heat and stir in the white chocolate chips until completely smooth.
- Fold in the vanilla, the orange zest if using, and half of the cranberries.
- Pour into the pan and press the remaining cranberries over the surface so the face of the fudge looks generous.
- Chill 4 hr 15 min, then lift out and cut into 24 bars of about 3 by 1.5 inches.
Tip: Chop larger dried cranberries in half. Whole ones are too tough to cut through cleanly once the fudge is firm, and the knife drags them out of place.
Swap it: Add 1/2 cup of chopped sugared or plain ginger at Christmas for a spiced version. Canned cranberries are too wet and will make the batch weep.
Storage: 5 days airtight at room temperature, 2 weeks in the fridge, 2 months in the freezer. Cut bars wrap well in clear cellophane tied with a ribbon.
8. Chocolate Walnut Fudge
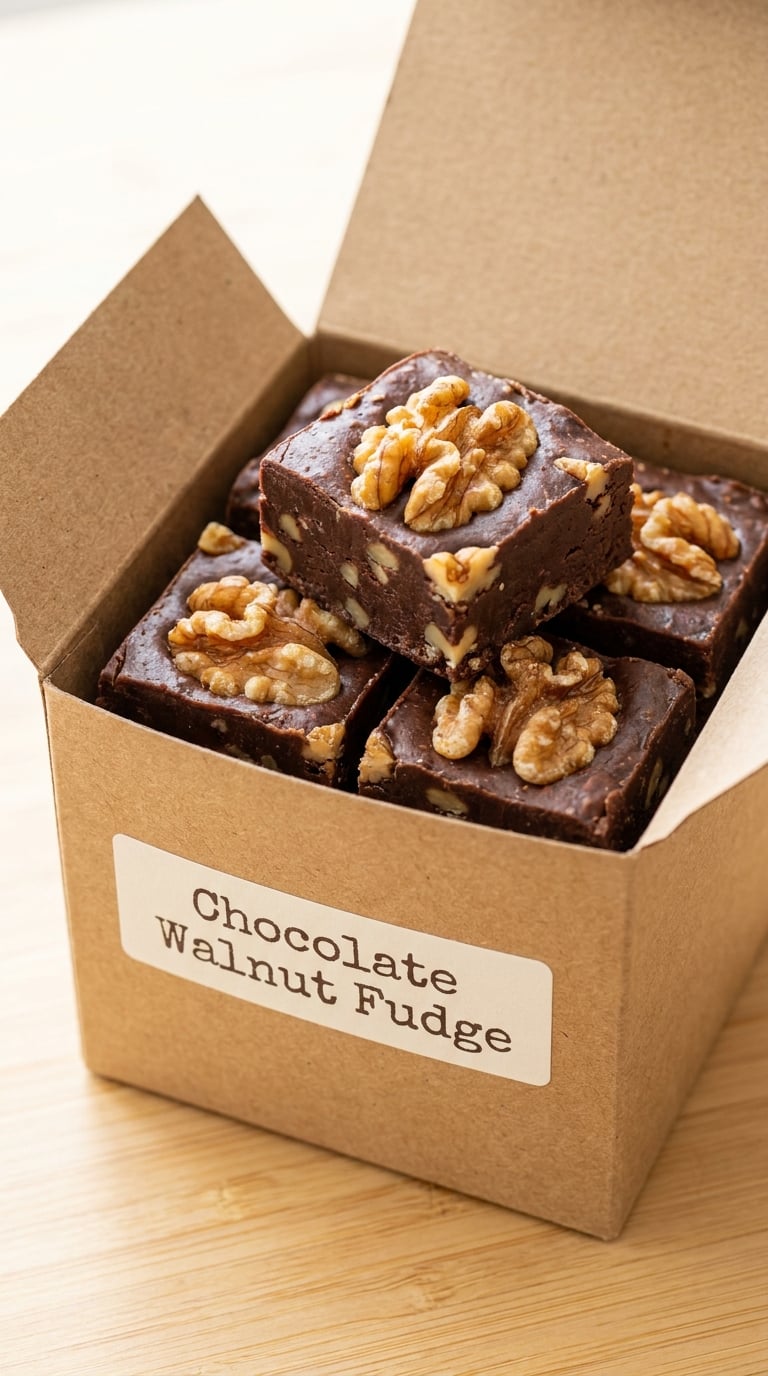
Chocolate walnut fudge is the traditional pick, the one your uncle asks for by name every year. Toasting the walnuts before they go in takes two extra minutes and is the whole difference between fudge that tastes good and fudge that tastes interesting.
Yield: 32 pieces · Prep: 10 min · Cook: 5 min · Chill: 4 hr · Total: 4 hr · Difficulty: Easy
Allergen note: Contains walnuts. Never give this to a class, a shared office tray, or anyone who has mentioned a tree nut allergy. Use the nut-free swap for those boxes.
Ingredients
- 2 cups (340 g) dark chocolate chips or chopped dark chocolate
- 1 can (14 oz / 397 g) sweetened condensed milk
- 2 tbsp unsalted butter
- 1 cup (115 g) walnut halves or pieces
- 1/2 tsp ground cinnamon, optional
- 1 tsp vanilla extract
- 1/4 tsp fine sea salt
Instructions
- Toast the walnuts in a dry pan over medium heat for 4 to 5 minutes, shaking often, until they smell nutty. Cool them on a plate.
- Line a 9×9-inch pan with parchment paper and chop two thirds of the walnuts coarsely.
- Melt the butter, add the condensed milk, and stir for 3 to 4 minutes until it simmers.
- Off the heat, stir in the dark chocolate until smooth, then the vanilla, salt and cinnamon if using.
- Fold in the chopped walnuts. Pour into the pan and scatter the reserved toasted halves across the top.
- Chill 4 hours, then lift out and cut into 32 squares, wiping the knife between cuts so it does not drag crumbs.
Tip: Let the toasted walnuts cool completely before folding them in. Warm nuts melt the chocolate and turn the top greasy rather than crunchy.
Swap it: For a nut-free version, use 1 cup of toasted pumpkin seeds, or leave them out and add 1/2 cup of dried cherries. Both keep the texture without the allergen.
Storage: 1 week sealed at room temperature, 2 weeks in the fridge, 3 months in the freezer. Stored in a cool room the walnuts stay crisp for the full week.
9. Holiday Cookie Dough Fudge
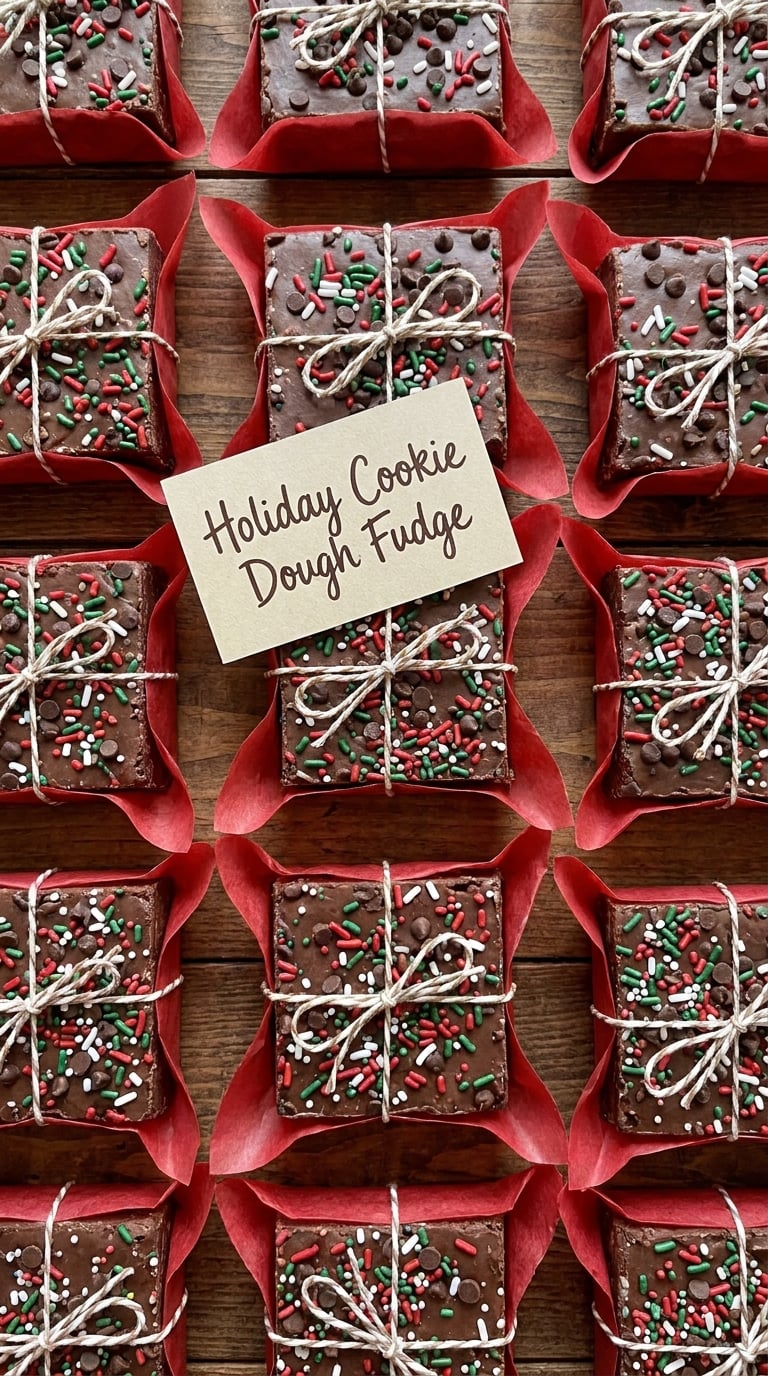
Cookie dough fudge is soft enough to eat straight from the pan, which is exactly why it goes missing off the counter before anyone has cut it. It is a no-cook recipe, and the food-safety note below is worth two minutes of reading before you start.
Yield: 32 pieces · Prep: 15 min · Cook: none · Chill: 3 hr 15 min · Total: 3 hr 15 min · Difficulty: Easy
Food safety note: This is a no-cook recipe built on plain flour, which is not safe to eat raw. Use heat-treated flour, sold in the baking aisle, or bake the flour at 350°F (175°C) on a lined tray for 5 minutes and let it cool before measuring. It is the same recipe with one extra step.
Ingredients
- 1/2 cup (115 g) unsalted butter, softened
- 3/4 cup (150 g) granulated sugar
- 1 can (14 oz / 397 g) sweetened condensed milk
- 1 tsp vanilla extract
- 1 cup (125 g) all-purpose flour, heat-treated
- 1/4 cup (35 g) cocoa powder, optional for a chocolate version
- 1/2 cup (85 g) mini chocolate chips
- 1/2 cup (60 g) rainbow sprinkles
- 1/4 cup (50 g) red and green sanding sugar or candy-coated chocolates, optional
Instructions
- Line a 9×9-inch pan with parchment paper.
- Beat the butter and sugar with an electric hand mixer for 2 minutes until light and creamy. Scrape the bowl once.
- Beat in the condensed milk and vanilla for another minute, until the mixture is smooth and thick.
- Sift in the flour, or the flour and cocoa powder for a chocolate version, and stir with a spatula. The dough will be sticky. Do not overmix.
- Stir in the mini chocolate chips, then spread the dough into the pan and press it into the corners.
- Scatter the sprinkles and sanding sugar over the top and press them in very lightly with your fingertips.
- Chill 3 hr 15 min, then lift out and cut into 32 squares. Serve or wrap once the squares have come to room temperature so the topping stays crunchy.
Tip: Chill the pan briefly and lift the parchment rather than the fudge. A soft no-bake fudge will tear if you try to peel it off a bare pan.
Swap it: For a baked version, spread the dough in the pan, sprinkle with chocolate chips, and bake at 350°F (175°C) for 18 to 20 minutes. Let it cool in the pan before cutting. It sets as a soft brownie-style bar.
Storage: 3 days covered at room temperature, 10 days in the fridge, 2 months in the freezer. This is the batch to make last, since it softens fastest.
10. Maple Bacon Fudge
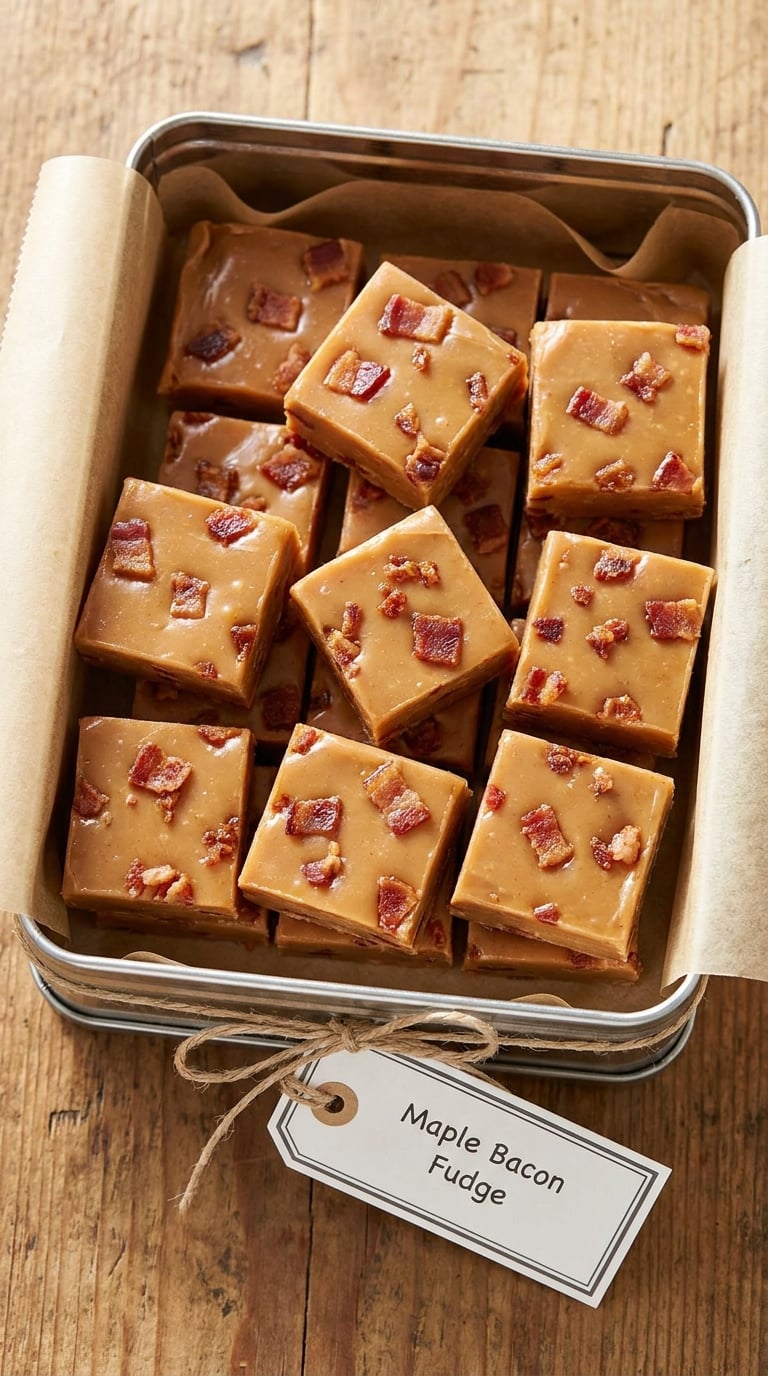
Maple bacon fudge is the recipe to make for the person nobody can buy for. It is sweet, smoky and a little bit strange in a way people remember, and it makes ordinary squares look like a deliberate choice. Cook the bacon the night before so you are not juggling a skillet and a saucepan.
Yield: 30 pieces · Prep: 15 min · Cook: 5 min · Chill: 4 hr 30 min · Total: 4 hr 30 min · Difficulty: Medium
Ingredients
For the fudge:
- 2 cups (340 g) white chocolate chips
- 1 can (14 oz / 397 g) sweetened condensed milk
- 3 tbsp unsalted butter
- 1/3 cup (80 ml) pure maple syrup
- 6 slices bacon, cooked until crisp, drained and crumbled
- 1 tsp vanilla extract
- 1/2 tsp ground cinnamon, optional
Instructions
- Cook the bacon in a skillet over medium heat until crisp, about 6 minutes. Drain on paper towel, cool completely, then crumble it into small pieces.
- Reserve two thirds of the bacon. Chop the rest very fine, almost to a powder.
- Line a 9×9-inch pan with parchment paper.
- Melt the butter over medium-low heat, add the condensed milk, and stir for 3 to 4 minutes until it just simmers.
- Stir in the maple syrup and the finely chopped bacon, and cook 1 minute more.
- Off the heat, stir in the white chocolate chips until smooth, then the vanilla and cinnamon if using.
- Pour into the pan and scatter the coarser bacon over the top. Chill 4 hr 30 min, then cut into 30 squares.
Tip: Chopped fine bacon in the fudge gives flavour through every bite. Coarse bacon on top gives the texture. Using one size for both is why it can taste flat.
Swap it: For a vegetarian batch, use 6 slices of vegetarian bacon or 1/2 cup of crisped smoked tofu, cooked until dry. For a no-meat version, leave the bacon out and add 1/3 cup of toasted pecans, with a nut label.
Storage: 5 days sealed in the fridge, 1 week at cool room temperature, 2 months in the freezer. Keep it cold in a warm kitchen or the surface will weep.
Tips for Making These
These six techniques apply to every recipe above, whether you are on recipe four or recipe ten.
- Line the pan every time. Parchment paper means you lift the fudge out instead of scraping it out of a metal pan, and it survives the chill. Overhang the sides two inches so you get a clean grip.
- Never let the condensed milk boil hard. A hard rolling boil scorches the milk proteins and the batch turns grainy and dull. It should move like a slow shimmer, and you should still be able to see the bottom of the pan as it moves.
- Give every batch its full chill. Treat 3 hours as the minimum, white chocolate as a 4-hour job, and a no-bake cookie dough fudge as an extra 15 minutes. Cutting early gives you a dented, crumbling edge, and the pan keeps firming on the counter after you pour it.
- Wipe the knife between cuts. A clean sharp blade on a long, firm stroke, pulled toward you rather than pushed, is the difference between a straight edge and a row of trapezoids. If it is dragging, warm the blade under hot water and dry it before the next line.
- Cook fudge in cool weather when you can. Above about 80°F (27°C) a fridge-set fudge goes soft and sticky on the counter. If your gifting window is in a hot month, plan the tins, deliver them, and keep the rest frozen until the day.
- Label allergens on the box. A short handwritten line, made this year, contains peanuts, or contains dairy, takes ten seconds and saves someone real trouble. For a classroom, go nut-free for the whole batch rather than labelling.
If you are building a tray rather than boxes, these pair well with a few of the holiday plates from our easy Christmas cookie recipes to round out the shapes and textures.
Frequently Asked Questions
Can I make fudge several weeks before Christmas?
Yes, and fudge is one of the few homemade holiday sweets that genuinely improves in a freezer. Let the pan cool completely, wrap the whole block in plastic, then a layer of foil, and freeze it for up to three months. Move it to the fridge the night before you want to cut it, then cut and pack it the following day. Never cut it straight from the freezer; the pieces crumble and the knife drags. Pack it while it is still slightly firm from the fridge rather than at room temperature.
How far ahead can I make chocolate fudge and store it?
Three months in the freezer, two weeks in the fridge, and about a week sealed at room temperature in a cool room. A single pan of the classic chocolate fudge on this page makes 36 pieces, so two pans give you a full round of coworker or teacher gifts. If you are gifting in December, the easiest plan is to bake your first batch in late November, freeze it whole, and cut and box it in the last week before you need it.
What pan should I use for holiday fudge?
A 9×9-inch metal or glass baking pan gives 36 one-inch pieces and a set time of about 3 hours. An 8×8-inch pan gives only 16 pieces but needs roughly an hour less chilling, so it is the right choice for a small batch. Avoid nonstick wherever you can and line it with parchment, because the fudge needs to be able to lift out in one piece for gifting.
How do I fix fudge that looks grainy?
A grainy texture usually means the condensed milk boiled hard, or white chocolate seized from high heat. While it is still warm, take the pan off the heat and beat in a tablespoon of hot water with a whisk. It often comes back to a smooth emulsion. If the fudge has already set grainy, return it to the pan with a splash of cream, heat gently until it softens, stir hard, and re-pour it into a lined pan to re-set.
How should I package fudge for shipping?
Wrap each square individually in wax paper or parchment, then seal it in a zip bag so the oil cannot reach the box. Nest the pieces upright in a rigid tin with a layer of parchment between each tier, fill the gaps with tissue, and cushion the tin inside a sturdy box. Ship early in the week by ground, so a delay does not leave the fudge sitting on a loading dock in warm weather.
Can I make fudge without nuts or dairy?
For nut-free, every recipe on this list takes a direct swap: sunflower seed butter for peanut butter, pumpkin seeds or dried cherries for walnuts, and omit the pistachios from the cranberry fudge. For dairy-free, swap the condensed milk for a plant-based sweetened condensed milk and use dairy-free white chocolate where a recipe calls for it. The set takes a little longer, so give dairy-free batches the full 4 hours plus an extra 30 minutes before cutting.
A Festive Fudge Plan
Start with the classic chocolate fudge. It has the broadest appeal, the shortest ingredient list, and the shortest set time, which means it can be on a plate within an afternoon of deciding to give it. If the list needs more range than one pan offers, add the white chocolate cranberry for the adults and the cookie dough fudge for the kids, and leave the walnut and maple bacon for the two people who will actually appreciate them.
Bake one pan in late November, freeze it whole, and cut and box in the week you need it. That is the whole plan behind these easy fudge recipes for Christmas gifts, and it is the reason nobody ends up buying a tin they could have made themselves.