
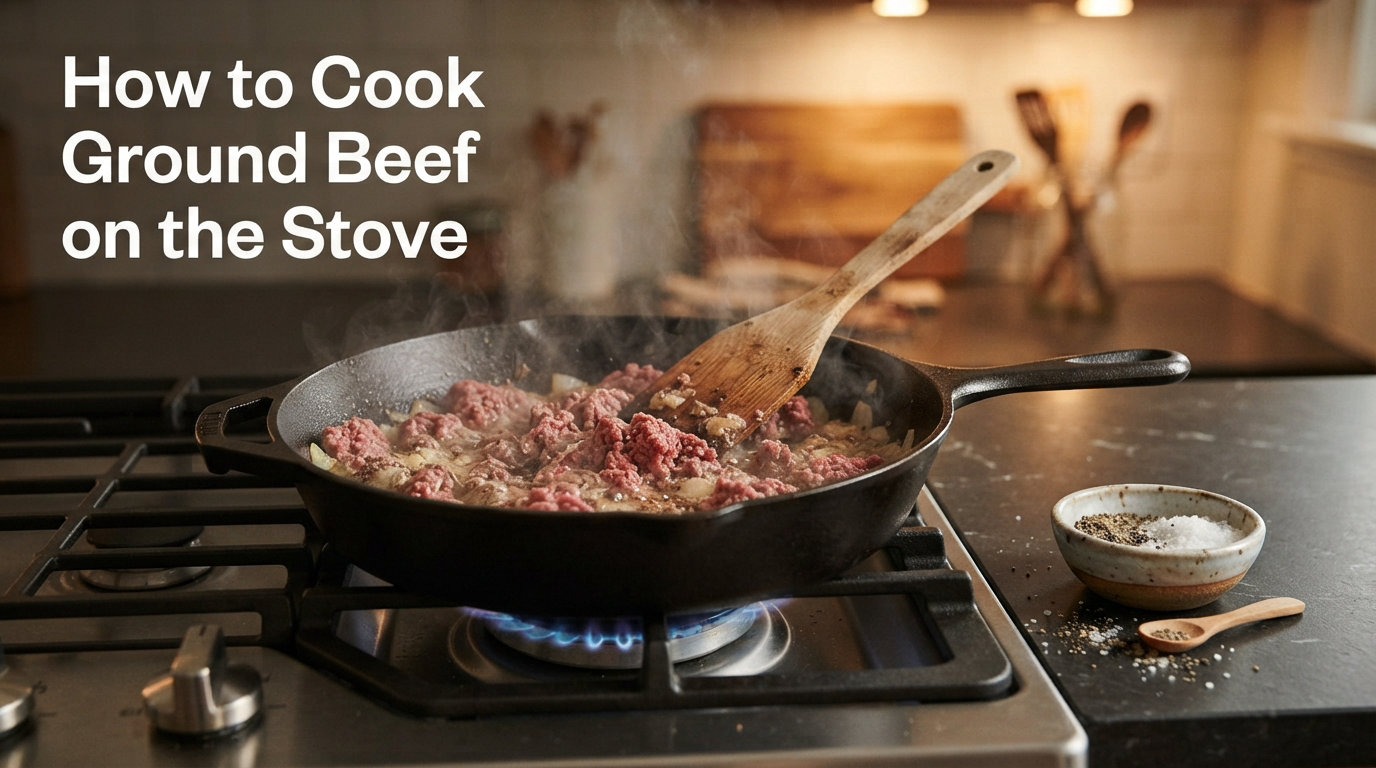
Learning how to cook ground beef on the stove is one of those essential kitchen skills that transforms weeknight dinners from stressful to simple. I used to end up with gray, watery beef more times than I’d like to admit. The meat would steam in its own juices instead of developing that crave-worthy brown crust that makes tacos, pasta sauce, and chili taste amazing.
After years of testing different methods and temperatures, I’ve found a foolproof technique that delivers juicy, evenly browned ground beef every single time. Whether you’re making a quick batch for lean beef recipes or prepping protein for the week, this guide will walk you through everything you need to know.
In this tutorial, you’ll learn the exact steps to brown ground beef properly, how to choose the right fat content for your recipe, and pro tips that most cooking blogs don’t mention. By the end, you’ll have the confidence to cook ground beef that rivals any restaurant.
Table of Contents
Quick Overview
Here is the fastest way to brown ground beef perfectly:
- Heat a large skillet over medium-high heat for 2-3 minutes
- Add ground beef and flatten into a single layer
- Let it cook undisturbed for 4 minutes to form a crust
- Flip and break apart into crumbles with a spatula
- Continue cooking until no pink remains and internal temperature reaches 160°F
- Drain excess grease if desired and season to taste
Total time: 8-10 minutes for 1 pound of beef.
What You’ll Need
You don’t need fancy equipment to cook ground beef on the stove. Here is what I reach for every time:
- Large skillet or cast iron pan – 10-12 inches works best for 1 pound of beef
- Sturdy spatula or wooden spoon – For breaking up the meat
- Potato masher (optional) – The secret tool for fine crumbles
- Meat thermometer (optional) – To verify 160°F internal temperature
- Colander or paper towels – For draining grease
If you’re using a stainless steel pan, keep a thin layer of oil nearby. Non-stick and well-seasoned cast iron typically don’t need added fat since ground beef releases its own.
Choosing the Right Ground Beef
Not all ground beef is created equal. The package labels can be confusing, but understanding fat content and beef cuts makes a huge difference in your final dish.
Understanding the Numbers: 80/20, 85/15, and 90/10
Those numbers on the package represent the lean-to-fat ratio. An 80/20 blend means 80% lean meat and 20% fat. Here is how to choose:
- 80/20 (ground chuck): Best for burgers, meatloaf, and recipes where you want rich flavor. The extra fat keeps things juicy.
- 85/15: The all-purpose choice. Great for tacos, pasta sauce, and casseroles. Balanced flavor without excessive grease.
- 90/10 or 93/7 (ground sirloin): Ideal for health-conscious cooking and meal prep. Leaner but can dry out if overcooked.
I keep 85/15 in my freezer as my go-to option. It works for almost everything and strikes the perfect balance between flavor and manageable grease.
Beef Cuts Explained
Ground beef comes from different parts of the cow, and each has distinct characteristics:
Ground Chuck comes from the shoulder area. It has about 15-20% fat, making it flavorful and moist. This is my top pick for recipes where beef is the star.
Ground Round comes from the rump and hind legs. It typically runs 85/15 or 90/10. Leaner than chuck but still flavorful, it’s a good middle-ground option.
Ground Sirloin comes from the mid-back area. At 90/10 or leaner, it’s the most expensive and healthiest option. Just watch your cooking time to prevent dryness.
How to Cook Ground Beef on the Stove
This is the exact method I use to brown ground beef perfectly every time. Follow these steps and you’ll never have gray, steamed beef again.
Step 1: Preheat Your Pan
Place your skillet over medium-high heat and let it warm up for 2-3 minutes. The pan should be hot enough that a drop of water sizzles and evaporates immediately.
A properly preheated pan is non-negotiable for browning. If the pan is too cool, the beef will release its juices and simmer instead of sear.
Step 2: Add the Beef
Place your ground beef in the center of the pan. Use your spatula to press it down into a flat, even layer about 1/2 inch thick. Think of it like one giant hamburger patty covering the pan surface.
Don’t break it up yet. Keeping it in one piece initially is the secret to developing that delicious brown crust.
Step 3: Let It Sit (The Most Important Step)
Here is where most people go wrong. Do not touch the beef for a full 4 minutes. I set a timer to resist the urge to stir.
Leaving the meat undisturbed allows the Maillard reaction to occur. This chemical process creates hundreds of flavor compounds and that gorgeous brown crust we want. Moving the beef too early interrupts this process and leads to gray, steamed meat.
Step 4: Flip and Break Apart
After 4 minutes, slide your spatula underneath and flip the beef in sections. It should release easily and reveal a beautiful brown crust underneath.
Now break the beef into smaller pieces with your spatula or wooden spoon. Work quickly to expose the uncooked pink sides to the hot pan surface.
Step 5: Cook Until Done
Continue cooking and occasionally stirring for another 3-4 minutes until all pink color is gone. The beef should be evenly browned with no raw spots.
For food safety, ground beef must reach an internal temperature of 160°F according to USDA guidelines. If you don’t have a thermometer, cut into a few larger pieces to check for any pink remaining.
Step 6: Drain and Season
Once fully cooked, remove the pan from heat. Tilt the pan and spoon out excess grease, or transfer the beef to a colander lined with paper towels.
Return the beef to the pan and season immediately while hot. Salt sticks best to warm meat, and the flavors meld beautifully.
Pro Tips for Perfect Results
These are the techniques I’ve picked up from professional cooks and Reddit forums that take your ground beef from good to great:
The Baking Soda Trick
Sprinkle 1/4 teaspoon of baking soda per pound of ground beef and mix it in before cooking. The baking soda raises the pH level, which helps the beef brown faster and more evenly. This hack comes from serious meal preppers who swear by the improved texture.
Use a Potato Masher for Fine Crumbles
For recipes like tacos or chili that need small crumbles, use a potato masher instead of a spatula. Press and twist it through the cooking beef to create perfectly uniform pieces. This technique works especially well when the beef is about halfway cooked.
Listen for the Sound Change
Your ears can tell you when the beef is ready. Initially, you’ll hear a hissing sound as water content boils off. Once that stops and you hear a steady sizzle, the beef is actively browning and developing flavor.
Don’t Overcrowd the Pan
Cooking more than 2 pounds at once leads to steaming instead of browning. Work in batches if needed, or use two pans side by side. Each pound needs about 10 inches of pan surface for optimal results.
Best Pans for Cooking Ground Beef
The pan you choose affects browning, cleanup, and overall results. Here is my experience with each type:
Cast Iron Skillet
This is my top choice for browning ground beef. Cast iron retains heat beautifully and creates excellent caramelization. The seasoning improves with each use, developing a natural non-stick surface.
Preheat your cast iron for a full 3-4 minutes over medium-high heat. The heavy pan takes longer to warm up but maintains temperature when the cold beef hits it.
Stainless Steel Pan
Stainless steel can produce fantastic browning, but it requires more attention. The beef will stick initially, which actually helps create a crust. Use a thin layer of oil and wait for the meat to release naturally before flipping.
Deglaze the pan with a splash of water or broth after cooking to capture all those stuck-on flavorful bits.
Non-Stick Pan
Non-stick is the easiest for cleanup but the hardest for browning. The coating prevents that essential sticking that creates crust. You can still get decent results by preheating thoroughly and not moving the beef for the full 4 minutes.
Save your non-stick for very lean beef (90/10 or higher) where sticking is less of an issue.
When and How to Season
Timing matters when seasoning ground beef. Salt draws out moisture, which can interfere with browning if added too early.
For the best crust, season after cooking. The salt adheres to the hot meat and you won’t lose any browning potential.
If you’re building a sauce, add aromatics like minced garlic and onion during the last minute of cooking. They’ll soften and infuse the beef with flavor without burning.
My basic seasoning blend is:
- 3/4 teaspoon kosher salt per pound
- 1/2 teaspoon black pepper
- 1/2 teaspoon garlic powder
- 1/4 teaspoon onion powder
Understanding Fat Content
Let me break down the most common ground beef ratios and when to use each:
| Ratio | Fat Content | Best For | Drain Grease? |
| 70/30 | 30% fat | Burgers, meatloaf | Usually no |
| 80/20 | 20% fat | Chili, stuffed peppers | Sometimes |
| 85/15 | 15% fat | Tacos, pasta sauce | Yes |
| 90/10 | 10% fat | Meal prep, health recipes | Usually no |
Notice that leaner beef doesn’t always need draining. With 90/10, there is barely any grease to remove. With 80/20 or fattier, you’ll definitely want to drain for most recipes.
How to Store Cooked Ground Beef
One of the best things about ground beef is how well it keeps for meal prep. I cook 3-4 pounds every Sunday and use it throughout the week.
Refrigerate cooked ground beef in an airtight container for up to 1 week. The flavor actually improves after a day as the seasonings meld.
For longer storage, freeze cooked beef in portioned containers or freezer bags for up to 3 months. I like to freeze in 1-cup portions, which is perfect for quick weeknight meals. Thaw overnight in the refrigerator or use the defrost setting on your microwave.
When reheating, add a tablespoon of water or broth per cup of beef to restore moisture. Heat gently over medium-low to prevent drying out.
Delicious Ways to Use Cooked Ground Beef
Now that you’ve mastered browning ground beef, put your skills to work in these family favorites:
- Taco Night: Season with cumin, chili powder, and paprika for instant taco meat
- Weeknight Pasta: Simmer with marinara sauce for the easiest spaghetti dinner
- Loaded Nachos: Layer over tortilla chips with cheese, jalapeños, and sour cream
- Hearty Chili: Add beans, tomatoes, and chili seasoning for a warming bowl
- Sloppy Joes: Mix with tomato sauce, brown sugar, and mustard on soft buns
- Stuffed Peppers: Combine with rice, tomatoes, and cheese for filling bell peppers
- Beef Tacos: Add to crispy shells with lettuce, cheese, and salsa
- Casserole Base: Layer with potatoes, cheese, and cream soup for easy bakes
Troubleshooting Common Problems
Even with the best technique, things sometimes go wrong. Here is how to fix the most common ground beef issues:
My Ground Beef Turned Gray
Gray beef usually means it steamed instead of seared. This happens when the pan wasn’t hot enough, the beef was overcrowded, or it was stirred too early.
The fix: Turn up the heat and spread the beef in a thinner layer. Let it sit undisturbed to develop color. Gray beef is still safe to eat, just less flavorful.
My Beef Is Dry and Crumbly
Overcooking is the culprit here. Lean beef (90/10 or higher) dries out quickly if cooked too long.
The fix: Cook just until no pink remains, then remove from heat immediately. For extra insurance, use 85/15 beef instead of 90/10. Adding a splash of broth when reheating helps restore moisture.
My Beef Sticks to the Pan
Sticking happens with stainless steel pans or when the pan isn’t hot enough. It can also mean you’re using very lean beef.
The fix: Add a thin layer of oil before cooking. Make sure the pan is properly preheated. Wait for the beef to naturally release before trying to flip it.
There Is Too Much Grease
Fattier blends like 70/30 or 80/20 can leave you with a pool of grease.
The fix: Drain the beef in a colander or spoon out excess grease before seasoning. For future batches, choose 85/15 or leaner beef. Never pour grease down the sink – it will clog your pipes. Pour it into a heat-safe container to cool, then discard in the trash.
Frequently Asked Questions
How to properly cook ground beef on the stove?
Heat a pan over medium-high heat. Add ground beef in a single layer and flatten it. Cook undisturbed for 4 minutes to form a crust. Flip and break into crumbles, then cook until no pink remains and internal temperature reaches 160°F. Total cooking time is 8-10 minutes per pound.
How long to cook ground beef in frying pan?
One pound of ground beef takes 8-10 minutes to cook in a frying pan over medium-high heat. Cook for 4 minutes undisturbed, then break apart and cook for another 3-4 minutes until browned and no pink remains. Always verify the internal temperature reaches 160°F.
Do you cook ground beef with oil?
You typically don’t need oil when cooking ground beef because it releases its own fat as it cooks. However, for very lean beef (90/10 or higher) or when using stainless steel pans, add 1 teaspoon of oil to prevent sticking.
Do I need to drain the drippings from my ground beef?
Drain grease when using beef with 15% fat or more for most recipes. Fattier beef (80/20 or 70/30) produces excess grease that can make dishes oily. Leaner beef (90/10) usually doesn’t require draining. Never pour grease down the sink – let it cool and discard in the trash.
Help! My ground beef is dry and crumbly
Dry, crumbly beef results from overcooking or using very lean beef. Use 85/15 ground beef instead of 90/10. Cook just until no pink remains, then remove from heat immediately. When reheating, add a tablespoon of broth or water per cup of beef to restore moisture.
Can you brown ground beef that’s been frozen?
Yes, you can cook ground beef from frozen. Add 3-4 minutes to the cooking time. The beef will release water as it thaws in the pan – cook until this evaporates and browning can occur. For best results, thaw in the refrigerator overnight before cooking.
What temperature should ground beef be cooked to?
Ground beef must reach an internal temperature of 160°F according to USDA food safety guidelines. This temperature kills harmful bacteria like E. coli. Use a meat thermometer to verify, or cook until no pink color remains and the meat is uniformly brown.
Why does my ground beef turn gray?
Gray ground beef results from steaming instead of searing. This happens when the pan isn’t hot enough, the beef is overcrowded, or it’s stirred too frequently. The fix: preheat your pan properly, don’t overcrowd, and let the beef sit undisturbed for 4 minutes to develop a brown crust.
Recipe Card: Perfect Stovetop Ground Beef
Prep Time: 2 minutes | Cook Time: 10 minutes | Total Time: 12 minutes | Servings: 4 (about 3 cups cooked)
Ingredients:
- 1 pound ground beef (85/15 recommended)
- 1/2 teaspoon kosher salt (or to taste)
- 1/4 teaspoon black pepper
- 1/2 teaspoon garlic powder (optional)
- 1 teaspoon olive oil (for lean beef or stainless steel pans)
Instructions:
- Heat a large skillet over medium-high heat for 2-3 minutes until very hot
- Add oil if using lean beef or a stainless steel pan
- Place ground beef in pan and flatten into an even layer, about 1/2 inch thick
- Cook undisturbed for 4 minutes to develop a brown crust
- Flip sections with a spatula and break into crumbles
- Continue cooking 3-4 minutes, stirring occasionally, until no pink remains
- Verify internal temperature reaches 160°F
- Drain excess grease if desired
- Season with salt, pepper, and garlic powder while hot
- Serve immediately or cool and store for later use
Storage: Refrigerate in airtight container up to 1 week, or freeze up to 3 months.
Notes: For extra-fine crumbles, use a potato masher during step 6. For enhanced browning, mix 1/4 teaspoon baking soda with the beef before cooking.
Conclusion
You now have everything you need to cook ground beef on the stove like a pro. The key steps are simple: preheat your pan, flatten the beef, let it sit undisturbed for 4 minutes, then break it apart and cook until it reaches 160°F.
Remember that choosing the right fat content for your recipe makes a difference. I recommend 85/15 as the most versatile option for everything from tacos to pasta sauce. Don’t forget the pro tips like the baking soda trick for better browning and using a potato masher for fine crumbles.
With this method in your cooking arsenal, you’ll never have gray, watery beef again. Give it a try tonight and taste the difference proper browning makes. Happy cooking!