
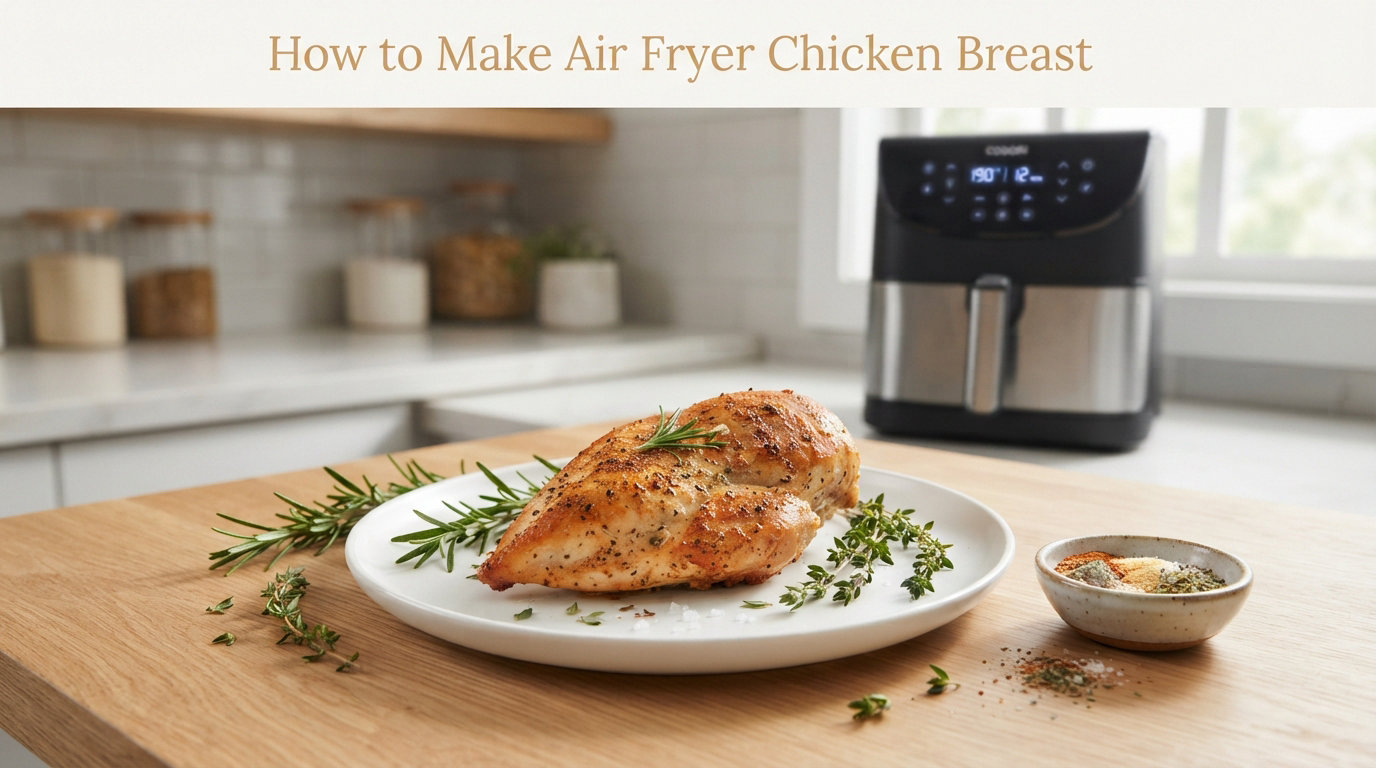
Learning how to make air fryer chicken breast has completely changed my weeknight dinner routine. This cooking method delivers juicy, tender chicken every single time with minimal effort and cleanup. Whether you are new to air frying or looking to perfect your technique, this guide will walk you through everything you need to know.
I spent months testing different temperatures, timing, and techniques to find what actually works. The results speak for themselves: perfectly cooked chicken with crispy edges and a moist interior. You will never go back to dry, overcooked chicken breast again.
Air fryer chicken breast is also a healthy protein option that fits into almost any diet. It uses little to no oil compared to traditional frying methods, making it ideal for those watching their fat intake or managing health conditions.
Table of Contents
Why You’ll Love This Air Fryer Chicken Breast Recipe
This recipe has become my go-to for busy weeknights because it checks every box. It is fast, reliable, and produces restaurant-quality results without the hassle.
Juicy, tender results every time. The circulating hot air seals in moisture while creating a beautiful golden exterior. No more dry, rubbery chicken that you have to choke down.
Quick cooking time. Most chicken breasts cook in 10-12 minutes total. That is faster than preheating your oven and way faster than stovetop methods that require constant attention.
Minimal cleanup. The air fryer basket contains everything, so you are not scrubbing multiple pans. A quick wash or wipe down is all you need.
Meal prep friendly. Cook a batch on Sunday and you have protein ready for salads, wraps, and bowls all week long. The chicken reheats beautifully.
Ingredients You’ll Need
You only need a handful of simple ingredients to make perfect air fryer chicken breast. Quality matters here, so choose the best chicken you can afford.
Main Ingredients
Boneless skinless chicken breast. Look for breasts that are similar in size for even cooking. I prefer organic or free-range when possible for better flavor and texture.
Olive oil. Just a light coating helps the seasonings stick and promotes browning. Use extra virgin for the best flavor.
Kosher salt. This is essential for seasoning and optional brining. Kosher salt has larger flakes that distribute more evenly than table salt.
Seasoning Blend
My go-to spice blend includes garlic powder, onion powder, paprika, and black pepper. This combination creates a savory, slightly smoky flavor that works with everything.
You can adjust the ratios to your taste or swap in your favorite spice blends. The base recipe is flexible enough to accommodate endless variations.
Optional Brining Ingredients
For extra juicy results, try a quick dry brine. You will need additional kosher salt and about 30 minutes of advance planning. I will explain this technique in detail later.
How Long to Cook Chicken Breast in the Air Fryer
Getting the timing right is the key to perfect air fryer chicken breast. The exact time depends on the size and thickness of your chicken breasts.
I always cook at 375°F for the best balance of speed and juiciness. This temperature cooks the chicken quickly without drying it out or burning the exterior.
Here is the cooking time breakdown by breast size. Remember to flip halfway through for even cooking:
| Breast Size | Weight | Cooking Time at 375°F |
|---|---|---|
| Small | 5-7 oz | 7-10 minutes (flip at 4-5 min) |
| Medium | 8-10 oz | 10-12 minutes (flip at 5-6 min) |
| Large | 11+ oz | 12-16 minutes (flip at 6-8 min) |
These times assume your chicken breasts are pounded to relatively even thickness. Thicker sections will take longer to cook through.
Always verify doneness with an instant-read thermometer. Chicken is safe to eat when it reaches 165°F at the thickest part. I actually remove mine at 160°F and let carryover cooking bring it to the safe temperature during resting.
How to Make Air Fryer Chicken Breast
Now let us walk through the complete process step by step. Following these instructions will give you perfect results every time.
Step 1: Pound Chicken to Even Thickness
Place your chicken breasts between two sheets of plastic wrap or parchment paper. Use a meat mallet or rolling pin to pound them to an even thickness of about 3/4 inch.
This step is crucial for even cooking. Without it, thin ends will dry out while thick centers remain undercooked. It takes just two minutes and makes a huge difference.
Step 2: Optional Dry Brine for Extra Juiciness
If you have 30 minutes to spare, sprinkle both sides of the chicken with kosher salt. Place on a wire rack over a baking sheet and refrigerate uncovered.
The salt draws moisture to the surface, then gets reabsorbed with the salt, effectively brining the meat from within. This creates juicier, more flavorful chicken.
If you are short on time, you can skip this step. The chicken will still be delicious, just slightly less forgiving if you accidentally overcook it.
Step 3: Preheat Your Air Fryer
Set your air fryer to 375°F and let it preheat for 3-5 minutes. Most models need this time to reach the proper cooking temperature.
Preheating ensures the chicken starts cooking immediately when it hits the basket. This helps seal in juices and creates that desirable golden exterior.
Step 4: Season the Chicken
Pat the chicken dry with paper towels. Moisture is the enemy of browning, so this step matters more than you might think.
Drizzle with olive oil and rub to coat evenly. Mix your spices in a small bowl, then sprinkle generously over both sides of the chicken. Press the seasonings in gently so they adhere.
Step 5: Arrange in Single Layer
Place the seasoned chicken in the air fryer basket in a single layer. Do not overcrowd or overlap the pieces.
Air circulation is what makes air frying work. When pieces touch, those spots steam instead of crisp. Cook in batches if necessary.
Step 6: Cook and Flip Halfway
Insert the basket and set your timer according to the size chart above. Halfway through cooking, open the air fryer and flip each breast using tongs.
Flipping ensures both sides get that nice golden color and even cooking. It is a small step that makes a noticeable difference in the final result.
Step 7: Check Internal Temperature
When the timer goes off, insert an instant-read thermometer into the thickest part of the largest breast. Look for 160-165°F.
If you do not have a thermometer, check that the juices run clear when pierced and the meat is no longer pink in the center. However, I strongly recommend investing in a thermometer for consistent results.
Continue cooking in 2-minute increments if needed until the proper temperature is reached.
Step 8: Rest Before Slicing
Transfer the cooked chicken to a clean plate and tent loosely with foil. Let it rest for 5 minutes before cutting into it.
This resting period allows the juices to redistribute throughout the meat. Cut too soon and all that moisture will run out onto your cutting board instead of staying in the chicken.
Tips for the Juiciest Air Fryer Chicken Breast
After making this recipe dozens of times, I have learned a few tricks that consistently produce better results. Here are my top tips for chicken that stays moist and tender.
Do not overcook. This is the number one reason chicken turns out dry. Use a thermometer and pull the chicken at 160°F. Carryover cooking will bring it to the safe 165°F during resting.
Pound to even thickness. I cannot emphasize this enough. Taking two minutes to pound your chicken ensures every part cooks at the same rate.
Try a dry brine. Salt your chicken 30 minutes to 24 hours before cooking and refrigerate uncovered. The salt penetrates the meat, seasoning it throughout and helping it retain moisture.
Let chicken come to room temperature. Take your chicken out of the refrigerator 15-20 minutes before cooking. Cold chicken straight from the fridge takes longer to cook and can cook unevenly.
Do not overcrowd the basket. Cook in a single layer with space between pieces. Air needs to circulate for that crispy, golden exterior.
Resting is non-negotiable. Those 5 minutes of rest make the difference between dry chicken and juicy chicken. Be patient.
Troubleshooting Common Problems
Even with the best technique, things can go wrong. Here is how to fix the most common air fryer chicken breast issues.
Why Is My Chicken Dry?
Overcooking is almost always the culprit. Next time, check the temperature earlier and remember that chicken continues cooking after you remove it from the air fryer.
If you consistently get dry results, try the dry brine technique. It creates a buffer against overcooking by helping the meat retain moisture.
Raw in the Middle But Burnt Outside
Your chicken is too thick or your air fryer runs hot. Pound the chicken thinner next time, or reduce the temperature to 360°F and cook slightly longer.
Also check that you are not using the maximum air fryer temperature setting. Higher is not always better for chicken breast.
Uneven Cooking
This happens when chicken pieces are different thicknesses or when you do not flip them. Always pound to even thickness and flip halfway through cooking.
Some air fryers have hot spots. Rotate the position of pieces when you flip them to ensure even exposure.
Chicken Sticking to the Basket
Make sure you are using enough oil to coat the chicken. You can also lightly spray the basket with cooking spray before adding the chicken.
Letting the chicken cook undisturbed for the first half of cooking time helps it release naturally. If it is sticking when you try to flip, give it another minute.
Seasoning Variations
Once you master the basic recipe, try these delicious seasoning variations. Each one transforms the chicken into something new while keeping that same juicy texture.
Italian Herb Blend
Replace the paprika with Italian seasoning. Add dried basil, oregano, and a pinch of red pepper flakes. This version pairs beautifully with pasta or caprese salad.
Cajun Spice Blend
Mix paprika, cayenne pepper, thyme, and oregano for a Cajun kick. This spicy version is incredible on salads or in wraps with ranch dressing.
Lemon Herb Blend
Add lemon zest and dried herbs like rosemary and thyme. Finish with a squeeze of fresh lemon juice after cooking for bright, fresh flavor.
Southwest Seasoning
Combine chili powder, cumin, garlic powder, and a touch of smoked paprika. Perfect for tacos, burrito bowls, or Mexican-inspired salads.
What to Serve with Air Fryer Chicken Breast
This versatile chicken works with almost any side dish. Here are my favorite pairings for different occasions.
Light and fresh: Serve sliced over a green salad with vinaigrette, or alongside roasted vegetables like asparagus or broccoli. The chicken adds satisfying protein without heaviness.
Comfort food: Pair with mashed potatoes and gravy, or roasted sweet potatoes for a cozy dinner. The crispy chicken exterior complements creamy sides perfectly.
Grain bowls: Slice and serve over rice, quinoa, or cauliflower rice with your favorite vegetables and sauce. This is my favorite meal prep combination.
Sandwiches and wraps: Slice thinly and pile into sandwiches with lettuce, tomato, and mayo, or roll into wraps with hummus and veggies.
Pasta dishes: Slice and toss with pasta and pesto, or serve alongside creamy Alfredo. The Italian herb variation works especially well here.
Storage and Reheating Instructions
One of the best things about air fryer chicken breast is how well it keeps. Properly stored, it makes excellent leftovers and meal prep protein.
Refrigerator Storage
Let the chicken cool completely, then store in an airtight container in the refrigerator for up to 4 days. I like to slice it before storing for easier grab-and-go access.
Freezer Storage
Wrap individual portions tightly in plastic wrap, then place in a freezer bag. Freeze for up to 3 months. Thaw overnight in the refrigerator before reheating.
Reheating
For best results, reheat in the air fryer at 350°F for 3-4 minutes until warmed through. This restores the crispy exterior better than any other method.
You can also use the reheating in the air fryer technique I use for other leftovers. The circulating hot air works magic on previously cooked proteins.
Microwave reheating works in a pinch but can make the chicken rubbery. Heat in 30-second intervals and stop as soon as it is warm to minimize damage.
Frequently Asked Questions
How long does it take to do a chicken breast in an air fryer?
Cook chicken breasts at 375°F for 8-16 minutes depending on size. Small breasts (5-7 oz) take 7-10 minutes, medium (8-10 oz) take 10-12 minutes, and large (11+ oz) take 12-16 minutes. Always flip halfway through cooking for even results.
Is air fried chicken ok for diabetics?
Yes, air fried chicken is an excellent option for diabetics. Air frying uses hot circulating air instead of oil, creating crispy chicken with a fraction of the fat and calories from traditional deep frying. Pair with non-starchy vegetables for a balanced meal that supports stable blood sugar.
Can I make raw chicken breast in the air fryer?
Yes, you can absolutely cook raw chicken breast in the air fryer. It is one of the best methods for juicy chicken. Cook at 375°F until the internal temperature reaches 165°F, typically 8-16 minutes depending on breast size. Use a meat thermometer to ensure food safety.
Is air fried chicken good for cholesterol?
Air fried chicken is a better option for cholesterol than deep-fried chicken because it requires little to no oil. Use heart-healthy olive oil and remove the skin to make it even more cholesterol-friendly. The cooking method itself creates crispy results without the unhealthy fats from traditional frying.
Do you have to flip chicken in air fryer?
Yes, you should flip chicken breast halfway through cooking. This ensures both sides get golden brown and cook evenly. Most recipes call for flipping at the midpoint of the cooking time. Use tongs to turn the pieces quickly and close the air fryer immediately to maintain temperature.
Can I cook frozen chicken breast in air fryer?
Yes, you can cook frozen chicken breast in the air fryer. Increase the cooking time by 5-7 minutes and use a thermometer to verify it reaches 165°F internally. The chicken will not brown as well as fresh, and you should season after the first 5 minutes of cooking when the surface has thawed enough for spices to adhere.
Conclusion
Learning how to make air fryer chicken breast is a skill that will serve you well for years to come. With the right technique, you can enjoy juicy, flavorful chicken in under 15 minutes with minimal cleanup.
The key takeaways are simple: pound to even thickness, do not overcook, use a thermometer, and always let it rest. Master these fundamentals and you will never eat dry chicken again.
Once you are comfortable with the basics, experiment with different seasonings and serving styles. This versatile protein works in salads, sandwiches, pasta dishes, and more.
If you enjoy this cooking method, try our oven baked chicken wings for another crowd-pleasing recipe. They are crispy, flavorful, and perfect for game day or family dinner.
Give this air fryer chicken breast recipe a try tonight. I am confident it will become a regular part of your meal rotation just like it has mine.