
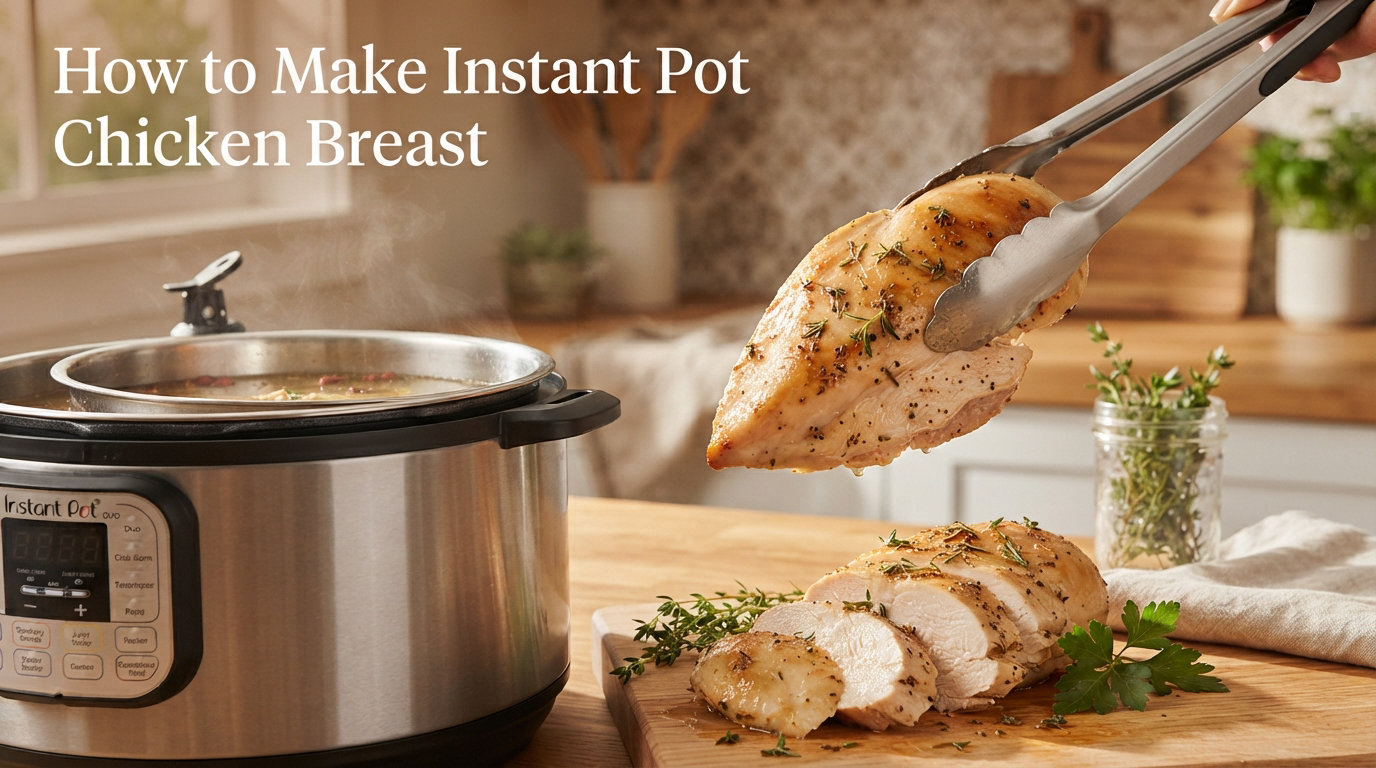
I used to dread cooking chicken breast. It always seemed to come out either raw in the middle or dry as cardboard. That all changed when I discovered the magic of pressure cooking.
Learning how to make instant pot chicken breast transformed my weeknight dinners. What used to take 45 minutes in the oven now happens in under 30 minutes with zero babysitting. Fresh or frozen, seasoned simply or packed with flavor – this method delivers juicy, tender chicken every single time.
In this guide, I am sharing everything I have learned from making hundreds of batches of pressure cooker chicken. You will get exact cook times, step-by-step instructions, troubleshooting for common problems, and plenty of ideas for turning that perfectly cooked chicken into delicious meals all week long.
Table of Contents
Quick Tips for Perfect Instant Pot Chicken
Before we dive into the full recipe, here are the four key factors that determine your success:
- Liquid: You need exactly 1 cup of liquid to create steam pressure. This can be water, chicken broth, or even salsa.
- Placement: Use a trivet to keep chicken above the liquid for steaming, or place directly in liquid for boiling. Both work – steaming yields slightly firmer texture.
- Timing: Cook fresh chicken for 8-10 minutes and frozen chicken for 10-12 minutes at high pressure. Thicker breasts need the full time.
- Release: Always allow 5-10 minutes of natural release before quick releasing remaining pressure. This keeps juices locked inside.
What You’ll Need
Ingredients
- 2-4 boneless skinless chicken breasts (about 1.5-2 lbs total)
- 1 cup liquid (water, chicken broth, or cooking liquid of choice)
- 1 teaspoon kosher salt
- 1/2 teaspoon black pepper
- Optional seasonings: garlic powder, paprika, Italian seasoning, or taco seasoning
Equipment
- 6-quart Instant Pot or electric pressure cooker (3-quart works for 1-2 breasts, 8-quart for 4+ lbs)
- Trivet or steamer basket (optional but recommended)
- Instant read thermometer (for verifying doneness)
- Tongs for removing hot chicken
- Two forks or hand mixer (for shredding)
The 6-quart Instant Pot is the most common size and works perfectly for 2-4 chicken breasts. If you are cooking for a crowd or meal prepping large batches, the 8-quart model gives you more flexibility.
How to Make Instant Pot Chicken Breast
Follow these steps for perfectly cooked chicken every time. I will cover both fresh and frozen methods.
Step 1: Prepare Your Chicken
If using fresh chicken, pat the breasts dry with paper towels. Trim any excess fat if desired. For even cooking, look for breasts that are similar in thickness. If one is much thicker, pound the thicker end slightly with a meat mallet or rolling pin.
Season both sides generously with salt and pepper. Add any additional seasonings now – garlic powder, paprika, or dried herbs all work beautifully.
Step 2: Add Liquid to the Pot
Pour 1 cup of liquid into the inner pot of your Instant Pot. Chicken broth adds flavor, but water works fine too. For a fun twist, try using salsa, enchilada sauce, or a mixture of broth and lemon juice.
Step 3: Position the Chicken
Place the trivet in the pot with handles facing up. Arrange the seasoned chicken breasts on the trivet in a single layer. They can touch slightly but should not be stacked on top of each other.
No trivet? You can place the chicken directly in the liquid. The texture will be slightly different – more like poached chicken – but still delicious.
Step 4: Seal and Set Cook Time
Secure the lid and turn the steam release valve to the sealing position. Press the Pressure Cook or Manual button and set the timer:
- Fresh chicken: 8 minutes for thin breasts (under 1 inch), 10 minutes for thick breasts (over 1.5 inches)
- Frozen chicken: 10 minutes for thin, 12 minutes for thick
Make sure the pressure level is set to High. The display should read “On” as the pot begins building pressure.
Step 5: Natural Release
When the cook time ends, the pot will beep and switch to “Keep Warm.” Let the pressure release naturally for 5-10 minutes. This means do nothing – just wait.
After the natural release period, carefully turn the steam release valve to venting to release any remaining pressure. Remove the lid once the pin drops.
Step 6: Check and Rest
Use tongs to transfer the chicken to a cutting board. Insert an instant-read thermometer into the thickest part. It should read 165°F. If it is lower, return the chicken to the pot with the lid on for 2-3 more minutes.
Let the chicken rest for 3-5 minutes before slicing or shredding. This allows the juices to redistribute throughout the meat.
Instant Pot Chicken Breast Cook Time Chart
Getting the timing right is the key to juicy chicken. Use this chart as your reference based on weight and thickness.
| Chicken Type | Weight | Thickness | Cook Time (High Pressure) | Natural Release |
|---|---|---|---|---|
| Fresh | 6-8 oz each | Under 1 inch | 8 minutes | 5 minutes |
| Fresh | 8-10 oz each | 1-1.5 inches | 10 minutes | 10 minutes |
| Fresh | 10-12 oz each | Over 1.5 inches | 12 minutes | 10 minutes |
| Frozen | 6-8 oz each | Under 1 inch | 10 minutes | 10 minutes |
| Frozen | 8-10 oz each | 1-1.5 inches | 12 minutes | 10 minutes |
| Frozen | 10-12 oz each | Over 1.5 inches | 14 minutes | 10-15 minutes |
Important note about frozen chicken: The times above assume your chicken breasts are frozen individually, not stuck together in a solid block. If they are frozen together, add 2-3 minutes to the cook time or thaw slightly first.
Always verify the internal temperature reaches 165°F before eating. The chicken should be white throughout with no pink remaining.
Expert Tips for Juicy Chicken Every Time
After testing dozens of batches and learning from my mistakes, here are my best tips for guaranteeing tender, juicy results.
The Natural Release Matters
I learned this the hard way. Quick releasing the pressure immediately causes the steam inside the chicken to rapidly escape, taking moisture with it. That 5-10 minute natural release rest is non-negotiable for juicy chicken.
Shredding Methods Compared
There are three ways to shred your cooked chicken, and the method you choose depends on your patience and equipment.
- Two forks method: Hold one fork in each hand and pull the meat apart. This gives you the most control over shred size but takes 5-7 minutes per breast.
- Hand mixer method: Place cooked chicken in a deep bowl and beat with a hand mixer on low speed. Shreds chicken in under 60 seconds. This is my go-to for large batches.
- Stand mixer method: Use the paddle attachment on low speed for 30-45 seconds. Works great for 3+ breasts at once.
Seasoning Variations by Cuisine
One of the best things about this basic recipe is how versatile it is. Here are my favorite seasoning combinations:
- Mexican: Taco seasoning, cumin, chili powder, lime juice in the liquid. Perfect for tacos and burrito bowls.
- Italian: Italian seasoning, garlic powder, onion powder. Great for pasta dishes and salads.
- Mediterranean: Oregano, lemon juice, garlic. Wonderful for Greek-inspired meals.
- Asian: Ginger, soy sauce, sesame oil. Ideal for rice bowls and stir-fries.
- Buffalo: Frank’s Red Hot mixed into the cooking liquid. Toss shredded chicken with extra hot sauce after cooking.
Thickness Is Everything
Chicken breasts vary wildly in size and thickness. A thin breast might cook perfectly in 6 minutes, while a thick one needs 12. I recommend pounding thicker breasts to an even 1-inch thickness when possible.
If your breasts are very different sizes, cut the larger ones horizontally to create cutlets. This ensures everything cooks evenly in the same batch.
Troubleshooting Common Problems
Even with the best instructions, things can go wrong. Here is how to fix the most common issues based on questions I see in cooking forums.
“BURN” Message Appears
The BURN message happens when food sticks to the bottom of the pot and triggers the burn sensor. For chicken, this usually means:
- You did not add enough liquid (needs exactly 1 cup minimum)
- Chicken was placed directly on the bottom without liquid underneath
- Sauce was too thick (barbecue sauce, cream soups) without enough thin liquid
Fix: Cancel the cooking, remove the chicken, scrape the bottom of the pot thoroughly, add fresh liquid, and restart. Never ignore the BURN warning.
Chicken Came Out Dry
Dry chicken usually means overcooking. Try reducing your cook time by 2 minutes next batch. Very thin breasts (under 3/4 inch) only need 6-7 minutes.
Also check your natural release time. Quick releasing immediately is the most common cause of dry chicken besides overcooking.
Chicken Is Undercooked
If your thermometer reads below 165°F, simply return the chicken to the pot. Add the lid back on, seal it, and let it sit on Keep Warm for 3-5 minutes. The residual heat usually finishes the cooking without needing additional pressure time.
For significantly undercooked chicken (below 145°F), run the pot for another 2-3 minutes at high pressure with a full natural release.
Chicken Wont Shred Easily
Chicken that fights shredding is usually undercooked. Properly cooked pressure cooker chicken should practically fall apart. If it is resisting, it needs more time.
Alternatively, you might be trying to shred immediately. Let it rest first – hot chicken is harder to shred than slightly cooled chicken.
Delicious Ways to Use Your Cooked Chicken
Now that you have a batch of perfectly cooked chicken, here are my favorite ways to turn it into meals throughout the week.
Salads and Bowls
- Classic chicken salad with mayo, celery, and grapes
- Mediterranean bowl with hummus, cucumber, tomatoes, and tzatziki
- Burrito bowl with rice, black beans, salsa, and guacamole
- Buffalo chicken salad with blue cheese and ranch dressing
Comfort Food Classics
- Chicken noodle soup (add the cooking broth too)
- Chicken pot pie with store-bought crust
- Chicken enchiladas with green or red sauce
- BBQ chicken sandwiches with coleslaw
Quick Weeknight Dinners
- Chicken tacos with your favorite toppings
- Chicken stir-fry with frozen vegetables and soy sauce
- Chicken quesadillas with cheese and salsa
- Chicken pasta with jarred Alfredo or marinara sauce
I typically cook a big batch on Sunday and use it differently each night. Monday might be tacos, Tuesday becomes soup, and Wednesday turns into pasta. It keeps dinner interesting without the work.
Storage, Freezing, and FAQs
Refrigerator Storage
Store cooked chicken in an airtight container in the refrigerator for up to 4 days. Keep the cooking liquid too – it makes an excellent base for soup or cooking liquid for rice.
Freezing Instructions
Cooked chicken freezes beautifully for up to 3 months. I prefer to shred it before freezing in portion-sized bags. Flatten the bags for easy stacking and faster thawing.
To thaw, place the bag in the refrigerator overnight or submerge in cold water for 30 minutes. You can also add frozen shredded chicken directly to hot soup or sauce.
Reheating Tips
Reheat gently to avoid drying out. The microwave works fine with a damp paper towel covering the chicken. For stovetop reheating, add a splash of broth or water to the pan.
Frequently Asked Questions
What is the best way to cook chicken breast in an Instant Pot?
The best method uses 1 cup of liquid, a trivet to elevate the chicken, high pressure for 8-10 minutes (fresh) or 10-12 minutes (frozen), followed by a 5-10 minute natural release. This produces consistently juicy, tender chicken breast every time.
Is chicken breast good for diabetics?
Yes, chicken breast is excellent for diabetics. It is high in protein, contains zero carbohydrates, and has no sugar. The high protein content helps stabilize blood sugar levels and keeps you feeling full longer. Just watch any added sauces or seasonings that might contain sugar.
How long does it take to cook chicken breast in Instant Pot chart?
Fresh chicken breasts take 8-10 minutes at high pressure depending on thickness. Frozen chicken takes 10-12 minutes. Always add 5-10 minutes of natural release time after cooking ends.
How long does bone-in chicken take to cook in an Instant Pot?
Bone-in chicken breasts require 12-15 minutes at high pressure for fresh, and 15-18 minutes for frozen. The bone insulates the meat slightly, requiring extra time. Always verify the internal temperature reaches 165°F.
Can I cook frozen chicken breast in the Instant Pot?
Absolutely. The Instant Pot excels at cooking frozen chicken. Simply add 2-4 minutes to the fresh cook time based on thickness. No thawing required – this is one of the best features of pressure cooking.
How much liquid do I need for Instant Pot chicken breast?
You need exactly 1 cup of liquid minimum to create steam pressure. This can be water, chicken broth, or other cooking liquids. Never use less than 1 cup or you may trigger the BURN warning.
Do I need to use a trivet for chicken breast in the Instant Pot?
A trivet is recommended but not required. Using a trivet elevates the chicken above the liquid for a steamed texture. Without a trivet, the chicken cooks directly in liquid for a more poached texture. Both methods work well.
Why did my chicken come out dry in the Instant Pot?
Dry chicken usually results from overcooking or quick releasing the pressure immediately. Try reducing cook time by 2 minutes and allowing a full 10-minute natural release. Very thin breasts need only 6-7 minutes of cook time.
Final Thoughts
Mastering how to make instant pot chicken breast is a genuine kitchen game-changer. What used to be a stressful, time-consuming task becomes a completely hands-off process that delivers better results than most stovetop or oven methods.
The key takeaways are simple: use 1 cup of liquid, cook for 8-10 minutes (fresh) or 10-12 minutes (frozen), and always let the pressure release naturally for at least 5 minutes. Follow those rules and you will have juicy, tender chicken ready for whatever meal you are craving.
I encourage you to experiment with different seasonings and find your family’s favorite combinations. Once you get comfortable with the basic method, the possibilities are endless. Happy cooking!