
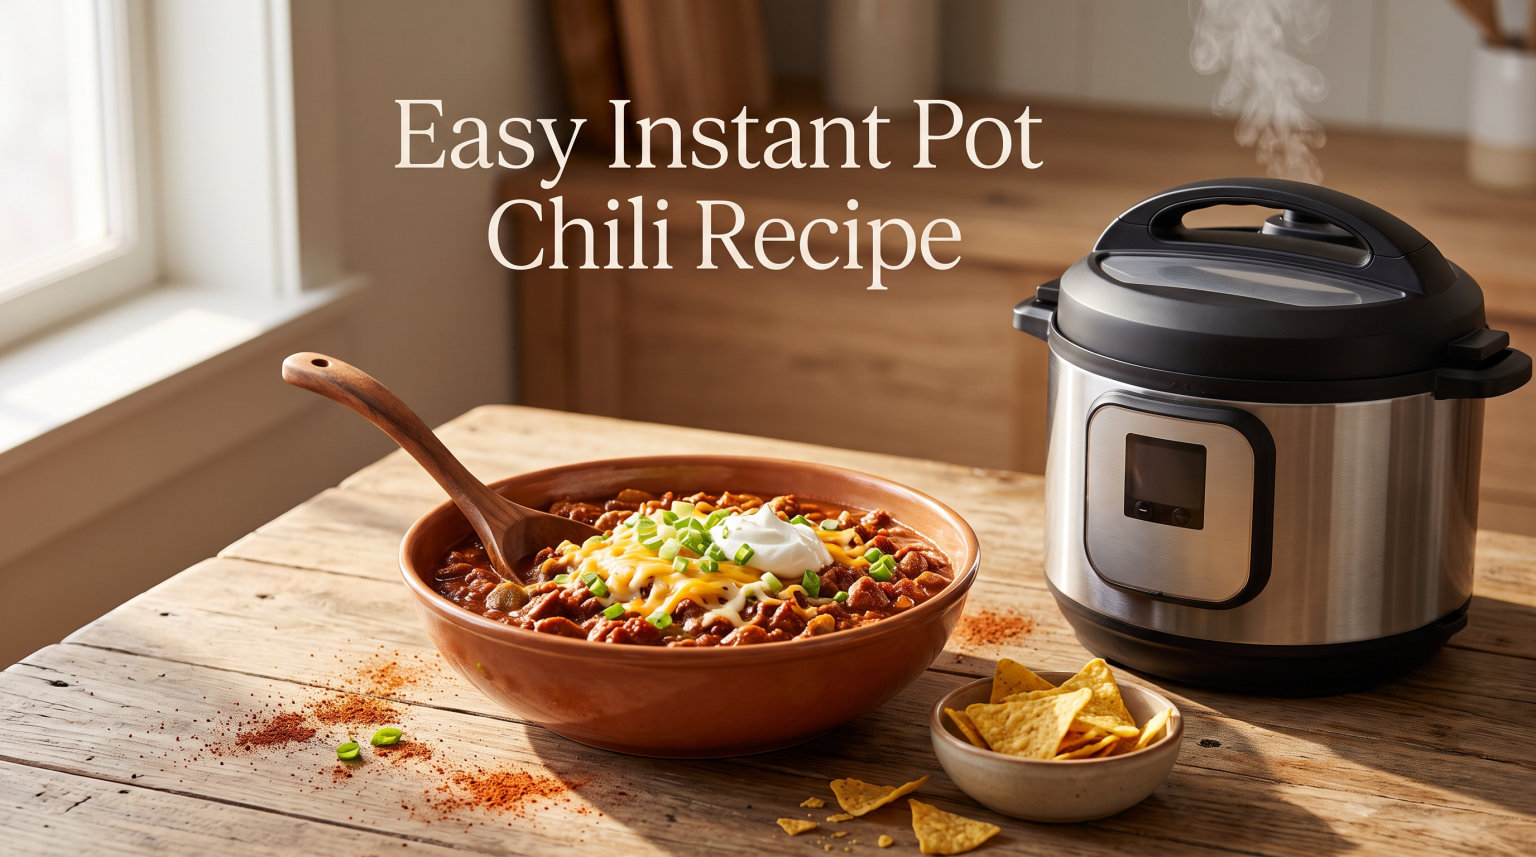
This easy Instant Pot chili recipe gives you a hearty, weeknight-friendly bowl with ground beef, beans, tomatoes, and warm spices. The key is browning the beef first, then keeping thick ingredients off the bottom of the pot so it can pressure-cook without a burn warning. For ground-beef safety, use a thermometer and follow the USDA safe-temperature chart.
I recommend starting with the recipe as written, then adjusting the heat and thickness after cooking so the finished chili suits your table.
This chili is perfect for busy families, meal preppers, and anyone who loves a warm bowl of comfort food. It pairs beautifully with the diabetic-friendly meal ideas on our site for those watching their blood sugar while still enjoying hearty dinners.
For another hands-off dinner, try my easy slow cooker pot roast; for a different comfort-food option, see these easy soup recipes.
Table of Contents
Why This Recipe Works
The Instant Pot creates the perfect environment for chili by breaking down the beans and infusing every ingredient with flavor under high pressure. The sauté function lets you brown the meat and soften aromatics first, building layers of flavor that you can’t get with dump-and-go methods.
The timing and liquid ratio below are a practical starting point for 6- and 8-quart electric pressure cookers. Let the pot fully deglaze before pressure cooking, then adjust the thickness at the end if needed.
Easy Instant Pot Chili Recipe
Recipe at a Glance
-
Prep Time: 10 minutes
-
Cook Time: 25 minutes
-
Total Time: 35 minutes
-
Servings: 6 (about 1.5 cups each)
-
Equipment: 6-quart or 8-quart Instant Pot
Ingredients
-
1 tablespoon olive oil
-
1 medium yellow onion, diced (about 1 cup)
-
3 cloves garlic, minced
-
1 pound ground beef (85% lean works best)
-
1 can (15 oz) kidney beans, drained and rinsed
-
1 can (15 oz) pinto beans, drained and rinsed
-
1 can (14.5 oz) fire-roasted diced tomatoes
-
1 can (8 oz) tomato sauce
-
1 cup beef broth
-
2 tablespoons chili powder
-
1 tablespoon ground cumin
-
1 teaspoon smoked paprika
-
1 teaspoon salt
-
1/2 teaspoon black pepper
-
1/2 teaspoon oregano
-
Optional: 1 tablespoon cocoa powder for depth
Instructions
-
Press Sauté on your Instant Pot and heat the olive oil until shimmering.
-
Add the diced onion and cook for 3 minutes until softened, stirring occasionally.
-
Add the minced garlic and cook for 30 seconds until fragrant.
-
Add the ground beef and cook for 5 minutes, breaking it up with a wooden spoon until browned. Drain excess fat if needed.
-
Pour in 1/4 cup of the beef broth and scrape the bottom of the pot with a wooden spoon to deglaze and prevent burn warnings.
-
Add the drained beans, fire-roasted tomatoes, tomato sauce, remaining broth, and all seasonings. Stir well to combine.
-
Cancel Sauté mode and seal the lid, ensuring the valve is set to Sealing.
-
Cook on Manual High Pressure for 10 minutes.
-
When cooking completes, allow a 10-minute Natural Pressure Release, then Quick Release any remaining pressure.
-
Open the lid carefully, stir the chili, and let it sit for 5 minutes to thicken before serving.
For a lower-carb version, reduce beans by half and add extra ground beef or bell peppers.
What You’ll Need
The beauty of this recipe is that most ingredients are pantry staples you probably already have. I always keep canned beans and fire-roasted tomatoes on hand for quick meals like this one.
The Meat
Ground beef with 85% lean content strikes the perfect balance between flavor and not being overly greasy. You can substitute ground turkey or chicken if you prefer, though beef gives the most traditional chili flavor.
If you want to get creative, try a mix of ground beef and Italian sausage. Remove the casings and crumble it in with the beef for extra depth and a hint of fennel that works beautifully with the spices.
The Beans
I use a combination of kidney and pinto beans for texture variety. Kidney beans hold their shape well under pressure, while pintos break down slightly and help thicken the chili naturally.
Yes, you should drain and rinse canned beans before adding them to the Instant Pot. The liquid in canned beans can be starchy and sometimes metallic-tasting. Rinsing removes excess sodium too.
The Tomatoes
Fire-roasted diced tomatoes are the secret weapon here. The char adds a subtle smoky depth that makes people ask what your secret ingredient is. If you can’t find them, regular diced tomatoes work fine with an extra pinch of smoked paprika.
How to Make Easy Instant Pot Chili
Making chili in your Instant Pot is straightforward once you understand the sequence. The sauté function builds flavor, pressure cooking does the heavy lifting, and the release method ensures perfect texture.
Step 1: Sauté the Aromatics
Press the Sauté button and adjust to Normal heat. Once the display reads Hot, add your olive oil and let it shimmer for 30 seconds. Add the diced onion and cook, stirring occasionally, until it softens and turns translucent at the edges. This takes about 3 minutes.
Stir in the minced garlic and cook for just 30 seconds until you can smell that wonderful garlicky aroma. Do not let the garlic brown or it will turn bitter.
Step 2: Brown the Meat
Add the ground beef to the pot, breaking it up with a wooden spoon as it cooks. You want to get some brown bits on the meat because that equals flavor. Cook for about 5 minutes until no pink remains.
If you have more than a tablespoon of grease in the pot, carefully drain it off using a ladle or tilt the pot while holding the meat back with your spoon. Too much fat makes the final chili greasy.
Step 3: Deglaze the Pot
Here is the critical step that prevents the dreaded Burn warning. Pour about 1/4 cup of your beef broth into the pot while it is still on Sauté mode. Use your wooden spoon to scrape up every brown bit stuck to the bottom.
Those browned bits are concentrated flavor, but if left stuck to the pot, they can trigger the burn sensor during pressure cooking. Take 30 seconds and scrape thoroughly.
Step 4: Add Remaining Ingredients
Now add everything else. Drain and rinse your beans, then add them along with the fire-roasted tomatoes, tomato sauce, remaining beef broth, and all your spices. Do not stir after adding the liquid ingredients. This helps prevent the burn warning by keeping the tomatoes off the bottom.
If you are using the optional cocoa powder, add it now. It sounds strange, but a tablespoon of unsweetened cocoa adds incredible depth without making the chili taste like chocolate. It’s an old Texas chili secret.
Step 5: Pressure Cook
Press Cancel to turn off Sauté mode. Seal the lid and ensure the steam release valve is set to Sealing, not Venting. Select Manual or Pressure Cook mode and set the timer for 10 minutes on High Pressure.
The Instant Pot will take about 10-15 minutes to come to pressure before the actual cooking countdown begins. The display will show On during this preheating phase.
Step 6: Release the Pressure
When the cooking time ends, let the pot sit undisturbed for 10 minutes. This is called Natural Pressure Release, and it allows the beans to finish cooking gently and the flavors to meld.
After 10 minutes, carefully turn the steam release valve to Venting to release any remaining pressure. Keep your hand and face away from the escaping steam. Once the pin drops and the lid unlocks, you can open it safely.
Step 7: Serve and Enjoy
Stir your finished chili well and let it sit with the lid off for 5 minutes. It will thicken slightly as it rests. Taste and adjust seasoning with salt if needed.
Ladle into bowls and add your favorite toppings. The chili is ready to serve immediately, though it tastes even better the next day after the flavors have had time to marry.
Pro Tips for Perfect Instant Pot Chili
After making this recipe countless times for my family and friends, I’ve learned a few tricks that make the difference between good chili and absolutely amazing chili.
How to Thicken Instant Pot Chili
Chili made in a pressure cooker can sometimes be thinner than stove-top versions because there’s no evaporation during cooking. Here are three ways to thicken it:
The easiest method is to let the chili sit with the lid off for 5-10 minutes after cooking. The starches from the beans will naturally thicken the liquid as it cools slightly.
For faster thickening, make a cornstarch slurry. Mix 2 tablespoons cornstarch with 2 tablespoons cold water until smooth. Turn the Instant Pot back to Sauté mode, stir in the slurry, and simmer for 2-3 minutes until thickened.
You can also mash some of the beans against the side of the pot with your spoon. This releases their starch into the broth and thickens the chili while adding body.
Avoiding the Burn Warning
The Burn warning is the most common issue people face when making chili in an Instant Pot. It happens when something sticks to the bottom and triggers the temperature sensor.
Always deglaze thoroughly after sautéing. Those brown bits are delicious but dangerous if left stuck. Add your liquids before any thick tomato products, and do not stir once everything is in the pot. The liquid at the bottom acts as a protective buffer.
If you do get a Burn warning, release the pressure, open the lid, scrape the bottom really well, add a splash more broth, and restart the cooking cycle.
Adjusting the Spice Level
This recipe as written makes a mild chili that kids will enjoy. To kick up the heat, add 1/4 to 1/2 teaspoon of cayenne pepper with the other spices. You can also add diced jalapeños with the onions.
For a family with mixed preferences, make the base chili mild and offer hot sauce at the table. Everyone gets exactly what they want.
Bean Texture Tips
If your beans turn mushy, you either cooked too long or used the quick release immediately. The 10-minute natural release is important for maintaining bean structure.
Do not use dried beans without soaking and pre-cooking them first. This recipe is designed for canned beans. Dried beans require a completely different cooking time and liquid ratio.
Delicious Variations to Try
Once you master the base recipe, you can customize it endlessly. Here are our favorite variations that keep things interesting at the dinner table.
Turkey Chili Version
Substitute ground turkey for the beef to create a lighter version. Turkey is leaner, so add 1 tablespoon of olive oil when browning to prevent sticking. The chili will be slightly lighter in color but just as flavorful.
This variation is featured on our diabetic-friendly foods list because it reduces saturated fat while keeping protein high.
Vegetarian Instant Pot Chili
Omit the meat and double the beans. Add 1 cup of diced bell peppers and 1 cup of diced zucchini for bulk. Use vegetable broth instead of beef broth. The cooking time stays the same.
Spicy Three-Bean Chili
Add a can of black beans and swap the mild spices for a chipotle chili powder blend. Add one diced chipotle pepper in adobo sauce for smoky heat that builds with every bite.
Slow Cooker Method
If you don’t have an Instant Pot, this recipe works beautifully in a slow cooker. Brown the meat and onions in a skillet first, then transfer everything to a slow cooker. Cook on Low for 6-8 hours or High for 3-4 hours.
Diabetic-Friendly Modifications
For those monitoring blood sugar, reduce the beans to one can total and increase the meat to 1.5 pounds. Add 2 cups of diced bell peppers for volume without carbs. This modification brings the net carbs per serving down to about 15 grams.
Our Instant Pot recipes collection includes more diabetic-friendly pressure cooker meals to round out your meal planning.
What to Serve with Instant Pot Chili
A bowl of chili is fantastic on its own, but the right toppings and sides turn it into a complete meal experience.
Classic Toppings
Shredded cheddar cheese, sour cream, sliced green onions, and fresh cilantro are the standards for a reason. They add cool creaminess, sharp bite, and fresh contrast to the rich, warm chili.
Diced avocado brings healthy fat and creaminess without dairy. Crushed tortilla chips add welcome crunch. A squeeze of lime juice brightens all the flavors.
Low-Carb Toppings
For a keto-friendly bowl, skip the beans in the recipe and top with cheese, sour cream, avocado, bacon bits, and jalapeños. You still get all the satisfaction without the carbs.
Side Dishes
Nothing beats a slice of warm cornbread alongside your chili. A simple green salad with ranch dressing provides cool crunch contrast. For game day, serve with nacho chips for dipping.
My kids love chili dogs made with leftover chili spooned over hot dogs in toasted buns. It’s their favorite way to enjoy the leftovers.
Make Ahead and Storage Instructions
This chili is the ultimate make-ahead meal. It tastes better after a day in the refrigerator as the flavors meld together.
Refrigerator Storage
Let the chili cool completely, then transfer to airtight containers. Store in the refrigerator for up to 5 days. The flavors will continue to develop and taste even better on day two.
Freezer Instructions
Instant Pot chili freezes beautifully. Ladle cooled chili into freezer-safe containers or heavy-duty freezer bags, leaving 1 inch of headspace for expansion. Freeze for up to 3 months.
To thaw, place the container in the refrigerator overnight. For faster thawing, submerge the sealed bag in cold water for 1-2 hours.
Reheating
Reheat individual portions in the microwave for 2-3 minutes, stirring halfway through. For larger amounts, warm in a pot on the stove over medium heat for 10-15 minutes, stirring occasionally.
If the chili seems too thick after refrigeration, add a splash of beef broth or water when reheating to reach your desired consistency.
Meal Prep Tips
You can chop onions and mince garlic up to 3 days ahead and store in the refrigerator. Measure out all your spices into a small container so you can dump them in quickly when cooking time arrives.
Some people brown the meat and onions the night before, refrigerate them, then finish the recipe the next evening. This cuts your active cooking time down to just 15 minutes.
Frequently Asked Questions
How long does chili take in an Instant Pot?
After browning, most beef-and-bean chili needs about 15 minutes at high pressure plus the time it takes the pot to come to pressure and release safely.
Why did my Instant Pot chili get a burn warning?
Thick tomato products or stuck-on browned bits can trigger it. Deglaze thoroughly with broth or water, and layer tomatoes and beans on top without stirring them into the bottom.
Can I freeze Instant Pot chili?
Yes. Cool it promptly, portion it into freezer-safe containers, and thaw it in the refrigerator before reheating.
Conclusion
This easy Instant Pot chili recipe is the kind of practical comfort food I reach for when I want a satisfying dinner without an all-day simmer. This easy Instant Pot chili recipe has saved dinner at my house more times than I can count. It is simple enough for beginners but tastes like you spent hours at the stove. The pressure cooker does all the hard work while you handle everything else on your busy schedule.
I hope your family loves this recipe as much as mine does. Give it a try on your next busy weeknight, and let me know in the comments how it turned out. What toppings did you choose? Did you try any of the variations? I read every comment and love hearing your kitchen stories.
Stay cozy and enjoy your bowl of hearty, homemade comfort.