
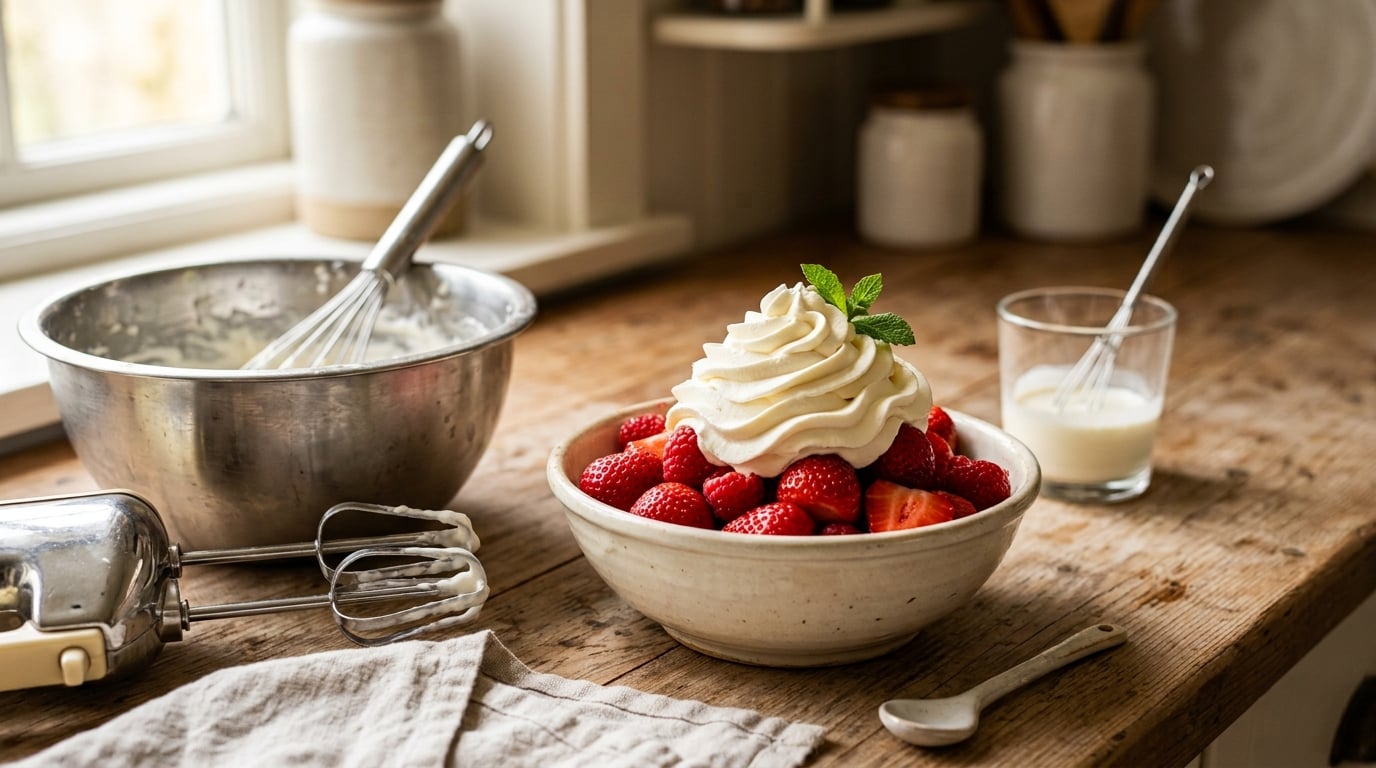
Whip 1 cup of cold heavy cream with 2 Tbsp powdered sugar and 1/2 tsp vanilla at medium-high speed for 3 to 4 minutes, until the cream holds soft peaks that curl over when you lift the whisk. This easy homemade whipped cream recipe needs three ingredients, no cooking, and about five minutes from fridge to bowl. One cup of cream turns into roughly two cups of whipped cream, so it stretches further than the carton suggests.
The canned stuff in the fridge is mostly water, stabilizers, and not much flavor. Fresh whipped cream tastes like vanilla, holds far more air, and is the difference between a pie that looks finished and one that looks like it came from a can. The whole trick is cold cream and watching the peaks rather than the clock.
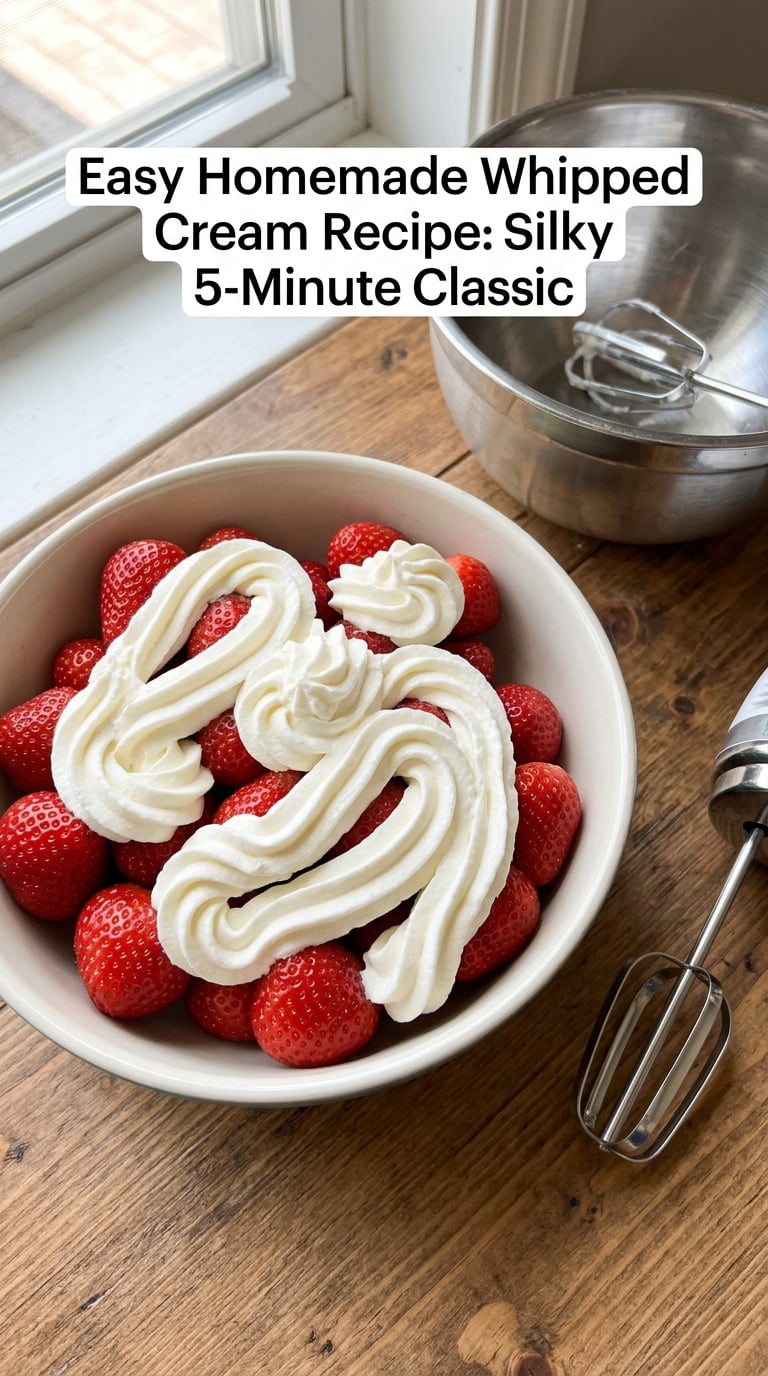
Table of Contents
Why This Easy Homemade Whipped Cream Recipe Works
Four things do the heavy lifting here, and none of them are complicated.
- The chilled bowl does half the work. A cold metal bowl and a cold whisk keep the fat firm enough to trap air. Room-temperature bowls let the cream warm up and turn soupy halfway through.
- Sugar stabilizes the foam. Dissolved sugar coats the fat globules and slows the bubbles from merging and weeping. Powdered sugar dissolves instantly; granulated sugar can leave a gritty finish.
- It works with whatever you own. A stand mixer takes three minutes. A hand mixer takes four. A whisk and strong arm takes eight. An immersion blender in a jar takes about two.
- It is genuinely a five-minute job. The chilling happens in the background, so the active work is short enough to do while the kettle boils.
Whipping works by forcing tiny air bubbles into cream. The fat network around each bubble holds it in place, and the sugar keeps those bubbles from popping. That is also why cream that has gone warm, or cream with too little fat, refuses to thicken no matter how long you beat it.
Ingredients
This easy homemade whipped cream recipe makes about 2 cups of whipped cream from 1 cup of cream.
- 1 cup (240 ml) heavy whipping cream, straight from the fridge
- 2 Tbsp (15 g) powdered sugar, sifted if it is lumpy
- 1/2 tsp pure vanilla extract
- 1/4 tsp fine salt, optional but recommended
- 1 tsp cornstarch, optional, for a stabilized version that holds in warm weather
On the cream. Look for 36% milk fat on the carton if you can, and always check the date on the container. Heavy whipping cream and double cream are the same product under two names. Whipping cream at 30% works but takes longer to build volume. Half-and-half and whole milk will not whip at all, no matter how long you go.
On the sugar. Powdered sugar dissolves cleanly with no cooking. Granulated sugar works and gives a slightly crisper, less sweet profile, but it needs an extra minute of whipping and a fine-mesh sieve or a tablespoon of the sugar rubbed against the cream first. Brown sugar melts into the warm cream and is worth trying on top of apple or pear desserts.
Allergen and safety note. Dairy is the only allergen here, and this is a no-cook recipe, so buy pasteurized heavy cream and skip the raw cream some traditional recipes call for. If you are sensitive to dairy, plant-based whipping cream can be whipped, but it holds peaks less reliably and I would not promise it will pipe.
Equipment
You need less than you think. Pick the top tier that applies to you.
- Stand mixer with a wire whisk attachment: the fastest route, 3 to 4 minutes at medium-high (speed 6 to 8 on most stand mixers). The whisk and the metal bowl both go in the freezer first.
- Hand mixer: 4 to 5 minutes. Keep the bowl on a damp towel so it stops walking across the counter, and hold the bowl still with your other hand.
- Immersion blender in a tall jar or narrow container: about 2 minutes. Keep the blade submerged or you will splash cream all over the counter.
- Balloon whisk and a metal bowl only: 8 to 10 minutes of brisk circular strokes. It is a workout, and it works.
A rubber spatula for scraping the bowl down halfway through is genuinely useful. Cold cream hides in the crease where the bowl meets the base, and that unmixed liquid is the reason a batch sometimes looks loose in the middle and stiff at the edges.
How to Make Easy Homemade Whipped Cream
Preparing the Mixing Bowl and Cream
Put the metal bowl, the whisk attachment, and the measuring spoon in the freezer for 15 minutes. That is the whole technique, and it is the one most people skip.
Check the date on your cream before you open it. Old cream sometimes smells fine and still will not hold air. Also check the carton is not the one that has been sitting on the counter next to the stove. In a warm kitchen, cream warms to room temperature in about 30 minutes, and warm cream will not whip properly no matter how long you run the mixer.
Total prep time here is 15 minutes of passive chilling plus one minute to measure. If you skip the freezer entirely, add two to three minutes of whipping and expect a slightly softer result.
Whipping the Easy Homemade Whipped Cream Base
Pour the cold cream into the chilled bowl. Add the powdered sugar, vanilla, and salt.
Start the mixer at medium speed for 30 seconds just to combine everything, then turn it up to medium-high. Speed matters here: low speed is too gentle to build volume quickly, and full blast scatters warm air into the cream and melts the fat you are trying to keep solid.
At the 2-minute mark, stop the mixer and scrape the sides and the bottom of the bowl with the spatula. Any sugar sitting on the side above the cream line will not dissolve otherwise, and undissolved sugar is the number one cause of a grainy, gritty finish.
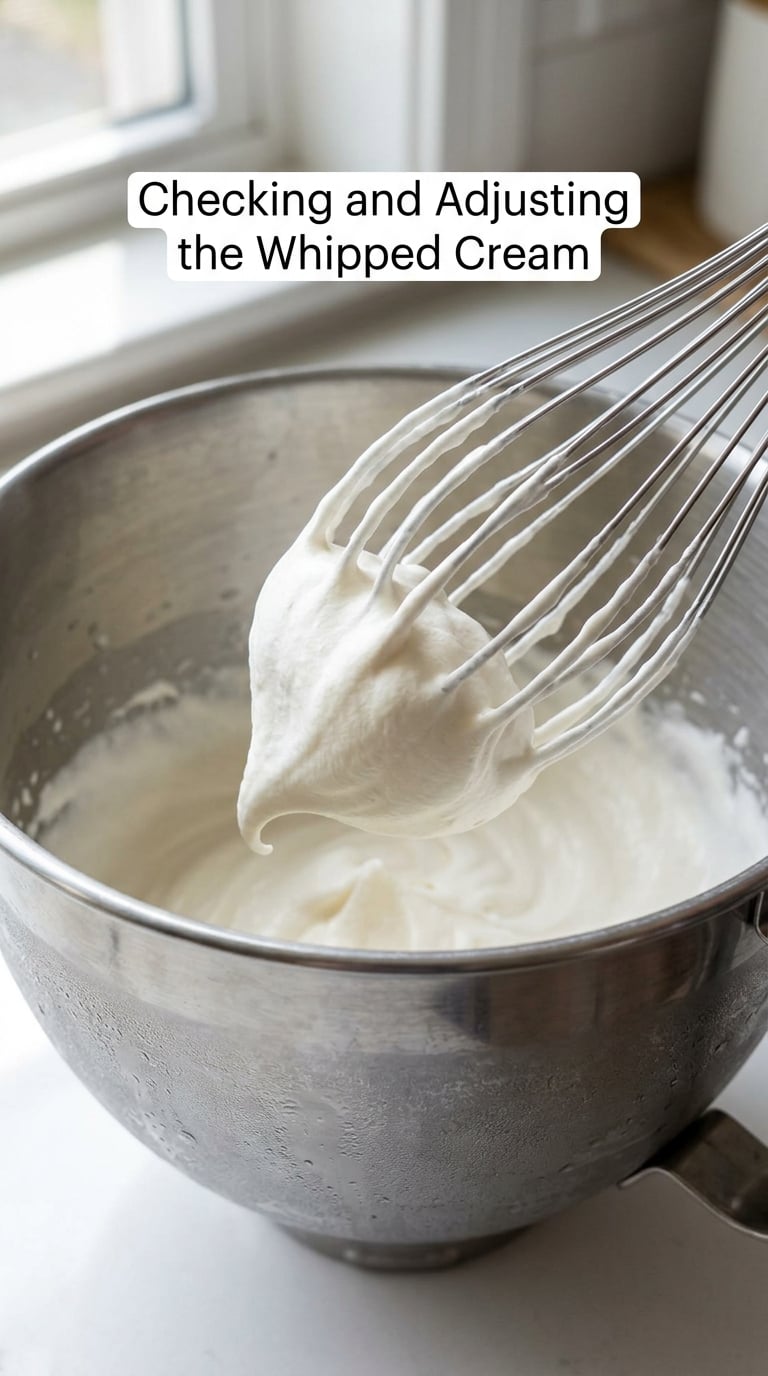
Continue at medium-high until you see the cream thicken, start to trail behind the whisk in soft ribbons, and then hold a peak that curls over on itself. That is a soft peak, and for most desserts it is exactly where you want to stop.
Checking and Adjusting the Whipped Cream
The difference between good and ruined is usually thirty seconds, and it comes down to knowing what you are looking at.
Too loose and splashing out of the beaters. The cream is not cold enough or the fat is too low. If you are using heavy cream at 36%, give it another 60 to 90 seconds. If you used half-and-half or a light cream, it will never set, so strain out what is usable and move on to a non-dairy alternative or a made-from-scratch dessert.
Firm ridges but the peak droops over the tip. That is a soft peak, and it is right for topping pies, filling pastry cream, and folding into mousses.
Upright peaks that stand on their own. Medium to stiff peaks, and the right stage for piping rosettes, swirls on cupcakes, or stacking on a layer cake.
Chunky, grainy, or split, with butter floating on top. You have gone too far and the emulsion has broken. You cannot un-curdle it. Add a tablespoon or two of cold heavy cream and it will soften back into spreadable, loose whipped cream, which is still perfectly usable on pie or fruit even if it will not hold a piped shape.
If the cream is still too loose after a long whip, stir in 1 teaspoon of cornstarch that you have dissolved in a tablespoon of warm cream, then whip for another minute. That is your stabilized version and it will sit out for a couple of hours without weeping.
Tips for Success
These are the six things that go wrong most often, and the fix for each.
- The cream will not thicken. Almost always temperature. Chill the bowl and the beaters, and use cream that has been in the fridge its whole life. If it still will not move past the splashing stage after three minutes, the fat percentage is too low.
- It tastes gritty. You added granulated sugar and stopped too early. Sift the sugar, start with half of it, and keep whipping until it is completely invisible. The same fix applies to lumpy powdered sugar: sift it or rub it through a sieve.
- You never see real peaks. You likely stopped at the ribbon stage, which is still useful but too thin for decorating. Whip another 60 seconds and check again. The texture changes fast in the last half-minute.
- It went buttery and grainy. Overwhipping. It happens in seconds when the phone rings mid-whip. Cool cream will soften it back; you cannot make it stiff again.
- It weeps within an hour. Fresh whipped cream drains whey. Press a piece of parchment or plastic wrap directly onto the surface of the cream, refrigerate it, and it will hold for days instead of hours.
- You are decorating in a hot kitchen. Use the cornstarch version, and work in short bursts. A very large batch also stays warmer longer than a small one, so whip it in two batches if you are doing a layer cake in July.
Whipped cream pipes beautifully, and my favorite tips are the open star or the large swirl, both of which hide a small imperfection. A flat spatula and a short layer is the right choice if you are frosting a cake, since a thick layer is what keeps the cake from sliding.
It is a genuinely good topper for anything from my [easy cookies and cream donuts recipe](https://thesweetandsimplekitchen.com/cookies-cream-doughnuts/) to a plain bowl of berries, and a generous spoonful turns a cup of hot chocolate into something closer to a café drink.
Variations
Keep the same 1 cup of cream and 3 to 4 minute whip, and change only the additions. Measure them, because an unmeasured splash of liqueur is how whipped cream turns soupy again.
- Chocolate and espresso: 2 Tbsp unsweetened cocoa powder plus 1 tsp instant espresso powder and 3 Tbsp powdered sugar. The bitterness of the coffee keeps the cocoa from tasting flat.
- Citrus: 1 tsp fresh lemon or orange zest with the sugar, and 1/2 tsp of the matching juice added in the last 30 seconds. Zest carries the flavor; the juice softens the peaks.
- Berry: 2 Tbsp strained berry purée folded in by hand after whipping. Fold, do not stir, or you knock out the air you just built. Thin purées are the one exception to the whole cold-and-gentle rule.
- Coffee or coffee liqueur: 1 to 2 Tbsp coffee-flavored liqueur or 1 Tbsp strong brewed coffee, added during the last minute. Reduce the sugar to 1 Tbsp so it does not taste too sweet.
- Sugar-free: Leave the sugar out entirely and add 1 to 2 tsp of a granulated sugar substitute. Use the one you can bake with, and expect a less stable foam, so serve it the same day.
For something that needs to sit in a freezer for a few hours before serving, a chocolate version pairs well with my [chocolate dipped oatmeal ice cream sandwiches](https://thesweetandsimplekitchen.com/chocolate-dipped-oatmeal-ice-cream-sandwiches/).
Storage, Make-Ahead and Reheating
Fresh whipped cream keeps in the refrigerator for 2 days if you cover it properly. Properly means airtight plus something flat pressed onto the surface, either parchment, plastic wrap, or a lid that touches the cream. That contact is what stops the whey from collecting at the bottom of the bowl.
For freezing, spoon it into a freezer-safe container leaving a half inch of headroom for expansion, press wrap onto the surface, and freeze for up to 3 months. It will be slightly softer coming out and will not pipe straightaway, which is normal. Thaw it in the refrigerator overnight rather than on the counter, then whip it for 15 to 30 seconds before using it.
There is no reheating involved in the usual sense, because you never cook the cream. What you do instead is soften it: 10 to 15 seconds in the microwave at 20% power, or 20 minutes at room temperature, brings a too-firm bowl back to a pipeable texture without taking it all the way back to liquid.
A better make-ahead move is to whip the cream an hour or two before guests arrive, keep it covered in the fridge, and give it a quick re-whip right before you pipe. It holds its shape from cold better than from warm, which is also why I would not frost a cake in a hot garage, no matter how confident the cake is.
For make-ahead desserts, stabilized whipped cream is the version to freeze. It is also the right choice if you are layering an ice cream cake, the same cold-plus-sweet logic that makes my [no churn raspberry crisp ice cream](https://thesweetandsimplekitchen.com/no-churn-raspberry-crisp-ice-cream/) work without any eggs.
Frequently Asked Questions
Why is my whipped cream not getting thick?
Almost always the cream is not cold enough. Chill the bowl, the whisk attachment, and the cream itself for 15 minutes, and check the date on the carton. Second cause is fat content: 36% heavy cream whips reliably, 30% whipping cream takes longer, and half-and-half or milk will never set. Third, the bowl may be warming from the mixer, so scrape it down and rest it in the freezer for 2 minutes.
Can I make whipped cream without a mixer?
Yes, and it takes 8 to 10 minutes with a metal bowl and a balloon whisk. Use the same 1 cup cold cream, 2 Tbsp powdered sugar, and 1/2 tsp vanilla. Whisk briskly in tight circles, scrape the bowl every couple of minutes, and rest your forearm on the rim for leverage. An immersion blender in a jar does the same job in about 2 minutes if you have one.
How long does homemade whipped cream stay good?
Up to 2 days in the refrigerator, kept airtight with a piece of plastic wrap or parchment pressed directly onto the surface so the liquid cannot collect underneath. Fresh whipped cream is perishable because it has no stabilizers or preservatives, so keep it cold and out of a warm car. It is also safe to leave on a pie at cool room temperature for about 2 hours before it needs refrigerating.
Can I freeze whipped cream?
Yes. Spoon it into a freezer-safe container with a half inch of headroom, press wrap onto the surface, and freeze for up to 3 months. Thaw overnight in the refrigerator rather than on the counter. It comes back slightly softer and needs 15 to 30 seconds of whipping before it will pipe. Stabilized whipped cream, made with 1 tsp of cornstarch per cup of cream, freezes and holds its shape best.
How do I keep whipped cream from weeping?
Cover the surface directly. Press parchment, plastic wrap, or a lid flat onto the cream, refrigerate it, and it stays stable for days instead of hours. For a decorated cake, a thin layer of melted chocolate on the cake surface stops the cream sliding and weeping. Adding 1 tsp of cornstarch dissolved in 1 Tbsp of warm cream per cup of cream gives a much more stable foam for warm rooms and unrefrigerated transport.
Is whipped cream safe to eat without cooking the cream?
Yes, as long as you start with pasteurized heavy whipping cream from the carton. Heavy whipping cream sold in the US is already pasteurized, so this is a no-cook recipe and the dairy is safe to eat straight away. Traditional raw-cream recipes rely on heat to kill bacteria, so avoid raw cream for this version. If a batch smells sour or sits out for more than two hours in a warm kitchen, discard it rather than tasting it.
Conclusion
Put the bowl, the whisk, and the cream in the freezer while you make the rest of dinner. When you come back, pour, whip for four minutes, and stop at soft peaks. That is genuinely the whole easy homemade whipped cream recipe, and once you have made it a few times you will stop measuring and just go by the curl on the whisk.
From there it is a matter of where you put it: over a pie, on a hot chocolate, folded into a mousse, or piped into bakery-style blueberry cream pastry puffs for people who think whipped cream is too much work. It is not. Five minutes, three ingredients, no mixer required.