
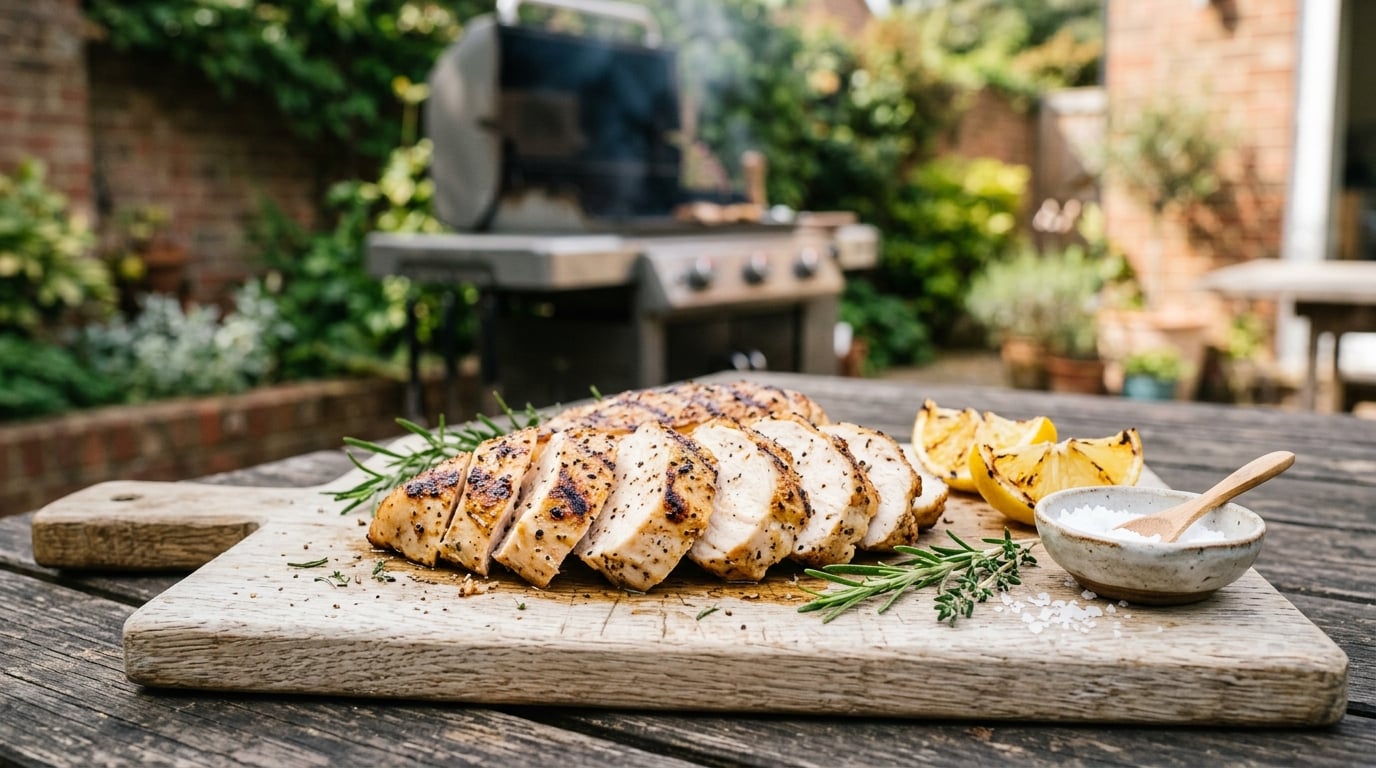
Grill boneless, skinless chicken breasts for 9 to 12 minutes total, about 4 to 6 minutes per side, over direct medium-high heat at 375°F to 450°F, until the thickest part reads 165°F (74°C) on an instant-read thermometer. That is a solid estimate, but the thermometer is what actually decides.
The reason is simple: chicken breasts are the least consistent piece of meat you will ever grill. A 6-ounce breast from the end of the tenderloin can be three-quarters of an inch thick, while a 10-ounce breast from the center of the bird is nearly an inch and a half at the fat end. Same grill, same heat, very different clocks.
So treat the minutes as a starting guess and the temperature as the finish line. This guide covers how long to cook chicken breast on the grill by thickness, how to set up a two-zone fire, and how to keep the meat juicy while you do it.
One note up front: if your chicken came out of an acidic marinade, let it sit at room temperature for 30 to an hour before it hits the grate. Acid tenderizes the surface, and the extra set time keeps it from turning mushy over high heat.
Table of Contents
How Long to Cook Chicken Breast on the Grill: What to Expect
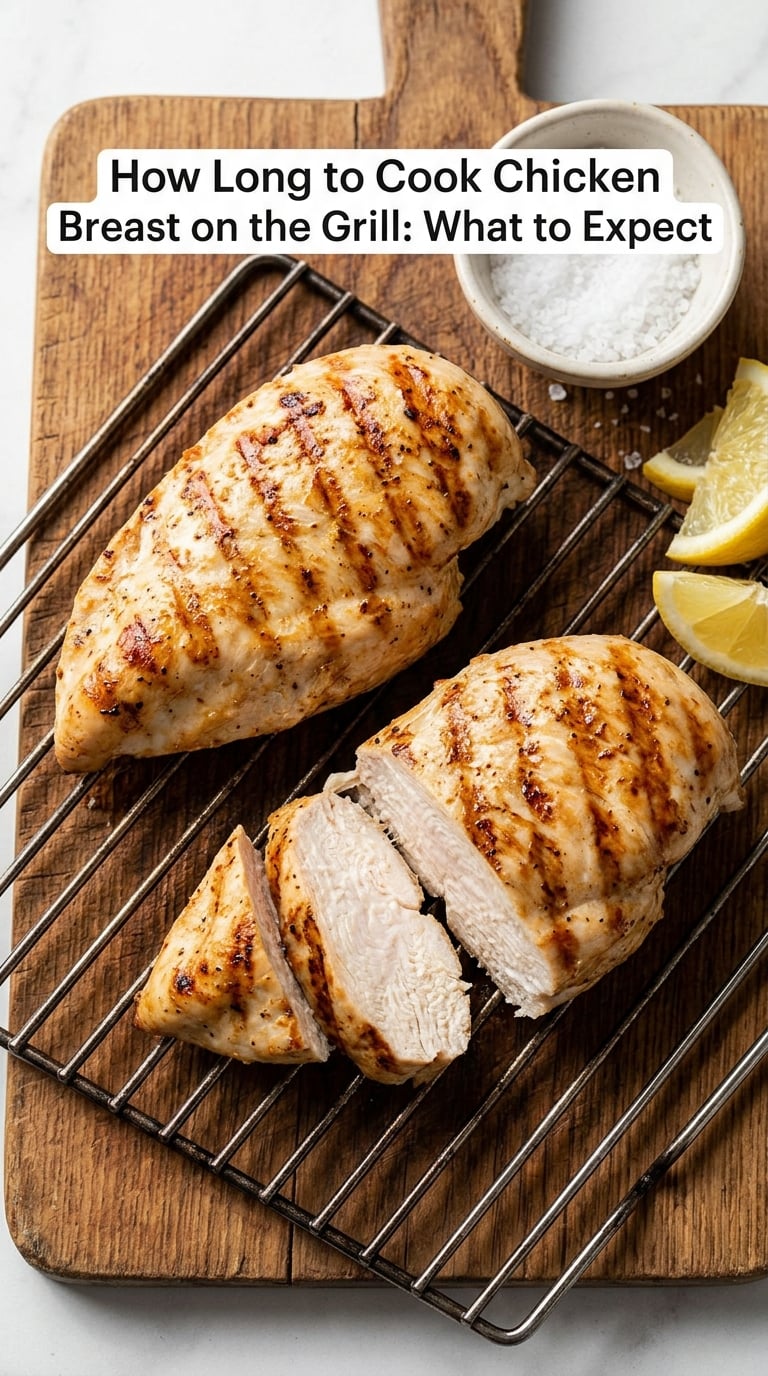
Most home cooks land on 10 to 14 minutes of total grill time for a standard boneless skinless breast, plus a 5-minute rest. If you sear hard, take the chicken off the direct heat to finish, and rest it properly, you can do it in under 10 without sacrificing anything.
Three numbers matter more than any other: the thickness of the breast, how hot your grate actually is, and how thick the piece is at its fattest point. Everything else is seasoning.
Over medium-high direct heat, 4 to 6 minutes per side builds a browned crust through something called the Maillard reaction, a browning process that also produces most of the flavor you taste on the outside. Push past it and the crust turns acrid, then black, and the inside keeps drying out while the outside burns. This is why the highest heat is not the fastest route to a done chicken breast.
A two-zone fire solves that. Sear on the hot side, then move the chicken to the side where there is no flame underneath and let residual heat finish the center. You get the crust and the color without the dry, over-charred edges.
Grilled Chicken Breast Timing by Thickness
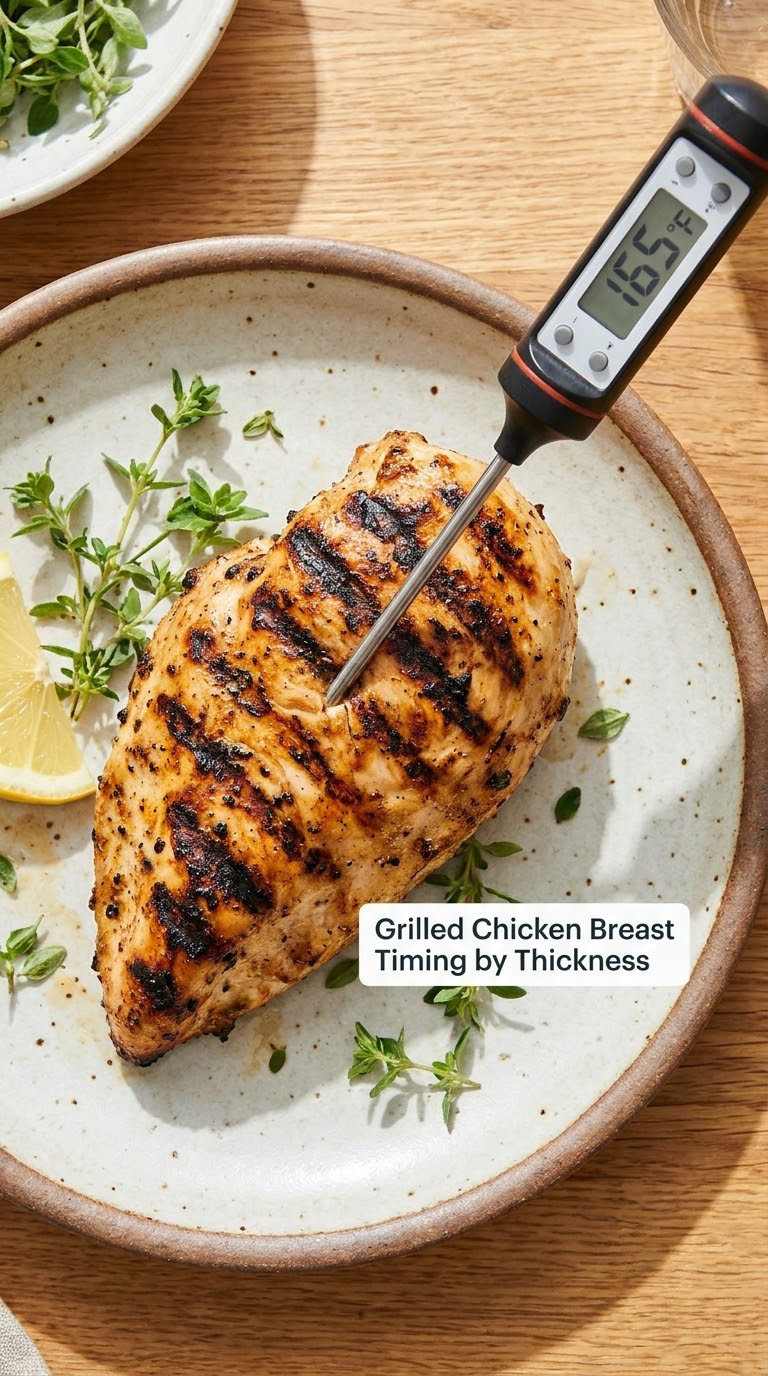
These are cooking times for a grill held at medium-high, 375°F to 450°F, with a bone-in breast running 3 to 5 minutes longer per side than a boneless one of the same thickness.
| Breast thickness | Typical weight | Minutes per side | Total time | Notes |
|---|---|---|---|---|
| Thin or pounded, about 3/4 inch | 4 to 6 oz | 3 to 5 | 6 to 10 min | Cooks fast, so start checking early |
| Standard, medium to large | 8 to 12 oz | 5 to 6 | 10 to 12 min | The most common case, and the easiest to nail |
| Thick, 1 inch or more | 12 to 16 oz | 6 to 8 | 12 to 16 min | Move to indirect heat after 4 minutes per side |
| Bone-in | 10 to 14 oz | 8 to 10 | 16 to 20 min | Probe near the bone, not against it |
Thin breasts are the ones that punish you. They go from perfect to rubbery in about 90 seconds, so pull them at 160°F (71°C) and let carryover finish the job.
Thick breasts are the opposite. Cooking them entirely on direct heat is how you get a charred outside and a raw middle. Sear 4 minutes per side, then move them away from the flame for the rest of the time.
If your breasts vary in size within the same batch, cook them separately or stagger them. Two breasts on the same grill finish at different times, and the one that waits keeps cooking while the thermometer sits in the other one.
How to Grill Chicken Breast Step by Step
1. Prep the chicken before the grill gets hot
Get the chicken seasoned and the grill preheated first, because once the meat is on, you stop getting choices.
Trim any loose fat and pat the breast dry with paper towels. Wet skin steams instead of sears, and that is the whole reason people complain about pale chicken. A pound bag and a meat mallet get the whole piece to an even three-quarter-inch thickness, which means the thin end and the thick end finish at the same time.
Coat the chicken lightly with oil, then season generously with kosher salt and black pepper. Salt early is fine for chicken breast, unlike for other cuts, because breast is thin and cooks in minutes.
2. Set up a two-zone fire
On a gas grill, light one burner on high and let the other stay off, or set both to medium so you get one hotter zone and one gentler zone. On charcoal, push the lit coals to one side of the kettle and let them burn down until they are ashed over, then spread only the direct side for searing and use the empty side for finishing. A pellet grill does this for you, and an electric grill needs the same treatment: a quarter of the grate hard, three quarters gentler.
Scrape the grates clean with a wire brush and wipe them with an oiled paper towel while the grill heats. Chicken sticks to debris and to itself far more than people expect.
3. Sear, move, check, and rest
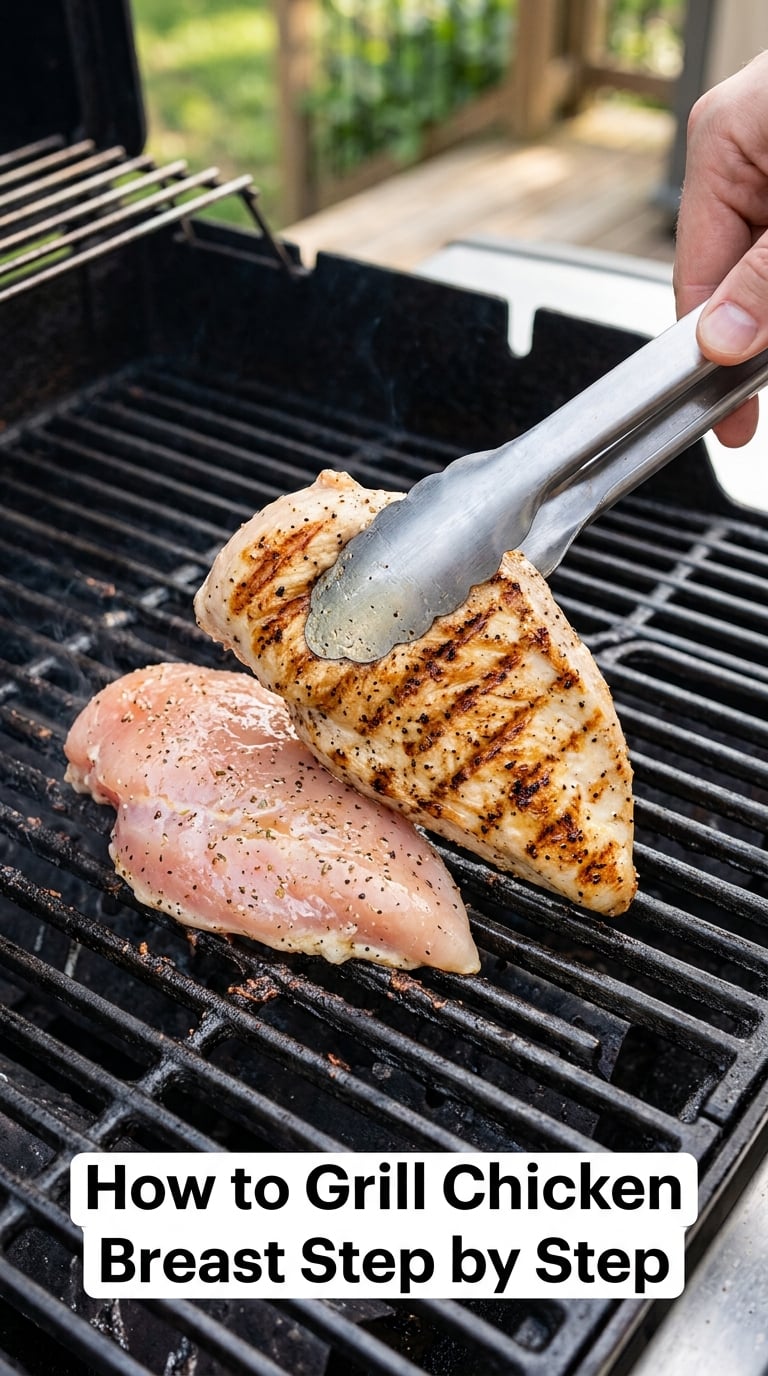
Lay the chicken on the hottest part of the grate and leave it alone for 4 to 6 minutes. Resist the urge to flip early. The chicken releases when the crust has formed, and pulling it before then tears the surface and takes the browning with it.
Turn once, cook another 4 to 6 minutes on the hot side, and check the temperature. If it is not there yet, move it to the indirect side for a few more minutes. A well-done piece, sliced and served, hits 165°F (74°C) in the thickest part, clear of bone and clear of the grate.
Rest it for 5 minutes under a loose tent of foil before slicing. That rest is not optional theater, it is the step that keeps the juice in the meat, and slicing too early is the most common reason a correctly cooked breast still tastes dry.
Cook two or three at once and you have dinner sorted for the week, which makes these worth pairing with a few of my leftover chicken breast recipes rather than eating the same breast three nights running.
What grill temperature for chicken breast, 350°F or 400°F?
Both work, and the difference is a tradeoff rather than a rule.
- 350°F to 375°F gives a deeper, more even cook with very little char, at the cost of softer grill marks. This is the better setting for thick breasts and for beginners.
- 400°F to 450°F is where the grill marks come from. It colors faster but demands flatter, thinner chicken and closer attention to the thermometer.
If you only remember one setting, aim for 400°F on a gas grill with the sear burner on high, or a medium-high bed of coals on charcoal.
What Temperature Should Chicken Breast Reach?
There are two temperatures in this conversation and they are not interchangeable. The grill temperature tells you how fast the crust forms. The internal temperature tells you whether the chicken is safe to eat. Only the second one decides doneness.
The USDA guideline for poultry is 165°F (74°C) measured in the thickest part of the breast. That is the number I cook to and the number I would hand to anyone else.
Where you put the probe matters as much as the number. Push it into the thickest part of the breast, not the thin taper, and keep the tip off the bone, since bone conducts heat and gives you a false high reading. If the thermometer touches the grate underneath, you get a false reading too. Push in, twist slightly, and read without letting the tip rest on anything.
If you have ever seen the 145°F and 155°F numbers online, here is the context. Those come from studies showing that chicken held at lower temperatures for long enough reaches the same level of pathogen kill as 165°F, and many cooks use the pull-early method to avoid overcooking. It is defensible, and it is how plenty of pitmasters cook breast. It is also not the USDA number, and if you are new to this, cook to 165°F and stop worrying about it.
How long to cook chicken breast with the pull-early method
Carryover cooking means residual heat keeps raising the internal temperature after the chicken leaves the grill. Remove the breast at 160°F (71°C), tent it loosely with foil, and let it sit 5 to 10 minutes. Most of the time it finishes somewhere between 163°F and 167°F, which is the same safety window reached by a gentler route and with noticeably better texture.
On r/grilling this is the most common piece of advice I see, and the dry-chicken complaints that dominate the same forum threads usually come from people cooking straight to 165°F on the grill and then leaving the bird sitting for another ten minutes before slicing.
How to Tell When Grilled Chicken Breast Is Done
If you have a thermometer, use it. Everything below is a fallback and a cross-check, not a replacement.
- Firm but yielding. Press the thickest part with a fingertip. It should spring back slightly, like the pad of your thumb, not feel rubbery or split.
- Clear juices. Pierce the thickest part and look at what runs out. Clear or faintly pink-tinted juice is the signal, not red.
- The juices pool, they do not flood. When you cut into a cooked breast, the liquid gathers in a small pool at the center. Undercooked chicken weeps constantly.
- Color at the cut surface. A cooked breast shows no translucent or glossy raw-looking patches anywhere in the center.
- Color of the outside. Useful for the crust, useless as proof of the interior.
Color is the worst of these five signals and it is the one almost everyone relies on. A badly browned breast can still be safely cooked, and a beautifully browned one can still be raw in the middle, especially where the meat folded over on itself.
The two popular hacks, cutting a slit down the thick end and squeezing the breast until water runs out, both give you information about a single spot. Checking two or three spots, plus the probe, is better.
How to Keep Grilled Chicken Breast Juicy
Dry chicken breast is nearly always the same sequence of mistakes: uneven thickness, too much heat, repeated flipping, and slicing before the rest.
Pound the chicken to an even three-quarter inch. This is the single highest-impact thing you can do, and it costs about a minute. An even piece cooks at an even rate, so you never have to wait for the thick end while the thin end turns to leather.
Give the chicken a short brine next time. Thirty minutes in a solution of 2 tablespoons kosher salt per quart of water, then patted dry, seasons the meat deeper and holds moisture through the cook. The same result comes from a 4 to 6 hour marinade, though an acidic one needs the 30 to 60 minute set time I mentioned earlier or the surface turns mushy.
Use a high smoke point oil. Avocado, canola, and grapeseed oil all take heat better than olive oil, which starts smoking around 375°F and will smoke up your patio before it seasons the chicken.
Flip once, not five times. Every turn costs you crust, and a repeated-flipped breast ends up grey and sad rather than marked and juicy.
Manage flare-ups by moving, not by turning. When fat drips and flames spike, move the chicken to the cool side for ten seconds instead of flipping it into the flare. Closing the lid for a moment also smothers the flame.
Pull the chicken a little early and rest it. The carryover method above is the fix for the last five degrees of dryness.
One note on mayonnaise, since it comes up constantly: a thin layer does stop sticking, better than oil alone, because the proteins in it brown onto the grate. It burns fast on a hot grate, though, so it is a good trick for lower heat and a bad idea right under a sear burner. I use oil, and I keep the grates clean.
If you like the flavor but not the grill char, the same seasoning approach works well on an air fryer chicken breast method, which is a useful rainy-night comparison.
Common Mistakes When Grilling Chicken Breast
Grilling at medium-low heat. The meat cooks before it browns, so the outside stays pale and the texture goes mealy. Fix: medium-high direct heat for the sear, around 400°F, then indirect to finish.
Leaving it on high heat the whole time. You get black edges and a dry center. Fix: two zones, and move the chicken off the flame once the crust is set.
Flipping every ninety seconds. The chicken never stays in one spot long enough to brown, and each flip tears the surface. Fix: one flip, or none at all if you are moving it to the indirect side.
Testing too early and often. Early probes release juice and slow the cook. Fix: check once at about the halfway mark and once near the end.
Cutting into the chicken straight off the grill. The juice runs out onto the board and the meat tastes dry even when it is not. Fix: rest 5 minutes under foil before slicing, and slice against the grain.
Cooking uneven breasts together. The small one is overcooked by the time the large one is safe. Fix: stagger them, or cook one at a time if the breast is thick.
White streaks where the chicken stuck. That is not raw meat, it is the white pull-apart protein exposed where the crust tore. Fix: scrape and oil the grates before preheating, and let the chicken release on its own.
Raw spots near the fat end. The fat renders and shields the meat from heat, so the fattest part lags. Fix: trim the fat, or move the finished breast to indirect heat while the rest catches up.
Once the basics are dialed in, the easy chicken breast recipes I keep on rotation mostly change the seasoning, not the technique.
Frequently Asked Questions
How long to grill chicken breast at 350 on propane?
At 350°F on a propane grill, a standard boneless skinless breast needs about 6 to 7 minutes per side, or 12 to 14 minutes total. Because 350°F is gentler than a typical sear, you will get very little char, so push the breasts a little harder to get grill marks. Start checking temperature at 5 minutes on the second side and pull at 160°F to let carryover finish the cook.
How often should I flip chicken on the grill?
Once, after 4 to 6 minutes on the first side, and only when the crust releases from the grate on its own. Flipping more often tears the surface and prevents browning. If the chicken needs longer, move it to the indirect side instead of turning it again, which finishes the center without costing you the crust.
How do I grill a chicken breast without drying it out?
Four things do most of the work: pound the breast to an even three-quarter-inch thickness, cook it over medium-high heat only long enough to build a crust, flip it a single time, and rest it for 5 minutes under loose foil before slicing. Pulling the chicken at 160°F and letting carryover cooking bring it to 165°F protects the texture better than cooking straight to 165°F on the grate.
Can you grill chicken breast from frozen?
Grilling straight from the freezer is the fastest route to a burnt outside and a frozen center, and a frozen breast will not release from the grate when you try to turn it. Thaw it first, or run it under cool water for 20 to 30 minutes until the outside is pliable. A quick alternative is to let the breast sit in its packaging under running water until it is soft enough to bend.
How do you know chicken is done without a thermometer?
Press the thickest part and check that it feels firm with a slight give, then cut into the center and look at the juice. Done chicken is opaque all the way through with a small pool of clear juice, and pressing it makes the juices run clear. These cues are useful for spotting an obvious mistake, but a cheap instant-read thermometer is the only reliable test.
Is 165°F a good internal temperature for chicken?
Yes. The USDA guideline for poultry is 165°F (74°C) measured in the thickest part of the breast, clear of bone and clear of the grate. It is a safe and defensible target, and it is where I cook. Some cooks pull at 155 to 160°F and let carryover cooking finish the job, which can be slightly more tender, but 165°F is the standard worth trusting when you are new to grilling chicken.
Conclusion
Start with 4 to 6 minutes per side for a standard breast over medium-high direct heat at 375°F to 450°F, and that is usually close. Then let the thermometer have the final word: 165°F (74°C) in the thickest part, or 160°F if you are letting carryover cooking finish it, followed by a 5-minute rest before you slice.
The technique is what separates a dry breast from a good one. Even thickness, a clean hot grate, one flip, and patience at the end do more than any marinade. That is the short answer to how long to cook chicken breast on the grill, and it will hold up whether you are on propane, charcoal, pellet, or electric.