
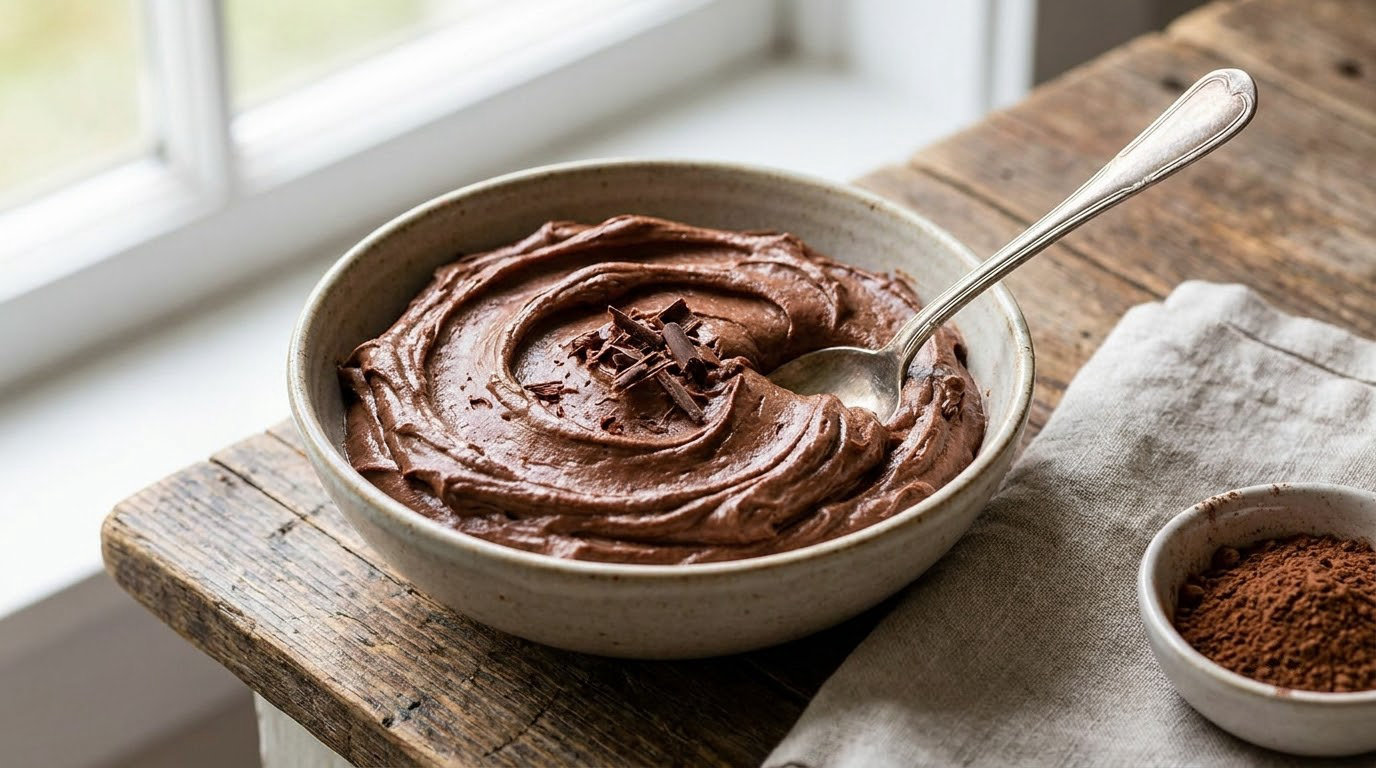
Chocolate frosting is a sweet, creamy topping made by cooking cocoa into butter, thinning it with a splash of milk, then folding in powdered sugar until it is glossy and spreadable. It is the layer that decides whether a homemade cake tastes finished. This easy homemade chocolate frosting recipe takes about 10 minutes start to finish and needs nothing more exotic than butter, cocoa, milk and a bag of icing sugar.
No melted chocolate, no stand mixer, no seizing. I came to this method after one ruined batch of melted-chocolate frosting that turned to sand in the bowl, and I have not gone back since. It spreads like a dream, pipes if you stiffen it slightly, and it tastes properly chocolate instead of merely sweet.
Yield: about 3 cups of frosting, enough for 12 to 16 cupcakes or one 9-inch layer cake · Prep: 5 minutes · Cook: 5 minutes · Total: 10 minutes · Difficulty: Easy
Have your cake completely cool before you frost it. Warm cake will melt the butter straight back out of the frosting, and no amount of extra sugar will fix a slide.
Table of Contents
Why This Recipe Works
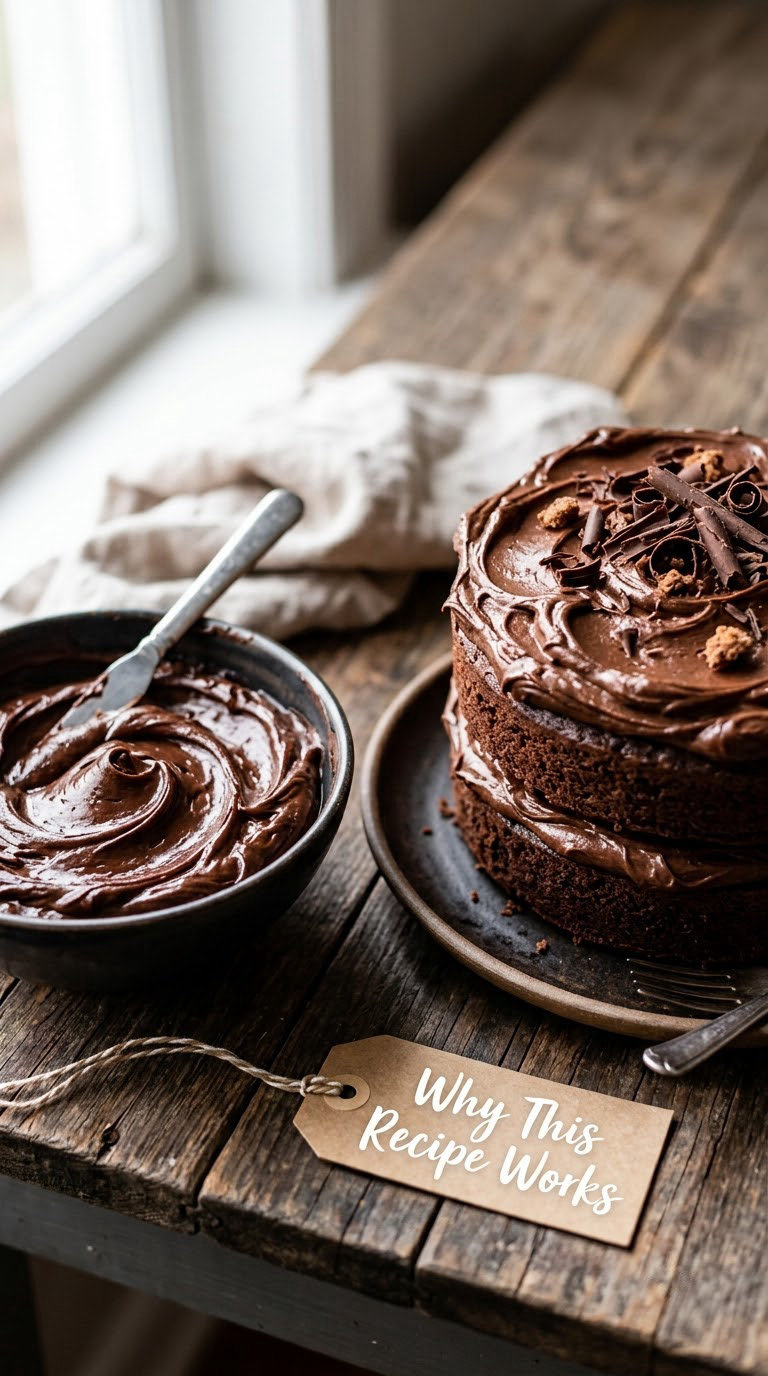
- Cooking the cocoa into the butter is the whole trick. Whisking cocoa into melted butter and warming it briefly blooms the cocoa and melts any chalky grit, which is where the deep chocolate flavor comes from.
- Powdered sugar brings the body. Sifted confectioners sugar is what turns the thin cocoa base into something that holds ridges and spreads without sliding.
- Milk is the adjustable dial. You add it to the cocoa base and again at the end, so you can loosen or tighten the frosting to suit the cake instead of guessing.
- It is done in about 10 minutes with a whisk. A saucepan and a spatula or a small hand mixer are enough. A stand mixer is nice, never required.
- No melted chocolate means no seizing. Cocoa powder cannot seize, scorch or turn grainy, so the failure points disappear.
Ingredients
- 6 tablespoons unsalted butter (85 g)
- 1/3 cup unsweetened cocoa powder (about 30 g)
- 1/3 cup whole milk (80 ml)
- 3 cups powdered sugar or confectioners sugar, sifted (360 g)
- 1 teaspoon vanilla extract
- 1/4 teaspoon fine salt
A note on cocoa. Dutch-process cocoa is darker, smoother and less acidic, so it makes a deeper, less sour frosting. Natural cocoa works too and gives a slightly brighter, fruitier chocolate taste. Either way, sift it if it has lumps, and do not use hot cocoa mix, which already contains sugar and stabilizers.
A note on powdered sugar. Measure it sifted, or weigh it if you can. Loose powdered sugar packs down in the cup, and too little is the usual reason homemade frosting turns gummy. If you only have granulated sugar, blitz it in a blender for 30 seconds until it looks like fine sand.
Swaps that work. Any unsweetened plant milk works in place of the whole milk, so the frosting can be dairy-free if you use a plant butter too. Honey works in place of some of the milk for a slightly deeper flavor. Skip the salt only if you are serving this to a very young child.
How to Make Easy Homemade Chocolate Frosting
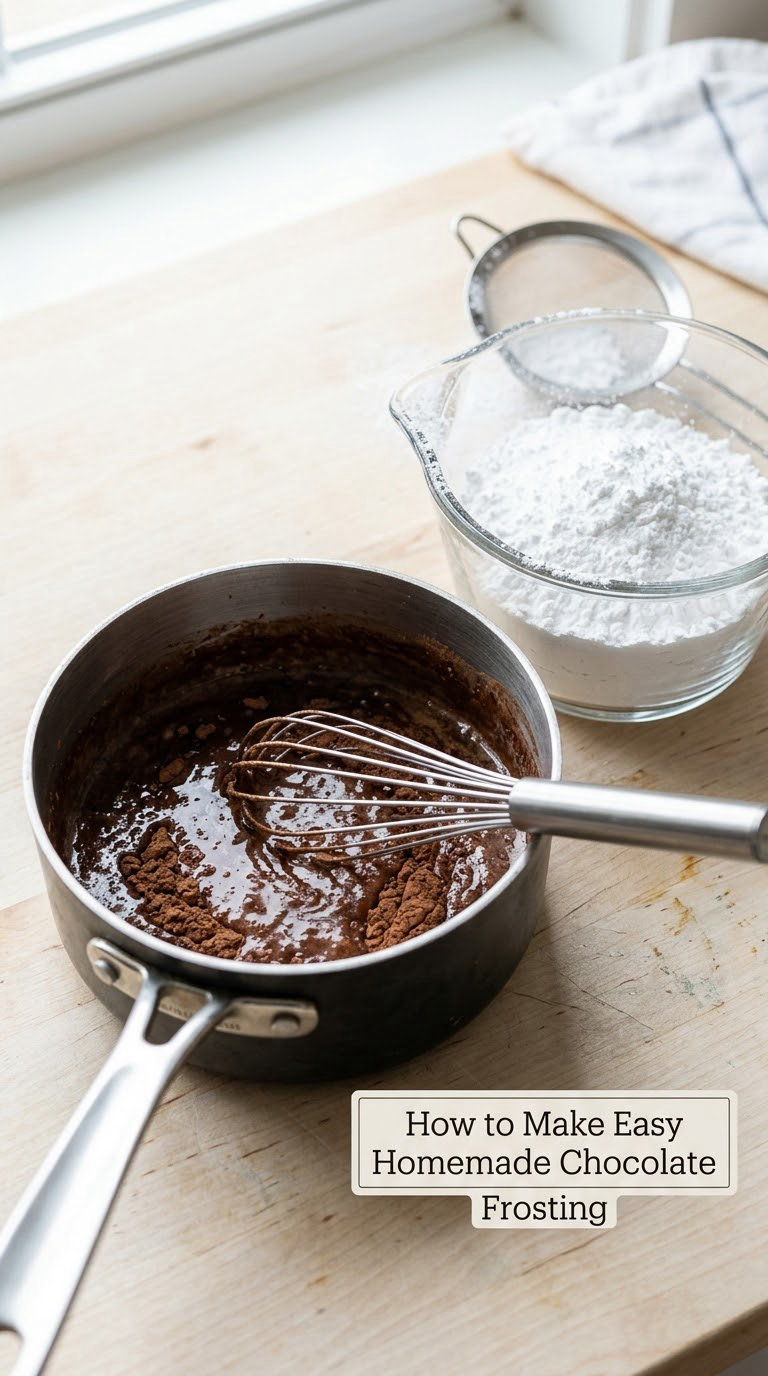
Easy Homemade Chocolate Frosting: Melt the Chocolate Base
- Melt the butter gently. Put the 6 tablespoons of butter in a small saucepan over medium-low heat. Swirl the pan until the butter is fully melted, roughly 1 to 2 minutes. Do not let it brown or smoke, because the milk goes in next and burnt butter tastes bitter in a way you cannot fix later.
- Whisk in the cocoa and salt. Sift the 1/3 cup of cocoa straight into the melted butter and add the 1/4 teaspoon salt. Whisk continuously until the mixture is smooth, glossy and completely free of dry pockets, about 30 seconds. It will look like thick paint. That is right.
- Add the milk and warm. Pour in the 1/3 cup of milk and whisk again until fully combined. Keep the pan over medium-low heat and whisk until you see the first wisps of steam and the mixture has thickened slightly, about 1 to 2 minutes. Bring it nowhere near a boil.
Easy Homemade Chocolate Frosting: Finish and Cool
- Cool it a few minutes. Take the pan off the heat and let it sit for 3 to 5 minutes. It should be warm, not hot, and it will still be quite runny at this point. Rush this step and the butter melts back into a loose puddle when you add the sugar.
- Add the powdered sugar gradually. Scoop about 1 cup of the sifted sugar into the pan and whisk it in until no white streaks remain. Add the rest about half a cup at a time, whisking each addition fully before moving on. Powdered sugar added all at once will clump, and clumps are hard to beat out.
- Stir in the vanilla and beat it smooth. Add the 1 teaspoon of vanilla and whisk until the frosting is thick, dark and glossy, about 1 minute. The finished frosting should hold a soft ridge where you drag the whisk through it, then settle slightly.
- Adjust the consistency. For frosting a cake, it should spread like soft play dough. Too stiff? Beat in milk a teaspoon at a time. Too soft and sliding off the sides? Beat in extra sifted powdered sugar a tablespoon at a time, then beat again for a full 30 seconds so it smooths out.
One more note on sugar: if your frosting ever turns grainy or gritty, do not panic and do not add more sugar. Keep beating it, on medium-high for a full 60 to 90 seconds. The friction is usually all it needs.
Tips for Success
- Never boil the cocoa base. Bubbling scorches milk solids and gives you a flat, cooked-tasting frosting. Steam and thickening are the signal, nothing more.
- Add sugar in stages, always to a warm mixture. Powdered sugar dissolves far better in a warm base than a cold one, and small additions dissolve better than one mountain.
- Do not over-beat. Beat until smooth and glossy, then stop. Beating far past that point pushes air into the butter and the frosting gets tough and dense rather than fluffy.
- Frost a crumb coat first. Spread a thin layer over the chilled cake, chill it 15 minutes, then add the rest. The crumbs get sealed into that first layer instead of showing across the finished sides.
- Chill the cake, not the frosting. A cold cake keeps the butter firm and stops the whole layer slumping. A warm one does the opposite.
- Cut the sweetness. Add a second tablespoon of cocoa, a pinch more salt, or a teaspoon of instant espresso powder. The espresso does not taste like coffee, it just makes the chocolate read as more chocolate. This is the single most common complaint about store-bought frosting, and extra cocoa is the fix most people never try.
If you want something punchier for a kids’ party, I like dipping the top of each cupcake with mini chocolate chips while the frosting is still soft. It sets hard in about 10 minutes and looks like a bakery job.
Variations
- Dairy-free. Use a vegan butter and an unsweetened almond or oat milk. The base behaves exactly the same way. Watch that the spread melts on the counter, so frost a cake in two stages rather than all at once.
- Darker and less sweet. Use Dutch-process cocoa, add an extra tablespoon of cocoa and an extra 1/4 teaspoon of salt, and drop the sugar by a quarter cup. This is the version I make for adults.
- Espresso-boosted. Add 1 teaspoon of instant espresso powder with the cocoa. It sharpens the flavor and takes the edge off the sweetness without anyone noticing it is there.
- Mint or peanut butter. Fold in 2 teaspoons of peppermint extract after cooling, or 1/3 cup of smooth peanut butter beaten into the finished frosting. Thin the peanut butter version with a splash of milk before folding.
- Pipeable version. For borders and rosettes, beat in an extra 1/2 cup of powdered sugar and chill the frosting for 20 minutes before loading the bag. Fill the bag with a large cup so you are not licking the frosting off the spoon.
Storage, Make-Ahead and Reheating
Airtight in the fridge, this frosting keeps about 1 week. On the counter in a cool room it is good for roughly 2 days before the dairy smell turns. In the freezer in a sealed container or a zip bag pressed flat, it keeps 3 months, and it pipes straight from partially frozen.
Making this easy homemade chocolate frosting recipe ahead is genuinely easy. Whip the frosting, press plastic wrap into the surface so it cannot form a skin, and refrigerate it. Pull it out 20 to 30 minutes before you need it, then beat on medium for a minute until smooth. If it needs more loosening, a teaspoon of milk brings it back.
To warm a hardened jar, stand it in a bowl of warm water for 10 minutes, then stir. Never microwave buttercream unattended, it can spatter, and short 10- to 15-second bursts are the only way if you insist. Expect stiff consistency from the fridge and loose for about 30 seconds out.
Allergens: contains dairy (butter and milk). It is gluten-free as written, and the dairy-free swap keeps it that way. Keep it out of reach of kids with milk allergies.
What to Serve With It
- Cupcakes. About 2 tablespoons per standard cupcake, so 3 cups covers 12 generously or 16 lightly.
- A 9-inch two-layer cake. About 3 cups, enough for a crumb coat and a full finish on the top and sides.
- Brownies or a one-bowl slab cake. A thin layer is plenty, about 1 cup for a 9×13 pan of brownies.
- Cookie sandwiches. A stiffened, chilled frosting holds the shape better than the spreading version, so use the pipeable adjustment above.
- A dessert board. A cup of frosting thinned with a splash of milk makes a quick dip for strawberries, apples, marshmallows and pretzels.
If you want the cake to go with it, our 15 easy chocolate chip recipes beyond cookies roundup has plenty of bakes that stand up to a thick layer of frosting, and the soft and chewy easy chocolate chip cookies are the obvious candidate for sandwiching. For more baking inspiration, our 13 easy homemade cookie recipes covers the classics, and these chocolate dipped oatmeal ice cream sandwiches are a good home for a stiffer, chilled batch.
Frequently Asked Questions
What is the easiest homemade chocolate frosting recipe?
Chocolate buttercream made from butter, cocoa, a splash of milk and powdered sugar is the easiest. You cook the cocoa into the butter for a minute, cool, stir in the sugar, then beat until glossy. No melted chocolate, no stand mixer, and about 10 minutes from the pan to the cake.
Why is my chocolate frosting grainy?
Almost always the sugar. Either it was added in one big scoop so it clumped, or it was poured into a cold mixture and never dissolved. Fix it by beating on medium-high for a full 60 to 90 seconds. If it still feels gritty, sift in two more tablespoons of powdered sugar and keep beating.
Can I use this chocolate frosting on a layer cake?
Yes, it is a classic American buttercream and three cups will cover one 9-inch two-layer cake with a crumb coat and a finish. Chill the cake layers first, spread a thin crumb coat, chill 15 minutes, then add the rest. Warm cake is what makes frosting slide and pull up crumbs.
How long does homemade chocolate frosting last in the refrigerator?
About 1 week in an airtight container, pressed flat or with plastic wrap touching the surface so no skin forms. It firms up considerably when chilled, so give it 20 to 30 minutes on the counter and a minute of beating before you use it. For longer storage, freeze it flat for up to 3 months.
Can I make chocolate frosting ahead of time?
Yes, and it is one of the easiest recipes to get ahead. Whip it fully, press plastic wrap into the surface and refrigerate. It keeps about a week. Bring it out 20 to 30 minutes before you need it, beat on medium for a minute, and add milk a teaspoon at a time if it is stiffer than you like.
What can I add if my chocolate frosting is too thin or too stiff?
For frosting that is too thin, beat in sifted powdered sugar one tablespoon at a time, then beat 30 seconds so it smooths out. For frosting that is too stiff, beat in milk or cream a teaspoon at a time. If it is sliding off the sides of the cake, chill it 20 minutes before frosting rather than adding more sugar.
Make This Chocolate Frosting First
Make this easy homemade chocolate frosting the first thing you do for your next cake, because it is the part everyone remembers and the part that can still be fixed on the day. Ten minutes of work from a warm pan to a glossy, spreadable bowl, using ingredients you almost certainly already own.
Whip a batch, keep it in the fridge, and it will cover cupcakes on Tuesday and a layer cake on Saturday. If it turns out too sweet for you, that is the moment to reach for the extra cocoa or the pinch of espresso powder, not before.