
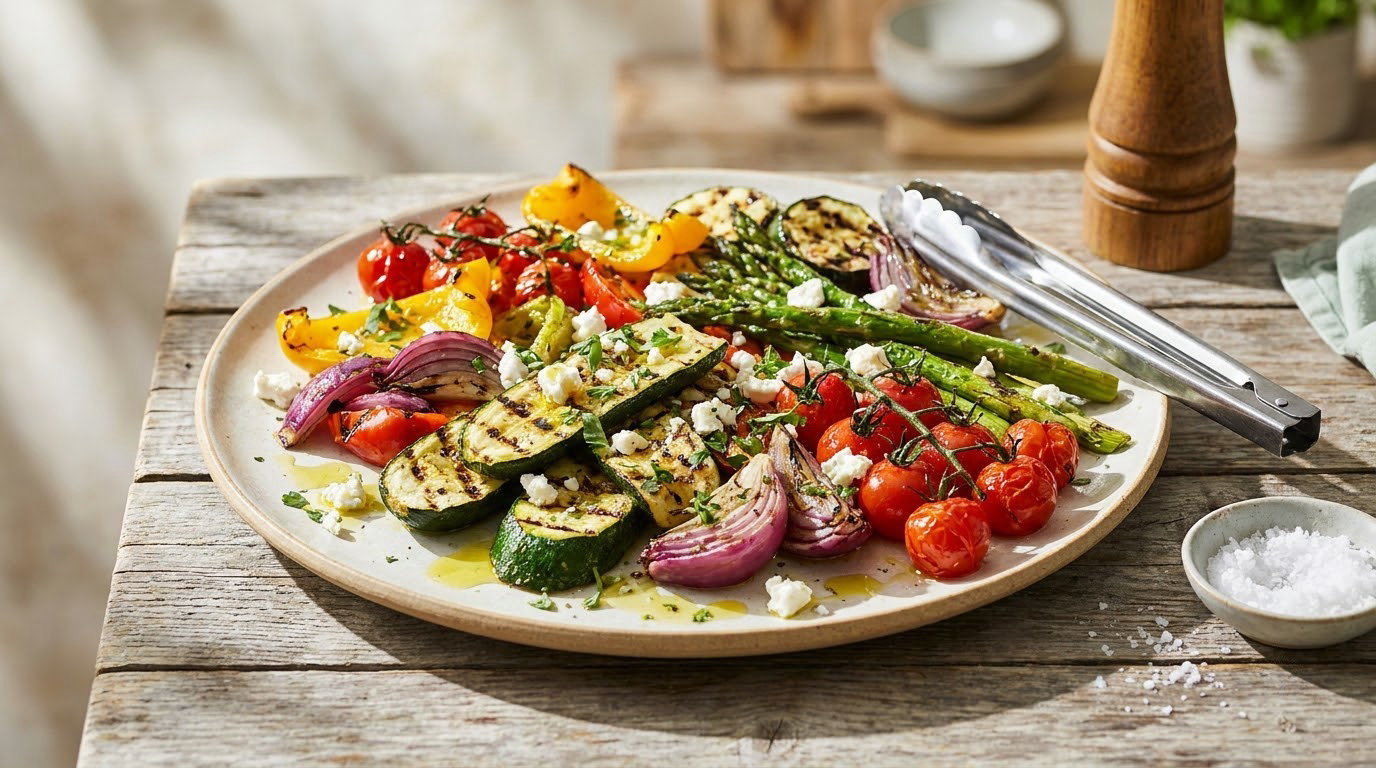
Easy grilled vegetable recipes for summer come down to three things: a hot grill, an oiled grate, and about four minutes a side. High heat triggers browning on the vegetable’s natural sugars, which is where the roasted, almost meaty flavor comes from, and it concentrates the glutamates in tomatoes, peppers, eggplant and mushrooms, so savory depth comes along for free. Since vegetables are mostly water, they cook faster than anything else you put on the grill.
These ten are written for home cooks, not grill-show folks. Every one uses five to eight ingredients you probably already have, comes together in under 30 minutes, and works on a gas grill, a charcoal grill, a grill pan or even a cast iron skillet. If you have been a little intimidated by the grill, start with the corn or the zucchini planks. They are forgiving, fast and hard to ruin.
Table of Contents
Easy Grilled Vegetable Recipes for Summer at a Glance
| Recipe | Total Time | Difficulty | Best For |
|---|---|---|---|
| Smoky Grilled Zucchini Planks | 18 min | Easy | Side, appetizer or vegetarian main |
| Charred Corn with Lime Butter | 20 min | Easy | Cookout sides and kids’ plates |
| Herbed Stuffed Bell Peppers | 45 min | Medium | Make-ahead dinner centerpiece |
| Garlic Butter Grilled Mushrooms | 16 min | Easy | Steakhouse-style side or topping |
| Lemon Herb Grilled Asparagus | 14 min | Easy | First-timer recipe, 5 minutes a side |
| Miso-Glazed Eggplant | 25 min | Easy | Gluten-free dinner main |
| Balsamic Grilled Tomatoes with Basil | 18 min | Easy | Pasta sauce, salad topper, bruschetta |
| Crisp Grilled Onion Wedges | 35 min | Easy | Burgers, grain bowls, make-ahead |
| Herbed Grilled Cauliflower Steaks | 32 min | Medium | Vegetarian centerpiece with sauce |
| Colorful Vegetable Skewers | 30 min | Easy | Party platter, pita pockets, kids |
If you have only a grill basket, a wire rack or even a disposable foil pan, you can still cook all of these. I keep a folded sheet of foil in the pantry and turn it into a tray whenever small pieces are involved. My other fire extinguisher is a wire rack set over a baking sheet, which catches anything that rolls off a skewer.
1. Smoky Grilled Zucchini Planks
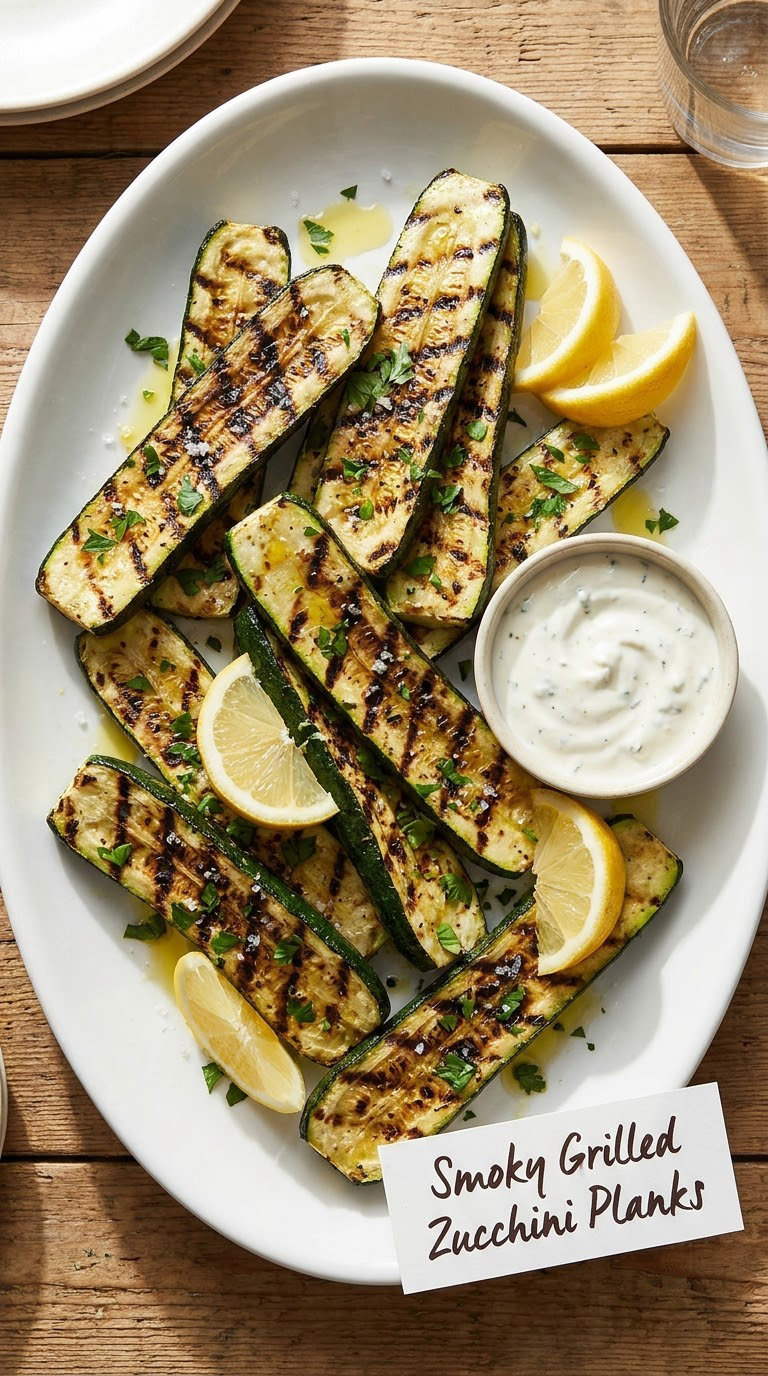
This is the recipe I make when the grill is already hot and I have ninety seconds to decide. Cut into half-inch planks, zucchini takes on deep grill marks fast while the inside stays juicy, and the smoked paprika does the seasoning work that summer vegetables usually miss.
Yield: 4 servings as a side · Prep: 10 min · Cook: 8 min · Total: 18 min · Difficulty: Easy
Ingredients
- 3 medium zucchini, about 1 pound
- 2 tablespoons olive oil
- 1 garlic clove, finely grated
- 1/2 teaspoon smoked paprika
- 1/2 teaspoon ground cumin
- 1/2 teaspoon kosher salt
- 1/4 teaspoon black pepper
- 1/2 cup plain Greek yogurt, for serving
- 1 tablespoon fresh parsley, chopped
- 1 lemon, cut into wedges
Instructions
- Slice the zucchini lengthwise into 1/2-inch-thick planks. Each medium zucchini gives you 3 to 4 planks.
- Set up two zones so you can move food later. Leave one half of the grate over direct medium-high heat and the other over medium heat.
- Toss the planks with the olive oil, grated garlic, smoked paprika, cumin, salt and pepper.
- Wipe the hot grate with an oiled paper towel held in tongs. It should sizzle faintly.
- Lay the planks cut-side down on the hot zone, leaving an inch between each one.
- Grill undisturbed for 4 to 5 minutes, until deep golden with dark grill marks.
- Flip with a wide spatula and cook 2 to 3 more minutes, until a knife slides into the flesh without resistance.
- Rest on a plate for 2 minutes, then top with parsley and serve with the yogurt and lemon wedges.
Tip: Medium zucchini is the target. The giant ones hold too much water and turn steamed, not grilled.
Swap it: Use yellow squash in a mix, or cut the planks from eggplant at 1/2 inch and add three minutes to each side.
Storage: Refrigerate in a sealed container for 3 days. Reheat on a hot skillet for 3 minutes per side, or in a 350°F (175°C) oven for 8 minutes. The yogurt keeps separately for 4 days.
2. Charred Corn with Lime Butter
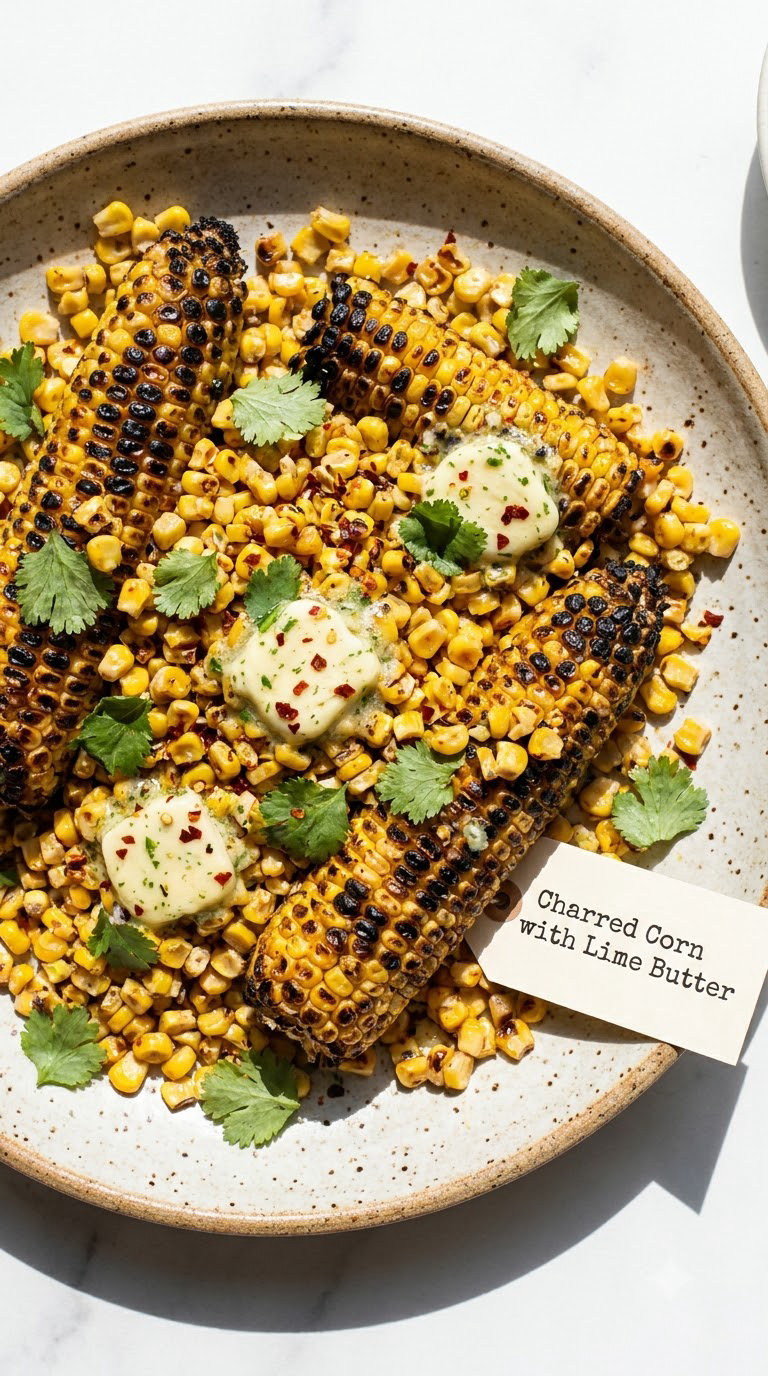
Corn is the single most forgiving thing on a grill. It cannot go overdone in the way zucchini can, it takes on real char, and the kernels blister and pop when it does. The lime butter goes on after cooking so it stays fragrant instead of scorching.
Yield: 4 servings · Prep: 5 min · Cook: 15 min · Total: 20 min · Difficulty: Easy
Ingredients
- 6 ears corn on the cob, husks removed
- 3 tablespoons unsalted butter, softened
- 1 lime, zested and juiced
- 1/4 teaspoon chili flakes
- 1/2 teaspoon kosher salt
- 1/2 cup crumbled cotija or feta
- 1/4 cup cilantro leaves, roughly chopped
Instructions
- Stir the softened butter with the lime zest, lime juice and chili flakes. Set it aside off the heat.
- Preheat the grill to medium-high direct heat and give it 10 minutes.
- Lay the cobs on the grate and turn them a quarter turn every 3 to 4 minutes, for 12 to 15 minutes total.
- Look for deep golden-brown patches on the kernels and a slight blackening on a few spots. That char is the point.
- Move the cobs to the cooler side of the grate for the last 2 minutes so the sugars finish cooking without burning.
- Set the cobs on a platter, dot each with the lime butter, and scatter over the cheese, cilantro and a pinch of salt.
Tip: Turn the cobs with tongs, never a fork. A fork pierces a kernel and lets juices run out onto the coals.
Swap it: For a vegan table, the same lime butter goes on melted coconut oil or a dairy-free butter. Skip the cheese and double the cilantro.
Storage: Grilled corn keeps 3 days in the fridge. Reheat whole cobs on the grill for 4 minutes, or cut the kernels off and warm in a skillet with a splash of water. It freezes for up to 3 months on a baking sheet first, then bagged.
Grilled corn pairs well with almost anything, and if you are planning a whole cookout, these summer grilling recipes for fire control cover the rest of the spread.
3. Herbed Stuffed Bell Peppers
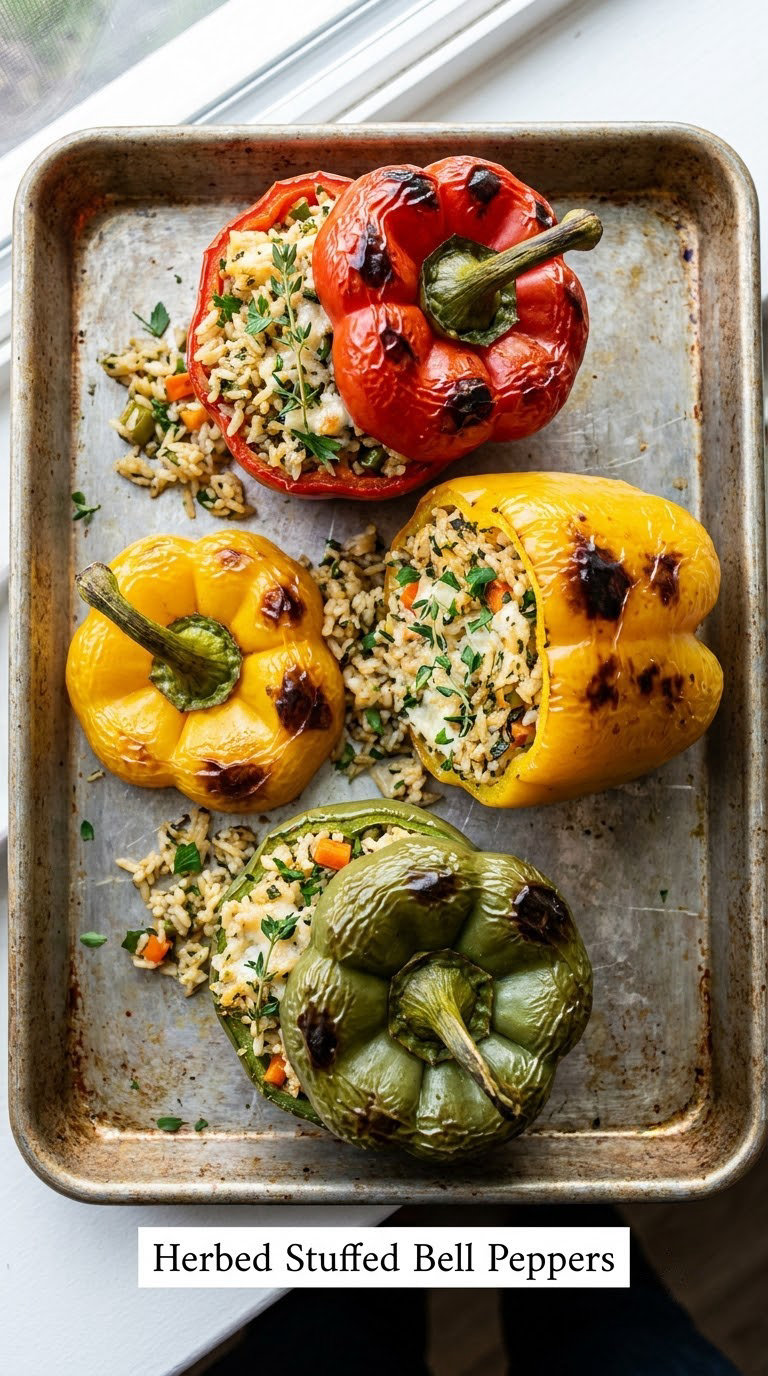
Halved peppers go on cut-side up, fill up, and get covered. That covered part is what sets them apart from roasted peppers: the filling steams in the pepper’s own juices, so rice and herbs stay soft while the skin blisters above the heat. It is the one dish here you can assemble the night before.
Yield: 4 servings · Prep: 20 min · Cook: 25 min · Total: 45 min · Difficulty: Medium
Ingredients
For the peppers:
- 4 bell peppers, any color, halved and seeded
- 1 tablespoon olive oil
- 1/2 teaspoon kosher salt
- 1/2 teaspoon black pepper
For the filling:
- 2 cups cooked brown rice or quinoa
- 1 zucchini, diced small
- 1 small onion, diced small
- 1 cup cherry tomatoes, halved
- 1/2 cup crumbled feta
- 1/3 cup chopped parsley
- 1 garlic clove, minced
- 1 tablespoon lemon juice
- 1 teaspoon dried oregano
Instructions
- Brush the cut faces of the peppers with olive oil and season with salt and pepper.
- Place the peppers cut-side up on a sheet pan and roast at 400°F (205°C) for 10 minutes, until the edges just start to soften.
- Meanwhile, cook the diced zucchini and onion in a skillet over medium heat with a teaspoon of oil for 5 minutes, until softened.
- Stir the skillet vegetables into the cooked rice with the cherry tomatoes, feta, parsley, garlic, lemon juice and oregano.
- Pack the filling tightly into each pepper half. Wet filling makes a steam cloud, so drain any extra tomato liquid first.
- Set the filled peppers on a foil-lined tray, cover tightly with foil, and grill over medium indirect heat for 15 minutes.
- Pull off the foil and grill 4 to 6 more minutes, until the skins blister and darken in spots and the filling bubbles at the center.
- Rest 5 minutes before serving so the filling sets enough to eat with a fork.
Tip: A tight fill keeps the peppers upright on the grill. Loose filling falls through, so press it down with the back of a spoon.
Swap it: Use brown rice for a gluten-free plate, or swap in cooked quinoa and diced tempeh for a vegan main with about 20 grams of protein per serving.
Storage: Refrigerate for 3 days, covered. Reheat uncovered at 375°F (190°C) for 15 minutes so the tops crisp. They freeze well for 2 months in a rigid container.
Make-ahead: Par-roast the empty peppers and mix the filling the day before, keep the two separate, then assemble and grill on the day. Filling packed into peppers goes on the grill within 24 hours.
4. Garlic Butter Grilled Mushrooms
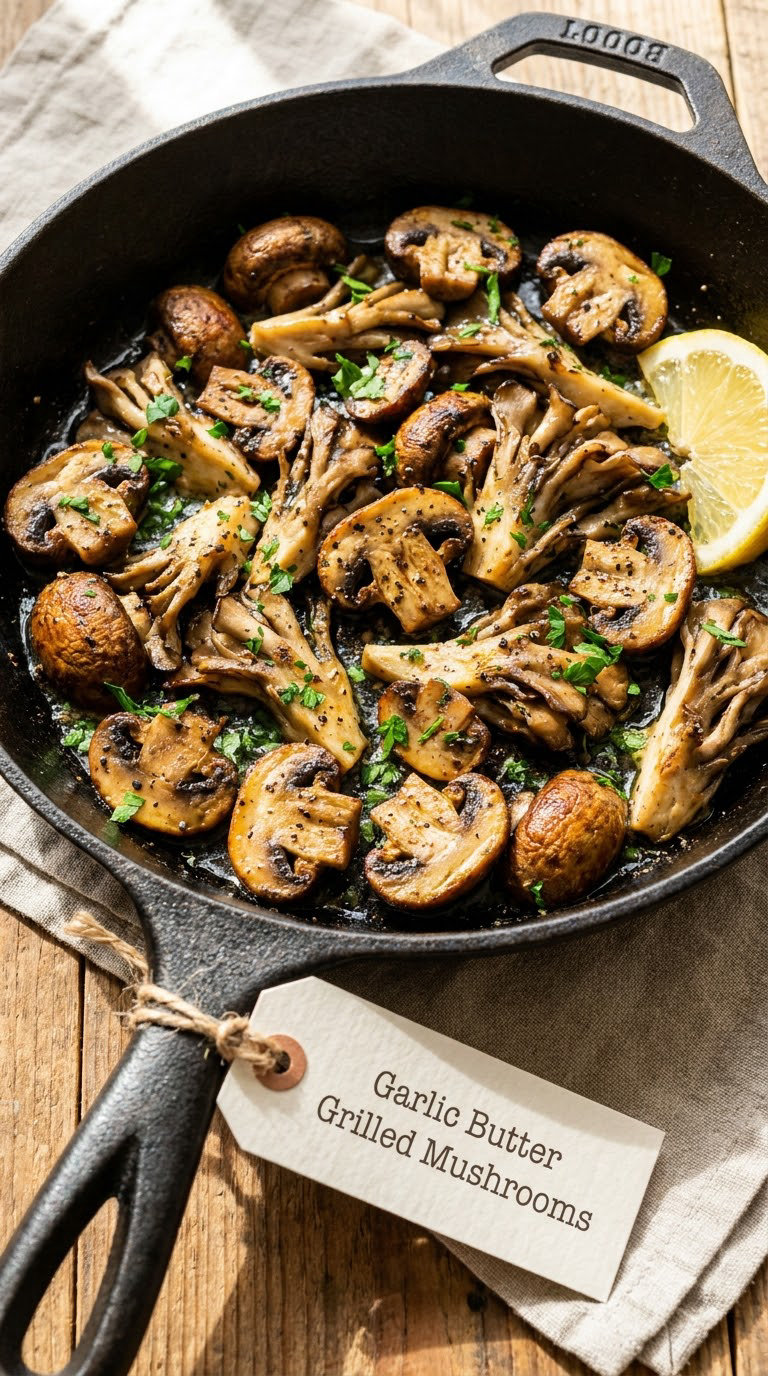
Shimeji or cremini mushrooms on the grill develop a deep brown flavor in about the time it takes to heat a skillet, and the garlic butter they land in afterwards is the whole reason to make them. Put the smallest ones in a grill basket, where they get the same heat as the steaks without rolling into the fire.
Yield: 4 servings · Prep: 5 min · Cook: 10 min · Total: 16 min · Difficulty: Easy
Ingredients
- 1 pound cremini or shimeji mushrooms, brushed clean
- 2 tablespoons olive oil
- 3 tablespoons unsalted butter
- 3 garlic cloves, finely minced
- 1 teaspoon fresh thyme leaves
- 1/4 teaspoon kosher salt
- 1/8 teaspoon black pepper
- 1 tablespoon fresh parsley, chopped
- 1 lemon, cut into wedges
Instructions
- Heat the grill to medium-high direct heat for a full 10 minutes.
- Brush the mushrooms with olive oil and season with the salt and pepper.
- Grill in a basket or on the grate for 5 to 7 minutes, undisturbed, until the undersides are deep golden.
- Turn and grill 4 to 5 minutes more, until the mushrooms have shrunk by roughly a third and are juicy through the stems.
- Warm the butter with the garlic and thyme in a small pan over low heat for 60 seconds, just until the butter foams and smells sweet. Do not let it brown.
- Tip the mushrooms into the pan, spoon the butter over them, and scatter with parsley. Serve with lemon wedges.
Tip: Skip the soaking. Mushrooms hold water like a sponge and it turns to steam, which is why the pan gets cloudy and the mushrooms never brown.
Swap it: Portobello caps work too. Halve them, grill 4 to 5 minutes a side, and top with the same garlic butter.
Storage: Eat the same day if you can. Refrigerated mushrooms go soft and spongy within a day, so store leftovers up to 24 hours and reheat in a hot dry skillet for 3 minutes.
5. Lemon Herb Grilled Asparagus
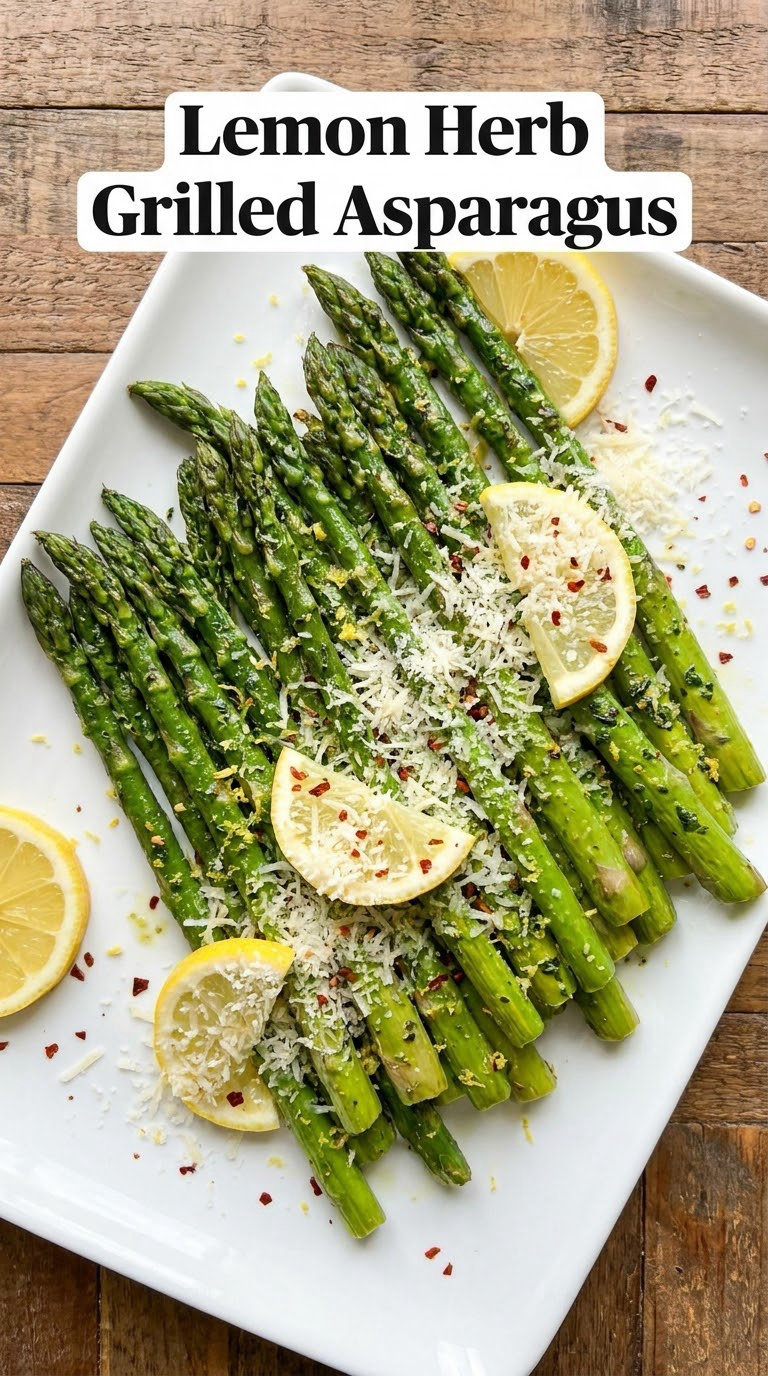
Asparagus is the recipe I hand to anyone who says they are bad at the grill. It takes five minutes a side, the visual cue is obvious, and being wrong by ninety seconds costs you nothing. The one thing to watch is thickness, because pencil-thin spears go from done to dry in under a minute.
Yield: 4 servings · Prep: 5 min · Cook: 8 min · Total: 14 min · Difficulty: Easy
Ingredients
- 1 pound asparagus, thick spears snapped off or peeled
- 1 tablespoon olive oil
- 1/2 teaspoon kosher salt
- 1/4 teaspoon black pepper
- 1 lemon, zested and juiced
- 2 tablespoons olive oil, for the dressing
- 1 tablespoon fresh parsley or dill, chopped
- 1/3 cup grated Parmesan
- 1/4 teaspoon red pepper flakes
Instructions
- Snap the woody ends off each spear. Thicker stalks peel from the bottom third upward with a vegetable peeler.
- Toss the spears with 1 tablespoon olive oil, the salt and the pepper.
- Grill over medium-high direct heat for 4 to 5 minutes on the first side.
- For thick spears give 6 minutes, for pencil-thin give 3. Turn with tongs at the base only.
- Cook the second side 2 to 4 minutes, until the outside blisters lightly and a knife tip meets just a little resistance.
- Whisk the lemon zest, lemon juice, 2 tablespoons olive oil, parsley and red pepper flakes in a small bowl.
- Lay the spears on a platter, spoon the dressing over them while they are still hot, and scatter with Parmesan.
Tip: Test with a knife tip rather than a fork. Slide it in at the thickest part; the spear should bend without the tip punching all the way through.
Swap it: For a vegan version, finish with nutritional yeast or a few tablespoons of toasted breadcrumbs in olive oil instead of Parmesan. Green beans and broccolini take the same timing.
Storage: Refrigerate 3 days. Reheat on the grill for 3 minutes, or store the dressing separately and dress the asparagus cold the next day.
6. Miso-Glazed Eggplant
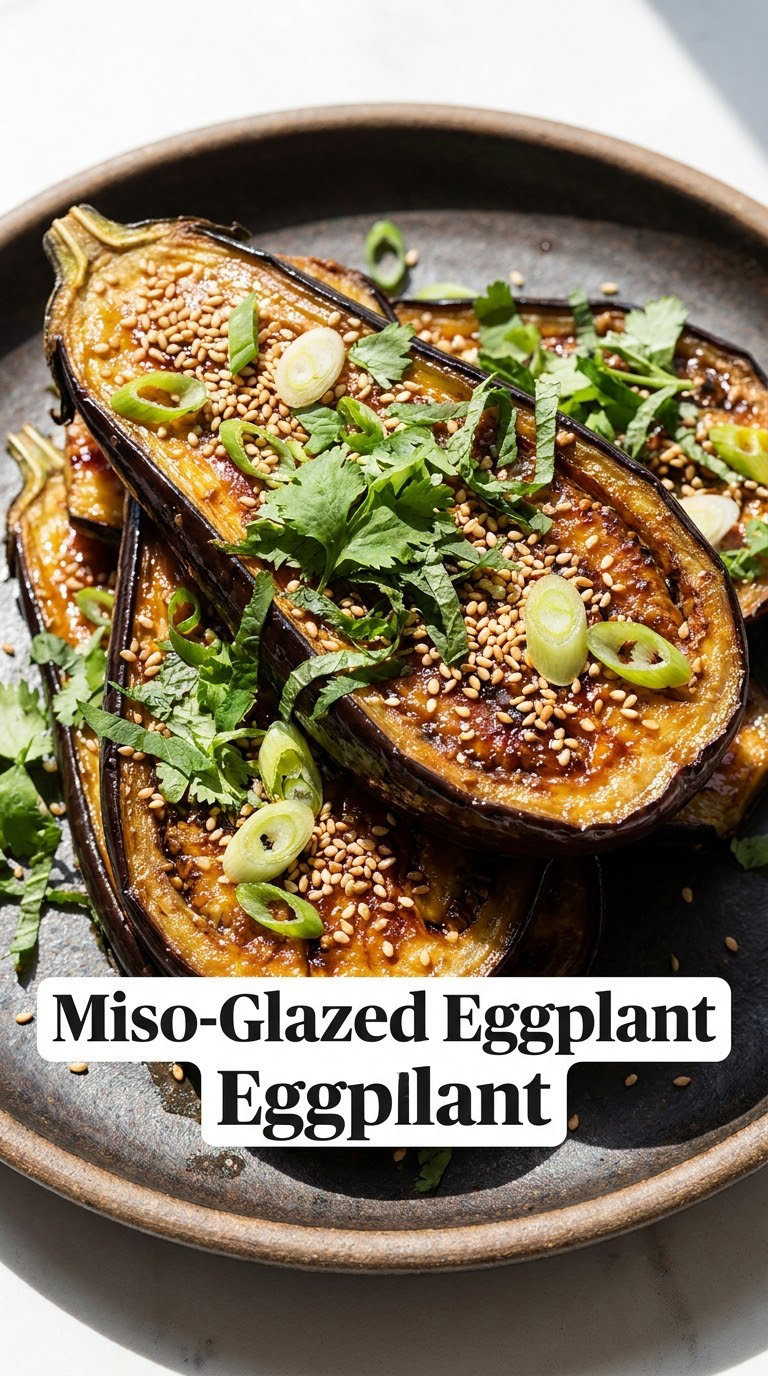
Eggplant has a reputation for going from raw to dry in the length of a burger order, and the fix is a slice with a surface. Cut at half an inch, scored, salted for 15 minutes, then blistered on the grill, it holds its own juicy texture. The glaze goes on in the last three minutes so the sugar in it darkens without burning.
Yield: 4 servings · Prep: 15 min · Cook: 10 min · Total: 25 min · Difficulty: Easy
Ingredients
- 2 medium eggplants, about 2 pounds
- 3 tablespoons neutral oil
- 1/2 teaspoon kosher salt
- 3 tablespoons white miso
- 2 tablespoons mirin
- 1 tablespoon rice vinegar
- 1 tablespoon maple syrup
- 1 teaspoon toasted sesame oil
- 1 teaspoon finely grated fresh ginger
- 2 scallions, sliced thin
- 1 tablespoon sesame seeds
Instructions
- Slice the eggplant into 1/2-inch rounds. Cut the skin-side edge in a shallow diamond pattern so the glaze has somewhere to sit.
- Salt the rounds generously and leave them on a rack for 15 minutes, until beads of moisture form.
- Pat the eggplant dry with paper towels, then brush both sides with 2 tablespoons of the neutral oil.
- Grill over medium-high direct heat for 5 minutes on the first side, until deep brown with a smoky edge.
- Whisk the miso, mirin, rice vinegar, maple syrup, sesame oil and ginger with the remaining tablespoon of neutral oil.
- Brush half the glaze onto the cooked side, flip, and grill 4 to 5 more minutes.
- Brush with the remaining glaze and cook 1 minute more, until it bubbles and looks lacquered.
- Rest 3 minutes, then top with scallions and sesame seeds.
Tip: The salting step is not optional. It draws water out of the flesh, which is the whole difference between grilled and steamed eggplant.
Swap it: Tamari replaces soy-based miso and keeps the recipe gluten-free. Tamari is already salty, so drop the extra salt in step one.
Storage: Refrigerate in a single layer for 3 days. Reheat on a hot skillet for 4 minutes a side. The glaze also keeps 2 weeks in the fridge and is good on grilled chicken or tofu.
7. Balsamic Grilled Tomatoes with Basil
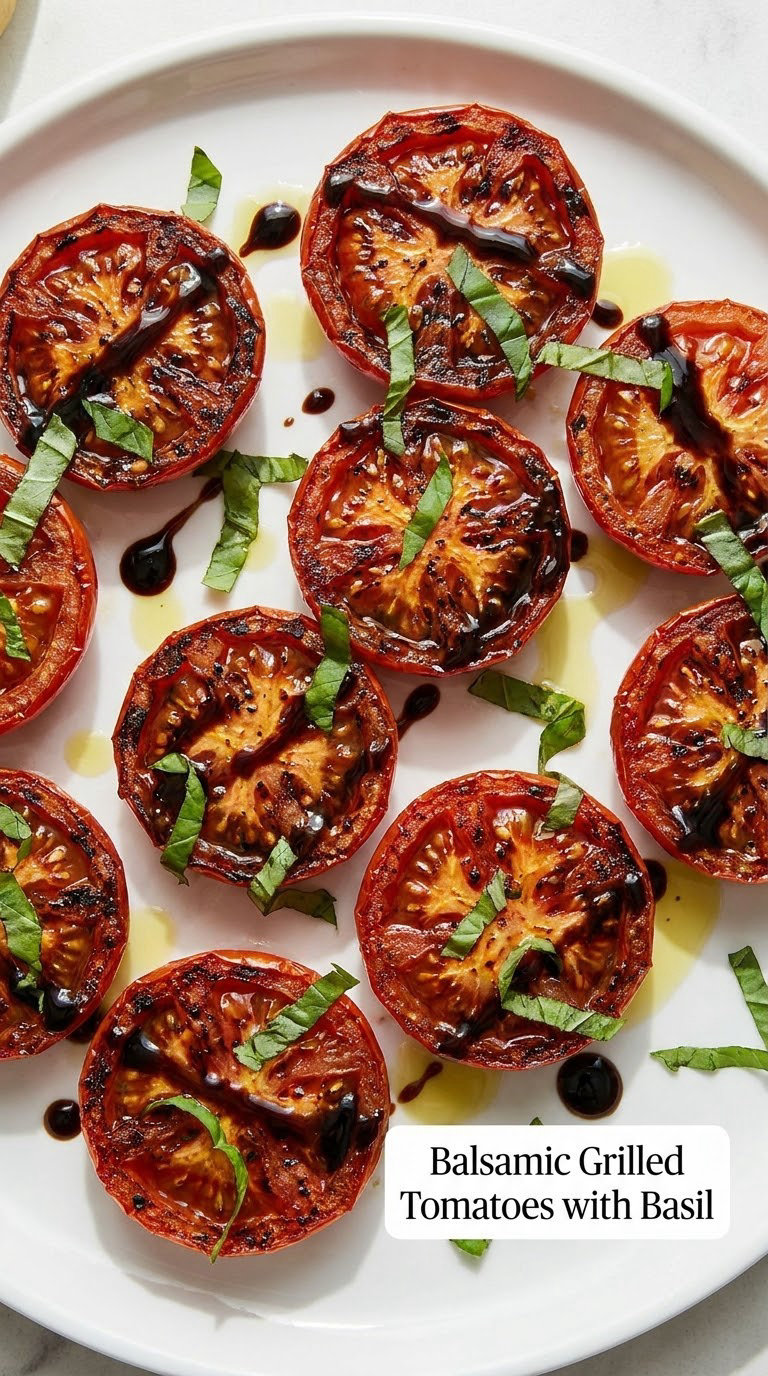
Firm tomatoes hit a hot grill and their sugars turn to caramel in a few minutes, so the slices come out jammy at the edges and barely warm in the middle. Take them off while the centers still look underdone, because carryover heat finishes them on the plate. Toss them into pasta, spoon them over burrata, or eat them straight off a piece of toast.
Yield: 4 servings · Prep: 5 min · Cook: 10 min · Total: 18 min · Difficulty: Easy
Ingredients
- 1 1/2 pounds firm tomatoes, 3/4 inch thick slices
- 2 tablespoons olive oil
- 1/2 teaspoon kosher salt
- 1/4 teaspoon black pepper
- 2 tablespoons balsamic vinegar
- 1 tablespoon red wine vinegar
- 1 tablespoon extra virgin olive oil
- 1/2 teaspoon honey
- 1/2 cup fresh basil leaves, torn
Instructions
- Pat the tomato slices dry. Wet slices steam instead of searing, and the sugars never catch.
- Brush both sides with the 2 tablespoons olive oil and season with salt and pepper.
- Grill over high direct heat for 3 to 4 minutes on the first side, until grill marks appear and the edges look blistered.
- Flip carefully with a spatula and grill 2 to 3 minutes, until the second side has marks and the tomato slumps slightly.
- Whisk the balsamic, red wine vinegar, extra virgin olive oil and honey into a drizzle.
- Move the tomatoes to a plate while the centers still look slightly pale, then let them sit 5 minutes.
- Spoon the balsamic dressing over the top and scatter with torn basil.
Tip: Use firm tomatoes, not beefsteaks or anything on the vine. Anything already soft turns to a puddle on the grate.
Swap it: Cherry tomatoes on the vine grill in a basket for the same effect. Leave the vine on so they hold together, and add them to the plate whole.
Storage: Refrigerate 3 days in a container with a little olive oil so they do not dry out. Bring them to room temperature before serving. They freeze well for 2 months once cooked.
For a full table around them, these refreshing summer salad recipes that stay crisp take the same kind of acid-and-herb finish.
8. Crisp Grilled Onion Wedges
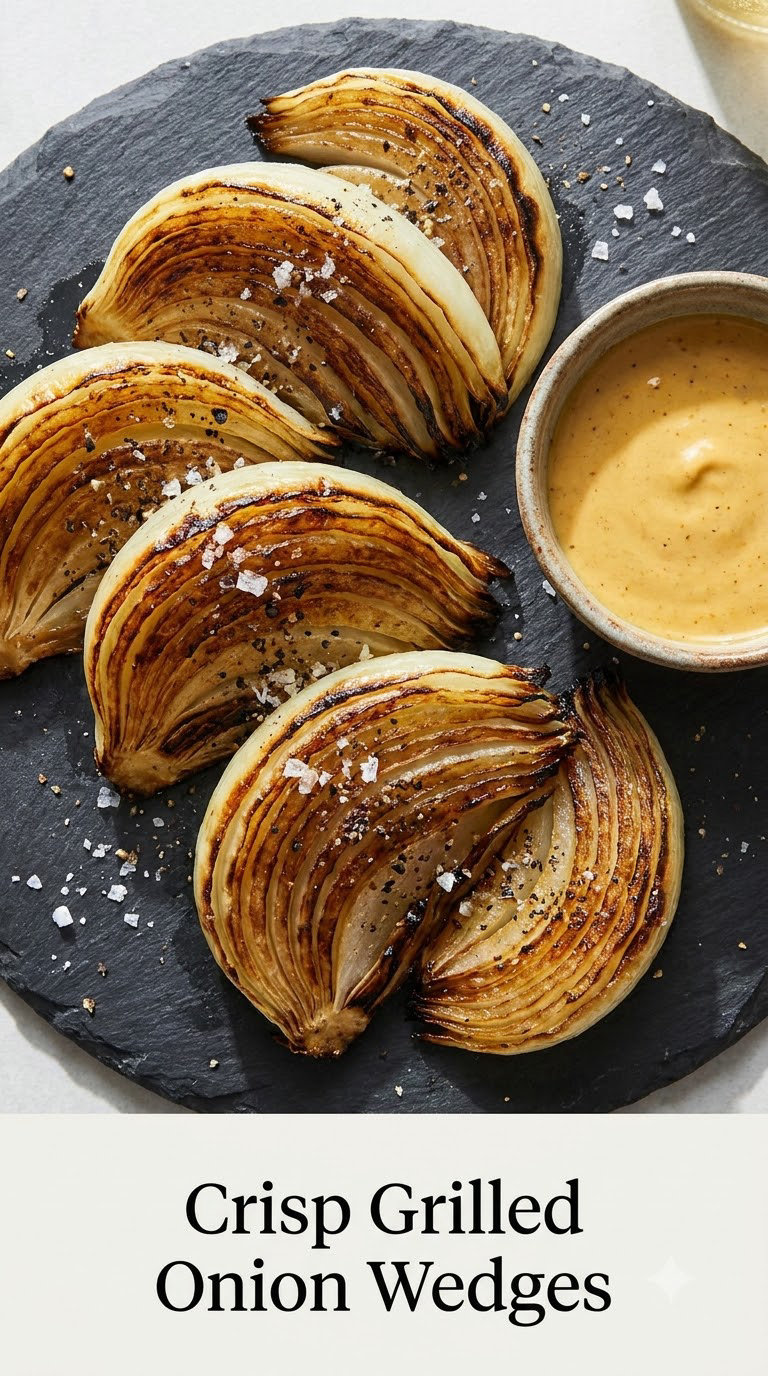
A quarter of a large onion, skin on, over moderate heat, is the closest thing to a free technique I know. The inside goes sweet and soft, the outside goes smoky and crisp, and they take a nearly as long to cook as the rest of the meal, which makes them a good thing to put on the grill first and forget about while you handle meat.
Yield: 4 servings · Prep: 5 min · Cook: 30 min · Total: 35 min · Difficulty: Easy
Ingredients
- 2 large yellow or red onions, outer skin left on
- 2 tablespoons olive oil
- 1 tablespoon unsalted butter, softened
- 1 teaspoon smoked paprika
- 1/2 teaspoon kosher salt
- 1/4 teaspoon black pepper
- 1 tablespoon fresh thyme leaves
- 1 tablespoon balsamic vinegar, for the dipping sauce
Instructions
- Cut the stem end off each onion, then cut each one into 3 thick wedges. Leave the papery skin on.
- Brush the wedges with olive oil, or rub them with the softened butter mixed with the smoked paprika.
- Set up a two-zone fire, grilling the onions over medium indirect heat rather than direct heat.
- Grill for 10 minutes, then turn so a new side faces the coals.
- Continue cooking 6 to 8 minutes per side, 25 to 30 minutes total, until a knife slides into the center with no resistance.
- Pull the wedges off, rest 5 minutes, then peel back the papery skin and discard it.
- Scatter with flaky salt, cracked pepper and thyme, and serve with balsamic vinegar for dipping.
Tip: Keep the skin on. It holds the wedge together through a long cook, and it steams the layers from the inside while the outside chars.
Swap it: Wedge the same way and finish with chopped parsley, lemon and a spoon of Greek yogurt. Add a teaspoon of Dijon to the butter for a sharper edge.
Storage: Refrigerate 3 days in a sealed container. Reheat on a hot skillet for 4 minutes, or eat them cold chopped into a potato salad or grain bowl.
Make-ahead: The raw wedges can be seasoned and held in the fridge for 24 hours before they hit the grill.
9. Herbed Grilled Cauliflower Steaks
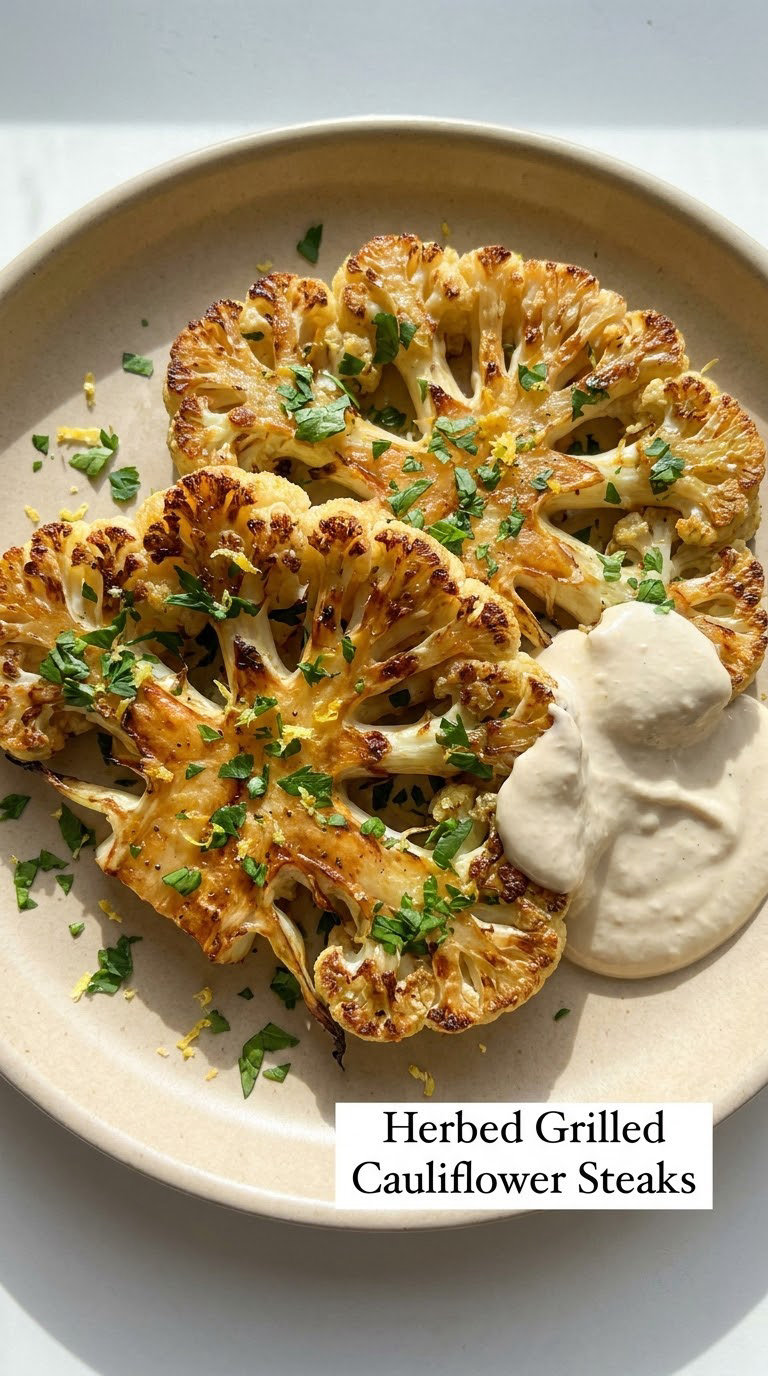
Cut through the center of a head and you get two thick steaks with a small stem holding them together, which is a neat trick and also a test. A clean knife, an unflinching hand, and steady pressure gets you a steak instead of a crumble. The core is the part people hate raw, so cook until a skewer goes through the stem with no drag.
Yield: 4 servings · Prep: 10 min · Cook: 22 min · Total: 32 min · Difficulty: Medium
Ingredients
- 1 large head cauliflower, leaves left on
- 3 tablespoons olive oil
- 1 teaspoon smoked paprika
- 1/2 teaspoon garlic powder
- 1/2 teaspoon kosher salt
- 1/4 teaspoon black pepper
- 1/3 cup tahini
- 1 lemon, zested and juiced
- 1 garlic clove, grated
- 3 tablespoons ice water
- 1 tablespoon fresh parsley, chopped
Instructions
- Trim the stem end flat. Stand the head on that end, mark the center of the core, and cut down through it in one slow, firm motion. Repeat to get two steaks.
- Turn the head and cut two more thick slices from the sides. These cook faster than the center steaks, so pull them off first.
- Brush all faces with 2 tablespoons olive oil and season both sides with the paprika, garlic powder, salt and pepper.
- Grill over medium-high direct heat for 4 to 5 minutes on the first side, until a deep crust forms and releases from the grate without force.
- Flip carefully with a wide spatula and grill 5 to 6 minutes more.
- Check doneness by sliding a skewer into the stem. It should pass through with no resistance and the core should yield to light pressure.
- Whisk the tahini, lemon juice, garlic, salt and ice water. The mixture will seize and then loosen, which is normal.
- Serve the steaks drizzled with tahini sauce, finished with lemon zest and parsley.
Tip: Salt the raw steaks 20 minutes ahead and leave them on a rack. The surface dries out, and a dry surface is the difference between a crust and a scorch mark.
Swap it: Swap the tahini sauce for green salsa verde, a yogurt-garlic drizzle, or a stack of warm pita and hummus.
Storage: Refrigerate 3 days. Reheat at 400°F (205°C) for 10 minutes to bring the crust back. The tahini sauce keeps a week in a jar in the fridge.
10. Colorful Vegetable Skewers
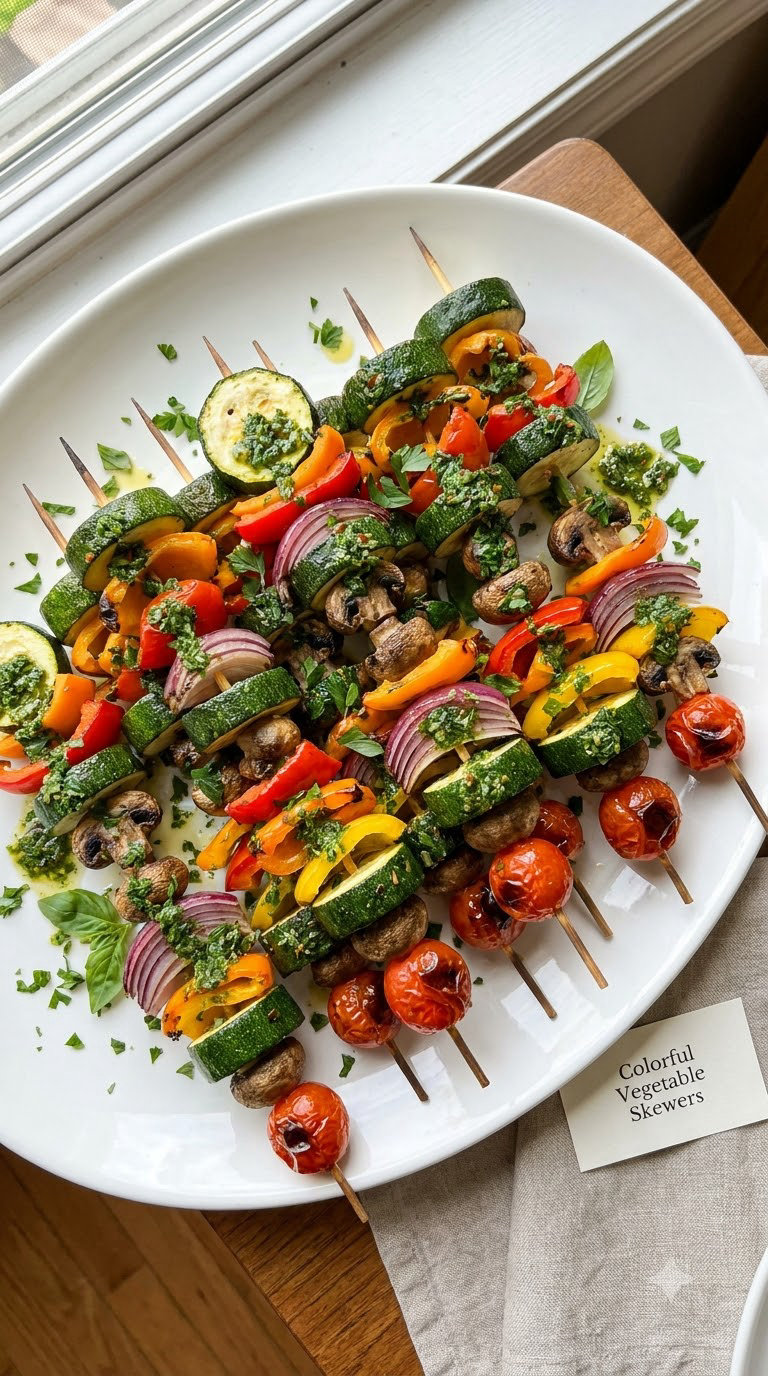
Skewers solve the problem of having nine vegetables in the crisper drawer and no plan. Cut everything to a similar size, thread the firmest vegetables first so the softest do not slide down the stick, and you have one dish that covers the whole table. Soak wooden skewers for 20 minutes so they do not burn on the outside first.
Yield: 4 servings · Prep: 20 min · Cook: 10 min · Total: 30 min · Difficulty: Easy
Ingredients
For the skewers:
- 8 wooden or metal skewers, soaked 20 minutes if wooden
- 1 zucchini, cut into 1-inch half-moons
- 1 red bell pepper, cut into 1-inch squares
- 1 small red onion, cut into wedges
- 8 cremini mushrooms, left whole
- 1 cup cherry tomatoes, left whole
- 2 tablespoons olive oil
- 1 teaspoon Italian seasoning
- 1/2 teaspoon kosher salt
For the herb finish:
- 1/4 cup olive oil
- 1/4 cup fresh parsley or basil, chopped
- 1 lemon, zested and juiced
- 1 garlic clove, grated
Instructions
- Heat the grill to medium-high direct heat for 10 minutes while you build the skewers.
- Thread the firm vegetables first, in this order: onion wedges, bell pepper, zucchini, mushrooms, then cherry tomatoes on the end.
- Brush the skewers with 2 tablespoons olive oil and season with the Italian seasoning and salt.
- Grill for 3 to 4 minutes, then turn the skewers a quarter turn at a time for another 4 to 5 minutes.
- Vegetables are done when the char is dark on the edges and a knife slides into the zucchini with no resistance. Pull the cherry tomato skewers off a minute early.
- Mix the herb finish ingredients together and spoon it over the hot skewers as they land on a platter.
Tip: Leave a finger’s width between the pieces. Touching vegetables steam each other and you lose the char you came for.
Swap it: Add 1-inch cubes of extra-firm tofu or marinated chicken between the vegetables. Chicken needs 165°F (74°C) in the center, so keep it away from the flame’s edge and check with an instant-read thermometer before serving. Do not leave raw chicken and vegetables on the same skewer unless everything is cooked together to temperature.
Storage: Refrigerate 3 days, vegetables off the sticks. Reheat on a hot skillet for 5 minutes. Marinate the mushrooms separately, never alongside the tomatoes, so the tomatoes do not go watery.
Tips for Making These
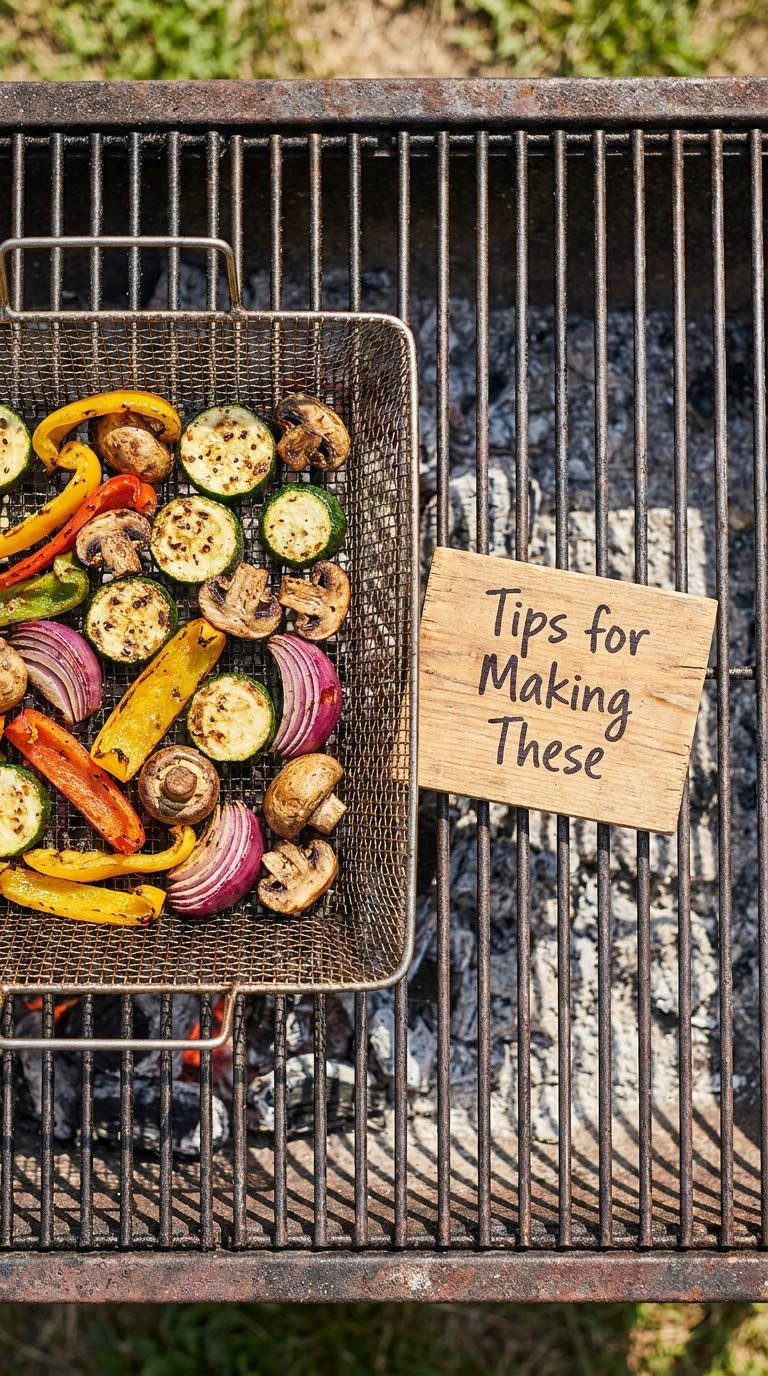
These are the things that separate a plate of good grilled vegetables from a pile of char with a raw middle. None of them need special equipment, and once you have them, every recipe on this page gets easier.
- Preheat properly. Give a gas or charcoal grill a full 10 minutes after the flame is lit. A grill that is not hot enough drips juices onto the coals and steams the food instead of searing it.
- Oil the grate, not just the food. Wipe the grate with an oiled paper towel held in tongs, then oil the vegetables lightly. Food oil plus a clean grate is the whole sticking story.
- Set up two zones. Bank the coals to one side. Sear on the direct side, then move thick vegetables like onion wedges, whole peppers and cauliflower to the indirect side to finish without burning.
- Match cut sizes. On one skewer, or on one plate, a one-inch piece of pepper next to a quarter-inch slice of squash means the pepper is raw when the squash is gone. Cut everything to roughly the same size and stagger the delicate items on their own skewers.
- Use a basket for small pieces. Cherry tomatoes, mushrooms, radish slices and cauliflower florets fall through the grates. A wire basket, a small mesh colander, or a foil pan with holes punched in the bottom all work. A flat wire rack over a baking sheet catches whatever escapes.
- Rest thicker items before serving. A five-minute rest lets the hot center finish cooking and the juices settle, so a two-minute rest on the plate is the difference between tender and rubbery.
How to Keep Easy Grilled Vegetable Recipes for Summer Tender
Overcooking is the single thing that goes wrong with grilled vegetables, and it comes from cooking by the clock instead of by what you see and feel. Aim for medium-high direct heat, where the grill is hot enough to color the surface fast and give you grill marks in the first two minutes, but not so hot that the outside blackens before the center catches up.
The visual cues are the same across every recipe here. Look for defined grill marks, a browned rather than blackened surface, and a vegetable that gives slightly when you press it with a fingertip. Slide a knife or a skewer into the thickest part: a little resistance means a few more minutes, no resistance means it is done, and anything that needs real force is not near ready yet.
For anything thicker than about half an inch, move it to the indirect side once the first side is colored. Carryover heat finishes the center while you work on the rest of the food, and it is the reason a steak or a wedge of onion keeps cooking after it leaves the fire. Pull items a minute earlier than you think, then let the rest on the plate do the rest.
One more habit that helps: keep the lid off for most of the cook. A closed lid traps steam, and steam is the opposite of what you want when you are chasing char. If you want to cook a thick vegetable faster with the lid down, move it fully to the indirect side first.
Frequently Asked Questions
What temperature should the grill be for vegetables?
Medium-high direct heat is the setting for nearly everything in this roundup, roughly 425 to 450°F (220 to 230°C) on a gas grill. That gives you fast grill marks without burning the outside before the center is tender. Thick vegetables like onion wedges, whole peppers and cauliflower steaks should start on the hot side, then move to indirect heat to finish. A cold grill is the usual reason vegetables drip and steam instead of searing.
Which vegetables do not need soaking before grilling?
Most of them. Asparagus, zucchini, corn, mushrooms, bell peppers, eggplant and onions need no prep beyond washing and cutting. A short soak only helps for vegetables that are going to be grilled over lower, slower heat, where the water is not boiling off. Soaking whole onions for 10 minutes steadies the layers on a long cook, and par-steaming thick cauliflower or potatoes for 5 minutes lets the inside catch up with the crust. Skip it for small, quick-cooking pieces.
How do I keep grilled vegetables from getting soggy?
Three habits do most of the work. Pat the cut surfaces completely dry, because surface water turns to steam on contact. Salt thick cuts like eggplant, squash and cauliflower 15 to 20 minutes ahead and let the beads of moisture drain off before oiling. And keep a lid off the grill, since trapped steam softens everything it touches. Do not stack or skewer pieces touching each other, since the gap between them is what lets the hot air and smoke reach each surface.
Should I put sauce on vegetables before or after grilling?
After. Anything with sugar, honey, maple syrup or vinegar in it burns on the grate and turns bitter before the vegetables are done. If you want the flavor to soak in, marinate first, but keep acidic marinades to about 10 minutes for delicate vegetables like tomatoes and zucchini. Eggplant and portobello mushrooms can take a few hours because their dense flesh resists the acid. Thin glazes like miso or balsamic can go on in the last 2 to 3 minutes, and butter-based finishes go on the plate.
Can you grill vegetables the day before?
Yes, with one caveat. Salt and acid-based dishes like the stuffed peppers, the onion wedges and the zucchini planks travel well and reheat fine. The mushrooms are the exception, since they turn spongy in a container, and the balsamic tomatoes are best made the day you serve them because they keep softening as they sit. Let everything cool uncovered for 20 minutes before you cover it, or the trapped steam softens the grill marks.
What vegetables should I not put on the grill?
Skip the small florets and anything that can fall through the grates, including broccoli florets, cauliflower florets and sliced radishes, unless you use a basket. Cut dense roots such as beets and whole potatoes from raw, because the outside chars long before the center is edible. Very soft or ripe tomatoes, and leafy greens beyond romaine, release water and cook into nothing. If a vegetable gives you trouble on the grate, the oven at 425°F (220°C) does the same job with none of the risk.
If you are planning the menu around the vegetables, these easy dinner ideas for hot summer days and these crispy air fryer vegetable recipes cover the nights when the weather does not cooperate.
Conclusion
Start with the charred corn. It is the lowest-effort recipe here, it needs nothing from the pantry, and it gives you a clear look at how the grill works, which makes everything after it easier. If you want a real main course rather than a side, go to the stuffed peppers or the cauliflower steaks and give them a table of their own.
That is the whole trick behind these easy grilled vegetable recipes for summer: a hot grate, vegetables cut to a sensible size, and enough attention at the start to get color on the surface. Get that and the rest takes care of itself.