
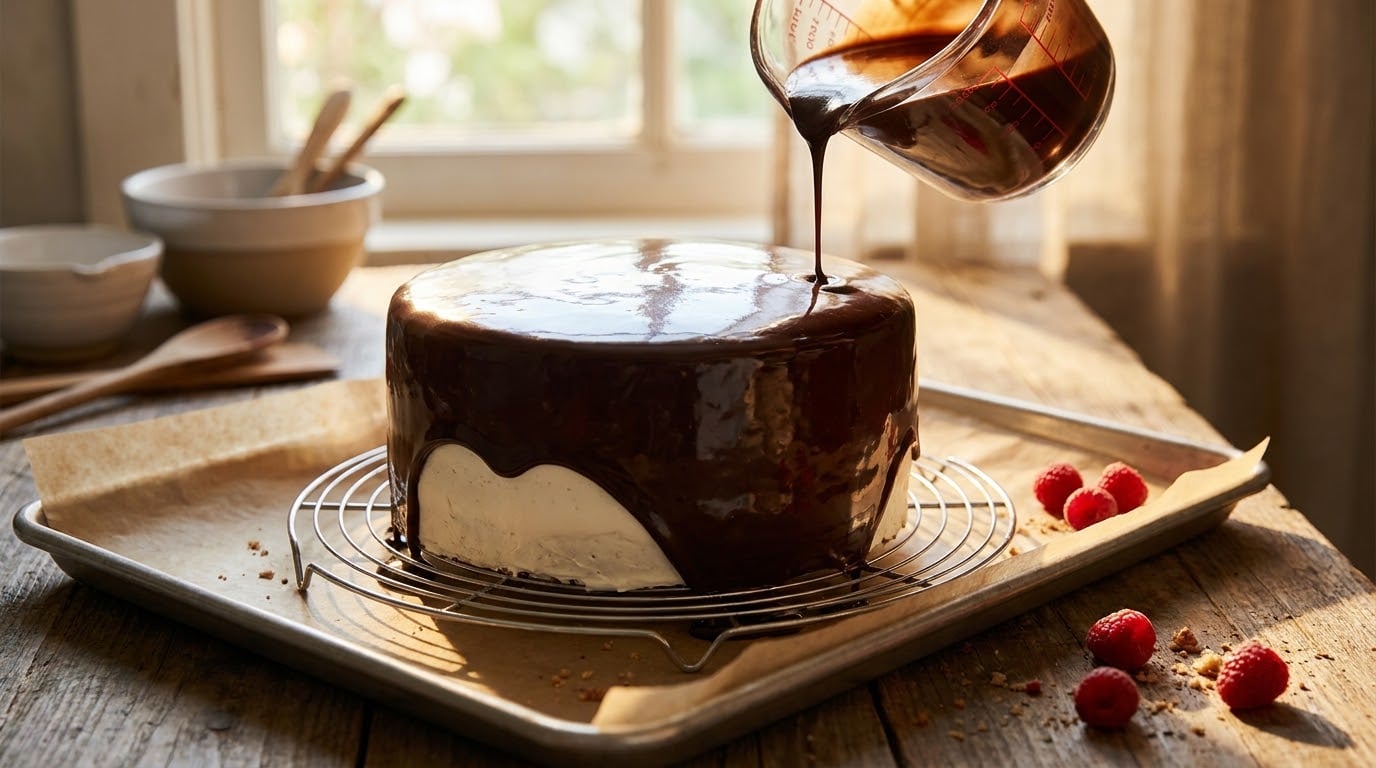
A mirror glaze recipe for cakes gives you that glassy, reflective finish you see on patisserie showpieces, and yes, you can pull it off at home. The method is just three core ingredients (white chocolate, sweetened condensed milk, and bloomed gelatin), about 20 minutes of hands-on time, and one non-negotiable rule: pour at 90°F (32°C). I’ve made this enough times to know the recipe is reliable, not finicky, as long as the temperature is right.
Below is the version I reach for on birthdays and Valentine’s Day: smooth, sweet enough to take color, and sturdy enough to set on a tall frosted cake without sliding off. If you have ever watched a glaze turn dull, crack, or pool at the base, this walkthrough is for you.
Table of Contents
Why This Mirror Glaze Recipe Works
Most glaze failures are temperature failures, not recipe failures. Once you understand the why, the method becomes almost mechanical:
- Sweetened condensed milk base. It gives the glaze body, sweetness, and that creamy melt-in-your-mouth bite without splitting like cream does.
- Bloomed gelatin, not sprinkled gelatin. Hydrating the gelatin in cold water first means it dissolves cleanly with no grainy bits and sets into a clear, flexible film.
- Gentle heat, never a hard boil. You only need enough heat to melt the chocolate and dissolve the gelatin. A rolling boil knocks the shine out of the chocolate and weakens the set.
- Target pour temperature of 90°F (32°C). Cool enough to cling to the cake, warm enough to flow like warm honey. Two degrees in either direction is the difference between a mirror and a mess.
- A frozen, smooth cake. The temperature shock from the warm glaze hitting a frozen frosted cake is what creates that instant, glassy set on contact.
Ingredients
These quantities cover an 8-inch (20 cm) round cake, about 8 to 10 slices. For a 6-inch cake, halve everything; for a 9-inch, scale up by 1.5×.
- 7 oz (200 g) white chocolate, finely chopped, or white chocolate chips. Good-quality bars melt smoother than candy melts.
- 1 cup (240 ml) sweetened condensed milk, one standard 14-oz can measured out; reserve the rest for another use.
- 2 teaspoons (10 g) unflavored powdered gelatin (about 220 bloom is the supermarket standard). For sheets, use 2 sheets.
- 3 tablespoons (45 ml) cold water, for blooming the gelatin.
- Gel food coloring, oil-based for chocolate versions, water-based for white. A little goes a long way.
About the gelatin: if you want to go vegetarian, swap the gelatin for 1 teaspoon (about 4 g) of agar-agar powder bloomed in 4 tablespoons water. The set will be slightly firmer and less glossy, so pour at 95°F (35°C) instead of 90°F. About the white chocolate: real cocoa butter melts glossy; compound white chocolate (with palm oil) sets dull. Use the real stuff if the mirror matters.
Equipment
You don’t need a pastry kitchen, just a few tools that earn their place:
- Instant-read thermometer – the single most important tool. A 2°F guess ruins a glaze.
- Fine-mesh sieve (or a chinois if you own one) – catches any undissolved gelatin or chocolate bits.
- Tall, narrow pitcher or jug – gives you control for that one-pour spiral motion.
- Wire rack set over a sheet pan – catches drips so they don’t pool around the base of the cake.
- Offset spatula for smoothing the frosting before you glaze.
How to Make Mirror Glaze for Cakes
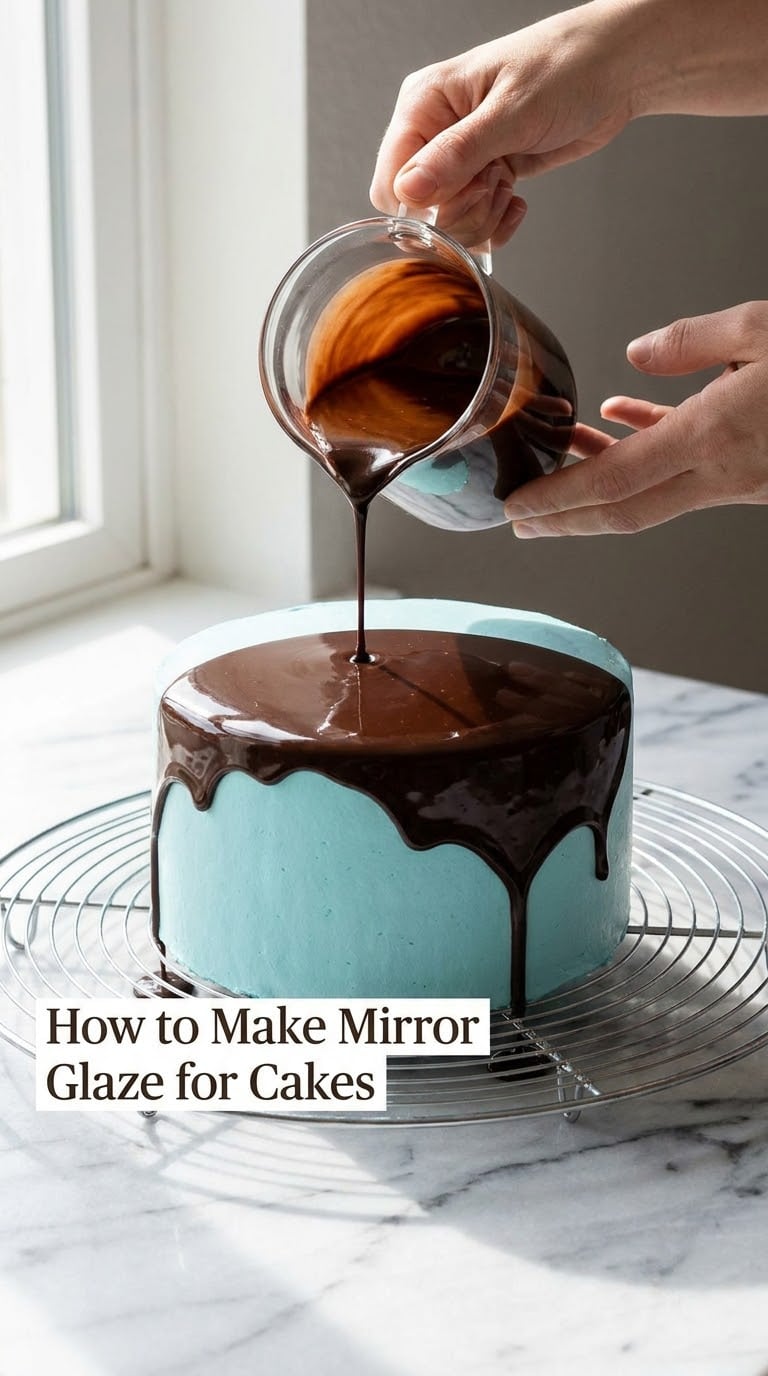
Read these steps once before you start, and have the frozen cake ready on its rack before the glaze hits 90°F.
- Prepare the cake first. Frost an 8-inch cake with a smooth, even layer of ganache or buttercream (a classic chocolate frosting works well) and freeze it solid for at least 4 hours, preferably overnight. The cake must be frozen through, not just chilled, so the glaze sets on contact.
- Bloom the gelatin. Pour 3 tablespoons of cold water into a small bowl, sprinkle the gelatin evenly over the surface, and let it sit for 5 minutes. It will turn into a thick, jiggly mass. This step matters: dumping gelatin into hot liquid creates lumps you cannot strain out.
- Melt the white chocolate with the condensed milk. In a saucepan over low heat (or in a microwave in 20-second bursts), warm the condensed milk until just steaming, not boiling. Add the chopped white chocolate and stir until completely smooth. Take it off the heat.
- Whisk in the bloomed gelatin. Add the gelatin mass and whisk until it fully dissolves, about 30 seconds. The mixture should look glossy with no visible grains. If you see specks, strain the glaze through the fine-mesh sieve into a tall pitcher.
- Color and adjust. Stir in a drop or two of gel food coloring. For a deeper color, add a drop at a time. If you want a thinner glaze, add condensed milk one tablespoon at a time; for thicker, let it cool longer.
- Cool to pouring temperature. Let the glaze cool at room temperature, stirring occasionally, until it reaches 90°F (32°C) on your thermometer. It should flow like warm honey, and a ribbon dragged across the surface should disappear in about 5 seconds. If you are impatient, an ice bath around the pitcher speeds this up; just keep stirring so the gelatin sets evenly.
- Pour in one smooth motion. Set the frozen cake on its rack over the sheet pan. Pour the glaze from the center outward in a slow spiral, letting it flood over the top and run down the sides. Do not stop to fix bare patches; the glaze will even itself out as it cascades.
- Set and transfer. Let the glaze set at room temperature for 10 to 15 minutes, until it stops dripping and feels firm to a light touch. To move the cake, slide two long palette knives under the base, lift together, and lower onto your serving plate. A third knife helps nudge it off cleanly.
Tips for Success
- Glaze too thin? It was either overheated or poured too warm. Let it cool to 90°F and recheck. If it’s still loose, refrigerate 5 minutes, then stir and retest.
- Glaze cracking or sliding off? The cake is not cold enough, or the glaze has cooled below 86°F (30°C). Pop the cake back in the freezer for 30 minutes and rewarm the glaze gently to 90°F.
- Air bubbles on the surface? Don’t over-blend when emulsifying, and pour from as close to the cake as you can. A quick pass of a kitchen torch across the top pops any survivors within seconds.
- Lumpy glaze? Strain it. Always strain. The sieve is your insurance against undissolved gelatin or chocolate.
- Color looks dull or chalky? Use gel food coloring, not liquid, and add it after the glaze has cooled slightly so it does not bleed or streal.
- Drips pooling at the base? Once the glaze has set, run a warm knife around the bottom edge of the cake to shave off drips cleanly before transferring.
Mirror Glaze Variations
Once you have the white vanilla base down, the rest are just swaps:
- Dark chocolate mirror glaze. Replace the white chocolate with 5 oz (140 g) finely chopped dark chocolate plus 2 oz (55 g) unsweetened chocolate. The dark color hides small imperfections, and the flavor is more intense.
- Berry (raspberry or strawberry) glaze. Swap the white chocolate for 6 oz (170 g) white chocolate and replace half the condensed milk with 1/2 cup (120 ml) seedless raspberry or strawberry puree, strained. Pairs well with a vanilla strawberry shortcake base for a pink-on-pink moment.
- Coffee mirror glaze. Replace 2 tablespoons of the condensed milk with 2 tablespoons of strong cooled espresso. Beautiful on tiramisu-style cakes.
- Marbled two-color pour. Divide the cooled white glaze between two pitchers, tint one a contrasting color, and pour both at once from opposite sides of the cake. Tilt the rack gently to swirl, then leave it alone.
- Galaxy glaze. Tint the base deep navy or black, then flick white, purple, and gold with a brush for a starry effect. Works best on a smaller, dome-shaped cake.
Storage, Make-Ahead and Reheating
Mirror glaze keeps well, which is half the point of making it in the first place. The plain glaze, in an airtight container, lasts up to 1 week in the fridge or up to 2 months in the freezer. Press plastic wrap directly onto the surface so a skin does not form.
To re-liquefy, microwave in 10-second bursts at 50% power, stirring between each, or warm gently over a double boiler. Stop when the glaze reaches 90°F (32°C) again and feels like warm honey. Do not let it boil; the chocolate will lose its gloss and the gelatin will weaken.
The cake itself must be frozen at least 4 hours before glazing, and ideally overnight. Once glazed and set, the finished cake holds in the fridge for 2 to 3 days; the shine starts to soften after day one, especially on the condensed milk version.
What to Serve Mirror Glaze Cake With
Mirror glaze is the showpiece, so the pairings should be quiet by design:
- Freshly whipped cream – a small dollop on the side cuts the sweetness. Our 5-minute whipped cream is the right call.
- Fresh berries – raspberries, sliced strawberries, or blueberries. The acidity brightens every bite.
- A small espresso or dark coffee – especially with dark chocolate or coffee glazes.
- Vanilla ice cream or a thin crème anglaise – if you want a full dessert plate.
- A plain vanilla sponge base – if the glaze is the headline, the cake underneath should stay out of the way.
Frequently Asked Questions
What temperature should mirror glaze be when poured on a cake?
Pour at 90°F (32°C) for a sweet spot that flows like warm honey and sets on contact. A ribbon dragged across the surface should disappear in about 5 seconds. Below 86°F (30°C) it goes lumpy and dull; above 95°F (35°C) it runs off the cake and can melt the frosting.
Can I make mirror glaze without gelatin?
Yes. Swap the gelatin for 1 teaspoon (about 4 g) of agar-agar powder bloomed in 4 tablespoons of water, then pour at 95°F (35°C) instead of 90°F. The set will be slightly firmer and a touch less glossy, but it works for vegetarian and vegan guests and slices cleanly.
Why is my mirror glaze not shiny?
Dull glaze almost always comes down to three things: the chocolate was overheated, the glaze was poured too cool (below 86°F/30°C), or the cake was not frozen solid. Reheat gently to 90°F, restir, and re-pour over a properly frozen cake for a true mirror finish.
How far in advance can I make mirror glaze?
The plain glaze keeps up to 1 week in the fridge and up to 2 months in the freezer, stored in an airtight container with plastic wrap pressed directly on the surface. Re-liquefy gently to 90°F (32°C) before pouring. The glazed cake holds 2 to 3 days in the fridge.
Why did my mirror glaze crack on the cake?
Cracking happens when the cake is not cold enough or the glaze has cooled below 86°F (30°C) before pouring. Freeze the frosted cake for at least 4 hours and recheck the glaze temperature with a thermometer. A 2-degree shift is enough to flip a mirror into a cracked finish.
Can I freeze a mirror glaze cake?
Yes, once the glaze has fully set. Wrap the cake tightly in plastic wrap, then a layer of foil, and freeze for up to 1 month. Thaw in the fridge overnight; the glaze will look slightly cloudy at first but returns to its gloss as it comes to room temperature.
Conclusion
Chill the cake fully and aim for 90°F (32°C) on your first pour; those two details do more for a mirror glaze recipe for cakes than any other trick. Once you see that first true reflection, you’ll never go back to plain frosting.