
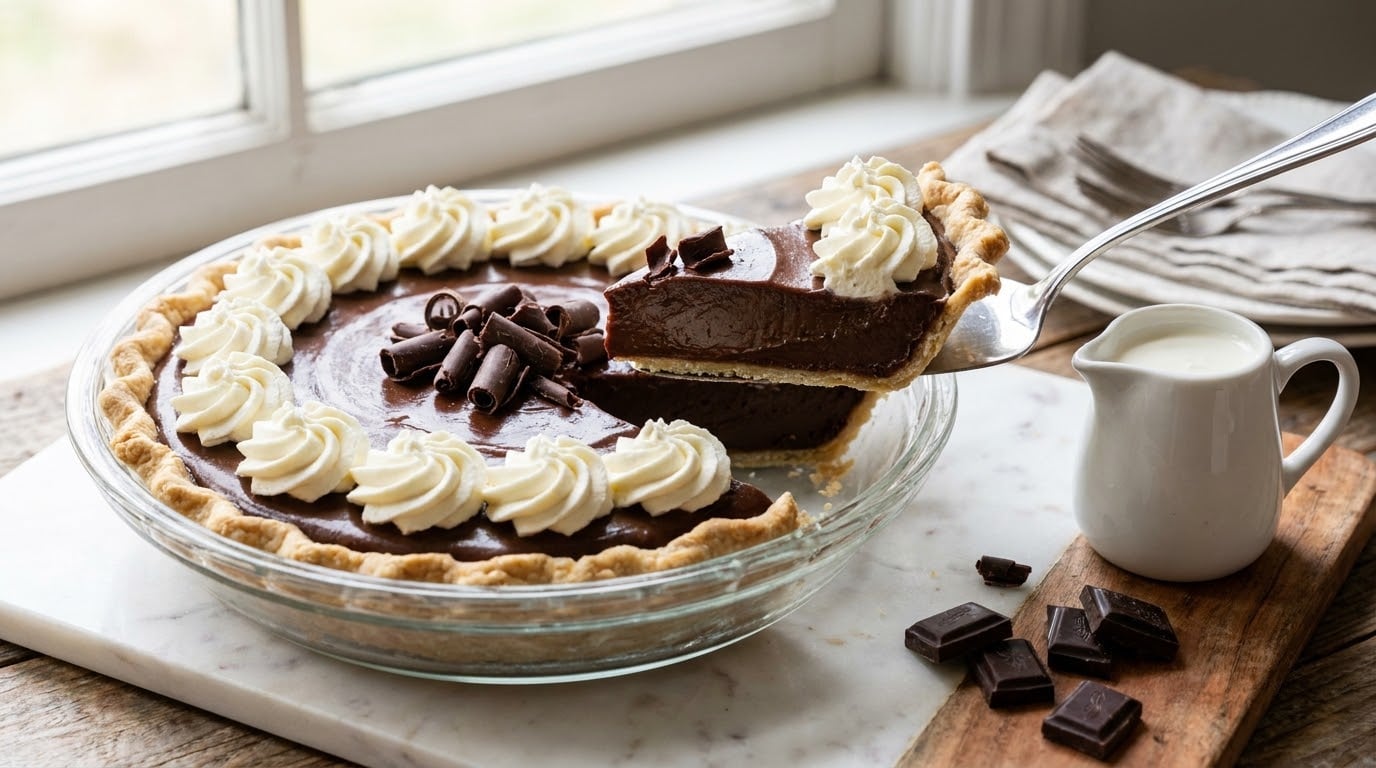
A chocolate silk pie recipe is the closest thing to dessert velvet in pie form. This version uses a cooked-egg pudding base thickened on the stovetop (no raw eggs, no food-safety worries), folded into whipped cream, and poured into a fully baked crust. Total hands-on time is about 40 minutes, then the fridge does the rest.
I first made a true chocolate silk pie for Thanksgiving after years of quick no-bake versions, and the difference was immediate. The filling was silkier, the slices held their shape on the plate, and nobody asked whether the eggs were safe. This is the recipe I keep coming back to for the holidays.
Table of Contents
Why This Chocolate Silk Pie Recipe Works
This chocolate silk pie recipe takes a little more care than a no-bake chocolate pudding pie, but every step earns its place.
- Cooked pudding base. Eggs and milk thicken gently on the stove to 170°F (77°C), killing any salmonella risk and giving the filling body without gelatin or cornstarch.
- Whipped cream folded in at the end. Cold heavy cream whipped to soft peaks lightens the pudding into something that actually melts on the tongue.
- Fully baked crust. Blind baking keeps the bottom crisp under all that cream, so the first bite still has a snap rather than a soggy slump.
- Make-ahead friendly. The pie needs at least 4 hours to set, longer is better. Bake the crust and chill the filling on Tuesday.
- Deep chocolate flavor. Dark chocolate (60 to 70 percent cacao) plus a tablespoon of espresso powder gives the filling a grown-up intensity without tasting like coffee.
Ingredients
Makes one 9-inch pie, about 10 slices.
For the crust:
- 1 (9-inch) blind-baked pie crust, cooled (use a store-bought shell, or follow my Easy Homemade Pie Crust Recipe from Scratch)
- 1 tablespoon coarse sugar for sprinkling (optional)
For the chocolate silk filling:
- 1 1/2 cups (360 ml) whole milk
- 1/2 cup (100 g) granulated sugar
- 3 large egg yolks
- 3 tablespoons (24 g) cornstarch
- 1/4 teaspoon fine sea salt
- 6 oz (170 g) dark chocolate (60 to 70 percent cacao), finely chopped
- 2 tablespoons (28 g) unsalted butter, cut into small pieces
- 1 teaspoon instant espresso powder (optional, deepens chocolate flavor)
- 1 teaspoon pure vanilla extract
For the whipped cream topping:
- 1 1/2 cups (360 ml) cold heavy whipping cream (at least 36 percent fat)
- 2 tablespoons (16 g) powdered sugar
- 1/2 teaspoon pure vanilla extract
- 1/4 cup (30 g) mascarpone cheese, optional for a more stable topping
A few ingredient notes:
- Dark chocolate: Bars melt smoother than chips (chips contain stabilizers that fight a glossy texture). Ghirardelli, Callebaut, and Baker’s all work well here.
- Eggs: Use large eggs at room temperature so they temper quickly without scrambling.
- Milk: Whole milk gives the richest flavor, and 2 percent works in a pinch but is a little thinner.
- Heavy cream: At least 36 percent fat whips to stable peaks. Anything labeled “whipping cream” with a lower fat content will weep within a few hours.
- Espresso powder: Optional but recommended. It does not make the pie taste like coffee. It just makes the chocolate taste more like itself.
Easy swaps:
- Milk chocolate: Use 8 oz (225 g) instead of dark for a sweeter, kid-friendly pie.
- No raw eggs: This recipe already has none. The egg yolks are cooked to 170°F (77°C).
- Gluten-free: Use a gluten-free pie crust or an Oreo-style gluten-free cookie crust.
- Dairy-free: Swap whole milk for full-fat coconut milk and use coconut cream for the topping.
Equipment
- 9-inch pie plate (glass or ceramic holds heat evenly for blind baking)
- Heavy-bottom medium saucepan
- Fine-mesh strainer
- Whisk
- Stand mixer with whisk attachment, or a hand mixer with a large bowl
- Instant-read thermometer (the only reliable way to know the eggs are at 170°F)
- Offset spatula for smoothing the filling
- Piping bag and rosette tip if you want piped topping, or a spoon for swooshing
Helpful reads: If you want a sturdier base for this filling, try my Easy Homemade Whipped Cream Recipe as a guide, and use the same technique for the topping.
How to Make Chocolate Silk Pie
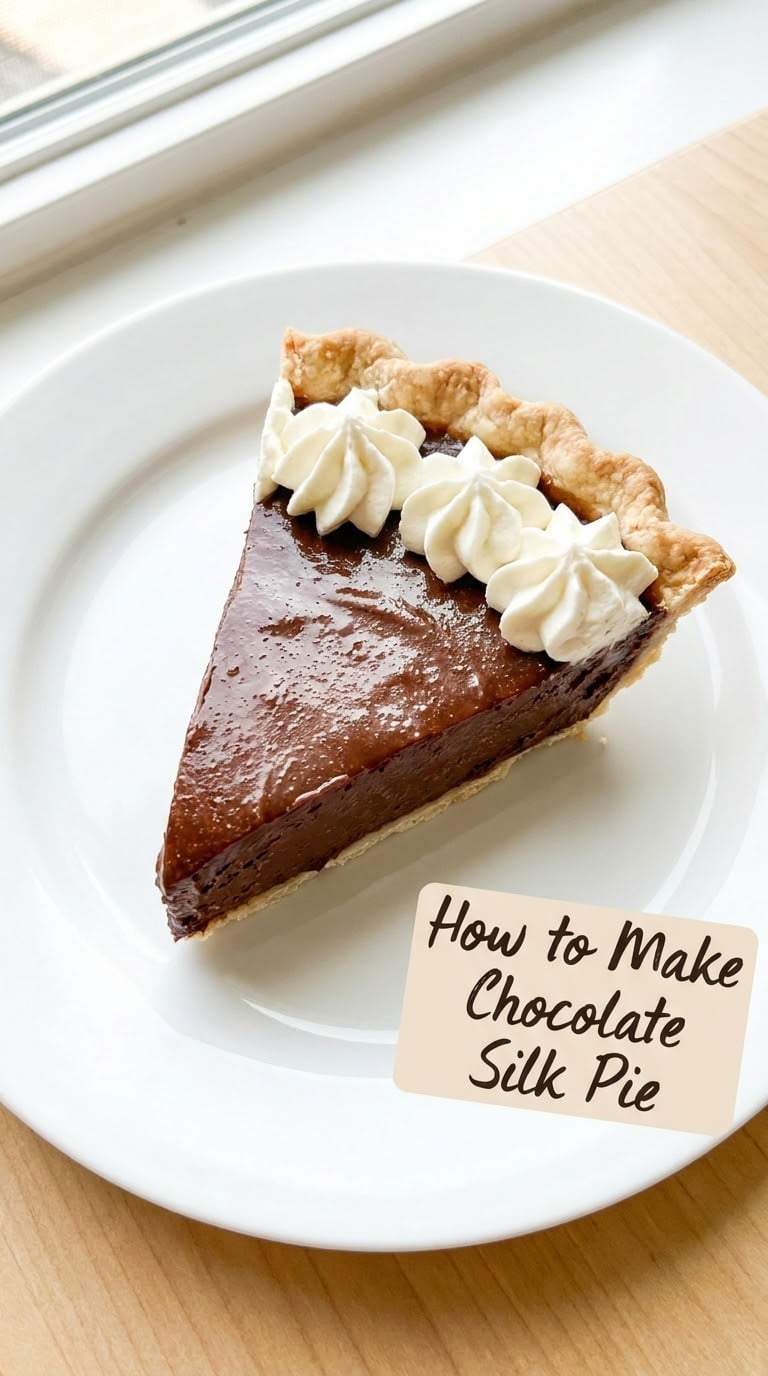
This recipe moves in three stages: make the pudding, whip the cream, then assemble and chill. Read through once before you start so each step is ready when you need it.
Make the Filling
- Whisk the base. In a heavy-bottom saucepan, whisk together the milk, sugar, egg yolks, cornstarch, and salt until completely smooth with no lumps of cornstarch stuck to the bottom.
- Cook to 170°F (77°C). Set the pan over medium and whisk slowly and constantly, scraping the bottom and corners. The mixture will look thin for the first few minutes, then thicken suddenly as it approaches a boil. Keep whisking for 1 full minute after it starts to bubble, then check the temperature. It should read 170°F (77°C) on an instant-read thermometer.
- Strain. Pour the hot pudding through a fine-mesh strainer into a heatproof bowl. This catches any tiny bits of cooked egg and staves the smoothest possible texture.
- Melt in. Immediately add the chopped chocolate, butter, espresso powder, and vanilla. Let everything sit for 1 minute so the chocolate softens, then whisk until glossy and smooth.
- Cool. Press a piece of plastic wrap directly onto the surface (to keep a skin from forming) and let the filling cool to room temperature, about 30 minutes. You can speed this up in the fridge, but stir every few minutes so it cools evenly.
Whip the Cream Topping
- Chill the bowl and cream. Toss the mixing bowl and whisk attachment in the freezer for 10 minutes. Cold equipment is the difference between cream that whips and cream that sulks.
- Whip to soft peaks. Pour the cold cream into the chilled bowl, add the powdered sugar, vanilla, and mascarpone (if using), and whip on medium speed until soft peaks form. The cream should hold its shape when you lift the beater, but the tip should curl over gently. Stop there. Over-whipped cream turns grainy and weeps within a day.
- Refrigerate. Cover and chill until you’re ready to top the pie.
Assemble and Chill
- Pour and smooth. Spoon the cooled chocolate filling into the fully baked and cooled pie shell. Smooth the top with an offset spatula, working from the center out.
- Chill until set. Cover loosely and chill for at least 4 hours, or overnight. The filling should feel set when you nudge the edge of the pan, and a slice should hold its shape when cut.
- Top and serve. Spread or piped whipped cream onto the chilled pie, dust with cocoa powder or scatter chocolate curls on top, and serve cold.
Tips for Success
- Use a thermometer, not the clock. The only way to know the eggs are safely at 170°F (77°C) is a thermometer. Visual cues lie, especially with cornstarch in the mix.
- Strain the pudding. Even careful cooks get tiny bits of cooked egg. A fine-mesh strainer removes them in 10 seconds and gives the filling its trademark glass-smooth look.
- Don’t over-whip the cream. Stop at soft peaks. Stiff peaks collapse into butter within minutes and weep liquid once they sit on the pie.
- Cool the filling completely. Warm filling melts the whipped cream layer above it and the slice will slump. Room-temperature or cooler is the rule.
- Slice with a hot knife. Dip a sharp knife in hot water, wipe it dry, then slice. Wipe between every cut. Clean slices and the flavor of fresh chocolate deserve a clean edge.
Variations
- Chocolate silk peanut butter pie. Whisk 1/2 cup (125 g) creamy peanut butter into the warm pudding along with the chocolate. Top with crushed salted peanuts.
- Espresso-infused. Bump the espresso powder up to 1 tablespoon for a tiramisu-like depth that pairs beautifully with the whipped cream.
- Gluten-free crust. Swap the traditional crust for a crushed-pecan or gluten-free Oreo crust (about 1 1/2 cups of crumbs plus 5 tablespoons melted butter, pressed into the pan and chilled).
- Dairy-free coconut version. Use full-fat coconut milk in the filling and cold coconut cream in the topping. Whip the coconut cream the same way. Skip the butter, or use a vegan butter stick.
- No-bake stabilized version. Use pasteurized eggs, skip the stove, and thicken with 1 packet (7 g) unflavored gelatin bloomed in 3 tablespoons cold water. Chill overnight until set.
Storage, Make-Ahead and Reheating
Make-ahead timeline:
- 2 days ahead: Blind bake the crust and store it covered at room temperature.
- 1 day ahead: Make the chocolate filling, pour it into the crust, and chill covered overnight.
- Day of: Whip the cream and top the pie 1 to 2 hours before serving so the topping looks fresh.
Fridge: Covered, the assembled pie keeps for up to 4 days. The whipped cream topping is best within the first 24 hours. If you know you’ll have leftovers past day 2, store the topping separately and add it to each slice.
Freezer: Freeze the pie without the whipped cream topping, wrapped tightly in plastic and foil, for up to 2 months. Thaw overnight in the fridge, then top with freshly whipped cream before serving. Freezing the topping on its own makes it weep once it thaws.
Reheating: Do not reheat. Chocolate silk pie is meant to be served cold, straight from the fridge.
What to Serve With It
- Hot espresso or a small cappuccino. The bitterness is the classic partner for a dense chocolate dessert.
- Late-harvest riesling or port. Both have the honeyed sweetness that matches the chocolate without overpowering it.
- Fresh raspberries. A small pile on the plate cuts the richness with bright acid.
- A drizzle of warm hot fudge. Just a tablespoon per slice. The temperature contrast is the fun part.
- A pinch of flaky sea salt. Sprinkled on top of each slice, it sharpens the chocolate flavor in the same way it does on a brownie.
Frequently Asked Questions
Is chocolate silk pie safe to eat if it has raw eggs?
This chocolate silk pie recipe has no raw eggs at all. The yolks are whisked with milk, sugar, and cornstarch, then cooked on the stove to 170°F (77°C), which kills salmonella. The eggs thicken the filling, then the mixture is strained and chilled, so the final pie is both safe and silky.
Can I make chocolate silk pie without baking the crust?
Yes. Press a no-bake cookie crust (Oreo crumbs and melted butter) into the pie plate, chill it for at least 1 hour until firm, then fill and chill the same way. A traditional pastry crust still needs to be blind baked so the bottom doesn’t turn soft.
How far ahead can I make chocolate silk pie?
You can bake the crust 2 days ahead, fill it the day before, and add the whipped cream topping 1 to 2 hours before serving. The assembled pie keeps in the fridge for up to 4 days, though the whipped cream looks freshest in the first 24.
Why is it called chocolate silk pie?
The name comes from the texture of the finished filling. When you cook the eggs, melt in real chocolate, and fold in softly whipped cream, the result is so smooth it slips across the palate like fabric. It’s a dessert name that describes a sensation.
How do I slice chocolate silk pie cleanly?
Use a thin, sharp knife dipped in hot water and wiped dry between every cut. A warm blade glides through the chilled cream without dragging, so each slice keeps a clean edge and a defined layer between crust and filling.
Can I freeze chocolate silk pie?
Yes, but freeze the pie without the whipped cream topping. Wrap it tightly in plastic and foil, then freeze for up to 2 months. Thaw in the fridge overnight and add freshly whipped cream on top before serving. Freezing the cream causes it to weep when thawed.
Conclusion
The smartest move with a chocolate silk pie recipe is to make it the night before you need it. The filling sets cleaner, the slices hold their shape, and the only thing you have to do the day of is whip the cream and pour the coffee. That’s the version of your holidays worth keeping.