
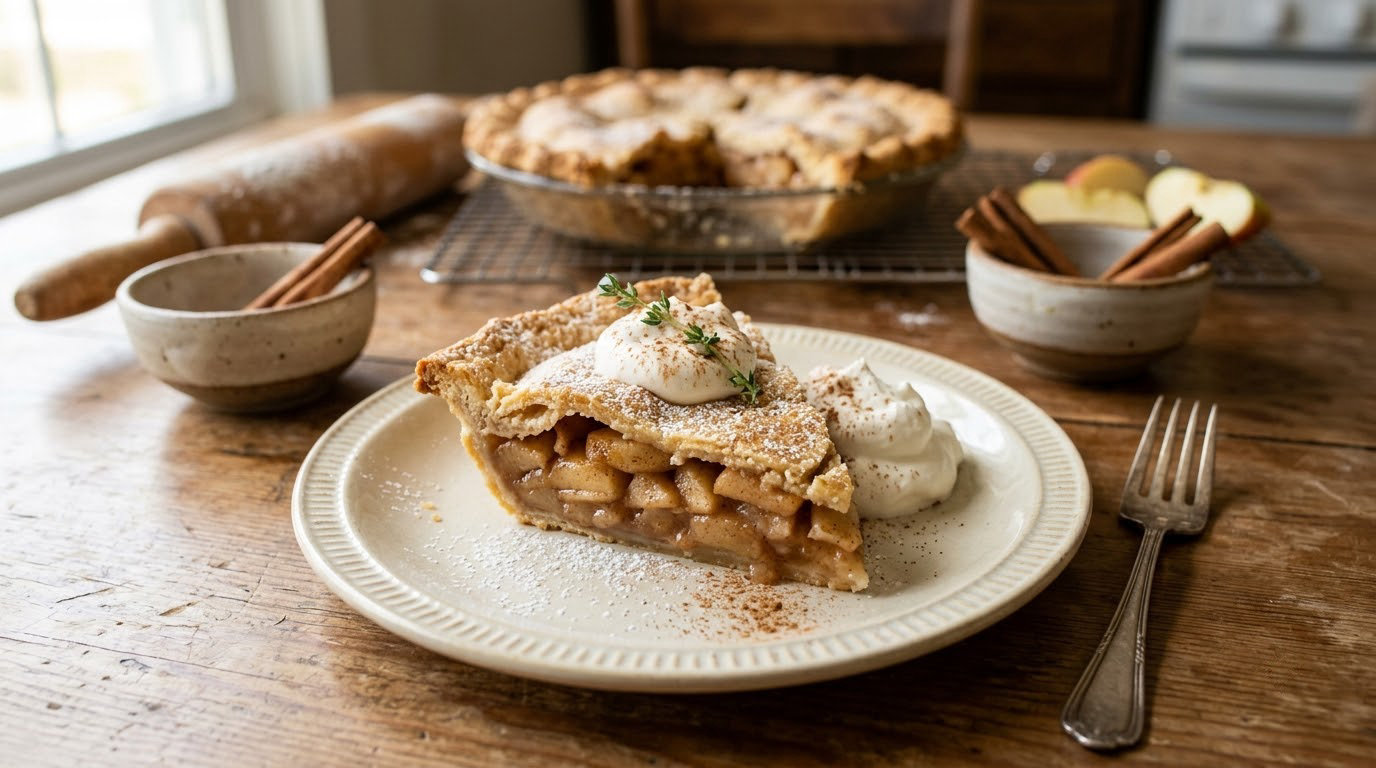
An easy homemade pie crust recipe from scratch is flour, cold butter, a pinch of salt, a spoon of sugar, and enough ice water to hold it together. Nothing exotic, no food processor required, and most of the work is waiting while the dough chills. The whole thing takes about 1 hour 45 minutes from weighing the flour to a cooled, ready-to-fill shell.
This is the version I hand to anyone making their first pie. It is all butter, no shortening, and it stays tender because the dough gets handled as little as possible. One batch makes two single 9-inch crusts, so you have a spare in the freezer for the second pie or a weeknight chicken pot pie.
Table of Contents
Why This Recipe Works
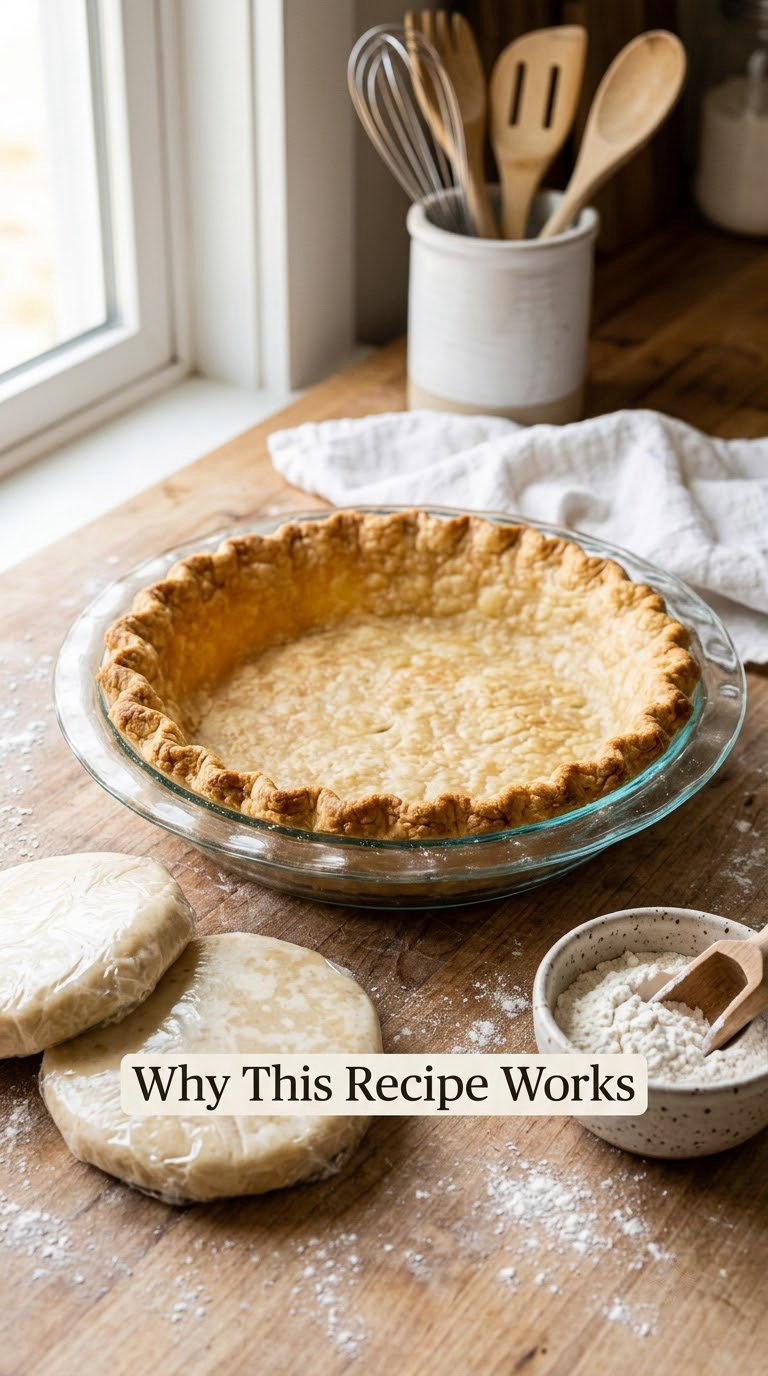
Flakiness is not about how hard you work the dough. It is about keeping the fat cold and the gluten quiet, which is why the same four moves work every time.
- Cold ingredients matter. Butter straight from the fridge stays in solid pea-sized pieces, and those pieces turn to steam in a hot oven and push the dough into separate layers.
- Less handling means a tender crust. Flour plus water plus kneading makes gluten. Push too hard and the crust bakes up tough and chewy instead of short and buttery.
- Weighing the flour is the real shortcut. A cup of flour can hold anywhere from 120 to 160 grams depending on how you scoop it, so grams are the only measure that repeats exactly.
- Ice water, a tablespoon at a time. You want shaggy, not wet. A piece of dough that holds together when you pinch it is the cue that you have added enough.
- The chill is not optional. Thirty minutes to an hour in the fridge relaxes the gluten and firms the fat, so the dough rolls without snapping back at you.
Ingredients
Everything below makes two single 9-inch pie crusts, or one double-crust pie. Gram weights come first because they are the accurate measure.
- 2 1/2 cups (300 g) all-purpose flour, spooned into the cup and leveled, plus extra for the work surface
- 1 tsp (6 g) fine sea salt or kosher salt
- 1 tbsp (12 g) granulated sugar
- 1 cup (227 g) unsalted butter, cut into 1/2-inch cubes and chilled until hard
- 6 tbsp (90 ml) ice water, plus more in tablespoon increments if needed
Pull the butter straight from the fridge and cut it with a sharp knife. A dull knife smears the butter instead of cutting it, and smeared butter makes greasy dough rather than flaky dough.
The ratios are a simple 3:2:1 by volume: three parts flour, two parts fat, one part water. Salt sharpens the butter flavor, and the sugar is there for a subtle sweet note in dessert pies. Leave the sugar out for savory pies like pot pie or quiche.
Good swaps: fine sea salt for kosher salt at the same volume, buttermilk or a tablespoon of heavy cream in place of two tablespoons of the water for a little tang, and a teaspoon of apple cider vinegar stirred into the water if you want a faint sharpness. Some bakers swap two tablespoons of the water for vodka, which evaporates and leaves the layers looser.
Equipment
- Kitchen scale. The single biggest improvement to your pie crust, and you can leave it in your cabinet for years.
- 9-inch pie plate. Ceramic, glass, or metal. A glass or ceramic plate bakes to a paler golden crust than dark metal.
- Rolling pin. Any straight pin. A tapered pin that is thin at the ends makes fitting the edge easier.
- Pastry brush or a spoon. For egg wash on the rim before blind baking.
- Plastic wrap and parchment paper. For chilling, for rolling, and for lifting the dough into the pan.
- Pie weights plus a second sheet of parchment. Dried beans or dry raw rice work if you do not own weights.
- Rimmed baking sheet. Catches drips so a bubbling fruit filling does not glaze the bottom of the oven.
How to Make Easy Homemade Pie Crust Recipe from Scratch
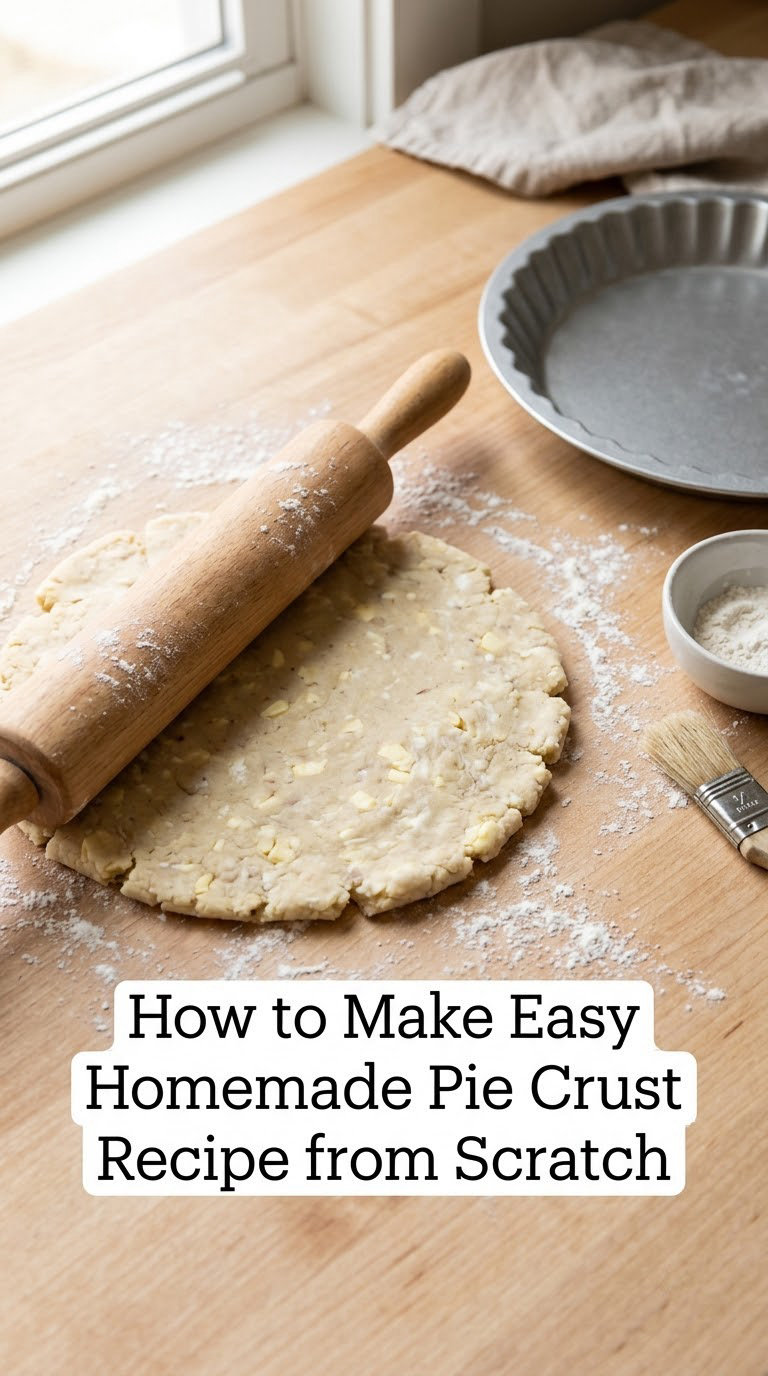
Chill your plate in the freezer for 15 minutes while you make the dough. A cold plate keeps the butter solid while the dough settles into it.
- Weigh the dry ingredients. Put 300 g of flour, the salt, and the sugar in a medium bowl and whisk them together with your fingers.
- Cut the butter into pea-sized pieces. Rub the cubes between your thumb and fingertips through the flour, or use a pastry blender. Stop when a few lumps the size of peas are left and the rest looks like coarse crumbs.
- Add ice water slowly. Drizzle in 4 tablespoons and stir with a fork until the dough clumps. Add the last 2 tablespoons one at a time. Pinch a piece: if it holds together, stop.
- Press, do not knead. Tip the dough out and press it together with your palms into a rough disk. It will look messy and streaky. That is correct.
- Wrap and chill. Flatten into a 1-inch-thick disk, wrap tightly in plastic wrap, and refrigerate for 1 hour. You can also freeze it at this point.
- Roll it out. Unwrap and let the dough sit on the counter for 5 to 10 minutes. Flour a surface and roll from the center outward, rotating every few strokes, until you have a 12-inch circle, roughly 3 inches wider than your pie plate.
- Fit it into the pan. Drape the parchment over the dough, roll it onto the paper, then unroll it parchment-side down into the chilled plate. Press gently into the corners; do not stretch or push the dough down the sides, because stretched dough shrinks in the oven.
- Crimp the rim. Trim the overhang to about 1 inch past the plate edge. Fold the edge under and crimp with your thumb and forefinger, or flute with a fork for a decorative edge.
- Dock and fill. Prick the base all over with a fork so steam can escape. If the pie is custard, lemon, or pecan based, blind bake it first. Fruit pies can go straight in.
- Blind bake, then cool. For a pre-baked shell, freeze the fitted crust 15 minutes. Line with parchment, fill with pie weights, and bake at 425°F (220°C) for 15 to 18 minutes. Remove the weights and parchment and bake 5 to 7 minutes more, until the base looks dry and lightly golden.
Let a pre-baked shell cool completely on a wire rack before you fill it. Warm pastry plus warm filling gives you a soupy bottom.
How to Roll the Dough Without Cracking or Sticking
Most dough problems are one of two things: too cold, or too dry. Both have simple visual cues.
- Cracks at the edge as you roll? The dough is too cold or too dry. Let it sit 10 to 15 minutes until pliable, then add ice water one tablespoon at a time and press the dough back together.
- Dough glues to everything? Add a light dusting of flour to the surface and the rolling pin. A silicone baking mat under the dough reduces sticking more than extra flour does.
- Dough springs back? Let it rest under a towel for 10 minutes to relax the gluten, then roll again.
- Even thickness: Rotate the dough a quarter turn every few strokes and check it against the plate from above, not edge on.
- Transfer without stretching: Roll the circle onto a sheet of parchment, pick the paper up, and lower the dough into the plate. The paper lets you set it down instead of pulling it across the rim.
Tips for Success
- Dough comes out crumbly. It needs water, not more mixing. Add ice water a tablespoon at a time until a pinch holds, then press and chill again.
- Dough sticks to the pan or your fingers. You added too much water or the butter got warm. Chill it for 20 minutes and work with a light flour dusting.
- Rim cracks while crimping. Thinner dough cracks more readily. Patch with a small piece of dough moistened with a drop of water, or trim that edge and re-crimp.
- Crust shrinks in the oven. It was stretched going into the pan. Ease the dough in gently, and rest it in the freezer for 15 minutes before filling or baking.
- Bottom turned out soggy. Blind bake the shell, cool it fully, and coat the base with a thin brush of egg white or a dusting of cornstarch before filling. Skip the fruit sugar.
- Crust browns too fast. Shield the rim with a strip of foil or a silicone crust shield for the last 15 minutes of baking.
Scraps left over after fitting the shell can be rolled into pop tarts or cinnamon roll spirals, and they bake in about 12 minutes. If you are planning a pie for the holidays in 2026, the double batch of scraps is a bonus rather than waste. My bakery style cookie recipes use the same butter-and-flour base, just with sugar swapped in for the salt.
Variations
For a savory pie, drop the tablespoon of sugar and add 1 tsp dried herbs such as thyme or rosemary if you like. A chicken pot pie made on this dough will not go soft and starchy on reheating the way store-bought crust often does.
For a 9-inch deep-dish plate, double the recipe to 5 cups (600 g) flour, 2 tsp (12 g) salt, 2 tbsp (24 g) sugar, 2 cups (454 g) butter, and 12 tbsp (180 ml) water, and roll to a 14-inch circle.
For a double-crust pie, the standard batch works. Divide it in two, shape each piece into a disk, wrap, and chill both for an hour so the bottom crust holds its shape under the filling weight.
For a whole-wheat version, replace half the flour with 1 1/4 cups (150 g) whole wheat flour. Expect a nuttier, more crumbly crust, so add the water slowly and give it a full extra rest before rolling.
For a shallow tart or quiche shell, use one batch and a 9-inch tart pan, rolling to 11 inches. Blind bake at 375°F (190°C) for 12 to 14 minutes with weights, since a thin shell browns faster.
Gluten-Free and Dairy-Free Swaps
Swap in a certified gluten-free 1-to-1 flour blend for the all-purpose flour, measure it by weight, and expect to add more water than usual. Gluten-free dough is thirsty and needs closer attention, so work it gently and chill it twice if it fights you.
For dairy-free, use solid coconut oil or a vegan butter block in the same 227 g. Coconut oil gives a distinct flavor, and vegan butter behaves most like dairy butter because of the added water in the formula. A liquid oil will not work: it never makes a flaky layer, and you will get a crumbly, short texture instead.
Both swaps change how the crust browns. Gluten-free and vegan versions tend to take on color faster, so start checking the edge at 30 minutes and pull it as soon as the base is dry to the touch.
Storage, Make-Ahead and Reheating
- Unbaked wrapped dough: 3 days in the fridge, or 3 months in the freezer. Thaw in the fridge overnight, never on the counter.
- Chilled formed shells in the pan: 2 days in the fridge if covered, or freeze the shell on a baking sheet until solid, then wrap. Bake from frozen, adding 5 to 8 minutes.
- Baked crusts, no filling: 2 days at room temperature in a loose cloth cover, or 2 months wrapped in foil in the freezer.
- Baked pie slices: 3 to 4 days in the fridge, covered. Cool fruit pies cool faster with a lattice top than a solid one.
The best make-ahead step is the one-hour chill after mixing. Shape the dough into two disks, wrap them separately, and refrigerate up to three days. That is genuinely all the planning a pie needs.
To reheat a whole pie, cover loosely with foil and warm at 350°F (175°C) for 15 to 20 minutes, until the center is just warm. Reheat individual slices on a baking sheet in the same oven for 10 minutes, which dries the bottom crust instead of steaming it. Avoid the microwave for fruit pies; the steam it produces is exactly what makes a soggy bottom.
What to Serve With It
- Whipped cream. A cup of cold heavy cream beaten to soft peaks, sweetened with a tablespoon of confectioners’ sugar. Best on apple or cherry.
- Vanilla ice cream. Let one scoop sit on the plate for 2 minutes before serving so it melts into the filling rather than sitting on top of it.
- A sharp green salad. Little gem lettuce with shaved radish, a squeeze of lemon, and olive oil cuts the sweetness of a fruit pie without weighing it down.
- Cheddar and apple slices. Thin aged cheddar beside a slice of savory chicken pot pie is the classic move, and it keeps the plate from feeling heavy.
- Fruit plus dairy. A bowl of sugared berries next to a wedge of a plain cream pie, or a drizzle of crème fraîche on a lemon or key lime pie to temper the acid.
For portion control, cut the pie into eight narrow wedges rather than six and serve two slim slices with a salad. The buttery lemon cheesecake tart on the same site uses a similar buttery shell, so the leftover dough from a double batch is already spoken for.
Frequently Asked Questions
Can I use all-purpose flour for this easy homemade pie crust recipe from scratch?
Yes, and it is what this recipe is built on. All-purpose flour has enough protein for structure and enough restraint to stay tender. Bread flour adds gluten and makes the crust chewier, cake flour makes it fragile and crumbly. For the best result, weigh the all-purpose flour at 300 g rather than measuring by volume, since a cup of flour can vary by 20 percent depending on how tightly it is packed. You can swap up to half for whole wheat flour for a nuttier crust.
Do I need to chill the pie dough before rolling it?
Yes, and one hour is the minimum that reliably works. Chilling firms the butter back up and relaxes the gluten that developed while you mixed, which is what stops the dough from shrinking and snapping back as you roll it. Twenty minutes works in a pinch if your kitchen is cool. If the dough gets harder after a long chill, leave it on the counter for 10 to 15 minutes before rolling until it bends without cracking.
Should I blind bake the crust for every pie?
No. Fruit pies with plenty of sugar, like apple or cherry, can go straight into a hot oven because the sugar and juice slow the cooking of the base. Any custard pie, including pumpkin, pecan, key lime, and lemon meringue, needs a fully baked shell first, or the filling will bake into a runny, unbrowned layer. Blind bake at 425°F (220°C) for 15 to 18 minutes with weights, then 5 to 7 minutes without them, and cool completely before filling.
Why is my homemade pie crust crumbly?
Crumbly dough is almost always dry, not overworked. Cold dough also feels crumbly before it has rested, so check the timing first: let a chilled disk sit at room temperature for 10 to 15 minutes. If it still breaks, add ice water one tablespoon at a time and pinch a piece to test. It should hold together without feeling wet. Overbaking also dries the crust, so pull it as soon as the base is dry and lightly golden, not brown.
How long can unbaked pie dough stay in the refrigerator or freezer?
Wrapped tightly in plastic wrap, unbaked pie dough keeps 3 days in the refrigerator and 3 months in the freezer. Thaw frozen dough in the fridge overnight and roll it while it is still cold. Formed shells in the pie plate can be covered and chilled for 2 days, or frozen on a baking sheet until solid. The main allergens in this dough are wheat and dairy, so label it clearly if you are cooking for someone with either restriction.
Make Your First Pie Crust
Weigh the flour, cut the butter into the cold, and let the dough chill before you do anything else. Those three things fix most of what goes wrong, and the rest is just rolling and a fork.
Use this easy homemade pie crust recipe from scratch for your first pie, save the second disk in the freezer, and you will stop buying the boxed one. The next one takes about ten minutes of actual work.