
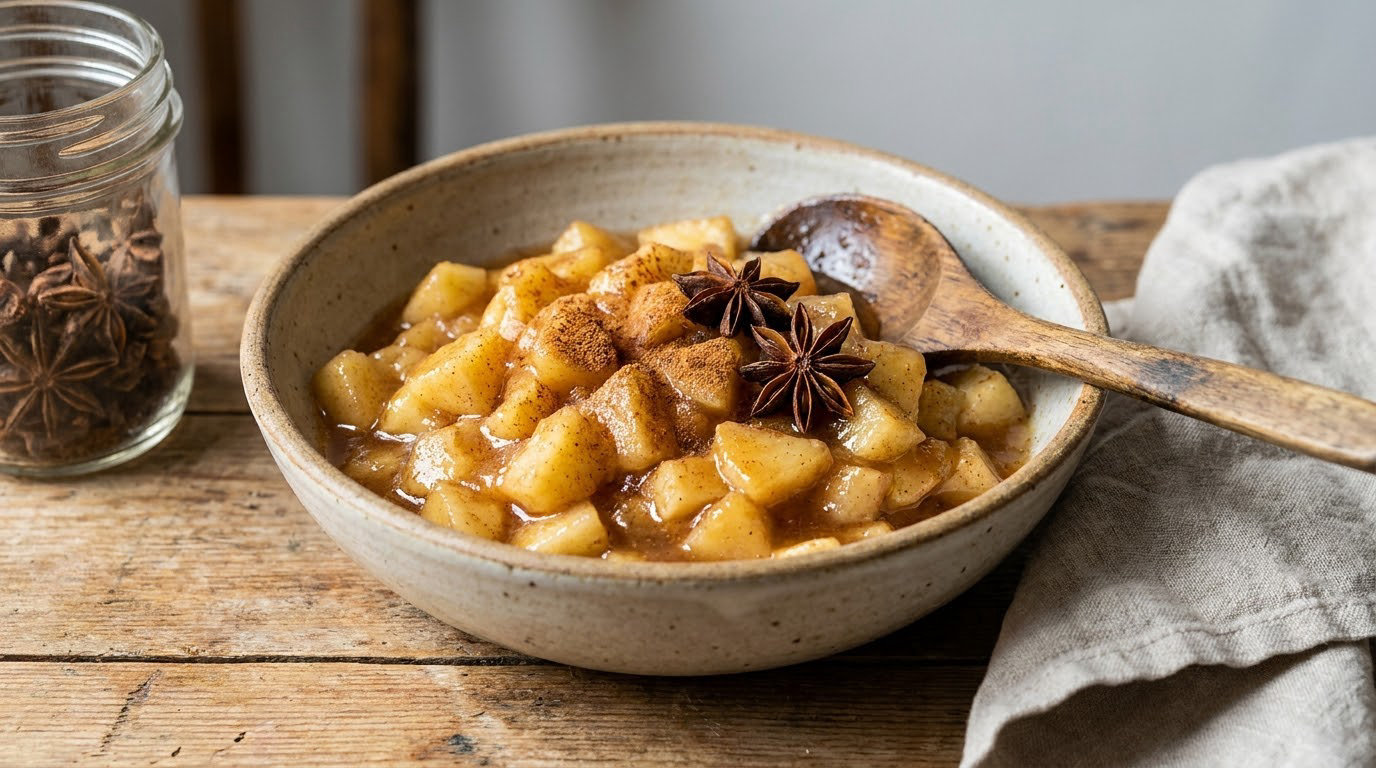
Easy homemade apple pie filling takes about 15 minutes on the stovetop using fresh apples, butter, sugar, cinnamon, and a cornstarch slurry. The fruit simmers down until the juices turn into a glossy sauce, then it thickens to a consistency that holds its shape instead of pooling in the bottom of the crust.
I make this every autumn when the grocery bags start filling with cheap apples nobody wants to eat raw. It fills a 9-inch pie, a batch of hand pies, an apple crisp, or three jars of filling you keep in the freezer for the week you finally get around to baking. If you have been avoiding the can of store-bought filling, this is the version to start with.
Here is what you need to know before you start: the filling is fully cooked before it goes anywhere near the crust, so plan about 25 minutes from cutting board to cooled pan, most of which is unattended simmering.
Table of Contents
Why This Easy Homemade Apple Pie Filling Recipe Works
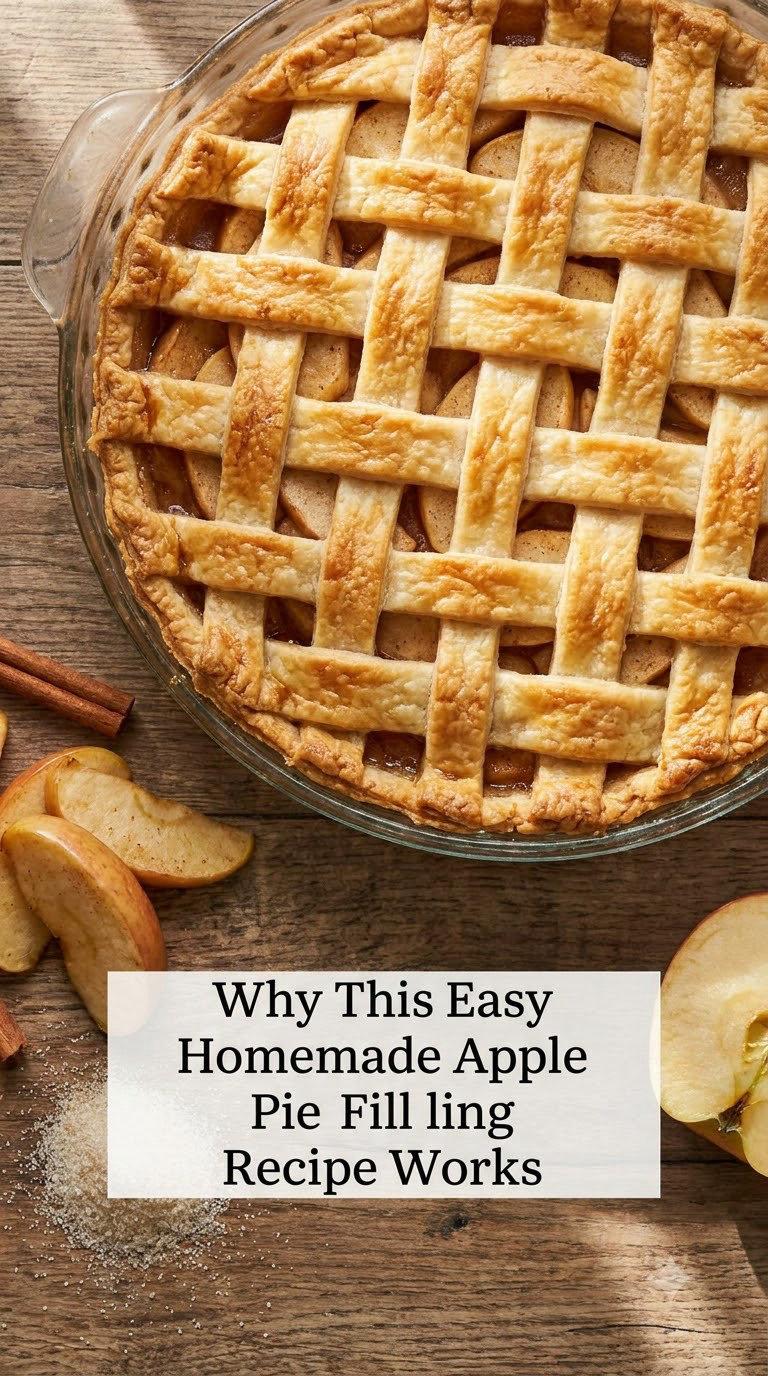
The whole trick is reducing first and thickening second. Apples dump a lot of water as they cook, and that water is what gives you a soggy bottom crust and a sunken gap between the filling and the top crust. By simmering the fruit on its own until the liquid drops by roughly half, you concentrate the flavor before any thickener goes in.
- Balanced flavor: A tart apple plus a sweet apple means you need less added sugar, and the cinnamon and nutmeg land on top of the fruit instead of tasting like sugar with some fruit in it.
- Glossy, spoon-coating texture: The cornstarch slurry is stirred in at the end and cooked until it bubbles and turns translucent. That is the visual cue that the starch has gelatinized and the filling will set.
- Short ingredient list: Apples, sugar, butter, lemon juice, cinnamon, nutmeg, salt, cornstarch and water. Nothing you need to special-order.
- Less than five minutes of active work: Slicing is the only real prep. Everything after that is stirring while the pot does its job.
- Useful yield: One batch makes about 3 cups, which is exactly what a 9-inch two-crust pie needs, plus a little extra for spooning over ice cream.
The filling also holds for four days in the fridge and three months in the freezer, so it works as a make-ahead project. Cool it fully, pack it flat in a container rather than a jar, and it comes back ready for a pie on a Tuesday.
Ingredients
This makes about 3 cups of filling, enough for one 9-inch pie.
- 5 medium apples (about 1.25 pounds / 570 g), a mix of one tart and one sweet variety, peeled, cored and sliced into 1/4-inch pieces
- 3/4 cup granulated sugar (150 g)
- 1/4 cup light brown sugar, packed (50 g)
- 2 tablespoons unsalted butter
- 2 tablespoons fresh lemon juice
- 1 teaspoon ground cinnamon
- 1/4 teaspoon ground nutmeg
- 1/8 teaspoon fine salt
- 3 tablespoons cornstarch (24 g)
- 3 tablespoons cold water, for the slurry
- 1 teaspoon vanilla extract, stirred in at the end
The brown sugar is not just for color. Its molasses edge rounds out the cinnamon and keeps the filling from tasting like plain sugar. The lemon juice does two jobs: it holds the apple slices from browning while you slice, and its acidity keeps the finished filling from tasting flat once the sugar has softened the fruit.
The salt is small but not optional. It sharpens the sweetness so you can get away with the full cup of sugar and still taste apples.
A few swaps work without changing the cup totals. Use dark brown sugar if you want a deeper, more molasses flavor. Use apple pie spice instead of the cinnamon and nutmeg if you prefer the premixed blend, or add half a teaspoon of cardamom for something warmer and less sweet. Skip the peels for a smoother filling, though you lose a little texture and color. You will also see that apple pie filling is endlessly adaptable, and I keep coming back to these easy apple cinnamon pop tarts when I want the same filling in a completely different shape.
Equipment
- A large skillet or 3-quart saucepan with a heavy bottom, so the sugar does not scorch on the way up
- A wooden spoon or silicone spatula that can sit in the pot through a long simmer
- A potato masher or sturdy fork for testing how soft the apples have gotten
- Measuring cups and spoons, plus 3 tablespoons of cold water set aside before you start
- A wide heat-safe spatula and a heatproof bowl for moving the finished filling into your crust
A mandolin makes the slicing faster, but a knife and a steady hand do the same job. The important piece is even thickness, because thin slices collapse while thick ones stay crunchy in the finished pie.
How to Make Easy Homemade Apple Pie Filling Recipe
Prepare and Flavor the Apples
- Peel, core and slice the apples. Work through the five apples and slice them into 1/4-inch pieces, cutting each one in half from top to bottom first so the pieces stay even. Toss the slices with the 2 tablespoons of lemon juice as you go.
- Melt the butter in the pan. Set the skillet or saucepan over medium heat and melt 2 tablespoons of butter, about 60 seconds, until it foams and smells nutty but has not browned.
- Add the fruit, sugar and spices. Tip in all the apple slices, then add 3/4 cup granulated sugar, 1/4 cup brown sugar, 1 teaspoon cinnamon, 1/4 teaspoon nutmeg and 1/8 teaspoon salt. Stir once to coat everything.
- Bring to a simmer and cook uncovered. Turn the heat up until the liquid at the bottom of the pan just starts bubbling, then drop it to a steady simmer. Cook 8 to 10 minutes, stirring every couple of minutes, until the slices have softened and the syrup at the bottom looks like light syrup rather than thin apple water.
- Check the reduction. Tip a spoon so the liquid pools, then give it a good stir in the pan for one full minute and look at the bottom of the spoon. If a bare ring of pan shows when you drag the back of the spoon through the sauce, the volume has come down about as far as it should. Mash a piece of apple against the side of the pan to check it: it should fold apart with no resistance.
Thicken the Filling
- Mix the slurry. Stir 3 tablespoons of cornstarch into 3 tablespoons of cold water in a small cup until no dry powder is left at the bottom. Use cold water. Warm water makes the starch clump on contact instead of dissolving.
- Add it and stir. Pour the slurry into the pan and stir constantly for 30 seconds while the pan is still over medium heat.
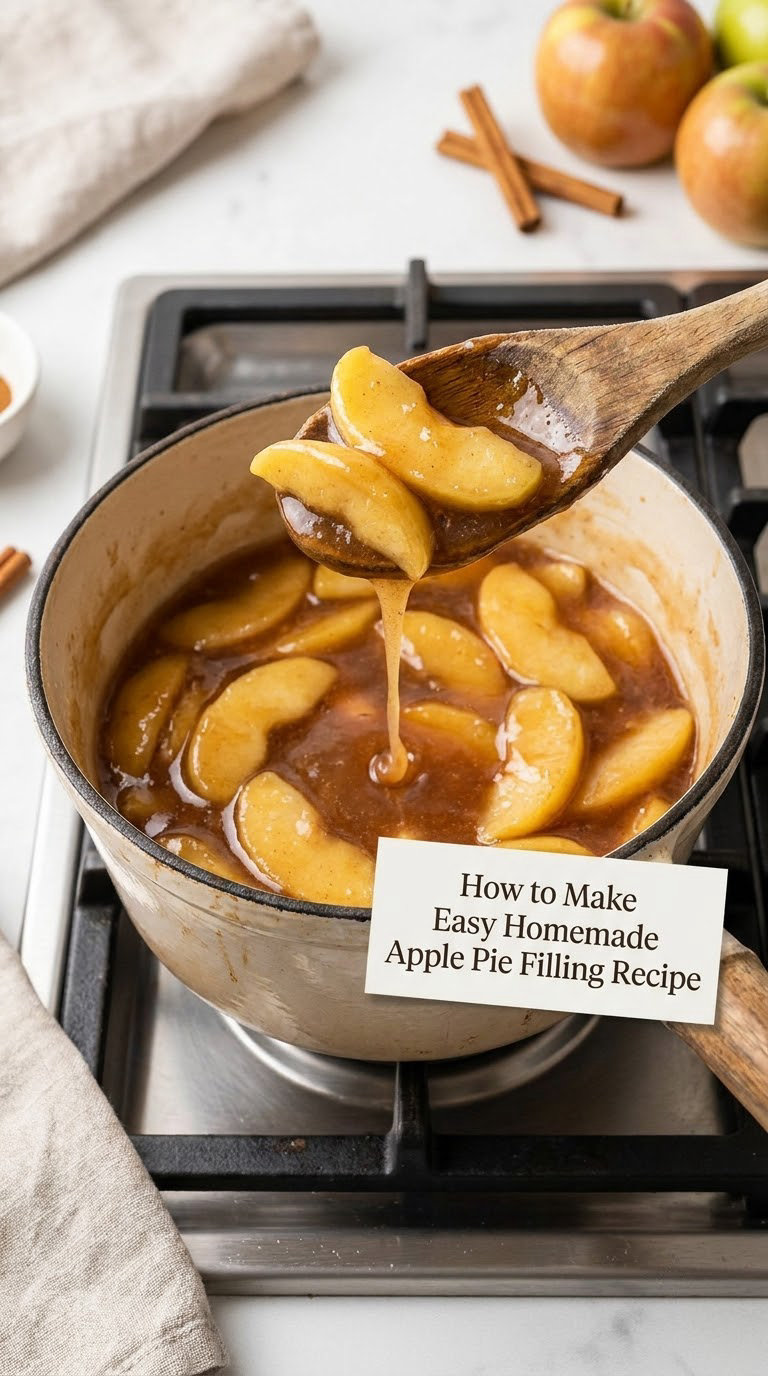
- Simmer to full bubbling. Bring the pan back to a simmer and cook 2 to 3 minutes, stirring nonstop, until the thick bubbles pop slowly at the surface and the sauce turns from cloudy to glossy and translucent. This is the doneness cue. If you stop short of this, the filling loses body in the oven.
- Test the set. Pull the spoon across the bottom of the pan. The filling should leave a clean trail that stays open for a couple of seconds before slowly closing, and the sauce should cling thickly to the spoon instead of pouring off it.
- Finish and cool. Take the pan off the heat, stir in 1 teaspoon of vanilla, and scrape the filling into a heatproof bowl. Let it cool uncovered until it is barely warm before it goes into a crust. Hot filling melts the butter in the dough and guarantees a soggy base.
Total time is about 25 minutes, with roughly 15 minutes of that at the burner and 10 minutes cooling. The filling thickens further as it cools, so judge it slightly looser than you want the finished pie.
Tips for Success
Most problems with homemade apple pie filling come down to a handful of common mistakes, and each one has a simple fix.
- The filling is watery. Give it more cook time before you add anything else. Put it back on medium heat, keep it at a simmer and stir every minute. You are looking for a reduction of about half. If it is still loose at the end, stir in another teaspoon of cornstarch mixed with a teaspoon of cold water and cook 2 more minutes.
- The filling is lumpy or gritty. The slurry went in too fast, or you dumped dry cornstarch straight into hot fruit. Dissolve the starch in cold water first, then add it while stirring. For lumps that are already there, push them through a fine mesh sieve or give the filling a quick blend with an immersion blender.
- The filling is cloyingly sweet. You used sweet apples such as Gala or Honeycrisp on their own. Next time add a Granny Smith to the mix and drop the sugar by a tablespoon or two. You can also add 2 tablespoons of fresh lemon juice at the end and taste again.
- The apples stay firm. They were thick-sliced or the cook time was too short. Slice to a quarter inch and mash a few pieces against the side of the pan during the last few minutes. That small amount of pressure breaks down the starch faster than simmering alone.
- The bottom of the pan scorches. Sugar burns fast once the liquid is gone, and chasing thickness is the number one way this filling turns to jam. Use a light-colored pan, stir more often in the final 3 minutes, and pull it off the heat as soon as the sauce turns glossy rather than cooking until it looks jam-thick.
- The filling turned gluey. Too much heat for too long after the starch went in. That texture cannot be rescued, but the next batch goes in at a bare simmer, not a rolling boil.
- The pie is weeping in the oven. The filling was still warm when it went into the crust. Cool it to room temperature first, and bake the bottom crust for 5 minutes before adding the filling if your recipe calls for it.
Thickener swaps if you are out of cornstarch
Cornstarch gives the glossiest, clearest set, but every option below works. Use the same volume and simmer the same way.
| Thickener | Amount for 3 cups of filling | Resulting texture | Best for |
|---|---|---|---|
| Cornstarch | 3 tbsp mixed with 3 tbsp cold water | Glossy and translucent, sets firm, stays smooth when cool | The default choice for baked pies |
| All-purpose flour | 3 tbsp mixed with 3 tbsp cold water | Opaque and creamy, slightly more rustic, can taste faintly raw if undercooked | Crisps and cobblers where you want a buttery set |
| Tapioca starch | 3 tbsp mixed with 3 tbsp cold water | Clear and glossy, tolerates boiling, freezes well | Berry-style pies and freezer batches |
| Arrowroot | 2 tbsp, since it thickens more strongly | Very clear and glossy, softens back up if it freezes | Fruit pies you will eat fresh |
| ClearJel (surer jell) | 1 tbsp, following the package for pie filling | Extra firm, holds slices upright, does not break down when canned | Canning, where a softer set will not keep |
| No thickener | None | Loose and syrupy, needs long cooling to firm up at all | Crisps and cobblers with a crumb top, not a two-crust pie |
One caution on canning. This recipe is written for the fridge and the freezer, and it has not been tested for shelf storage. If you want jars that keep on a pantry shelf, use a tested recipe from your county extension office or a canning-ball brand, and follow it exactly, including headspace and processing times.
Variations
- Caramel apple: Swap 1/3 cup of the granulated sugar for 1/3 cup of caramel sauce, or melt 1/3 cup of packed brown sugar into the butter before the apples go in. Pull the pan off the heat a minute earlier, since caramel scorches fast.
- Apple cranberry: Add 1 cup of fresh or frozen cranberries with the apples and leave the sugar at 3/4 cup. Cook 12 to 14 minutes and mash about a third of the berries against the side of the pan for a tart color throughout.
- Smooth filling for hand pies, muffins and turnovers: After step 8, mash the whole batch with a potato masher or pulse it in a blender until there are no chunks left. A smooth filling does not sink, so it will not leak out of a small crust.
- Lower sugar: Use 5 Granny Smith apples, cut the total sugar to 1/2 cup plus 1/4 cup brown sugar, and lean on 3/4 teaspoon cinnamon and 1 tablespoon apple cider vinegar. A tart apple mix carries more flavor than a sweet one, so you lose less.
- Not just for fall: Swap in pear slices for half the apples, or add a teaspoon of ginger and a pinch of cardamom for a winter version that tastes nothing like Thanksgiving.
When you want the whole apple treatment rather than one filling, our 10 easy apple recipes for fall baking cover the same season from crisps to turnovers.
How much filling for which pie
| Pie or dish | Filling needed | Apples |
|---|---|---|
| 9-inch two-crust pie | 3 cups | 5 medium |
| 9×13-inch pie or a two-crust pie with a lattice top | 5 to 6 cups, double the recipe | 9 to 10 medium |
| Hand pies or a muffin tin | 3/4 cup per six small pies | 1 large |
| Apple crisp in a 9-inch dish | 4 cups, since the crumb top drinks liquid | 7 medium |
Storage, Make-Ahead and Reheating
Cooked filling keeps in the refrigerator for 4 days in an airtight container, and it freezes for up to 3 months. Cool it completely before you lid the container, or you will get condensation and a watery surface.
Freeze it flat in a freezer bag or a shallow container rather than in a jar. A jar of hot-ish filling can crack, and the wide shape freezes faster and stacks better. Thaw it in the fridge overnight, or in a bowl on the counter for about 45 minutes.
This is a genuinely good make-ahead recipe. The filling holds for two days in the fridge, so you can cook it on a Saturday, chill a bowl for Sunday, and freeze the rest for a pie you have not thought about yet. Pastry dough rolls out better when it has rested in the fridge too, so cooking the filling first splits the work into two manageable pieces.
To reheat, warm it in a saucepan over low heat with a splash of water and stir until it loosens back to a spoon-coating consistency, about 3 to 4 minutes. Do not microwave it straight from the container. The edges get hot long before the middle does, and starch that has fully set will not mix back in evenly.
If the filling has been chilled and looks firmer than you remember, stir in a tablespoon of water or apple juice at a time until it relaxes. The same thing happens in the pan after a pie cools overnight.
What to Serve With It
Four pairings that actually work, depending on how heavy the meal was.
- Vanilla bean ice cream: Let a scoop sit on the warm filling for a minute so it melts into a sauce instead of staying in a block.
- Whipped cream with a little brown sugar: Beat the cream to soft peaks, then fold in a tablespoon of the leftover syrup from the bottom of the bowl for a very light sweetness.
- Sharp cheddar: A thin slice on the side, not on top. The salty tang cuts straight through the cinnamon and the sugar.
- Caramel sauce and toasted pecans: Warm the filling, spoon the caramel over it, and scatter the nuts for crunch against the soft fruit.
On a breakfast table, the same filling works as a topping for oatmeal, pancakes, and crepes. I keep a small portion back every time for exactly that reason, and it is the reason a single batch recipe makes sense at this size.
Frequently Asked Questions
Which apples are best for homemade apple pie filling?
Use a mix of one tart and one sweet apple for the most balanced flavor. Granny Smith, Braeburn, Honeycrisp, Gala, Fuji, and Jonagold all work well. Red Delicious is the one to skip: it turns mushy and holds its shape poorly once baked. A 50/50 tart-and-sweet blend means you need less added sugar than using sweet apples alone.
Should I bake the filling before putting it in the pie crust?
Yes. Cook the filling on the stovetop until the liquid has reduced by about half, then cool it to room temperature before it goes into the crust. Raw apples release a large amount of water as they bake, which is what causes a soggy bottom crust and a sunken gap between the filling and the top crust. Pre-cooking also lets you taste and adjust the sweetness before the pie is sealed.
How can I thicken apple pie filling without cornstarch?
All-purpose flour, tapioca starch, and arrowroot all work at 2 to 3 tablespoons per 3 cups of filling, mixed with cold water the same way you would mix a cornstarch slurry. Flour gives an opaque, creamy set, tapioca stays clear and glossy, and arrowroot softens after freezing. ClearJel sets firmer than any of them and is the option to use if the filling is headed for canning.
Can I freeze uncooked apple pie filling?
You can freeze raw sliced apples tossed with sugar and spices, but freeze the finished cooked filling instead. Cooking concentrates the juices before the starch goes in, which gives a thicker and better-flavored result than freezing raw fruit and re-cooking it later. Cool the filling fully, spread it flat in a freezer bag, and it keeps for up to 3 months.
Why is my apple pie filling still watery after baking?
Most often the filling was under-reduced before it went into the crust, or it was still warm. Simmer the filling uncovered until a spoon dragged across the bottom of the pan leaves a clean line that stays open for a couple of seconds, then cool it to room temperature. If you already baked the pie and the filling is loose, warm it in a saucepan and stir in another teaspoon of cornstarch mixed with a teaspoon of cold water.
Can I use this filling for hand pies or apple crisp?
Yes, with one adjustment for hand pies. Mash the cooked filling smooth with a potato masher or a few pulses in a blender so it stays put in a small crust rather than sinking to the bottom and leaking. For an apple crisp, use a slightly looser filling, about 4 cups for a 9-inch dish, because the crumb top soaks up liquid. Both use the same method, only the final consistency changes.
For another way to use the same fruit in the morning, the easy granola recipes on this site take the same warm apple-spice flavor in a completely different direction.
Conclusion
Cook the filling first, let it cool all the way to room temperature, and then assemble your pie. That cooling step is the one people skip, and it is the reason a good filling still ends up leaking.
This easy homemade apple pie filling recipe makes about 3 cups that will fill one 9-inch pie, and the same batch becomes hand pies, an apple crisp, a caramel dessert, or breakfast on top of oatmeal. Make it once on a Saturday afternoon and the freezer takes care of the rest of the autumn.