
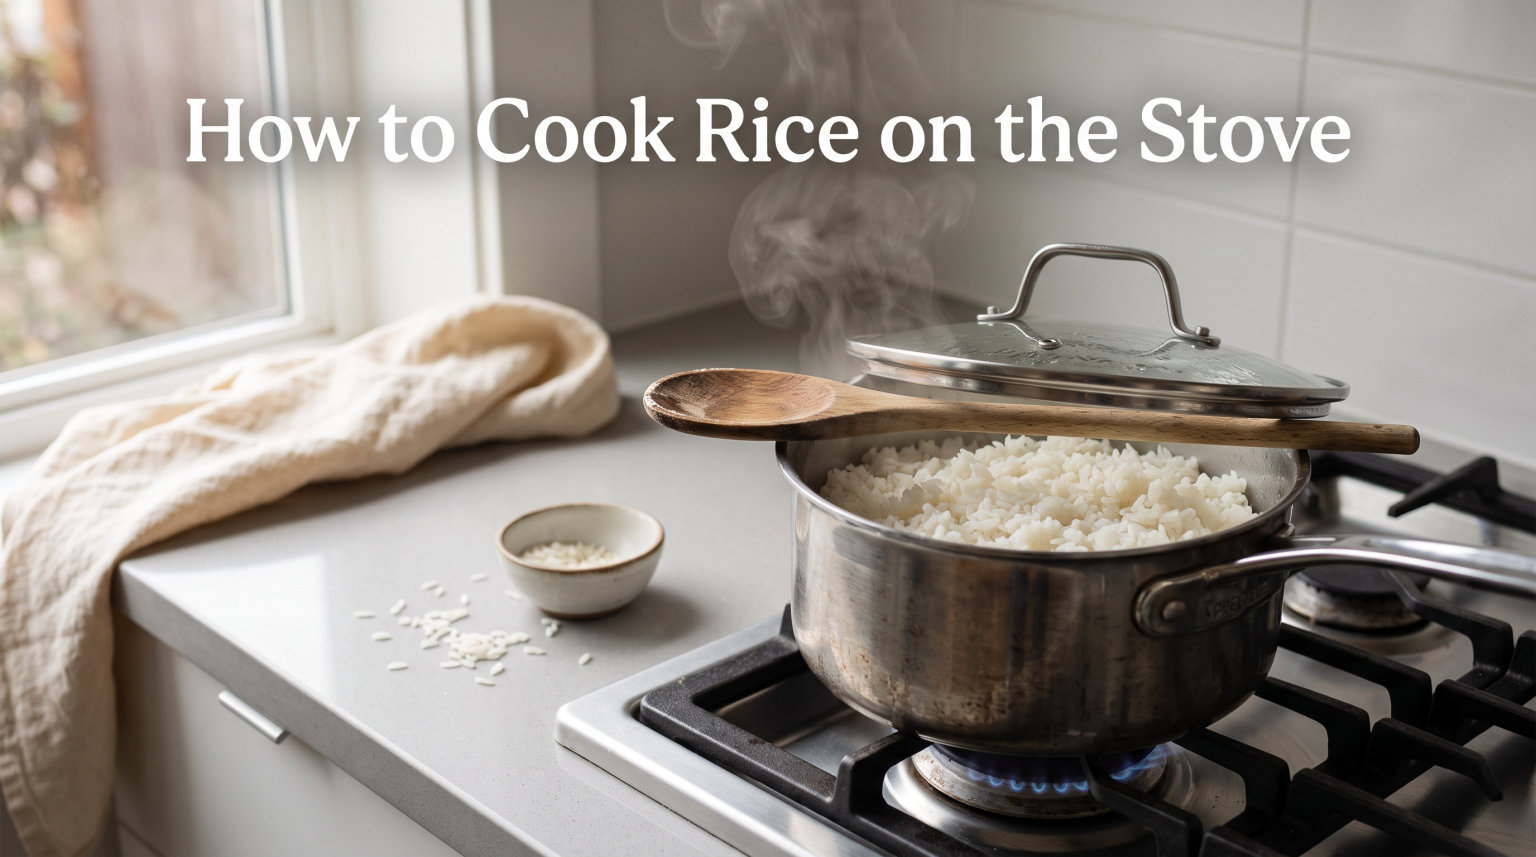
Learning how to cook rice on the stove comes down to matching the liquid to the rice variety, using a tight lid, and letting the pot rest before you fluff it. I will show you a dependable absorption method for long-grain white rice, then explain what changes for jasmine, basmati, brown, and short-grain rice.
The most useful rule is to treat package directions as the starting point because rice processing, pot width, and lid fit all affect evaporation. Once you note what works in your saucepan, repeatability becomes easy. If you prefer pressure cooking, compare this with my Instant Pot rice method.
Let me walk you through exactly how to cook rice on the stove so you get fluffy, separate grains that complement any meal.
Table of Contents
Quick Reference: Perfect Rice at a Glance
Here is everything you need to know in one place:
Ratio: 1 cup uncooked rice to 2 cups water Cooking time: 18 minutes simmering Resting time: 10 minutes off heat Yield: 3 cups cooked rice (serves 3-4)
That is the foundation. Everything else is just details to help you master the technique.
Why This Stovetop Method Works Every Time
Rice cooks through the absorption method. The grains slowly drink up water as they simmer, expanding and softening until tender. Getting this process right requires precise timing and patience.
The resting period at the end matters just as much as the cooking time. When you remove the pot from heat, residual steam continues to cook the rice gently. This final phase ensures evenly tender grains from top to bottom. Skipping this step often results in unevenly cooked rice with wet spots on top.
Not lifting the lid during cooking keeps the steam trapped where it belongs. Every time you peek, you release moisture that the rice needs to cook properly. Trust the process and leave that lid alone.
What You Need to Make Perfect Rice
Rice Selection
For this guide, I am focusing on long grain white rice. It is the most versatile and forgiving option for stovetop cooking. This includes standard white rice, basmati, and jasmine varieties.
Long grain rice produces fluffy, separate grains when cooked correctly. Medium and short grain rices tend to be stickier, which works great for sushi but requires slightly different handling.
Equipment
You do not need fancy equipment to cook rice. A heavy-bottomed saucepan with a tight-fitting lid works best. The heavy bottom distributes heat evenly and prevents scorching. I prefer a 2 to 3-quart pot for cooking 1 to 2 cups of uncooked rice.
The lid matters more than you might think. A tight seal keeps steam from escaping during the simmer phase. If your lid is loose, place a clean kitchen towel between the lid and pot to trap steam. Just make sure the towel hangs away from any flame.
Any pot material works: stainless steel, nonstick, or enameled cast iron. Nonstick makes cleanup easier but is not required. Stainless steel gives you the best browning if you want to toast your rice first.
Ingredients
Basic rice needs only rice, water, and salt. The salt is not optional in my kitchen. Unsalted rice tastes flat and one-dimensional. I use about 1/2 to 3/4 teaspoon of kosher salt per cup of uncooked rice.
You can substitute chicken or vegetable broth for some or all of the water. This adds subtle flavor that elevates plain rice to something special. If using broth, reduce the salt since broth already contains sodium.
A tablespoon of butter or oil added to the cooking liquid creates richer rice and helps prevent sticking. This is especially helpful if you are using a stainless steel pot.
The Water-to-Rice Ratio Explained
This is where most rice cooking goes wrong. Too much water gives you mushy rice. Too little leaves you with crunchy grains that never fully soften.
For long grain white rice, the magic ratio is 1 part rice to 2 parts water. That means 1 cup of uncooked rice needs 2 cups of water. This ratio accounts for the water the rice absorbs plus the steam that escapes during cooking.
You might see recipes calling for 1.5 cups of water per cup of rice. That works too and produces slightly firmer grains. I prefer the 2:1 ratio because it gives more forgiveness for beginners. The extra water creates a buffer against evaporation from peeking or loose lids.
Here is a handy scaling chart:
1 cup rice = 2 cups water (serves 3-4) 1.5 cups rice = 3 cups water (serves 5-6) 2 cups rice = 4 cups water (serves 6-8) 3 cups rice = 6 cups water (serves 9-12)
When scaling up, make sure your pot is large enough. Rice expands significantly as it cooks. Fill your pot no more than halfway with the combined rice and water.
Do You Need to Rinse Rice Before Cooking?
This question sparks endless debate in cooking forums. Here is my practical answer: for standard US-grown long grain white rice, rinsing is unnecessary.
Most rice sold in American supermarkets has been pre-rinsed and fortified with nutrients. Rinsing actually washes away those added nutrients and does not significantly improve texture for everyday eating.
However, rinsing matters for certain rice types and dishes. Always rinse basmati and jasmine rice to remove excess surface starch that makes grains clump together. If you are making sushi or want perfectly separate grains for fried rice, rinsing helps achieve that distinct texture.
To rinse, place rice in a fine-mesh strainer and run cold water over it until the water runs clear. This takes about 30 seconds to 1 minute. Drain well before adding to your pot.
If you are cooking standard long grain white rice to serve as a simple side dish, skip the rinsing and save yourself a step.
How to Cook Rice on the Stove: Step-by-Step
-
Measure: Put the rice, recommended liquid, salt, and optional butter in a heavy saucepan.
-
Boil: Bring the uncovered pot just to a boil over medium-high heat.
-
Cover: Stir once, reduce to the lowest steady heat, and seal with a tight lid.
-
Simmer: Cook without lifting the lid until the liquid is absorbed.
-
Rest: Remove from heat and leave covered for 10 minutes so steam redistributes.
-
Fluff: Separate the grains gently with a fork and serve.
Visual cue: When the rice is ready, the surface has small steam holes and no visible water. If it is still wet, cover and cook for two more minutes before resting.
Cooking Times for Different Rice Types
Not all rice cooks the same way. Here is how to adjust the basic method for different varieties:
Long Grain White Rice
This is your standard supermarket white rice. Use the 2:1 water ratio, simmer for 18 minutes, and rest for 10 minutes. Results in fluffy, separate grains perfect for serving as a side dish.
Basmati Rice
Rinse basmati rice first to remove excess starch. Use a 1.5:1 water to rice ratio for firmer grains. Simmer for 15 minutes, then rest for 10 minutes. Basmati cooks faster than standard long grain.
Jasmine Rice
Rinse jasmine rice before cooking. Use a 1.5:1 water ratio. Simmer for 15 minutes and rest for 10 minutes. Jasmine rice has a subtle floral aroma that pairs beautifully with Asian dishes.
Brown Rice
Brown rice takes significantly longer because the bran layer remains intact. Use a 2.5:1 water to rice ratio. Simmer for 45 to 50 minutes, then rest for 10 minutes. The grains will be chewier and nuttier than white rice.
If you are looking for diabetic-friendly rice options, brown rice is worth considering since the fiber content helps moderate blood sugar response compared to white rice.
Short and Medium Grain Rice
These varieties are starchier and produce stickier results. Use a 1.25:1 water ratio. Simmer for 18 to 20 minutes and rest for 10 minutes. Perfect for sushi or rice bowls where you want the grains to cling together.
Flavor Variations and Enhancements
Once you master basic rice, experiment with these flavor boosters:
Butter or Oil
Add 1 tablespoon of butter or olive oil per cup of uncooked rice. This creates richer flavor and helps prevent sticking. Add it when you combine the rice and water.
Aromatics
Toss a crushed garlic clove, a bay leaf, or a few sprigs of fresh thyme into the cooking water. Remove these before serving. The subtle aromatics elevate plain rice without overpowering your main dish.
Toast the Rice
For nuttier flavor, toast the dry rice in a tablespoon of oil over medium heat for 2 to 3 minutes before adding water. Stir constantly to prevent burning. This adds a subtle depth that works beautifully with Mexican and Middle Eastern dishes.
Cook in Broth
Substitute chicken, vegetable, or beef broth for all or part of the water. This transforms rice into a flavorful component that can stand on its own. Reduce added salt since broth contains sodium.
Herbs and Citrus
Stir in chopped fresh herbs like cilantro, parsley, or scallions after fluffing. A squeeze of fresh lemon or lime juice brightens the flavor. This works especially well for rice served with grilled proteins.
Common Rice Problems and Fast Fixes
-
Mushy rice: Use less liquid next time and avoid stirring after the boil.
-
Crunchy rice: Add two tablespoons of hot water, cover, and steam on low for three to five minutes.
-
Stuck bottom: Use a heavier pan and a lower flame; let the pot rest before scraping.
-
Boil-over: Move to a larger saucepan and lower the heat as soon as boiling begins.
-
Scorched layer: Transfer the unburned rice without scraping the bottom, then air out the grains briefly.
Cooling, Storing, and Reheating Cooked Rice
Cool leftovers promptly in shallow containers and refrigerate them. Reheat only the portion you need until steaming hot.
Federal cold-storage guidance provides general refrigerated leftover timing.
Cooked rice keeps well and makes excellent meal prep. Here is how to handle leftovers safely:
Cooling and Storing
Let cooked rice cool to room temperature within 2 hours of cooking. Spread it on a baking sheet to cool faster if needed. Transfer to an airtight container and refrigerate for up to 4 days.
For longer storage, freeze rice in portion-sized containers or freezer bags for up to 3 months. Flatten bags for faster freezing and easier stacking. Thaw overnight in the refrigerator or use the defrost setting on your microwave.
Reheating Methods
Microwave: Place rice in a microwave-safe dish with a damp paper towel over the top. Heat in 30-second intervals, fluffing between, until steaming hot. The moisture from the towel prevents drying.
Stovetop: Add rice to a pot with 1 to 2 tablespoons of water per cup of rice. Cover and heat over medium-low, stirring occasionally, until warmed through. About 5 minutes.
Fried rice: Cold, day-old rice actually works better for fried rice than fresh. The drier texture fries up beautifully without clumping.
What to Serve with Rice
Perfect rice deserves equally delicious companions. Here are my favorite pairings:
Stir fries: Chicken and broccoli, beef with peppers, or tofu with vegetables. The rice soaks up savory sauces beautifully.
Curries: Any curry works with rice. The mild flavor balances spicy, complex sauces. Try Thai green curry, Indian butter chicken, or Japanese curry.
Grilled proteins: Simple grilled chicken, salmon, or steak with rice and a vegetable makes a complete, balanced meal.
Rice bowls: Top rice with roasted vegetables, a protein, avocado, and a drizzle of sauce for an easy customizable dinner.
Fried rice: Transform leftover rice into a main dish by frying with vegetables, protein, soy sauce, and sesame oil.
Frequently Asked Questions
Should rice start in cold or boiling water?
Both approaches can work, but combining cold water and rice is simple for the absorption method. The important part is reducing the heat as soon as the pot boils.
Why should rice rest after cooking?
The covered rest lets trapped steam finish the firmest grains and spreads moisture more evenly through the pot.
Do I have to rinse white rice?
Rinsing removes loose surface starch and can make long grains more separate. Skip it only when the package says not to rinse or when a recipe relies on extra starch.
Can I double stovetop rice?
Yes, if the saucepan has enough room. Keep the ratio the same, use low heat, and expect the pot to take longer to reach a boil.
Can I use broth instead of water?
Yes. Choose a broth whose salt level suits the meal, and keep the total liquid volume unchanged.
Stovetop Rice Recipe Card
Prep: 2 minutes | Simmer: 15-18 minutes | Rest: 10 minutes | Serves: 3-4
Recipe Ingredients
-
1 cup long-grain white rice
-
Liquid according to the package ratio
-
½ to ¾ teaspoon kosher salt
-
1 tablespoon butter or olive oil, optional
Instructions
-
Combine the rice, liquid, salt, and optional fat in a heavy saucepan.
-
Bring just to a boil uncovered over medium-high heat.
-
Reduce to low, cover tightly, and simmer without lifting the lid.
-
Remove from heat when the liquid is absorbed and rest covered for 10 minutes.
-
Fluff gently with a fork and serve.
Conclusion
Once you know how to cook rice on the stove, the method becomes a flexible foundation for weeknight bowls, curries, stir-fries, and meal prep. Match the liquid to the variety, keep the lid closed, and give the rice its full resting time; those three habits matter more than chasing one universal ratio.