
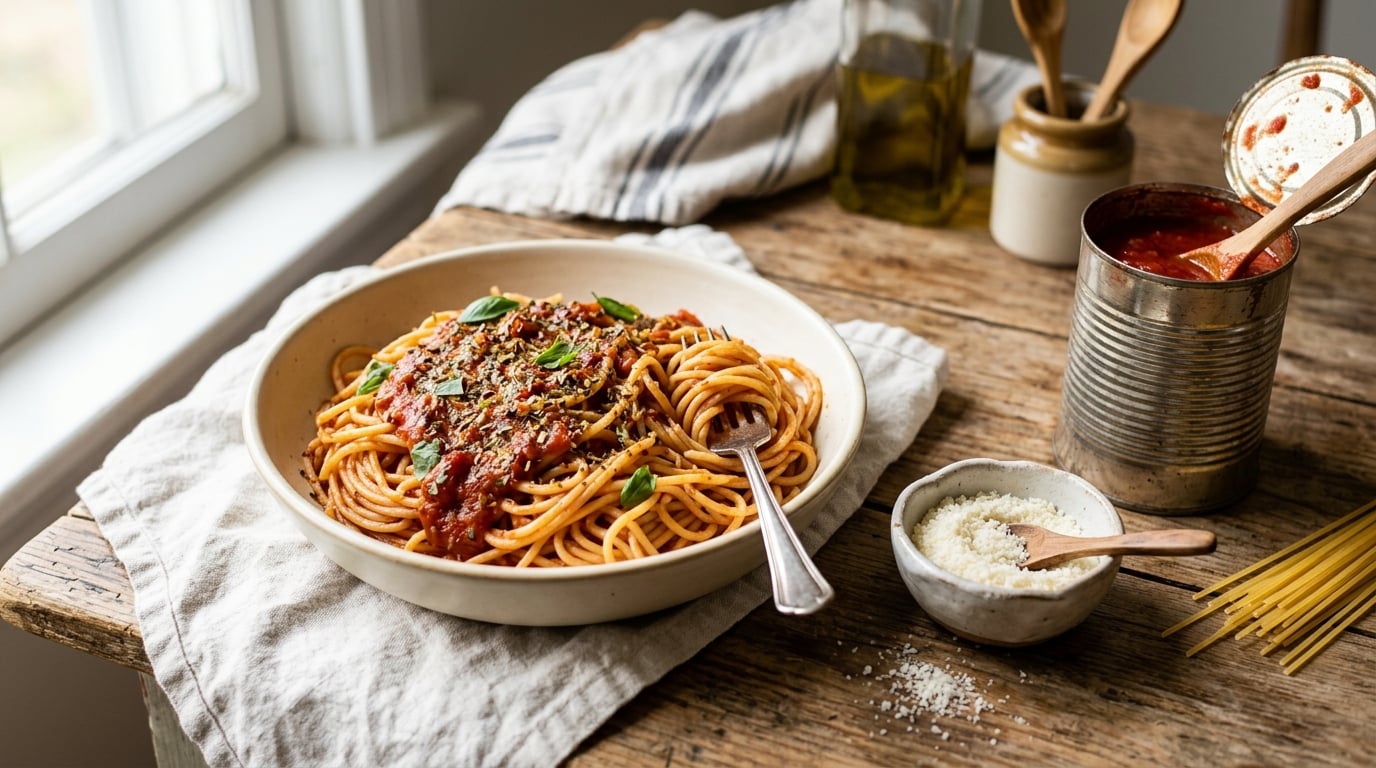
Easy dinner ideas using pantry staples only are the answer to the 6pm problem: you are home late, there is nothing fresh in the fridge, and the last thing you want is another grocery run. A pantry dinner is any meal built from shelf-stable ingredients you already keep on hand — canned beans and tomatoes, dried pasta and rice, lentils, eggs, broth, canned fish, and a small shelf of seasonings — so you can put a real dinner on the table without leaving the house.
These twelve are not “canned soup again.” Each one is a complete recipe with quantities, times and doneness cues, and most land on the table in under 30 minutes. Every recipe below stays inside the 3-4 day refrigerator window for cooked food, and I have flagged the ones that freeze well for a night when you really do not want to cook. If your cupboard is thinner than mine, start at the end and work backward; my pantry rescue dinner list covers the emptier case in more detail.
Table of Contents
Easy Dinner Ideas Using Pantry Staples Only at a Glance
Here is the whole list before you commit. Every dish is written out in full below, in the same order.
| Recipe | Time | Difficulty | Best for |
|---|---|---|---|
| 1. Pantry Tomato Basil Pasta | 20 min | Easy | The busiest weeknight |
| 2. Garlic Powder Chickpea Fried Rice | 15 min | Easy | Using up cold cooked rice |
| 3. Creamy Mushroom Pasta | 25 min | Easy | Comfort food on a cold night |
| 4. Black Bean and Rice Burrito Bowls | 15 min | Easy | Meal prep and picky eaters |
| 5. Golden Sardine and Tomato Toast | 15 min | Easy | When you refuse to cook |
| 6. Tuna and White Bean Salad | 10 min | Easy | No cooking at all |
| 7. Pantry Mac and Cheese with Canned Tomatoes | 30 min | Easy | Kids and picky households |
| 8. Lentil and Vegetable Soup | 35 min | Easy | One pot, batch cooking |
| 9. Canned Chicken and Rice Quesadillas | 20 min | Easy | Fast family dinner |
| 10. Creamy Potato and Pea Curry | 25 min | Easy | Vegetarian nights |
| 11. Baked Beans and Sausage Tray | 35 min | Easy | Sheet pan, hands-off |
| 12. Tomato and Lentil Stuffed Peppers | 40 min | Medium | Make ahead and freezing |
1. Pantry Tomato Basil Pasta
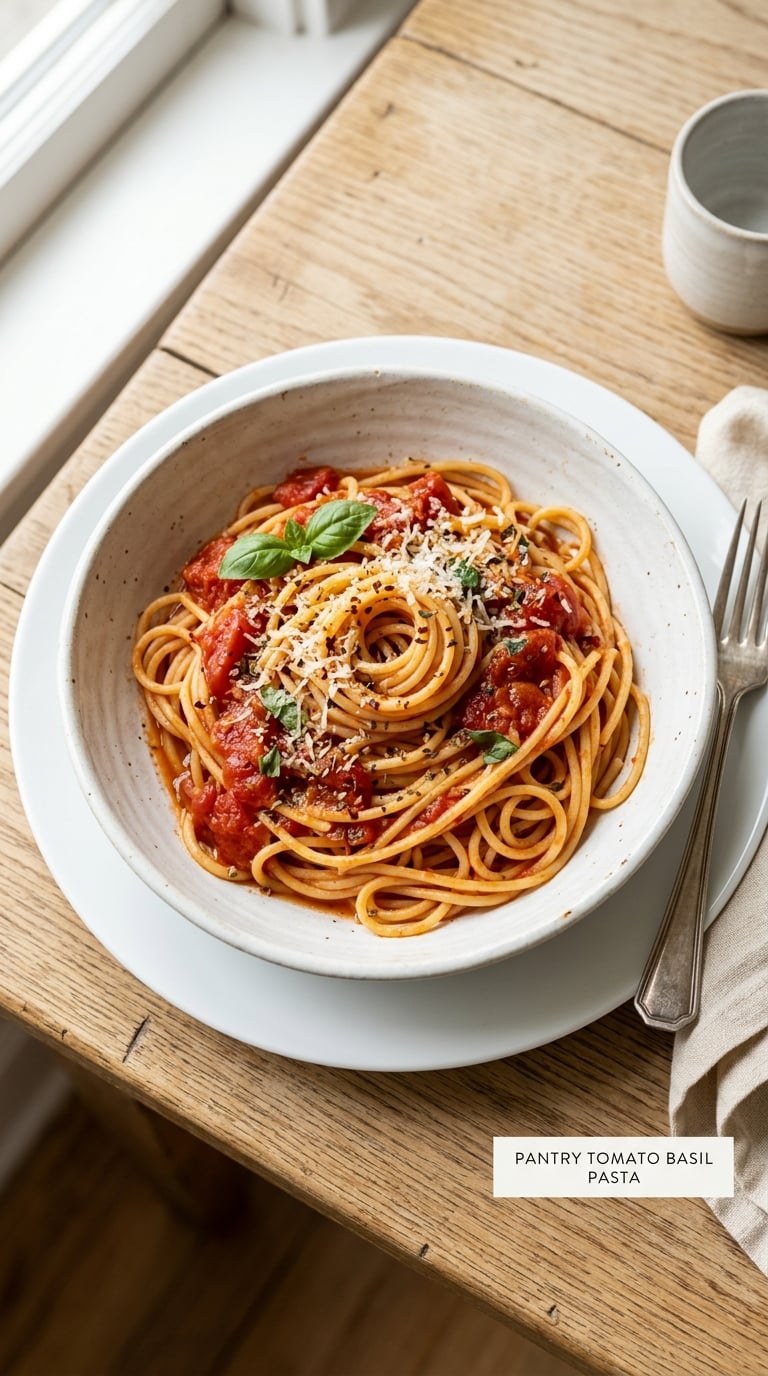
This is the recipe I make when the day has already used up all my patience. Canned tomato sauce, dried spaghetti, garlic and dried herbs make a dinner that tastes deliberate rather than like a fallback, and the whole thing happens in one pot.
Yield: 4 servings · Prep: 5 min · Cook: 15 min · Total: 20 min · Difficulty: Easy
Ingredients
- 12 oz dried spaghetti
- 2 tbsp olive oil
- 3 garlic cloves, thinly sliced
- 1/4 tsp red pepper flakes (optional)
- 1 (28 oz) can crushed tomatoes or tomato sauce
- 1 tsp dried basil or Italian seasoning
- 1/2 tsp salt, plus more for the pasta water
- 1/4 cup grated Parmesan or Pecorino, plus more to serve
Instructions
- Bring a large pot of salted water to a boil and cook the spaghetti until just shy of al dente, about 8 minutes. Scoop out 1 cup of the water before draining.
- Warm the olive oil in the same pot over medium heat. Add the garlic and red pepper flakes and cook until the garlic is fragrant and pale gold, about 1 minute. Do not let it brown.
- Pour in the crushed tomatoes, the dried basil and the salt. Simmer for 6 to 8 minutes, stirring now and then, until the sauce thickens and no longer looks watery.
- Return the drained spaghetti to the pot with a splash of the reserved pasta water. Toss for 1 minute so the sauce clings to every strand.
- Turn off the heat, fold in most of the cheese, and spoon into bowls. Top with the remaining cheese.
Tip: The cup of pasta water is what makes the sauce cling instead of sliding off. Add it a splash at a time and toss, and you will not need the extra oil.
Swap it: No tomato sauce on hand? Use a can of diced tomatoes with a pinch of sugar and simmer 10 minutes longer. Gluten-free pasta cooks the same way and does not need any adjustment.
Storage: Keeps 3-4 days refrigerated; let the sauce cool uncovered on the counter for 20 minutes first, then cover. Reheat in a splash of water over low heat until steaming hot.
2. Garlic Powder Chickpea Fried Rice
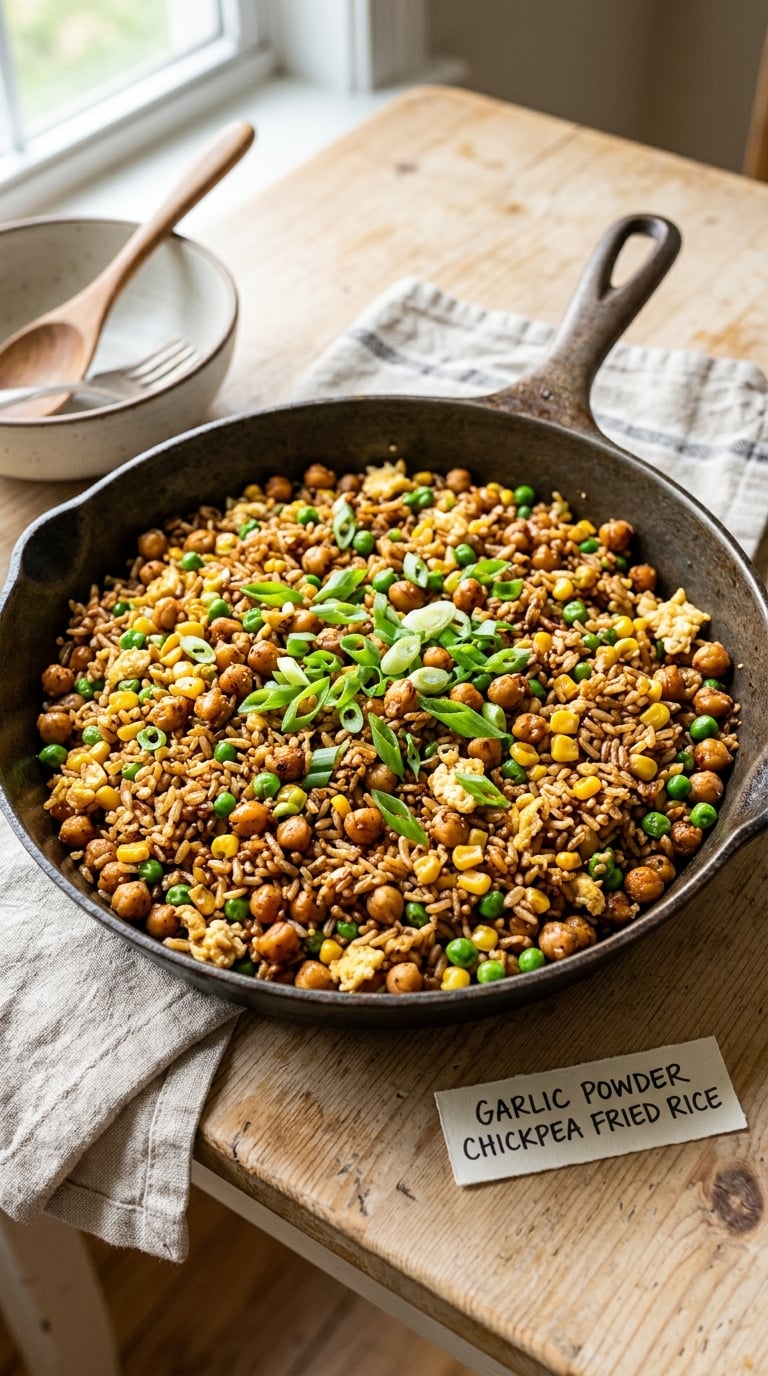
Egg fried rice built from rice cooked the night before is the canonical pantry dinner, and adding chickpeas turns it into something with actual staying power. It is also the fastest thing on this list — 15 minutes start to finish.
Yield: 4 servings · Prep: 5 min · Cook: 10 min · Total: 15 min · Difficulty: Easy
Ingredients
- 3 cups cooked long grain rice, cold (about 1.5 cups dry, cooked the day before)
- 1 tbsp oil
- 1 (15 oz) can chickpeas, drained and rinsed
- 1 cup frozen mixed vegetables
- 2 large eggs
- 3 garlic cloves, minced
- 3 tbsp soy sauce
- 1 tsp garlic powder
- 1/2 tsp black pepper
- 2 green onions, sliced (optional)
Instructions
- Heat the oil in a large skillet over medium-high heat. Scramble the eggs in the pan until they are set with no wet liquid left, cooking them to 160°F (71°C).
- Scoop the eggs onto a plate and return the skillet to the heat over medium-high.
- Add the frozen vegetables and the chickpeas. Cook for 4 to 5 minutes, stirring, until the vegetables are hot and the chickpeas have a little color on them.
- Push everything to one side. Add the minced garlic to the empty half and cook 30 seconds until fragrant.
- Add the cold rice and press it into an even layer. Leave it undisturbed for 2 minutes so the bottom toasts, then stir and repeat once.
- Pour the soy sauce around the edge of the pan, add the garlic powder and black pepper, and toss for 1 minute. Return the scrambled egg, fold it through, and top with green onion.
Tip: Rice that has been properly chilled is the whole recipe. Freshly cooked rice steams instead of frying and turns into a sticky, pale mess. Spread it on a tray to cool fast if you are cooking earlier in the day.
Swap it: Swap the eggs for extra chickpeas to keep it vegan, or use edamame in place of the chickpeas for a greener, sweeter bowl.
Storage: Keeps 3-4 days in the fridge. Cool the rice within 2 hours of cooking, and refrigerate it in a shallow container. It reheats best in a hot dry skillet for 4 minutes rather than in the microwave.
3. Creamy Mushroom Pasta
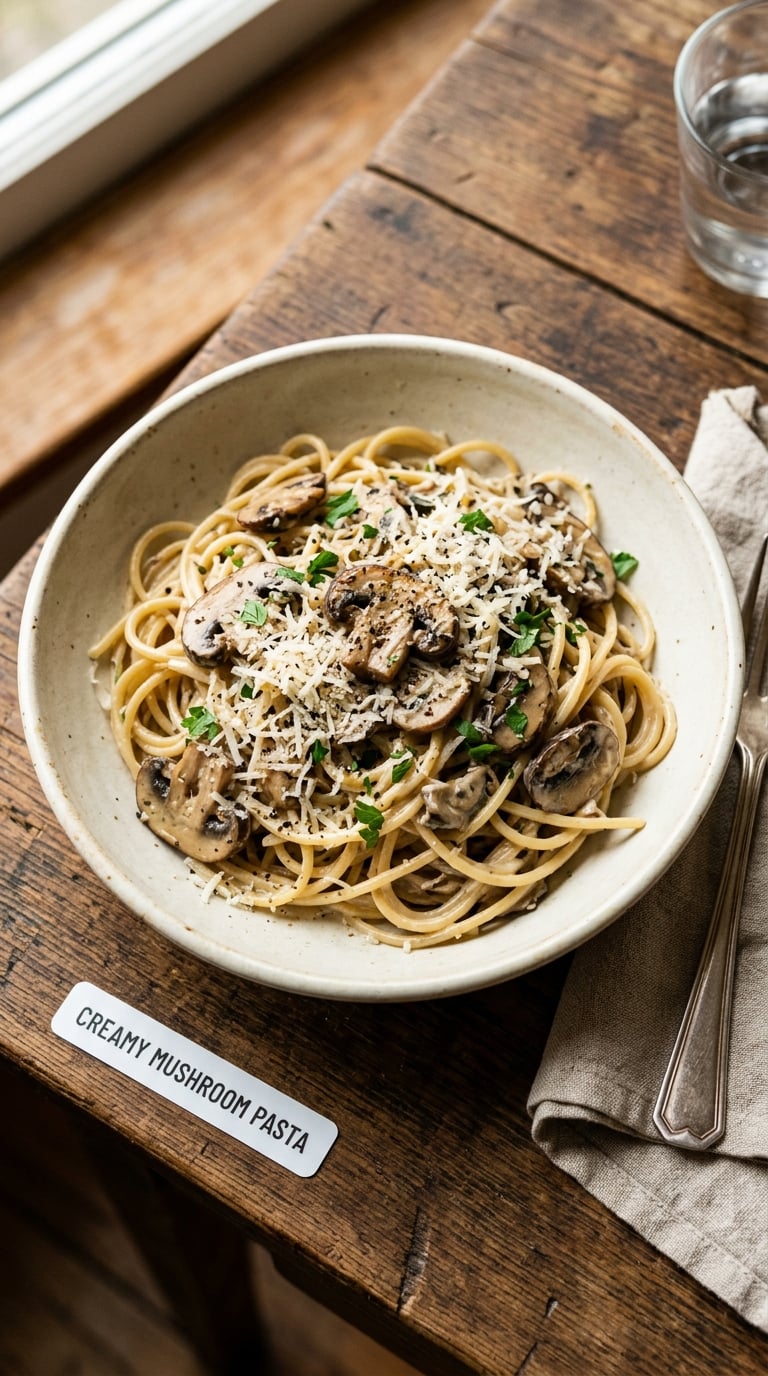
Canned mushrooms and condensed soup turn into a genuinely rich sauce in the time it takes to boil water. This is the one I make when someone in the house has had a bad day and needs something warm and unhurried.
Yield: 4 servings · Prep: 5 min · Cook: 20 min · Total: 25 min · Difficulty: Easy
Ingredients
- 12 oz dried spaghetti or penne
- 1 tbsp olive oil
- 1 (8 oz) can mushrooms, drained and sliced
- 2 garlic cloves, minced
- 1 (10.5 oz) can condensed cream of mushroom soup
- 1 cup milk
- 1/2 tsp garlic powder
- 1/4 tsp black pepper
- 1/2 cup grated Parmesan
- 1/4 cup chopped parsley or dried parsley (optional)
Instructions
- Cook the pasta in well-salted boiling water until al dente, 9 to 11 minutes. Reserve 1 cup of pasta water, then drain.
- Heat the olive oil in a wide skillet over medium heat. Add the sliced mushrooms and cook without moving them for 3 minutes, until they brown. Add the garlic for the last 30 seconds.
- Stir the condensed soup and the milk into the skillet. Add the garlic powder and black pepper and simmer gently for 4 minutes, stirring, until the sauce coats the back of a spoon.
- Lower the heat and stir in the drained pasta with a third of the pasta water. Toss for 2 minutes until glossy.
- Turn off the heat, fold in the Parmesan, and season with a pinch of salt. Finish with parsley and more black pepper.
Tip: The sauce looks thin in the pan and thickens as it hits the hot pasta. Resist the urge to add more milk; if it still looks loose when it hits the bowl, the pasta water is your fix, not the carton.
Swap it: A can of drained sardines works in place of the mushrooms for a more assertive version, or use gluten-free pasta and a dairy-free condensed soup for a gluten-free and dairy-free dinner.
Storage: Keeps 3-4 days refrigerated. Reheat on the stove over low heat with a tablespoon of milk, stirring, until the sauce comes back together and the center is steaming.
4. Black Bean and Rice Burrito Bowls
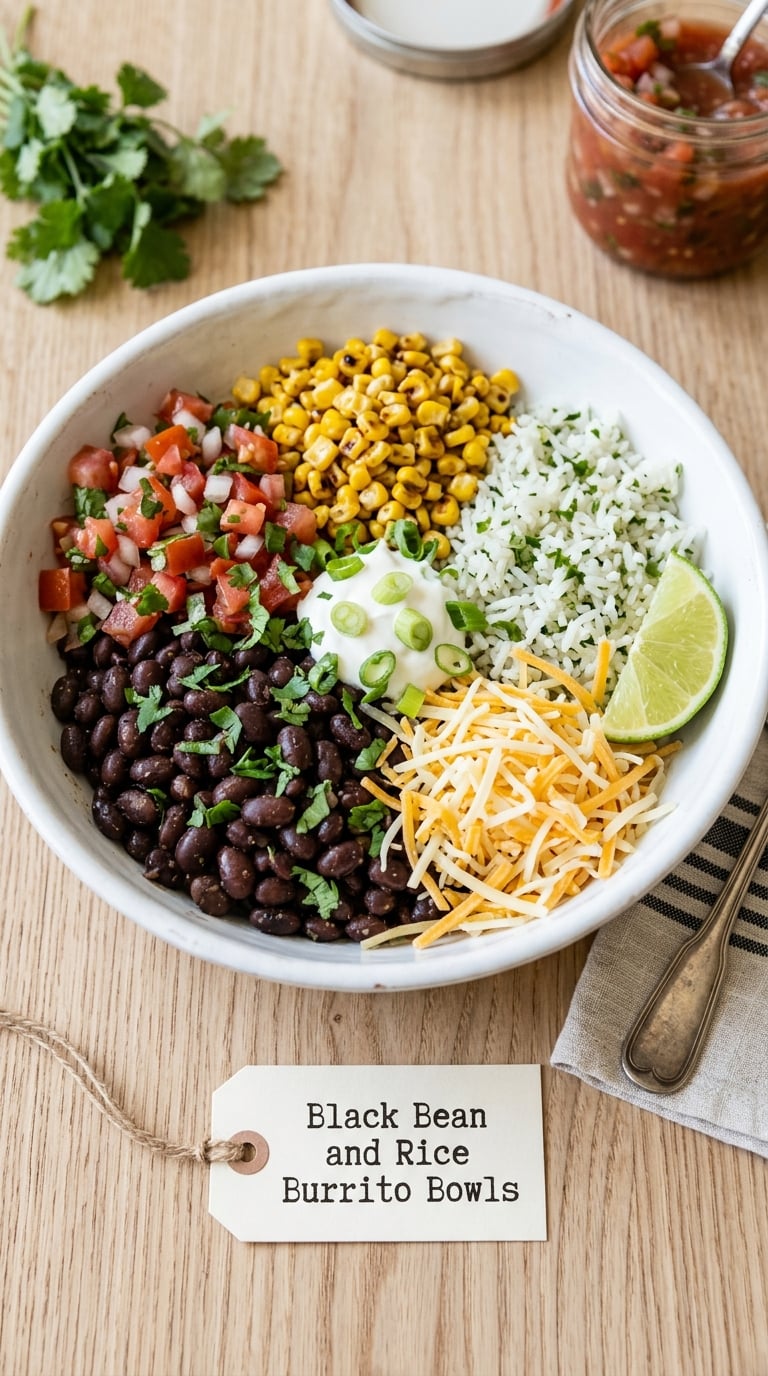
A can of black beans, cooked rice and a jar of salsa, arranged in sections so everyone builds their own bowl. Nothing here needs cooking beyond reheating, which makes it the practical choice for a weeknight with mixed tastes.
Yield: 4 servings · Prep: 5 min · Cook: 10 min · Total: 15 min · Difficulty: Easy
Ingredients
- 3 cups cooked long grain rice, hot
- 1 (15 oz) can black beans, drained and rinsed
- 1 (15 oz) can corn, drained
- 1/2 cup salsa
- 1 tsp garlic powder
- 1/2 tsp ground cumin
- 1/2 tsp smoked paprika
- 1/4 cup shredded cheese
- 1 tbsp olive oil (optional)
- 1 lime or a splash of vinegar (optional)
Instructions
- Warm the black beans in a small saucepan with the garlic powder, cumin, smoked paprika and a splash of water. Simmer for 5 minutes, stirring, until the beans look glossy and the liquid has reduced to a thin coating.
- Warm the corn in a dry skillet over medium heat for 3 minutes, shaking the pan now and then, until a few kernels start to pop and brown.
- Season the hot rice with a small pinch of salt and the juice of half a lime, or a splash of vinegar if you have no lime.
- Warm the salsa in the same skillet for 1 minute, just until it smells like tomato rather than cold salsa.
- Arrange the rice, beans, corn and salsa in separate sections of four bowls. Top with the shredded cheese and serve.
Tip: Warming the beans with a little water rather than oil is what makes them taste seasoned rather than simply reheated. A tablespoon of oil at the end is optional.
Swap it: Pinto beans work the same way, and cooked lentils heat in 3 minutes instead of 5. To keep it plant-based as written, use a dairy-free shredded cheese or a spoonful of guacamole if you have it.
Storage: The components keep 3-4 days separately in the fridge. Store the rice and beans apart from the salsa and corn so nothing goes soggy, and rebuild bowls through Thursday.
5. Golden Sardine and Tomato Toast
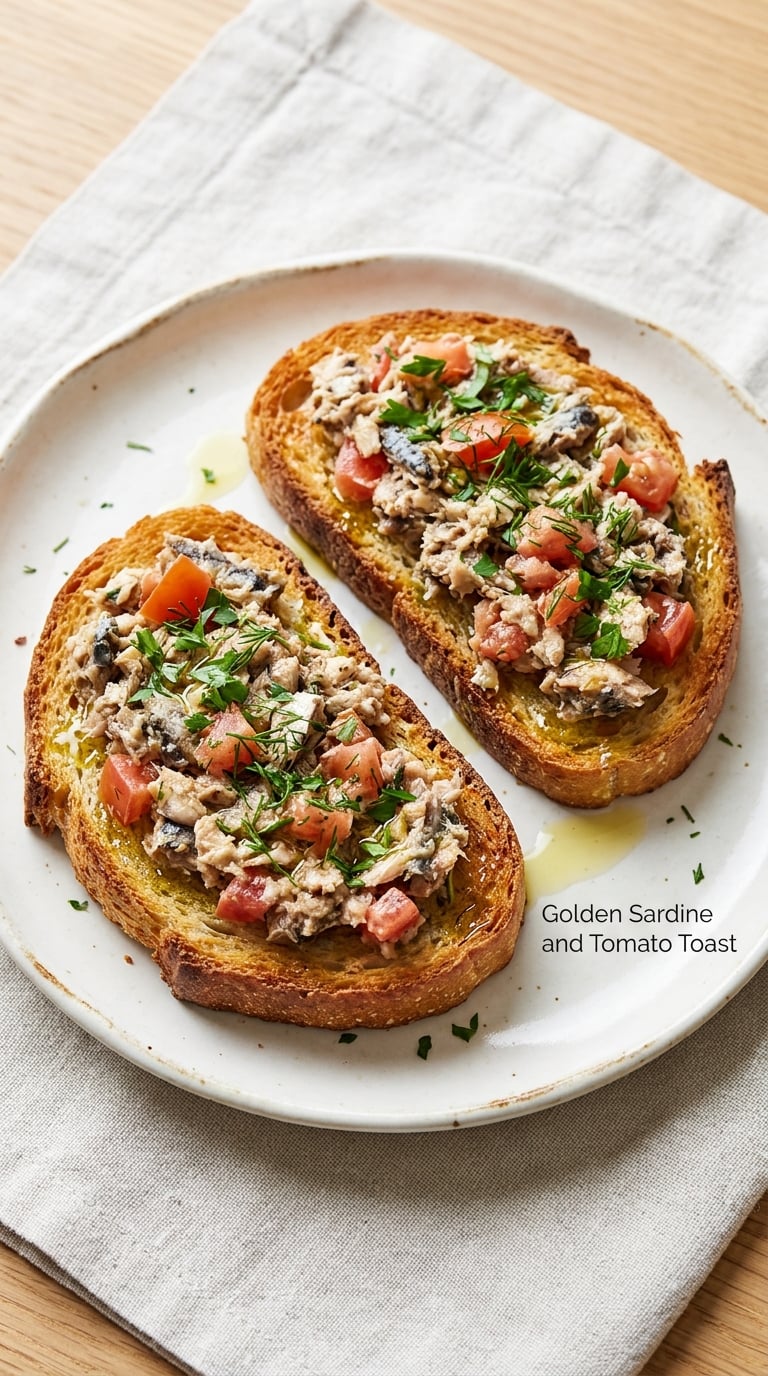
Sardines are the most underrated thing in a pantry: shelf-stable, high in protein, and ready in the time it takes to toast bread. Once you mash them with tomato and garlic, most people who refuse them on principle change their mind.
Yield: 2 servings · Prep: 5 min · Cook: 10 min · Total: 15 min · Difficulty: Easy
Ingredients
- 1 (4.75 oz) can sardines in oil or water, drained
- 1/2 cup canned crushed tomatoes
- 1 slice bread per person, plus a second slice for dunking
- 1 garlic clove, halved
- 1 tbsp olive oil
- 1 tsp lemon juice or red wine vinegar
- 1/2 tsp red pepper flakes (optional)
- 1 tbsp chopped parsley or dried parsley (optional)
Instructions
- Drain the sardines well and put them in a bowl. Mash with a fork until most of the bones have broken down into the fish — the small soft bones are edible and disappear when mashed.
- Stir in the crushed tomatoes, the lemon juice or vinegar, the red pepper flakes and the parsley. Leave it to sit while the bread toasts.
- Toast the bread until both sides are deeply golden and firm to the touch, about 4 minutes total. Rub the cut side of the garlic clove over the hot toast.
- Drizzle the toast with olive oil, then pile the sardine mixture on top. Cut each slice in half.
Tip: Toast the bread a shade darker than feels right. A crisp slice holds the topping instead of going soft under it, and the garlic needs hot bread to release any flavor at all.
Swap it: Canned mackerel or canned trout work identically. If fish is out, use a can of white beans with the same tomato and garlic treatment, which keeps the toast but loses the fish.
Storage: The mashed topping keeps 2 days refrigerated in a covered container, and keeps 2 months frozen on a small sheet of parchment. Toast fresh bread each time; the topping alone is what freezes well.
6. Tuna and White Bean Salad
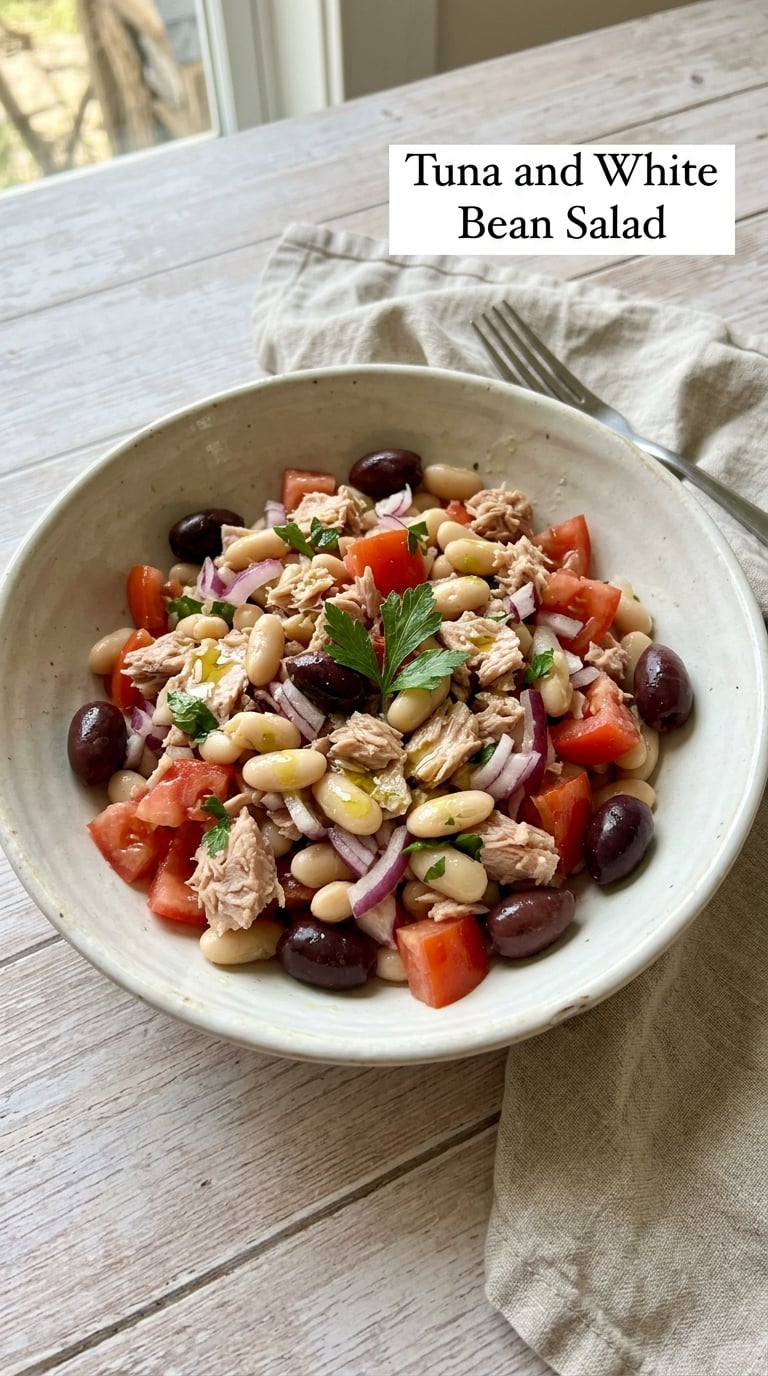
No stove, no pan, no waiting. This is the dinner for the night you get home at nine and the honest answer is that nothing is happening in the kitchen. Cannellini beans are the reason it eats like a meal rather than a snack.
Yield: 3 servings · Prep: 10 min · Cook: 0 min · Total: 10 min · Difficulty: Easy
Ingredients
- 1 (5 oz) can tuna in water or oil, drained
- 1 (15 oz) can cannellini beans, drained and rinsed
- 1/2 cup canned tomatoes, roughly chopped, or drained canned diced tomatoes
- 1/4 cup red onion, finely chopped
- 2 tbsp olive oil
- 1 tbsp red wine vinegar or lemon juice
- 1 tsp Dijon mustard
- 1/2 tsp garlic powder
- Salt and black pepper to taste
- 1/4 cup olives, pitted and chopped (optional)
Instructions
- Drain and rinse the beans, then drain them again. Rinsing removes the starchy can liquid that otherwise makes the salad taste flat.
- Whisk the olive oil, the vinegar, the mustard, the garlic powder, a pinch of salt and a few grinds of pepper in a small bowl until the dressing looks slightly thickened.
- Flake the tuna into large pieces rather than shredding it to mush. Combine it with the beans, the tomato and the red onion.
- Pour the dressing over the bowl and fold gently with a large spoon. Taste, then adjust the acid — canned beans eat more vinegar than you expect.
- Chill for 10 minutes if you have the time, or eat it right away over toast or crackers.
Tip: The texture varies more than any recipe here. Beans straight from the can are soft and creamy; if you want more bite, chill the dressed salad 30 minutes. Neither is wrong.
Swap it: Chickpeas hold their shape better and work in the same dressing. For a grain-free version, serve it in lettuce cups or with a handful of crackers instead of bread.
Storage: Keeps 3-4 days refrigerated in a sealed container. It is one of the few things here that is arguably better on day two, so make the full batch.
7. Pantry Mac and Cheese with Canned Tomatoes
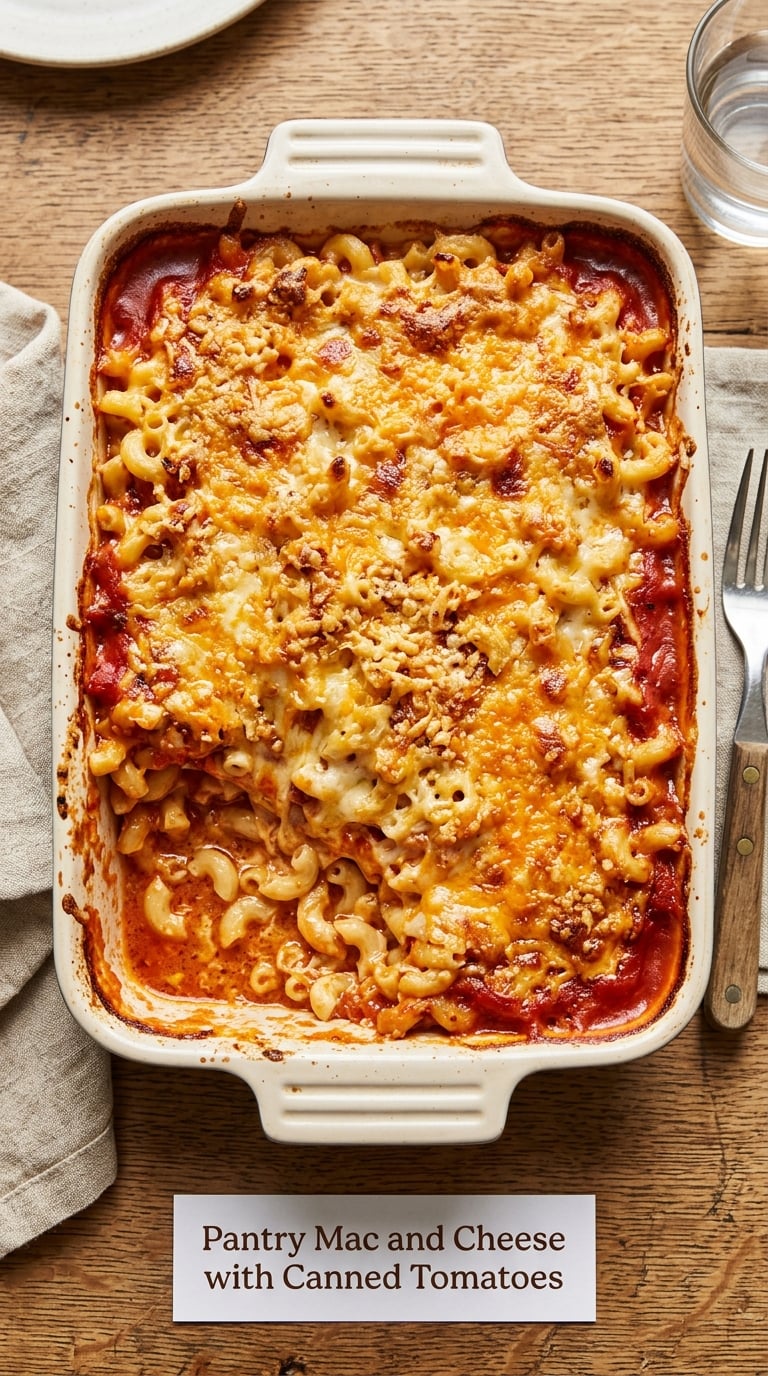
Straightforward mac and cheese is a pantry meal. Adding a cup of canned tomatoes to the sauce gives it the sharp, dairy-counterbalance version that actually tastes like a deliberate recipe rather than a cheese shortage.
Yield: 6 servings · Prep: 10 min · Cook: 20 min · Total: 30 min · Difficulty: Easy
Contains dairy and gluten.
Ingredients
For the sauce:
- 3 tbsp butter
- 3 tbsp all-purpose flour
- 2 1/2 cups milk
- 1 (12 oz) can evaporated milk
- 1 tsp mustard powder or 1 tsp Dijon
- 1/2 tsp garlic powder
- 1/2 tsp salt
- 1/4 tsp black pepper
For the macaroni:
- 1 lb dried elbow macaroni
- 1 (14.5 oz) can diced tomatoes, drained
- 3 cups shredded cheddar or a cheddar blend
- 1/2 cup breadcrumbs (optional)
- 2 tbsp butter for the topping (optional)
Instructions
- Cook the macaroni in salted boiling water for 1 minute less than the box says, until just tender. Drain and set aside; it finishes cooking in the oven.
- Melt the butter in a large pot over medium heat. Whisk in the flour and cook, whisking constantly, for 1 minute until it smells toasty and looks like wet sand.
- Pour in the milk a little at a time, whisking, then add the evaporated milk. Simmer for 5 minutes, stirring often, until the sauce thickens enough to coat the whisk and pull away from the edge when you drag a spoon through it.
- Stir in the mustard powder, garlic powder, salt and pepper. Take the pot off the heat, then fold in 2 cups of the cheese and the drained tomatoes.
- Stir the drained macaroni into the sauce until every elbow is coated, then scrape it into a buttered 9×13 inch baking dish. Top with the remaining cheese, the breadcrumbs and the 2 tablespoons of butter.
- Bake at 375°F (190°C) for 22 to 25 minutes, until the top is deep golden and bubbling at the edges, and the sauce at the center is simmering. Rest 10 minutes before serving so it sets.
Tip: The 10-minute rest is not optional. Straight out of the oven the sauce is too loose to hold on a fork, and the difference is the entire dish.
Swap it: Leave the tomatoes out for a purer version. Gluten-free pasta cooks in 9 minutes; for a gluten-free and dairy-free sauce use a plant-based butter and unsweetened plant milk in place of the milk and evaporated milk.
Storage: Keeps 3-4 days refrigerated. Reheat covered at 350°F (175°C) for 20 minutes, or in the microwave in 2-minute bursts with a splash of milk, until the center is steaming. It reheats better than a stovetop sauce ever would.
8. Lentil and Vegetable Soup
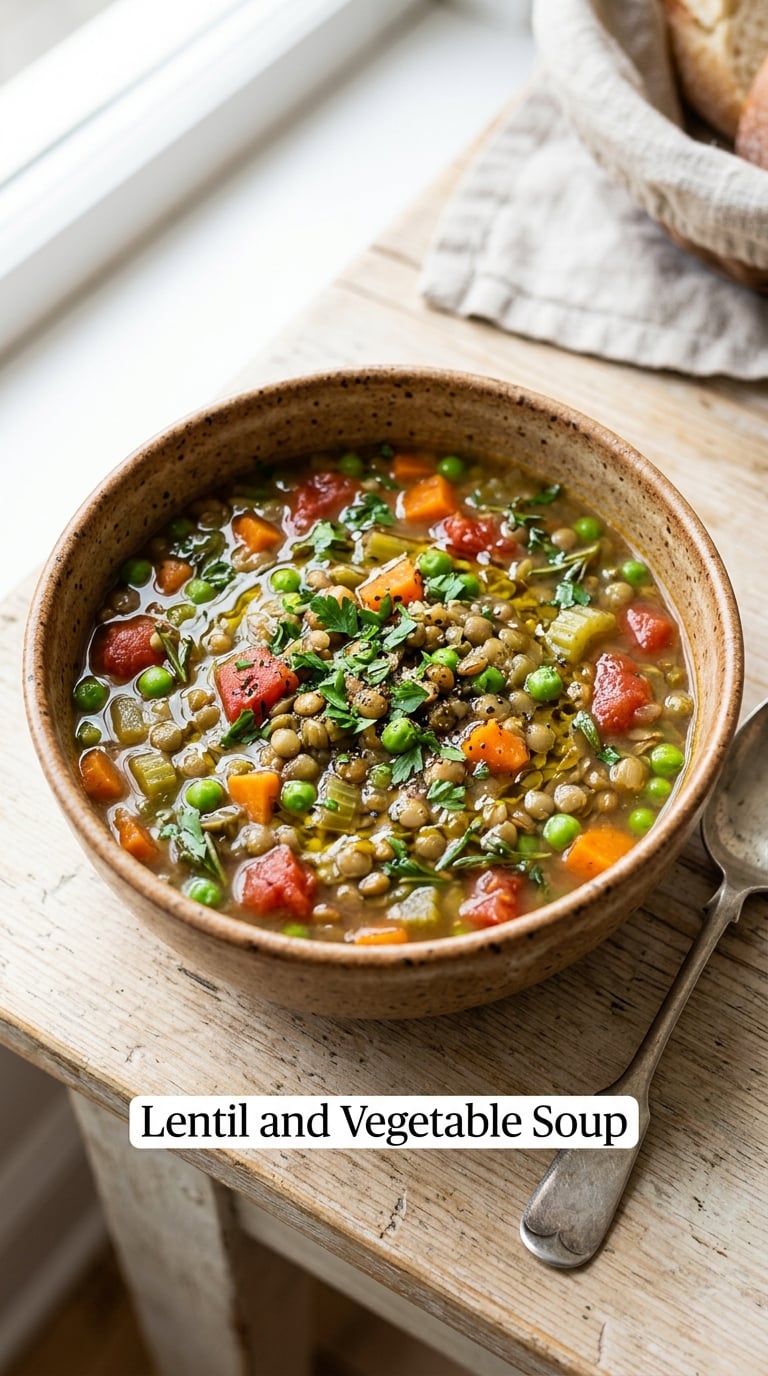
One pot, no browning, and it only gets better the longer it sits. Dried lentils need no soaking, cook in about 25 minutes, and turn a bag of frozen vegetables into a bowl of soup that fills you up for hours.
Yield: 6 servings · Prep: 10 min · Cook: 25 min · Total: 35 min · Difficulty: Easy
Ingredients
- 1 tbsp olive oil
- 1 onion, chopped (or 1/2 cup frozen diced onion)
- 3 garlic cloves, minced
- 2 carrots, chopped (or 1 cup frozen chopped carrots)
- 1 cup dried green or brown lentils, rinsed
- 1 (14.5 oz) can diced tomatoes
- 6 cups chicken or vegetable broth
- 2 cups frozen mixed vegetables
- 1 tsp smoked paprika
- 1 tsp cumin
- 1/2 tsp dried oregano
- 1 bay leaf
- 1 tsp salt, plus more to taste
Instructions
- Heat the oil in a large pot over medium heat. Cook the onion and carrots for 6 minutes, stirring, until the onion softens and the edges of the carrots turn golden.
- Add the garlic, smoked paprika, cumin and oregano. Stir for 30 seconds until fragrant.
- Add the rinsed lentils, the diced tomatoes, the broth, the bay leaf and the salt. Bring to a boil, then reduce the heat to a steady simmer.
- Simmer uncovered for 20 minutes, stirring occasionally, until the lentils are tender and have started to break down. The soup should thicken on its own; if it looks loose, simmer 5 minutes longer.
- Stir in the frozen mixed vegetables and cook for 4 more minutes, until the peas and corn are bright and hot.
- Fish out the bay leaf, taste for salt, and serve with a spoonful of yogurt or a drizzle of olive oil.
Tip: Keep the soup uncovered while it simmers. A partly covered pot traps steam, the lentils stay firm, and the soup reads thin instead of hearty.
Swap it: Red lentils cook in about 12 minutes and thicken the soup on their own, so add them with the broth and skip the extra simmering. For a thicker soup, mash a ladleful of lentils against the side of the pot and stir it back in.
Storage: Keeps 4 days refrigerated, or 3 months frozen in individual portions. It thickens as it sits; when reheating, add broth or water a ladleful at a time until it moves like loose cream.
9. Canned Chicken and Rice Quesadillas
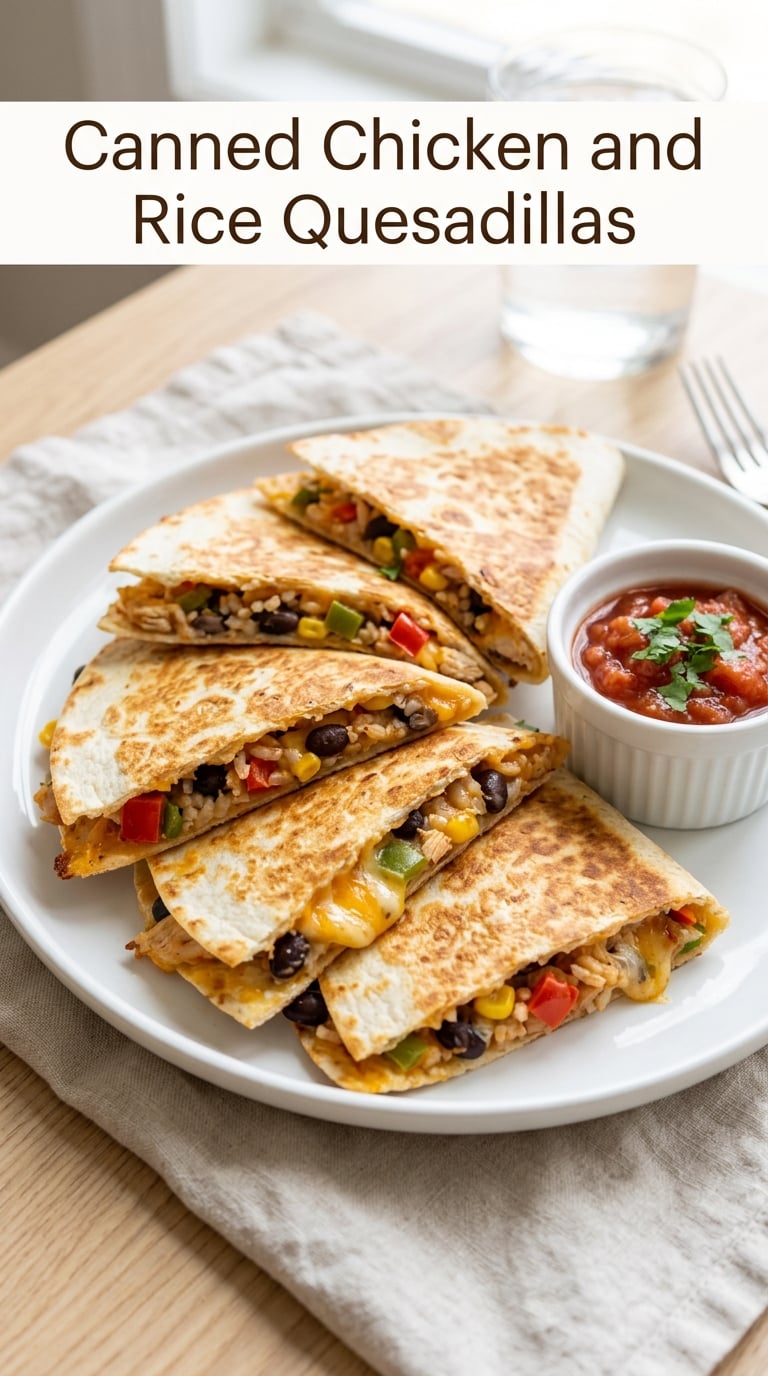
Canned chicken, cooked rice and a tortilla turn into a skillet dinner that looks like takeout and takes 20 minutes. It is the one my family asks for when the fridge is bare but the cupboard is not.
Yield: 4 servings (8 quesadillas) · Prep: 5 min · Cook: 15 min · Total: 20 min · Difficulty: Easy
Ingredients
- 1 (12.5 oz) can cooked chicken breast or thigh, drained
- 2 cups cooked long grain rice, cooled
- 1 (15 oz) can pinto or black beans, drained and rinsed
- 1/2 cup shredded cheese, plus more for the outside
- 1 tsp garlic powder
- 1/2 tsp ground cumin
- 1/4 cup canned diced jalapenos or peppers, drained (optional)
- 1 tbsp olive oil
- 6 large flour tortillas
- 1/3 cup salsa for serving (optional)
Instructions
- Drain the canned chicken and flake it with two forks. Always heat pre-cooked canned poultry to 165°F (74°C) before serving — if you have a thermometer, check the center of the filling after you cook the quesadillas.
- Mix the chicken, the rice, the beans, the 1/2 cup of cheese, the garlic powder, the cumin and the peppers in a bowl. The mixture should hold together when squeezed; add a spoonful of rice if it crumbles.
- Heat a large skillet over medium heat and brush it with the oil. Place one tortilla in the pan, then spread half the filling over it, leaving a 1 inch border.
- Fold the filling in half, top with a little extra cheese, and cook for 3 minutes, until the underside is deep golden and the cheese has melted at the edge. The tortilla should be crisp and pliable, not pale and floppy.
- Flip and cook for 2 more minutes. Transfer to a plate, rest 1 minute so the filling stops sliding, then cut into wedges. Repeat with the remaining tortillas and filling.
Tip: Watch the second side. It cooks 1 minute faster than the first, and the filling is already hot, so the top side is usually the one that burns first.
Swap it: Canned salmon, canned sardines, or the beans alone with a spoonful of salsa folded into the filling all work. Cooked shrimp from the freezer thaw in 4 minutes in cold water if you have them.
Storage: Keeps 3-4 days refrigerated. Reheat in a dry skillet for 3 minutes a side with the lid on, which crisps the tortilla back up instead of making it chewy. They freeze for 2 months stacked between sheets of parchment.
10. Creamy Potato and Pea Curry
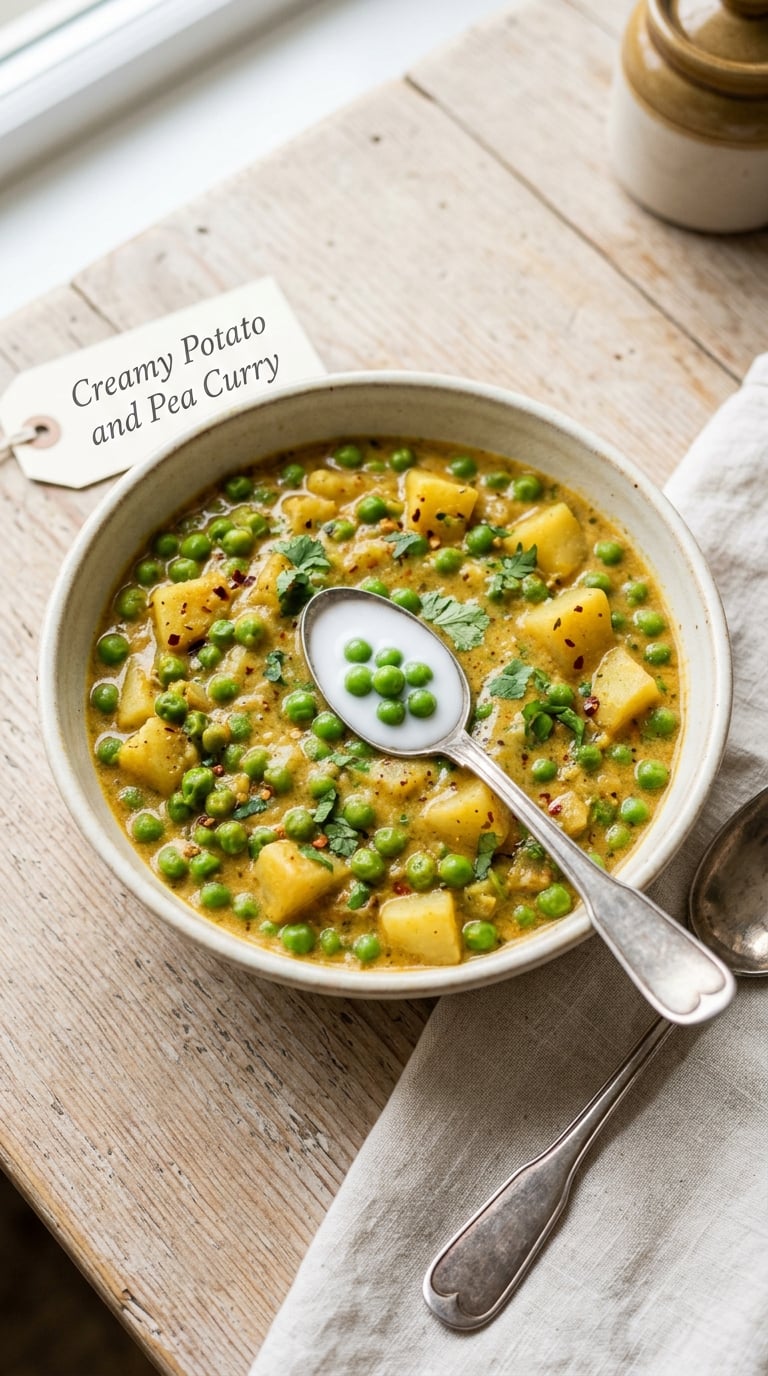
Instant potatoes turn a can of coconut milk and a bag of frozen peas into a curry with real body in 25 minutes. There is nothing fresh in it at all, which is exactly the point on the nights you have not been to the store in a week.
Yield: 4 servings · Prep: 5 min · Cook: 20 min · Total: 25 min · Difficulty: Easy
Contains coconut, a tree nut allergen by US labeling rules.
Ingredients
- 1 tbsp coconut oil or olive oil
- 1 onion, chopped (or 1/2 cup frozen diced onion)
- 3 garlic cloves, minced
- 1 tbsp ginger powder, or 1 tbsp grated fresh ginger
- 2 tbsp curry powder
- 1 tsp ground cumin
- 1/2 tsp ground turmeric
- 1/4 tsp red pepper flakes (optional)
- 2 tbsp tomato paste
- 1 (13.5 oz) can coconut milk, full fat
- 2 cups water
- 1 (14 oz) bag frozen peas, thawed
- 1 (5.2 oz) box instant potatoes (about 1 cup dry)
- 1 tsp salt
Instructions
- Heat the oil in a large pot over medium heat. Cook the onion for 5 minutes, stirring, until soft and golden at the edges.
- Add the garlic, ginger, curry powder, cumin, turmeric and red pepper flakes. Stir for 1 minute until the spices darken slightly and smell toasty rather than raw.
- Stir in the tomato paste and cook for 1 minute, scraping the bottom of the pot.
- Pour in the coconut milk and the water. Bring to a gentle simmer, then stir in the instant potatoes. Stir often for the first 3 minutes so the potatoes do not clump.
- Simmer for 10 to 12 minutes, stirring occasionally, until the sauce is thick enough to coat the back of a spoon and the potato granules have dissolved into it.
- Stir in the thawed peas, season with salt, and simmer 2 more minutes. Serve with a spoonful of coconut milk stirred into each bowl.
Tip: Add the instant potatoes to liquid that is already simmering, not boiling, and stir for the first few minutes. Boiling plus no stirring gives you lumps.
Swap it: Want a thicker curry? Simmer it 5 minutes longer at the end, uncovered. Want it thinner? Loosen it with water a ladleful at a time. A can of diced tomatoes swapped for half the water makes it tangier and more tomato-forward.
Storage: Keeps 4 days refrigerated, or 3 months frozen. The instant potato starch thickens it further as it cools, so loosen with water or broth when reheating.
11. Baked Beans and Sausage Tray
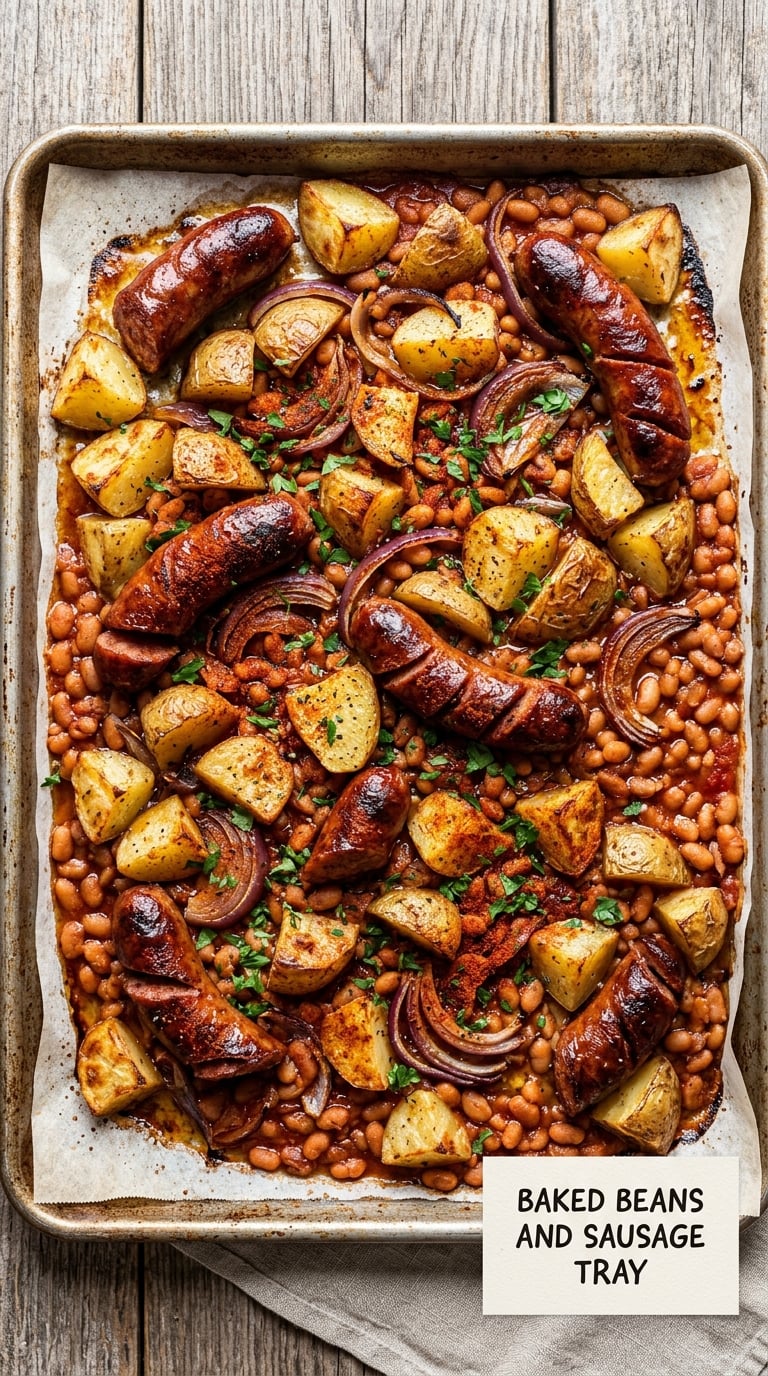
Everything goes on one pan and goes in the oven. Sheet pan dinners are the answer to a weeknight when the thought of a sink full of pans is genuinely enough to make you order in.
Yield: 5 servings · Prep: 10 min · Cook: 25 min · Total: 35 min · Difficulty: Easy
Ingredients
- 1 lb shelf-stable smoked sausage or kielbasa, cut into 1 inch coins
- 1 (28 oz) can baked beans, undrained
- 1 (20 oz) bag frozen hash browns, thawed, or 1 (15 oz) can sliced potatoes, drained
- 1 onion, thinly sliced
- 1 tbsp olive oil
- 2 tsp smoked paprika
- 1 tsp garlic powder
- 1/2 tsp black pepper
- 1 tsp salt (less if the sausage and beans are already salty)
Instructions
- Heat the oven to 400°F (205°C). Spread the sliced onion and the potatoes over a large sheet pan and toss them with the olive oil, half the smoked paprika, the garlic powder and the salt.
- Nestle the sausage coins among the potatoes, then pour the undrained baked beans over the top. Stir gently so the beans settle between the potatoes without crushing them.
- Sprinkle the remaining smoked paprika and the black pepper over the whole pan.
- Roast for 25 to 30 minutes, without stirring, until the potatoes are browned and crisp at the edges, the sausage is heated through, and the beans are bubbling thickly in the middle.
- Check the center of the pan is at least 165°F (74°C) for the sausage, then rest the tray for 5 minutes so the beans thicken before serving.
Tip: Do not stir the pan halfway. The browning on the potatoes and the skin on the beans is the entire point, and the second half of the roasting is what builds it.
Swap it: Canned sliced potatoes hold up better than frozen hash browns in this dish, since they do not release water into the beans. Ground sausage works too: brown it first, drain the fat, then add it to the pan.
Storage: Keeps 3-4 days refrigerated. Reheat covered at 350°F (175°C) for 15 minutes. It also freezes for up to 3 months, though the potatoes are softer when thawed.
12. Tomato and Lentil Stuffed Peppers
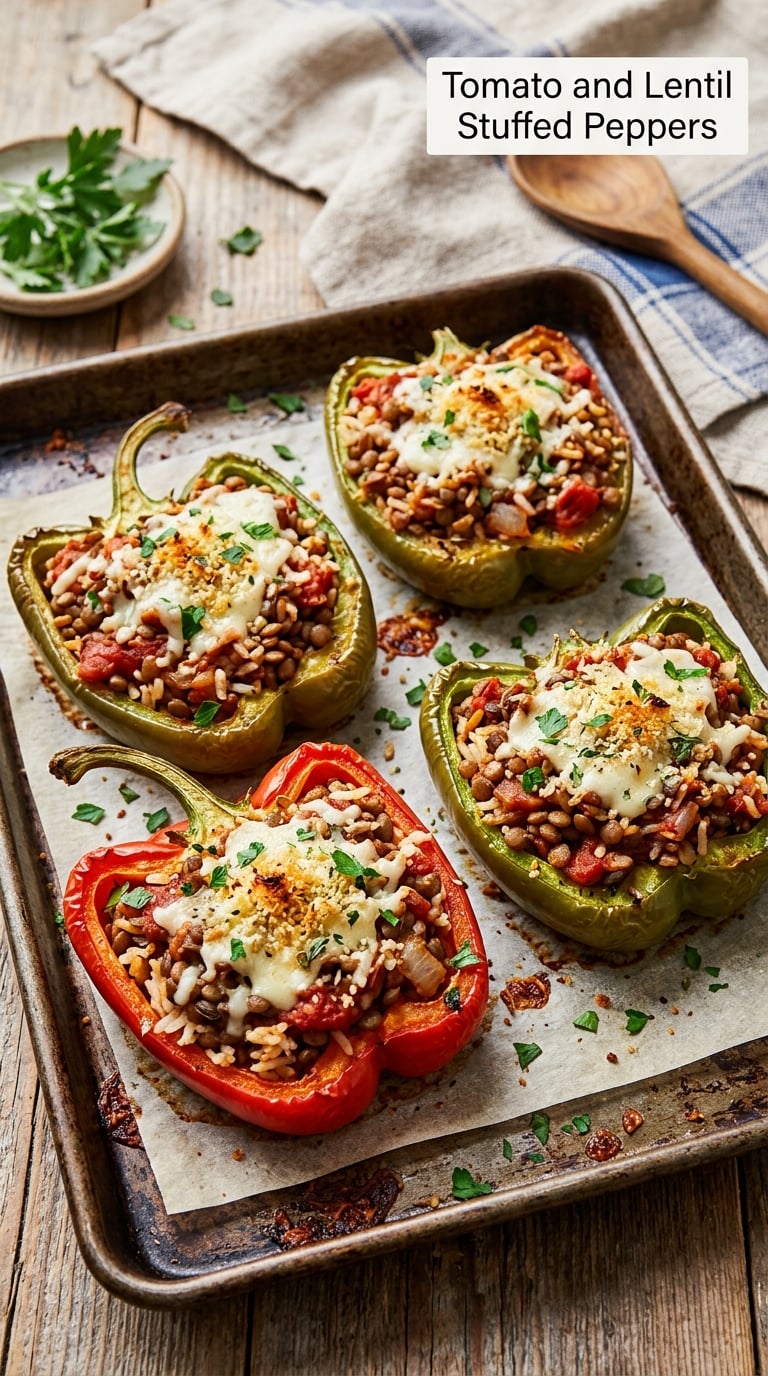
The one recipe here that takes close to 40 minutes, and the only one worth turning the oven on early for. Stuffed peppers are also the single most useful make-ahead dinner on this list, because they reheat straight from the fridge and freeze well.
Yield: 4 servings · Prep: 15 min · Cook: 25 min · Total: 40 min · Difficulty: Medium
Ingredients
- 4 bell peppers, halved and seeded
- 1 tbsp olive oil
- 1 onion, diced
- 3 garlic cloves, minced
- 1 (14.5 oz) can diced tomatoes, divided (2/3 for the filling, the rest for the top)
- 1 tsp smoked paprika
- 1/2 tsp cumin
- 1/2 tsp dried oregano
- 2 cups cooked rice, cooled
- 1 (15 oz) can lentils, drained and rinsed
- 1/2 cup shredded cheese (optional)
- Salt and black pepper to taste
Instructions
- Heat the oven to 400°F (205°C). Rub the cut sides of the peppers with a little olive oil, set them cut side up on a baking sheet, and roast for 8 minutes. This softens them so they do not stay crunchy after the filling goes in.
- Meanwhile, heat the remaining oil in a skillet over medium heat. Cook the onion for 5 minutes, then add the garlic, smoked paprika, cumin and oregano for 30 seconds.
- Add two-thirds of the canned diced tomatoes and simmer for 5 minutes until thickened. Fold in the rice and the lentils, season with salt and pepper, and cook 2 more minutes to drive off any excess moisture.
- Spoon the filling into the pepper halves and press it down, mounding the top slightly. Spoon the reserved diced tomatoes over each one, and top with the shredded cheese if you are using it.
- Bake for 18 to 20 minutes, until the cheese is melted and bubbling, the pepper walls are tender, and the sauce at the center is simmering. Let the tray rest 5 minutes before serving.
Tip: The 8-minute head start is what separates a tender pepper from a raw one. Skipping it leaves you with a filling that is cooked and a shell that still snaps.
Swap it: Add a cup of cooked ground beef or diced canned chicken for a higher-protein version, and heat pre-cooked poultry to 165°F (74°C) before filling the raw pepper. Omit the cheese and add a spoonful of grated Parmesan after baking for a dairy-light version.
Storage: Keeps 4 days refrigerated and 3 months frozen. Cool uncovered before covering, and reheat at 350°F (175°C) covered for 20 minutes. They are also good eaten cold from the fridge with a drizzle of olive oil.
Tips for Making These
A few habits turn these from decent dinners into the dinners you actually look forward to.
- Cook rice and a pot of beans ahead of time. Two cups of cooked rice and one can of beans split across recipes 2, 4, 9 and 12, which is four dinners from one session of cooking.
- Check the pantry honestly before you plan. A can of evaporated milk, a box of instant potatoes and a bag of frozen vegetables are what decide between recipe 7, recipe 10 and recipe 8, not the mood.
- Thin sauces instead of throwing them out. Pasta water, broth, milk and a splash of water all rescue a sauce that tightened up overnight, and it takes ten seconds rather than remaking dinner.
- Use canned vegetables without apology. Draining canned mushrooms, corn and green beans and patting them dry is a 2-minute job that stops them from watering down whatever you are cooking.
- Label the fridge with dates. Most cooked food here keeps 3-4 days, and a label turns “is this still good” into a glance rather than a smell test you are too tired to do properly.
- Add fresh flavor only when you have it. A handful of chopped onion, a squeeze of lemon, or torn herbs over the top at the table lifts a pantry dinner more than doubling the ingredient list would.
For a bigger set of low-effort dinners in the same spirit, our last minute dinner ideas lean on shortcuts, and the skillet dinner recipes all clean up in one pan. If you prefer a meat-led pantry, the hamburger meat dinner ideas cover the same ground with ground beef as the protein.
Frequently Asked Questions
What counts as a pantry staple?
A pantry staple is a shelf-stable ingredient that keeps for months without refrigeration, so it is always there when you need it: canned beans and tomatoes, tuna and sardines, dried pasta, rice and lentils, broth, canned evaporated milk, and cooking oils, vinegar, flour and sugar. Eggs and shredded cheese are the practical exceptions most people keep alongside them, since they live in the fridge. Fresh onion, garlic and herbs make a meal better but are not required.
What are the best long-term pantry staples to keep on hand?
Start with six cans of beans and lentils, four or five cans of tomatoes including crushed and diced, tuna, sardines and chicken, two boxes of pasta, rice and dried lentils, canned broth, canned evaporated milk, and frozen vegetables you can use year round. Then a short shelf of flavorings: olive oil, red and white vinegar, mustard, garlic powder, onion powder, Italian seasoning, smoked paprika, cumin, chili powder, curry powder, bay leaves, salt and pepper. Most of these keep a year or more, and each one multiplies the recipes you can make.
What can I make for dinner with no fresh ingredients at all?
Recipes 3, 6, 7, 8 and 10 use nothing from the produce aisle. Creamy mushroom pasta, tuna and white bean salad, pantry mac and cheese with canned tomatoes, lentil vegetable soup with frozen vegetables, and the coconut curry all cook from cans, boxes and the freezer. If your freezer is empty too, swap the frozen vegetables for an extra can of beans or corn, and add onion and garlic from the pantry as dried onion and garlic powder.
Can I meal prep these pantry dinners for the week?
Most of them travel well, but not all of them equally. The burrito bowls, the tuna and white bean salad and the lentil soup are the best choices, since they hold texture for four days. Cook the rice, beans and chicken once, portion them across three or four containers, and keep the salsa and dressings separate until the night you eat them. Skip fried rice and the stuffed peppers, which are better made fresh.
How long do cooked pantry dinners keep, and can I freeze them?
Most cooked dinners keep 3-4 days in the refrigerator, and soups and curries often hold a day or two longer. Cool food in shallow containers within 2 hours, then cover and refrigerate. The lentil soup, potato and pea curry, tomato sauce and the sardine topping freeze for 2-3 months in individual portions. Freeze rice and beans flat in single-meal amounts, and label everything with the date you froze it.
What substitutions work if I am missing an ingredient?
Swap dried pasta for instant rice and cut the cooking time to 5 minutes. Use any canned beans in place of chickpeas or black beans, and any vegetable broth in place of chicken broth for a vegetarian pot. Condensed cream of mushroom soup can be replaced by 1 cup cream plus 1 teaspoon miso or 2 teaspoons lemon juice. Out of curry powder, use 1 teaspoon each of cumin and smoked paprika plus a pinch of turmeric.
Conclusion
If your cupboard is at its emptiest, make the lentil and vegetable soup. It needs the least, costs the least, keeps the best, and one pot of it can quietly become half of two other dinners later in the week. Once you are cooking regularly from the cupboard, the rest of this list opens up on its own.
That is really the whole promise of these easy dinner ideas using pantry staples only: a good dinner does not depend on a grocery run, only on having a few cans and boxes within reach and knowing what to do with them.