
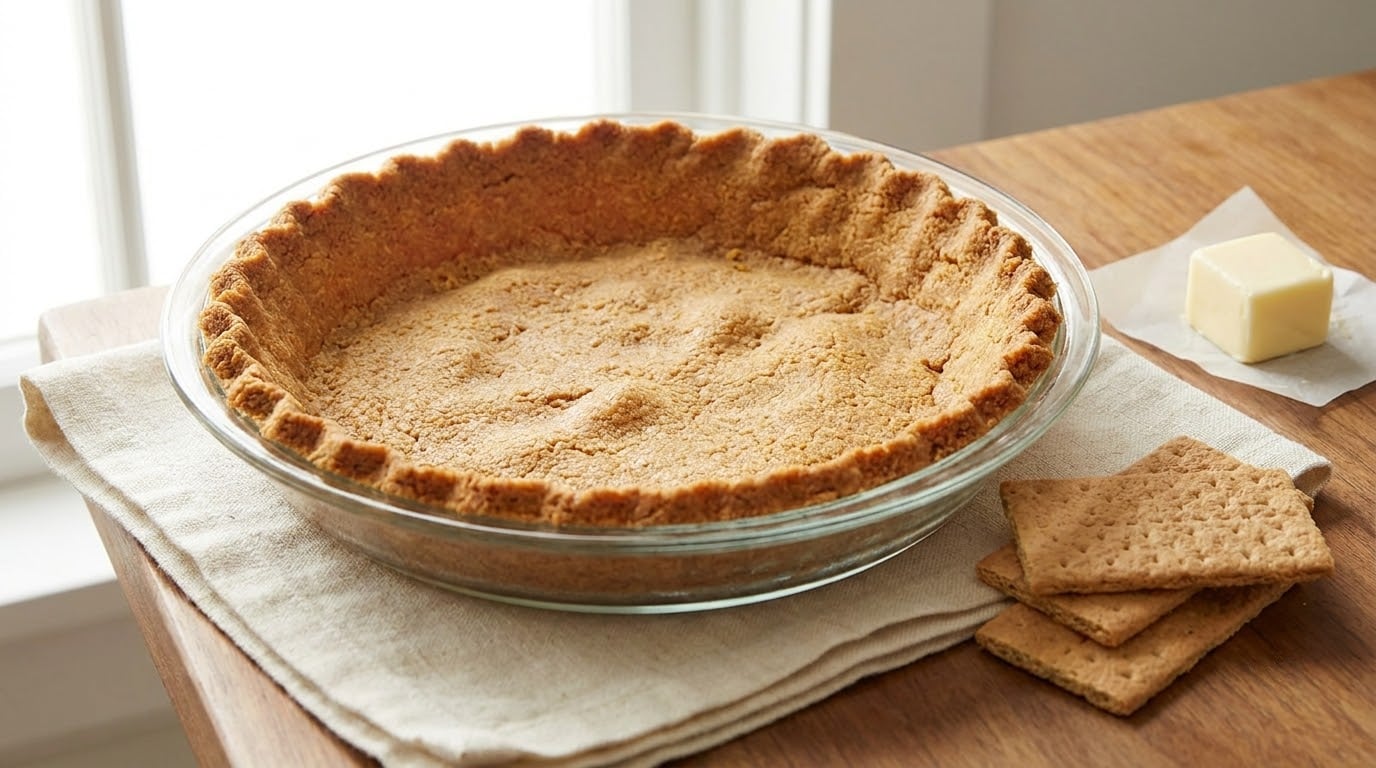
A great graham cracker crust recipe is the kind of thing I make on autopilot now, but the first time I tried, the whole thing crumbled apart when I sliced into my cheesecake. It was a sad, sandy mess on a plate. A few tries later and a little more butter, and I landed on the version I use for everything from weeknight cream pies to Thanksgiving pumpkin.
This graham cracker crust recipe uses three ingredients, takes about 10 minutes, and works for both baked and no-bake fillings. No special equipment, no eggs, no corn syrup. If you can stir and press, you can make it. The result is a buttery, lightly sweet crust with a clean snap on the fork that puts any store-bought shell to shame.
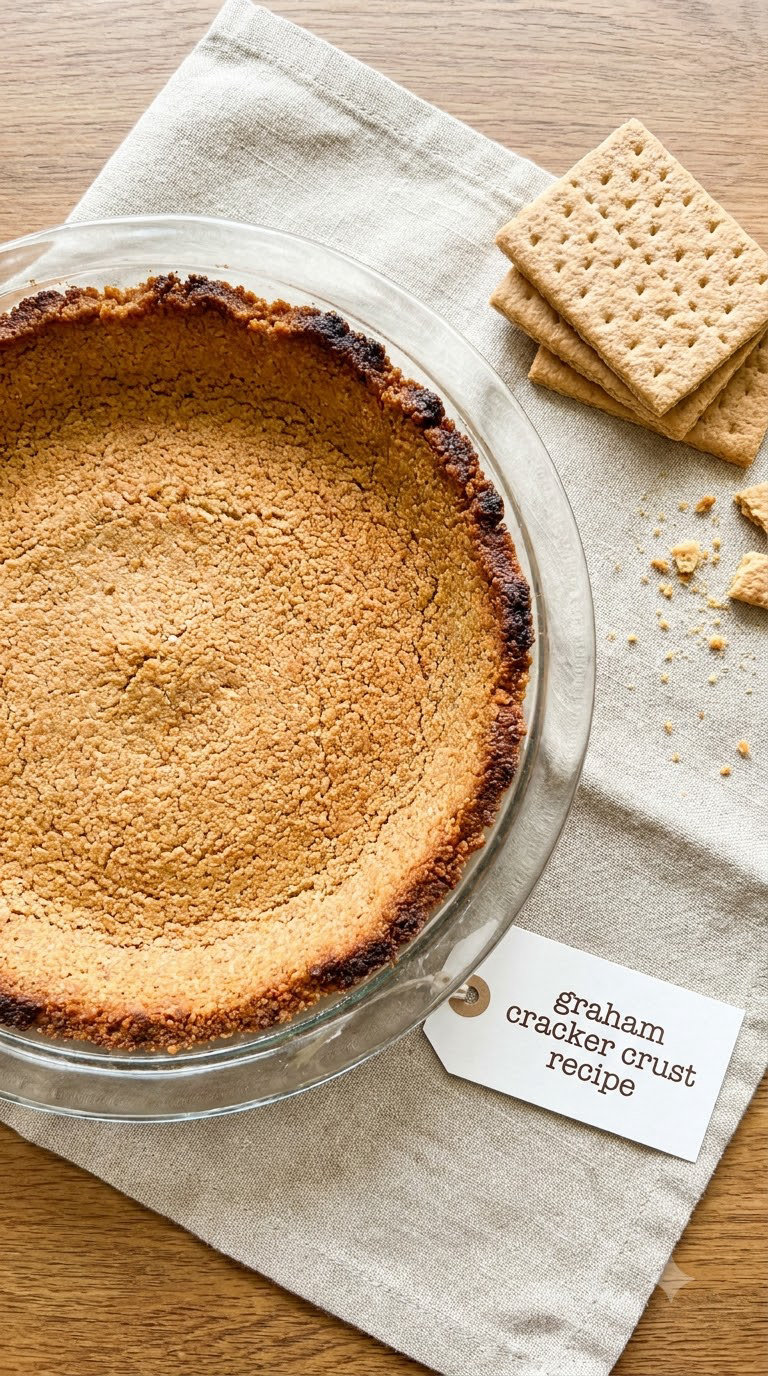
Table of Contents
Why This Recipe Works
Three simple ingredients behave like a tiny baking science project, and once you see why, the recipe is basically impossible to mess up. Here’s what makes this version so reliable.
- The 2:1 crumb-to-butter ratio: 1.5 cups of fine crumbs plus 6 tablespoons of melted butter gives you a crust that holds together when sliced but does not feel greasy or dense.
- Fine, even crumbs: Pulsing the crackers to a sandy texture (not chunky) lets the butter coat every particle, which is what gives you that clean, compact layer.
- Sugar does more than sweeten: Granulated sugar helps the crust brown lightly in the oven and adds the subtle sweetness that pairs with tangy fillings like key lime and lemon.
- Press firmly, not hard: A flat-bottomed measuring cup gives you even pressure across the whole pan, no thin spots that crack apart later.
- One recipe, two paths: Bake it for 8 to 10 minutes if your filling goes in cold, or chill it for 30 minutes if your filling is a no-bake cream or mousse.
Ingredients
You only need three ingredients for this graham cracker crust recipe, plus a small pinch of salt if you like. I have included grams for the butter and crumbs so you can weigh them if you prefer precision baking.
- 1.5 cups (about 150 g) fine graham cracker crumbs, from roughly 11 to 12 full sheets
- 2 tablespoons (25 g) granulated sugar, or light brown sugar for a deeper flavour
- 6 tablespoons (85 g) unsalted butter, melted and slightly cooled
- 1/8 teaspoon fine salt, optional but recommended
A few ingredient notes: Store-bought graham cracker crumbs save a step and measure out perfectly, but crushing whole sheets in a zip-top bag with a rolling pin gives you a slightly fresher flavour. Either works. For the butter, salted is fine if that is what you have, just skip the extra pinch of salt. If you need a dairy-free crust, swap in a good vegan butter stick (the kind that comes in a block, not a tub) and it sets up the same way.
Brown sugar is a great swap for a warmer, almost toffee-like crust that pairs especially well with pumpkin pie and banana cream. If you want to try chocolate, gingersnap, or a low-carb version, those are in the Variations section below.
Equipment
You do not need much for this graham cracker crust recipe, and most of it is already in your kitchen.
- A 9-inch pie plate, 9-inch springform pan, or 9×13-inch baking dish for bars
- A food processor, or a zip-top bag and rolling pin for crushing the crackers
- Measuring cups and spoons, plus a kitchen scale if you want to weigh the crumbs and butter
- A flat-bottomed measuring cup or the bottom of a drinking glass for pressing the crust evenly
How to Make a Graham Cracker Crust
From crushing the crackers to pulling the crust from the oven, this whole process takes about 10 minutes of active work. The chill or bake step adds a little more time, but most of that is hands-off.
- Crush the crackers. Add the graham crackers to a food processor and pulse until you have fine, even crumbs with no big pieces, about 30 seconds. If you do not have a processor, seal the crackers in a zip-top bag and roll over them with a rolling pin until the texture resembles coarse sand.
- Measure the crumbs. You want 1.5 cups (about 150 g) of crumbs. If you are a little over, that is fine. If you are under, add a few more crackers and pulse again.
- Mix in the sugar and salt. Pour the crumbs into a medium bowl, add the sugar and salt, and stir with a fork until everything is evenly distributed.
- Add the melted butter. Drizzle the melted butter over the crumbs and stir with a fork or spatula until every bit of crumb looks moistened, like wet sand that holds its shape when you squeeze a handful.
- Press into the pan. Tip the mixture into your pie plate or springform pan. Use the flat bottom of a measuring cup to press the crumbs firmly across the bottom and up the sides (for a pie) in an even layer. Pack it tight, especially where the bottom meets the sides.
- Bake or chill. For a baked crust, bake at 350°F (175°C) for 8 to 10 minutes, until the edges look lightly golden and the crust smells toasty. For a no-bake crust, skip the oven and chill in the refrigerator for at least 30 minutes until set.
- Cool before filling. Let the baked crust cool completely on a wire rack, about 20 minutes, before adding your filling. A warm crust will melt cream cheese fillings and make the bottom soggy.
Doneness cue: The crust is ready when the edges turn a shade deeper than the centre and the kitchen smells like toasted honey and butter. If you tap the side gently, it should feel firm, not soft.
Tips for Success
These are the small things that turned my sandy first attempts into a clean, sliceable crust every time.
- Go fine, not coarse. Bigger chunks of cracker do not bind as well with butter and tend to crack when sliced. Aim for crumbs that look like damp sand, not granola.
- Press with a flat-bottomed cup. Your fingers leave lumps and thin spots. The bottom of a dry measuring cup gives you a tidy, even layer that holds together.
- Pack the corners. The seam where the bottom meets the sides is where most crusts fall apart first. Press firmly into that join with the back of a spoon before smoothing the rest.
- For no-bake fillings, brush with chocolate. A thin layer of melted chocolate spread over the chilled crust and re-chilled creates a moisture barrier, so fruit juices and custards do not soak through.
- Add a pinch of salt. Even with sweet fillings, a tiny pinch of salt makes the buttery, honey notes pop and keeps the crust from tasting flat.
- Scale the recipe to your pan. A 9×13-inch pan needs about 2.5x the recipe, a 10-inch tart pan needs 1.25x, and individual 4-inch tartlets need roughly one-third the recipe each.
Variations
Once you have the basic graham cracker crust recipe down, it is easy to swap in other cookies for a different flavour. Here are four versions I come back to often.
- Chocolate cookie crust: Replace the graham crumbs with 1.5 cups of chocolate wafer crumbs (about 150 g). Skip the sugar since the cookies are already sweet. Perfect for chocolate cream pie or a peppermint bark cheesecake.
- Gingersnap or Biscoff crust: Swap in 1.5 cups of gingersnap or Biscoff cookie crumbs and use light brown sugar. Warming and spiced, this is my go-to for sweet potato pie and pumpkin cheesecake.
- Pecan shortbread crust: Pulse 1 cup of graham crumbs with 1/2 cup toasted pecans, 2 tablespoons sugar, and 6 tablespoons melted butter. The nuts add a buttery richness that pairs beautifully with bourbon pecan pie.
- Keto and low-carb crust: Replace the graham crumbs with 1.5 cups of almond flour, add 2 tablespoons powdered sweetener, 1/4 teaspoon cinnamon, and 6 tablespoons melted butter. Press and bake as directed.
Storage, Make-Ahead and Reheating
A baked graham cracker crust keeps well, so it is a great make-ahead step during busy baking days. Here is how to store it without losing that crisp bite.
- Refrigerator: Wrap the baked crust tightly in plastic wrap or foil and store in the fridge for up to 3 days. Add filling when ready to serve.
- Freezer: Wrap the baked or pressed (unbaked) crust in plastic wrap, then a layer of foil, and freeze for up to 2 months. Label with the date so you do not forget it is in there.
- Bake from frozen: No need to thaw. Bake straight from the freezer at 350°F (175°C) for 10 to 12 minutes, until the edges are golden and the crust smells toasty.
- Re-crisp a soft crust: If your crust has gone a little soft in the fridge, set it on a baking sheet and warm at 300°F (150°C) for 5 minutes. It comes out just-baked crisp again.
- Unfilled only: Storage times above are for unfilled crusts. Once you add a creamy or fruit filling, treat it like the dessert itself and follow that recipe’s storage guidelines.
What to Serve With It
This graham cracker crust recipe is basically a blank canvas for sweet fillings. Here are four pairings I make on repeat, from the easiest no-bake option to a holiday classic.
- Classic no-bake cheesecake: A cream cheese, sugar, and whipped cream filling poured into the chilled crust and set overnight. Pure comfort.
- Key lime pie: Tart lime curd on a buttery graham base, topped with homemade whipped cream. Bright, zippy, and the contrast of textures is everything.
- Lemon icebox pie: A no-cook lemon filling made with sweetened condensed milk and fresh lemon juice, similar to key lime but softer and creamier.
- Chocolate cream pie: A layer of chocolate pudding or pastry cream topped with whipped cream and chocolate shavings. For an extra-cocoa crust, try the chocolate variation above.
If you want to go the from-scratch pie route, this homemade pie crust recipe is the one I use for double-crust pies like a classic homemade apple pie.
Frequently Asked Questions
How many graham crackers make 1.5 cups of crumbs?
You will need about 11 to 12 full graham cracker sheets to make 1.5 cups of fine crumbs, which weighs roughly 150 g. If you buy a box of crumbs, measure 1.5 cups (about 150 g) straight from the bag. Either way, pulse the crumbs briefly so they are evenly fine before mixing with the butter.
Do I need to bake a graham cracker crust before adding the filling?
It depends on the filling. Bake the crust for 8 to 10 minutes at 350°F (175°C) if you are adding a cold or room-temperature filling like cheesecake, or if the recipe calls for a baked crust. For no-bake cream or mousse fillings, you can skip baking and just chill the pressed crust for at least 30 minutes until it sets firm.
Why is my graham cracker crust falling apart when I slice it?
A crust that crumbles when sliced usually means the crumbs were too coarse or the butter was not evenly distributed. Pulse the crackers finer, mix the butter in until the texture looks like damp sand, and press the crust firmly into the pan with a flat-bottomed cup. A quick bake at 350°F for 8 to 10 minutes also helps the butter set and bind everything together.
Can I make a graham cracker crust ahead of time?
Yes, this crust is a great make-ahead step. Press and bake the crust up to 3 days ahead and store it tightly wrapped in the fridge, or freeze it for up to 2 months. Add the filling the day you plan to serve so the crust stays crisp and does not absorb moisture from the filling.
How do I keep a graham cracker crust from getting soggy?
Make sure the crust is fully cooled before adding cold or wet fillings, and bake it for the full 8 to 10 minutes so the butter sets properly. For very juicy fillings, brush a thin layer of melted chocolate over the chilled crust and let it set before adding the filling. That chocolate layer acts as a moisture barrier and keeps the crust crisp underneath.
Can I use brown sugar instead of white sugar in this recipe?
Yes, light brown sugar is an easy one-to-one swap for the granulated sugar in this graham cracker crust recipe. It adds a deeper, almost toffee-like flavour that pairs especially well with pumpkin, sweet potato, and pecan pies. Dark brown sugar works too, but it gives a stronger molasses note, so use it when you want that warmth to come through.
Final Thoughts
If you are new to making a graham cracker crust recipe from scratch, start with a no-bake cheesecake. It is the most forgiving filling, and you will get a feel for how the crust should look and feel when it is set. From there, the same base works for pies, bars, and tarts all year long.
Once you have made this three-ingredient graham cracker crust a few times, you will not go back to the store-bought version. The butter, the toast, the way it actually snaps when you cut into it, it is the small upgrade that makes every dessert better.