
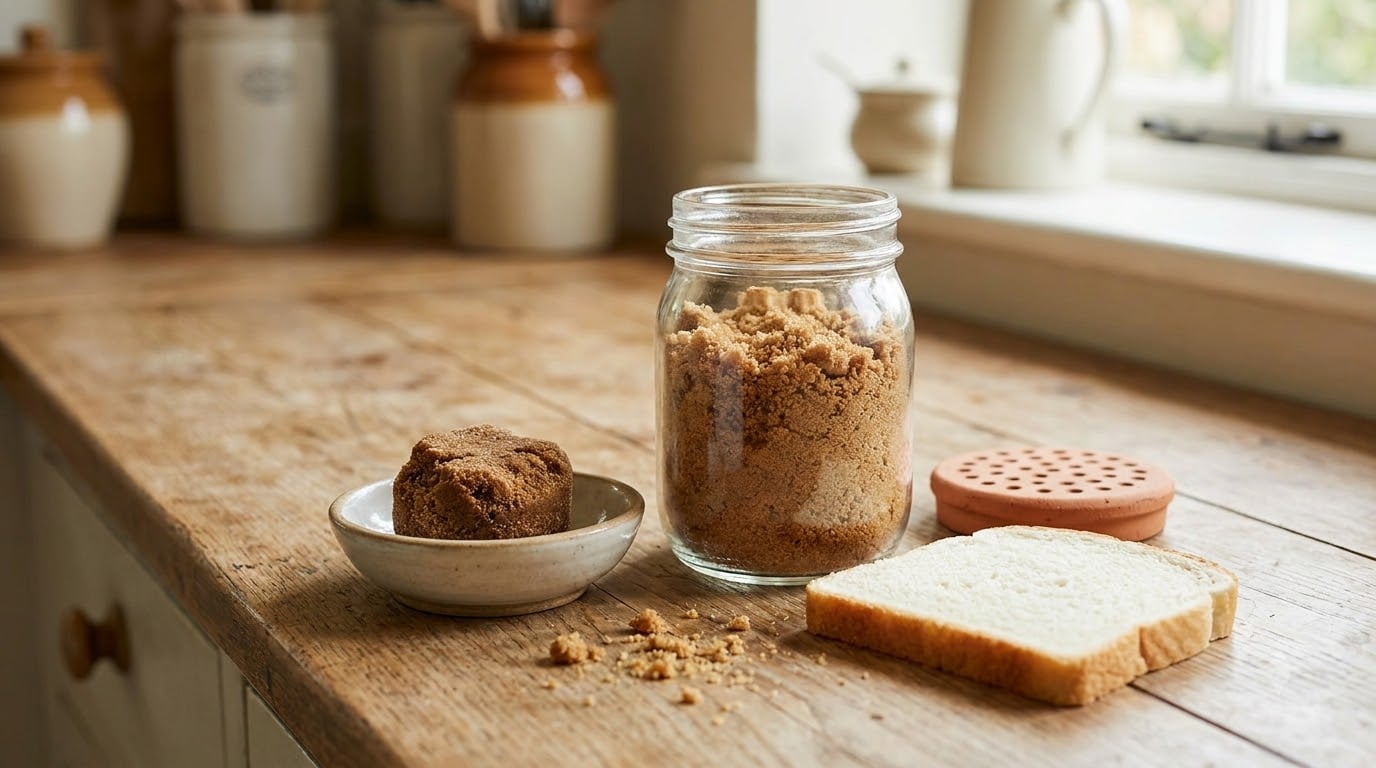
To keep brown sugar from hardening, store it in an airtight container and add a slow-release moisture source such as a slice of bread, a few marshmallows, or a water-soaked terra-cotta disc. That single change fixes most of it.
Brown sugar is white sugar with molasses mixed back in, and molasses is what holds the moisture. Once air steals that moisture the crystals bond together and you get a brick instead of a scoopable sugar.
The reason this matters more than it sounds: a hard block cannot be measured accurately. Cookies come out wrong because the cup you packed was half air. It is a measuring problem before it is a flavor problem.
Fall baking is when most people notice it. Cookies, bars, cake and a good barbecue rub all lean on soft brown sugar, and by October the bag has usually gone solid.
Table of Contents
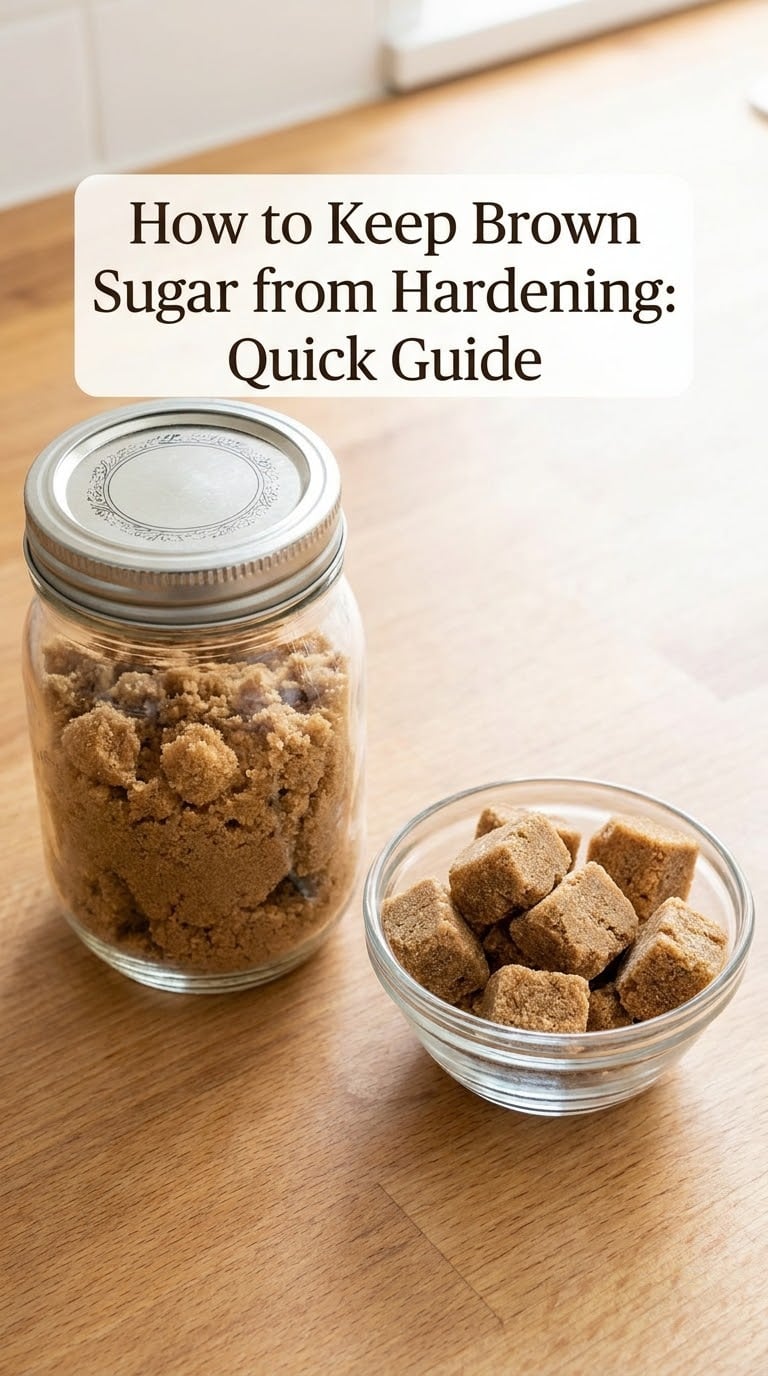
How to Keep Brown Sugar from Hardening: Quick Guide
Seal it out of the air first, then put something inside the container that gives moisture back slowly. Everything below is a variation on that one idea.
If you want the free version, seal the opened bag inside a second bag and clip it shut, then tuck a slice of bread inside. If you want the low-effort long-term version, a terra-cotta sugar stone soaked in water for 15 to 20 minutes does the same job for months.
And one rule to ignore politely: do not store brown sugar in the refrigerator. Condensation forms as warm kitchen air meets the cold interior, the sugar gets damp, then it dries out again into a harder block than you started with. A cool, dry cupboard is what it wants.
Here is how the methods compare side by side.
| Method | Time to soften hard sugar | Effort | How long it stays soft |
|---|---|---|---|
| Slice of bread in the container | None, prevents hardening | Swap the slice every few days | Until the bread goes stale |
| Marshmallows in the container | None, prevents hardening | Swap every 2 to 3 weeks | Several weeks |
| Terra-cotta sugar stone | None, prevents hardening | Resoak every 3 to 6 months | Years, if rinsed in water only |
| Damp paper towel in the container | None, prevention only | Check the towel weekly | Short, works best in humid kitchens |
| Microwave bursts | 30 to 90 seconds total | Low, but watch it closely | Days to weeks before it rehardens |
| Oven at 250°F | 5 to 10 minutes | Low, same watching problem | Days to weeks |
| Food processor pulse | Under a minute | Low, but do not over-pulse | Best for small clumps only |
| Freezing in portions | Not a rescue method | Set up once, then forget it | Months |
Why Does Brown Sugar Harden?
Molasses is hygroscopic, which is a plain way of saying it pulls water vapor out of the air and holds it. That is a feature in a cookie dough, where you want molasses to stay damp, and a liability in a jar on the counter, where the molasses slowly drinks every bit of moisture in the air and then starts binding the sugar crystals to itself.
Four things set that process off:
- An open bag or a loose lid. The moment air moves freely over the sugar, hardening begins. This is the big one.
- A container far bigger than the sugar. Lots of trapped empty air means lots of moisture for the molasses to strip out.
- Heat, sunlight, and temperature swings. A window ledge or above the stove warms the sugar, then the overnight cooling drops it fast. That swing drives condensation against the walls, and the cycle repeats.
- A kitchen that runs dry. Air-conditioned homes, desert climates and dry winter months pull moisture out of everything.
None of this is a spoilage problem. Brown sugar does not grow mold the way moist food does, and a hardened block is still perfectly good sugar.
How to Keep Brown Sugar from Hardening
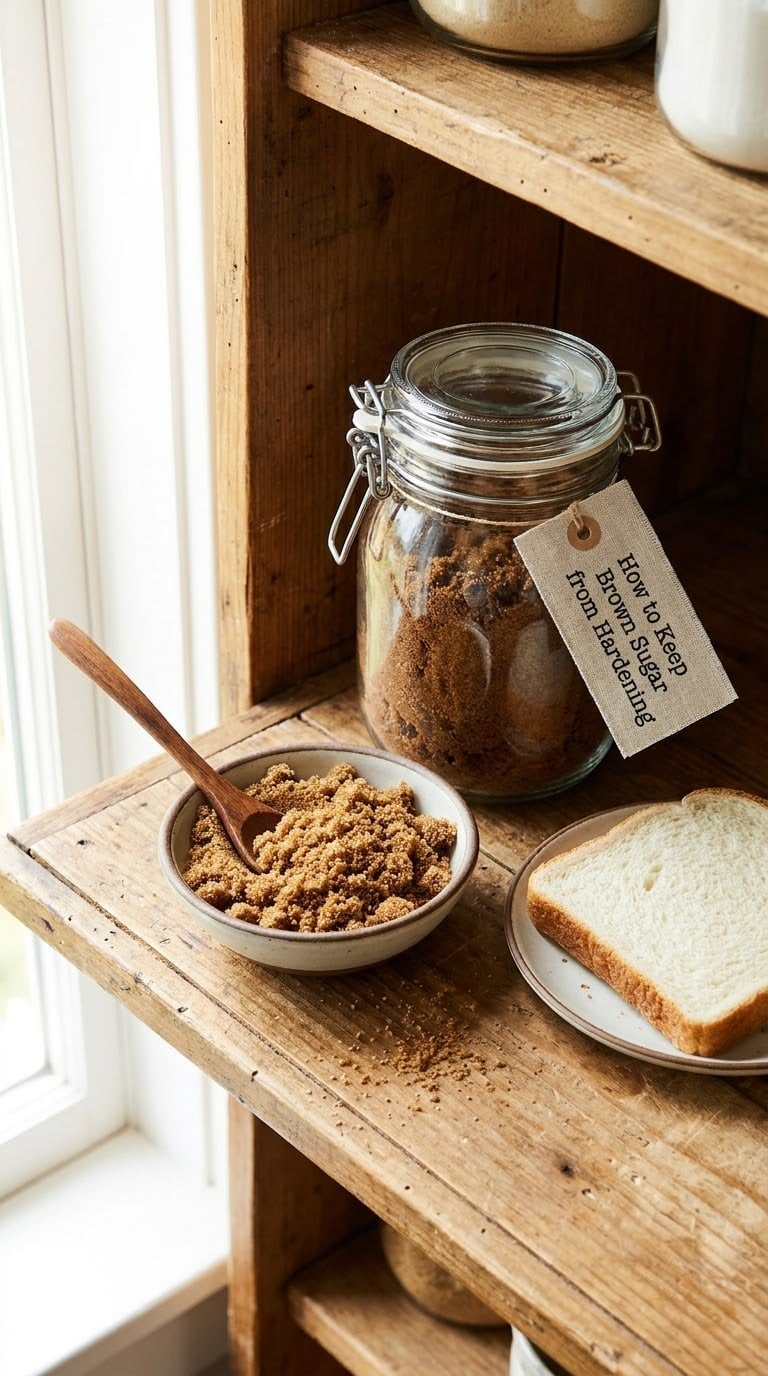
Six habits cover nearly every kitchen. Work through them in order and the problem stops coming back.
- Move the sugar into a truly airtight container. A mason jar with a two-piece lid, a canister with a gasket seal, or a clip on a doubled bag. If air can get in, nothing else on this list matters.
- Choose a container that fits the sugar closely. Fill the bottom third of a tall jar and you have created the dry-air problem yourself.
- Keep the container dry inside. Wipe it out and let it air dry fully before the sugar goes back in. A stray damp spoon dropped straight into the canister is a fast route to a wet, sticky mess.
- Add a moisture source. A slice of white or wheat bread tucked against the side of the jar, three or four regular marshmallows, or a soaked terra-cotta disc. All of them feed water vapor into the sealed space.
- Keep it cool, dark, and still. Inside a kitchen cupboard, away from the oven, the fridge, and any window. Do not store it in the refrigerator.
- Reseal immediately and use the oldest first. Most bags harden because they were scooped from and pushed shut loosely. Date the jar with a piece of tape and reach for the older one first.
One thing to check as you go: the bread slice is a working tool, not a permanent fixture. Replace it before it dries out or picks up mold, and it will never tint the sugar or lend it a stale taste.
Best Containers and Moisture Sources for Brown Sugar
The short answer to the glass-versus-plastic question is that the seal matters far more than the material. A gasket-lid plastic canister beats a loose-lidded glass jar every time.
| Container | Seal | You can see the sugar | Watch out for |
|---|---|---|---|
| Glass mason jar with two-piece lid | Excellent | Yes | Breakable; check the rubber seal has not gone hard |
| Glass canister with clamp or gasket lid | Excellent | Yes | Heavy to lift when full |
| Plastic canister with silicone gasket | Very good | Some | Scratches and eventually clouds |
| Original bag folded and clipped | Fair | No | Bag brittles; a paper bag leaks more than people expect |
| Resealable freezer bag | Good, if pressed out flat | Partly | Easy to puncture; best used inside a second bag |
Double-bagging the original bag is the cheapest fix and the one most people skip. Press the air out, fold the top over twice, clip it, and put that inside a jar or a canister if you have one.
Now the moisture sources. They do the same job with different trade-offs.
| Moisture source | How often to replace | Flavor impact | Best for |
|---|---|---|---|
| Slice of bread | Every few days, or when it goes stiff | None while fresh | Free, immediate, small amounts |
| Regular marshmallows | Every 2 to 3 weeks | None | Bigger jars and less frequent baking |
| Terra-cotta sugar stone | Resoak every 3 to 6 months | None | Bulky bags, long-term keepers |
| Damp paper towel | Check weekly, swap when dry | None | Humid kitchens already doing most of the work |
| Food-safe humidity packet | Per the packet | None | Sealed bulk storage |
Terra-cotta deserves its own warning, because people ruin these discs. Rinse the stone in water only, never soap or detergent, and any fragrance residue ends up in your sugar. When the sugar starts feeling dry again, that is the cue to soak the disc for 15 to 20 minutes and put it back.
In a humid kitchen you can get away with much less. A tight container on its own usually holds, and a small jar of a few ounces may never need a moisture source at all. In an arid or heavily air-conditioned home, go with the disc and expect to resoak more often.
If you are outfitting a pantry properly, I put together a roundup of stackable canisters for flour and sugar that covers the sizing question nicely.
How to Soften Brown Sugar That Has Already Hardened
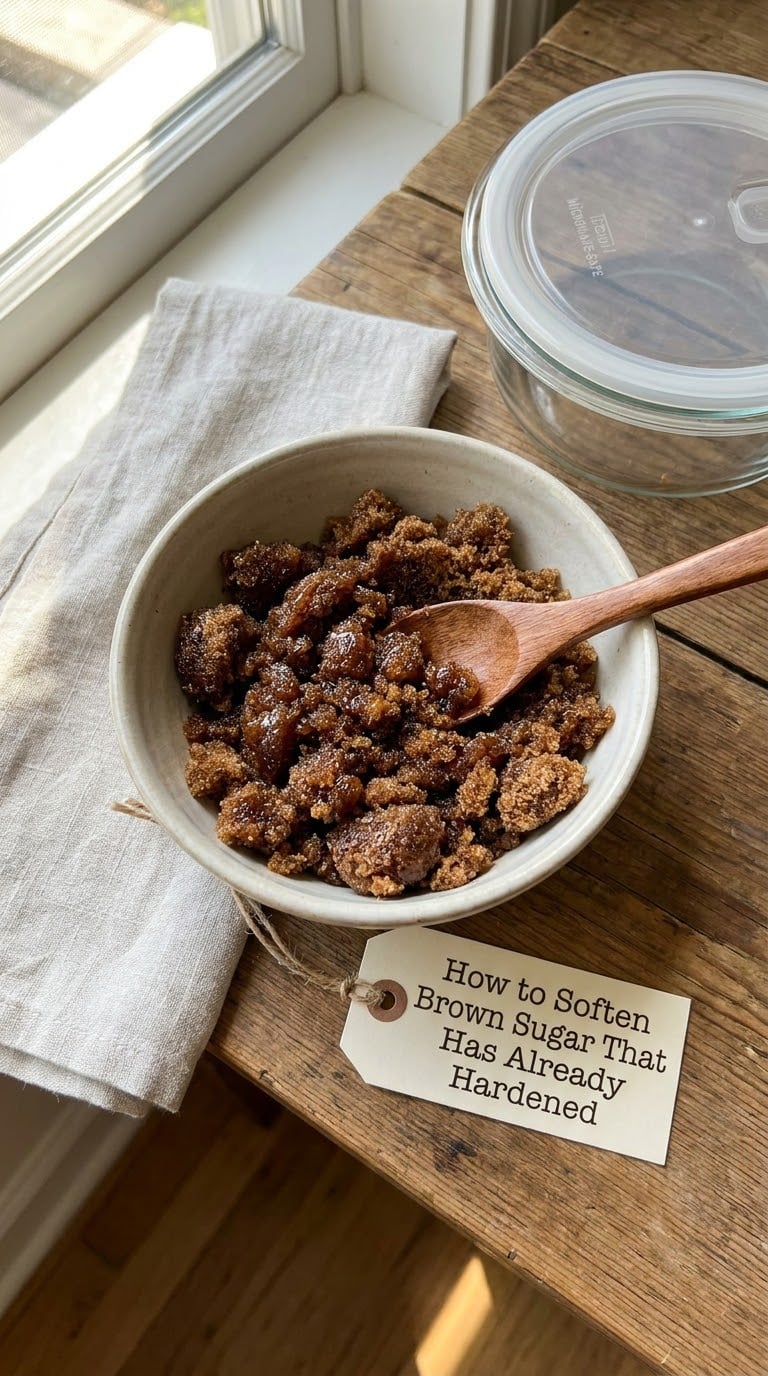
Start with the microwave. It is the fastest reliable route and the one people on baking forums reach for most often.
- Break up what you can first. Run a spoon or a rubber spatula around the edges and press down on any big lumps. Sugar that starts as pieces heats more evenly than one solid brick.
- Put it in a microwave-safe bowl. Glass or ceramic, loose on top, not packed tight.
- Lay a damp paper towel or clean tea towel over the top. Damp, not dripping. This is what makes the difference between sugar that softens evenly and sugar that goes molten at the edges.
- Heat in 10 to 20 second bursts at medium or half power. Stir between every burst. This is the step that fixes the common failure: full power for two straight minutes softens the outside and leaves the center hard.
- Stop when it crumbles like damp sand. It should hold a squeezed shape and break apart with a thumb, not pour like loose sugar. Let it cool on the counter before measuring.
It melts fast and it burns fast. Sugar that goes past soft and starts bubbling is ruined, and melted sugar in a microwave is a serious burn hazard, so keep the towel on top and stay in the room.
Three other approaches are worth knowing.
Warm oven. Put the sugar in a covered dish, set the oven to 250°F, and heat for five minutes. Ten is the ceiling. Then let it sit undisturbed for an hour, covered, and it reabsorbs moisture on its own.
Food processor. Short pulses of a second or two, with the lid on. Good for small clumps that are not truly solid. Do not run it continuously, because friction warms the crystals and you end up with granulated sugar that has lost the molasses character.
Break it by hand and bake anyway. A lot of people just smash the lumps with the flat of a knife and measure loosely. The cookies will be slightly less sweet and a little more crisp, which some people prefer anyway.
No microwave at all? Put the whole container in the oven at 250°F for 10 to 15 minutes with the lid on, then cool it sealed for several hours. It is slow, and it works.
And to answer the question that comes up constantly: yes, hardened brown sugar is still completely safe to eat. Hardening is a texture change, not spoilage. Throw it out only if it smells off, looks discolored from contamination, or has picked up moisture and mold from a wet utensil.
The measuring problem has a quick fix too. Pack the softened sugar firmly into the measuring cup, level it with the back of a butter knife, and treat that as your cup. Compaction matters more than people expect.
How to Store Brown Sugar for Longer-Term Freshness
Freezing is the answer for anyone who bakes occasionally and buys a big bag. It stops the hardening cycle entirely rather than managing it.
- Measure the sugar into the amounts you actually bake with. One cup per bag, or a quarter cup for small-batch cookies. Portions freeze fast and thaw in minutes.
- Squeeze the air out and seal each one. Press out the excess, fold the top down, and seal. A vacuum bag works well if you own one.
- Label with the amount and the month. Frozen sugar keeps its texture for months, and labeling means you are not thawing a mystery bag.
- Thaw on the counter, still sealed. Fifteen minutes for a small portion, an hour or two for a large one. Opening the bag early invites exactly the condensation you were avoiding.
For the pantry shelf itself, keep a two-month rotation. Freeze the newest bag, bake from the older jar, and replace what you used. That way nothing sits long enough to turn into a brick.
Light brown and dark brown keep the same rules, though dark brown holds its texture a little longer because it carries more molasses. If you keep both, a separate container each is worth it, because they do not swap freely in a recipe.
Common Mistakes When Keeping Brown Sugar Soft
- Leaving the bag folded over with a clip but never sealed properly. A clip on a paper bag leaks. Double-bag it or move it into a jar.
- A damp cloth that touches the sugar. Paper towels only work when they are damp but separate. A wet towel in contact with the sugar makes a paste.
- Storing near the oven, the dishwasher, or a sunny window. Heat and temperature swings are the second-hardest accelerant after open air.
- Measuring with wet spoons. A single tablespoon of water can clump a whole jar. Keep a dry scoop in the canister and a wet one out of it.
- Using the refrigerator to save space. It makes hardening worse, not better. Condensation then drying is exactly the cycle to avoid.
- Leaving the bread slice in until it looks old. A stale or moldy slice is a mold risk in your baking sugar. Swap it every few days.
- Assuming one giant bag is efficient. A huge container holds a lot of empty air, so you have more moisture to fight. Portion into smaller jars.
Frequently Asked Questions
Why does my brown sugar harden even when I store it in a jar?
A jar only helps if it is genuinely airtight, and a lid that clicks on is not the same as a seal. Most hard blocks come from a container that is too large for the sugar, a loose two-piece lid, or a jar that gets carried to the counter and set down without being closed properly. Check the rubber gasket for cracks, push the sugar down into a smaller container so there is little empty space, and keep a moisture source inside. If your kitchen runs warm, move the jar off the counter and into a cupboard.
How do I keep brown sugar soft without making it wet?
Keep the moisture source from touching the sugar directly. A slice of bread, three or four marshmallows, or a water-soaked terra-cotta disc placed against the side of a sealed jar releases water vapor slowly, and the sugar stays loose and scoopable. A damp paper towel works too, but it must sit on top without contact, and it needs checking weekly. If sugar ever looks glossy or sticks to itself, you have gone too far and should let it air out uncovered for an hour.
Can I use a microwave to soften hardened brown sugar?
Yes, and it is the fastest method. Put the sugar in a microwave-safe bowl, lay a damp paper towel over the top, and heat at medium or half power in 10 to 20 second bursts, stirring between each one. Stop when the sugar crumbles like damp sand. Heating it at full power for two minutes straight is why so many people end up with a soft outside and a rock-hard center. Stay in the room, because melted sugar burns fast.
How long does brown sugar stay soft in an airtight container?
With a proper seal and a moisture source, most people go the better part of a year without a problem. In a dry or air-conditioned kitchen, expect a closer fit, and check every few months. Without any moisture source, an airtight jar on its own usually holds for several months in a humid kitchen but only a few weeks in a dry one. The bread-swap routine is what turns that unpredictable stretch into a set-and-forget habit.
Is it safe to freeze brown sugar for long-term storage?
Freezing is safe and works well. Measure the sugar into the portions you bake with, press the air out of each resealable bag, seal it, and label it with the amount and the month. Thaw on the counter with the bag still closed, which takes fifteen minutes for a small portion and an hour or two for a large one. Opening the bag before it has come to room temperature invites condensation, and that is the dampness you were trying to avoid.
Does placing a slice of bread inside the brown sugar container work?
It genuinely works, and it is the most recommended free method. The bread releases water vapor slowly, which keeps the molasses in the sugar damp. White and wheat both work, and the slice is what matters more than the type. Replace it every few days and always before it turns stale or picks up mold, since anything going off in that jar goes straight into your baking. A soaked terra-cotta disc does the same job with far less maintenance.
Conclusion
Do one thing today: move your brown sugar into a container that actually seals, put a slice of bread or a soaked terra-cotta disc inside, and put it in a cupboard instead of on the counter. That is the whole trick behind how to keep brown sugar from hardening, and it costs nothing to start.
Once it is set up, keep the swap habit going and the problem stops recurring. If you want something good to bake while you sort the pantry, these sour cream cake donuts with maple brown butter glaze lean on soft brown sugar, and reheated sugar is not the way to get there.