
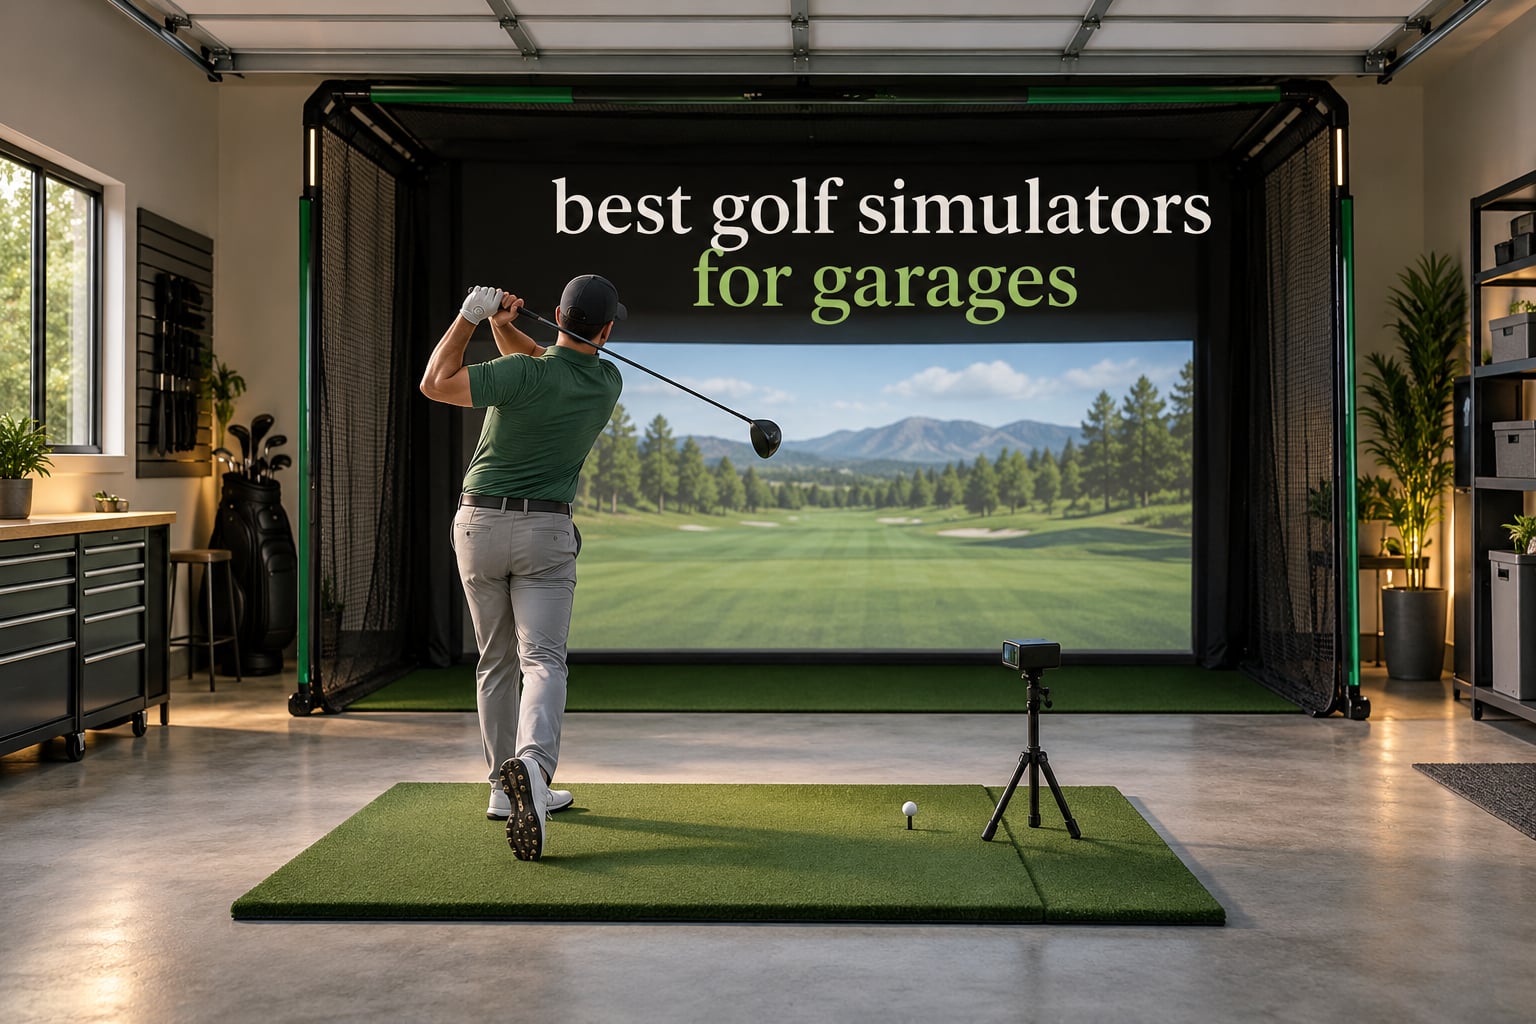
The best golf simulator for a garage is the one whose footprint fits your bay, not the one with the longest spec sheet. Most garages handle a full setup: allow at least 9 ft of ceiling height, 10 ft of width and about 16 ft of depth for a fixed enclosure, then add a launch monitor, an impact screen, a mat and a projector.
The catch is depth. Radar monitors need roughly 6 ft of clear space behind the ball, which is the most common reason a build fails in a small garage, while camera-based monitors sit beside the mat and need about a foot. We reviewed ten of the most-reviewed enclosures and launch monitors and matched each to the bay it actually suits.
Table of Contents
Top 3 Garage Golf Simulator Picks for 2026

ANYTHING SPORTS Enclosure Package
- Projector mount included
- 4K-ready impact screen
- Side shank nets
- Blackout cage

GoSports Enclosure Net
- Multi-layer impact screen
- True blackout panels
- Three size options
- Foam padding

The Best Golf Simulators for Garages at a Glance
Every row below is a component rather than a bundled package, so plan on assembling your own system. The columns that decide a garage fit are footprint, tracking or screen type, and what you still have to buy.
| Product | Specifications | Action |
|---|---|---|
| ANYTHING SPORTS Enclosure Package |
|
Check Latest Price |
| GoSports Enclosure Net |
|
Check Latest Price |
| Garmin Approach R50 |
|
Check Latest Price |
 Diandian 10 x 8 ft Kit Diandian 10 x 8 ft Kit |
|
Check Latest Price |
 Durbles Enclosure Kit Durbles Enclosure Kit |
|
Check Latest Price |
 HOMEVOL 2-in-1 Net System HOMEVOL 2-in-1 Net System |
|
Check Latest Price |
 ANYTHING SPORTS Fold Up Enclosure ANYTHING SPORTS Fold Up Enclosure |
|
Check Latest Price |
 Uneekor EYE MINI CORE Uneekor EYE MINI CORE |
|
Check Latest Price |
 Garmin Approach R10 Garmin Approach R10 |
|
Check Latest Price |
 FlightScope Mevo Gen2 FlightScope Mevo Gen2 |
|
Check Latest Price |
Can a Golf Simulator Fit in a Garage? Match Your Bay First
Yes, more often than buyers expect, as long as you measure before you buy. Width across the bay, depth from the back wall to the open door, and ceiling height at the point where a screen frame or projector mount sits decide everything.
- Single-car garage, 10 by 20 ft: the most common layout and the easiest to fit. A 10 by 8 ft or 11 by 8 ft enclosure goes against the back wall with room for a driver, provided the ceiling clears 9 ft.
- Two-car garage, 20 by 20 ft: room for a full-width cage plus a clear lane, so the car stays parked beside the bay.
- Third-stall or extra-tall bay, 12 by 12 ft with 10 ft ceilings: an 8 ft 4 in square fold-up cage handles the width comfortably and the extra height makes a ceiling projector mount practical.
- Narrow bay, 8 by 8 ft with a 9 ft ceiling: tight. An 8 ft 4 in square cage is the only realistic footprint, and radar monitors are out.
- Low ceiling under 9 ft: skip overhead monitors and ceiling mounts. A side-positioned monitor plus a short-throw projector is the workable combination.
Swing clearance in front of the mat needs about 8 ft of clear floor for a driver. If you are storing gear between sessions, our guide to storage cabinets for garages covers keeping mats and monitors dry and out of the swing path.
1. ANYTHING SPORTS Complete Enclosure Package – Best All-Round Garage Cage
- Projector mount included rather than sold separately
- Metal pole frame shows no wear after 18 months of regular use
- Impact screen sized for near-full coverage with minimal light bleed
- Compact 8 ft 4 in option for narrow bays
- Instructions widely criticized so you rely on picture diagrams
- Pads are thin covers rather than true impact padding
- Top rear crossbar returns wedge shots unless you add a baffle
This cage ranks first because it is the rare enclosure where the projector mount is actually in the box. Most kits treat that as an upsell, so you end up sourcing a mount before you can even test the build.
The frame is metal rather than the folding steel-and-fabric construction used by cheaper kits, and owners report no visible wear after 18 months of regular use. The screen is sized one inch under the frame, which limits the light bleed around the edges that washes out a projected image.
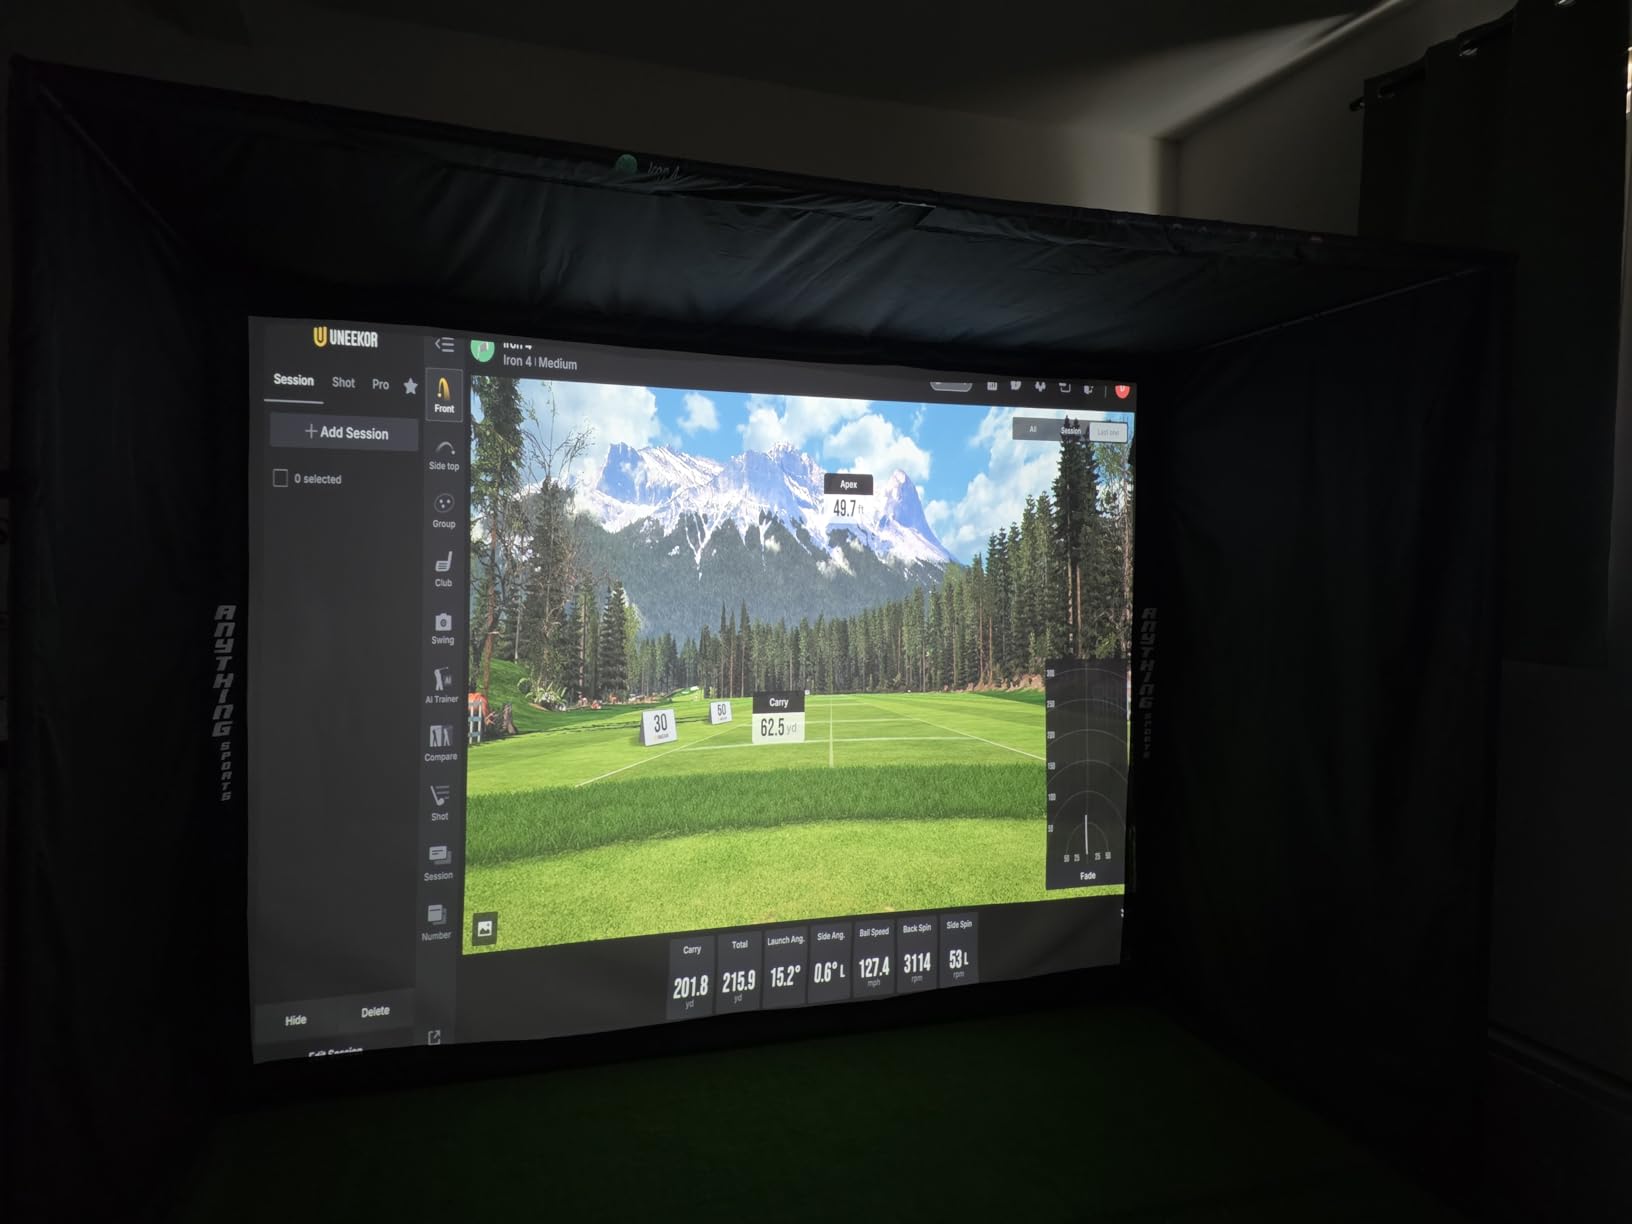
Documentation is the honest weakness. Reviewers repeatedly describe the instructions as confusing and say the picture diagrams are the only reliable guide, so allow an extra hour and sort the hardware into groups before you start.
Padding is the other gap, since what ships are thin covers rather than dense foam. Because the top rear crossbar returns wedge shots toward the hitter, many owners strap on their own baffle above it, a ten-minute fix with a few dollars of hardware.
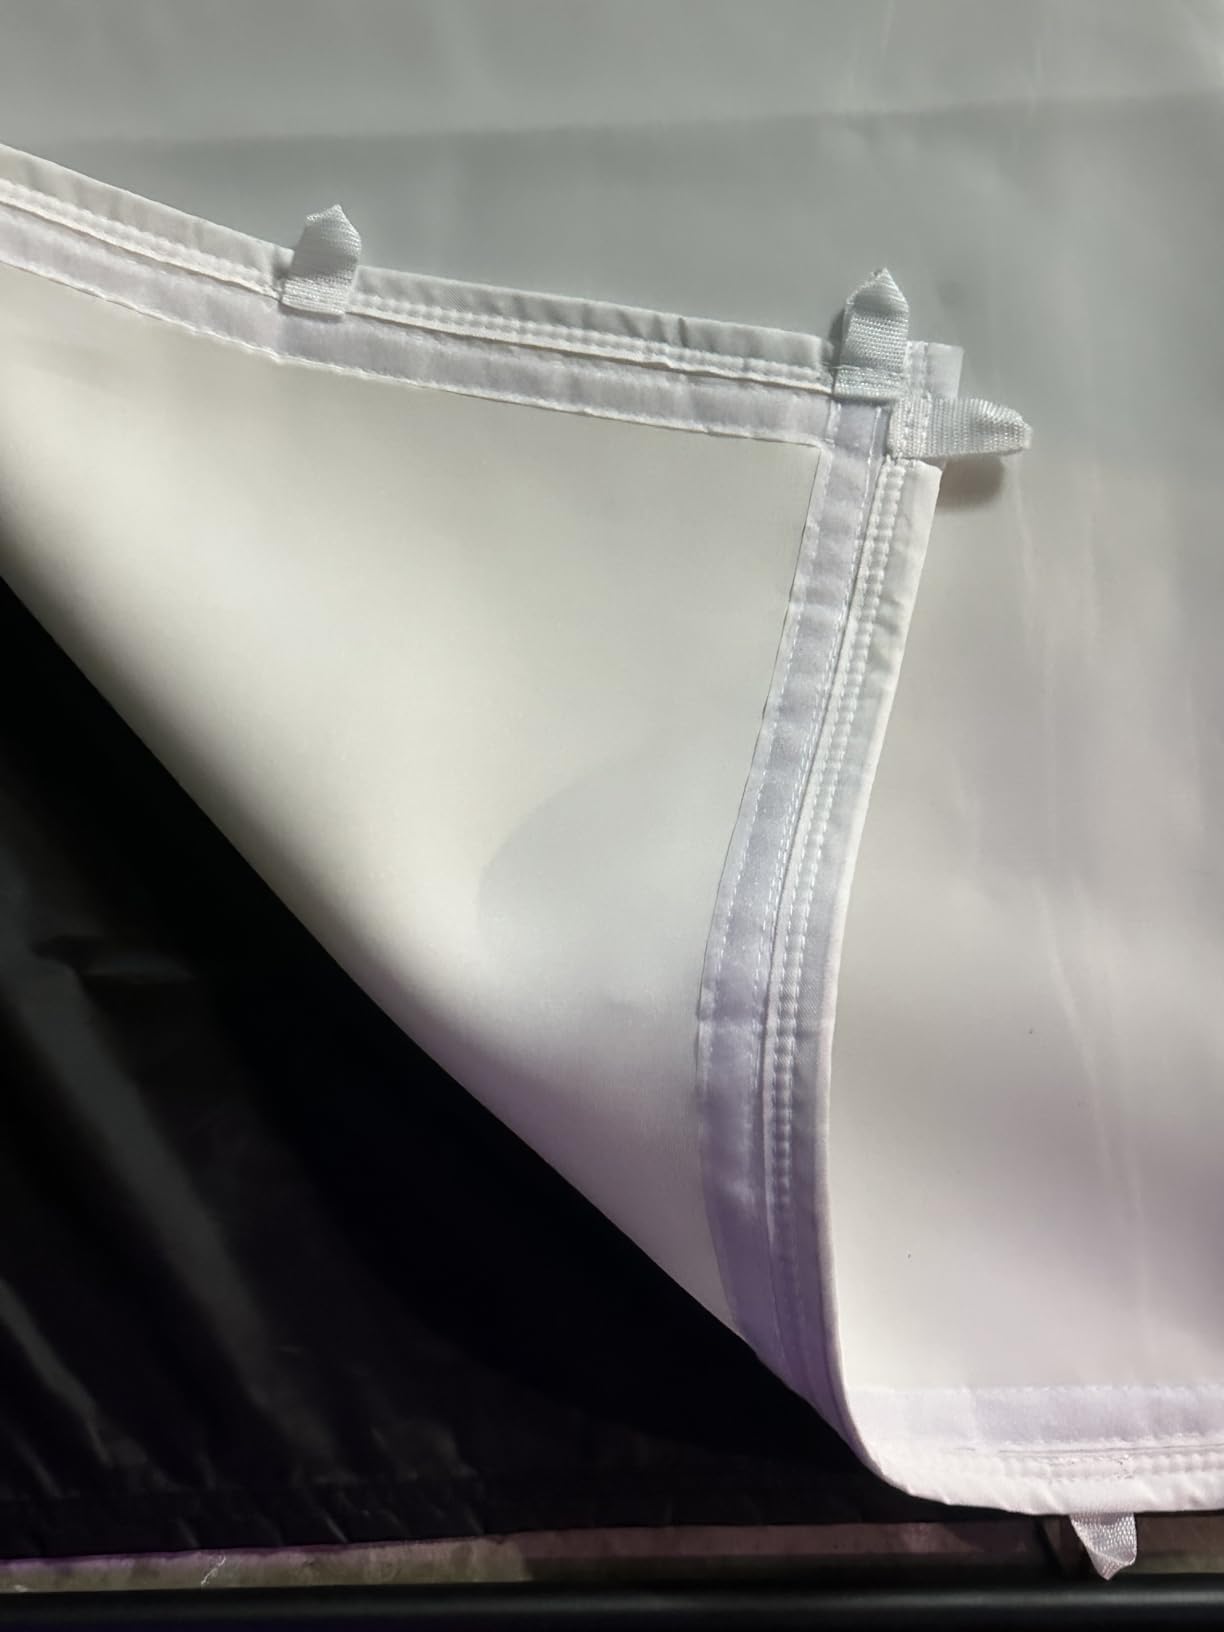
What this enclosure gets right for a shared garage
The blackout cage fabric is what makes mid-projector image quality work in a space with a garage door light overhead, and the included side shank nets stop most mishits before they reach your car or tools. Two larger sizes at 12 by 9 ft and 11 by 8 ft cover the common layouts so you are not forced into an awkward footprint.
Where it will disappoint you
The outer cover tarp sags and stretches after a few months, and some owners report a stray ball finding a bottom corner on a bad shot. Note also that the turf and projector in listing photos are not included, so this is the enclosure, not a ready-to-play bay.
2. GoSports Enclosure Nets – Most Reviews, Toughest Screen
GoSports 10 x 8 ft Golf Simulator Enclosure Net – Complete Set with Frame and HD Impact Screen Kit
- Screen holds up after thousands of impacts with no tearing or sagging
- Numbered poles and clear diagrams make assembly about an hour
- True blackout panels visibly improve projector brightness
- Handles 150 mph ball speed without screen damage
- Padding is thin and balls can still fire back off the frame
- No hanging baffles to knock down wedge shots
- Shank nets are not included and must be bought separately
With the largest volume of owner feedback in this group, this kit is the safe default for a standard single-car bay. The multi-layer commercial-grade screen is the reason, since owners who have put thousands of shots through it report no tears and no sagging at the top.
Assembly is straightforward because the poles are numbered and the diagrams are clear, the opposite of the experience most buyers report with budget kits. Expect about an hour, and a second pair of hands to rotate the 79 lb frame into position.
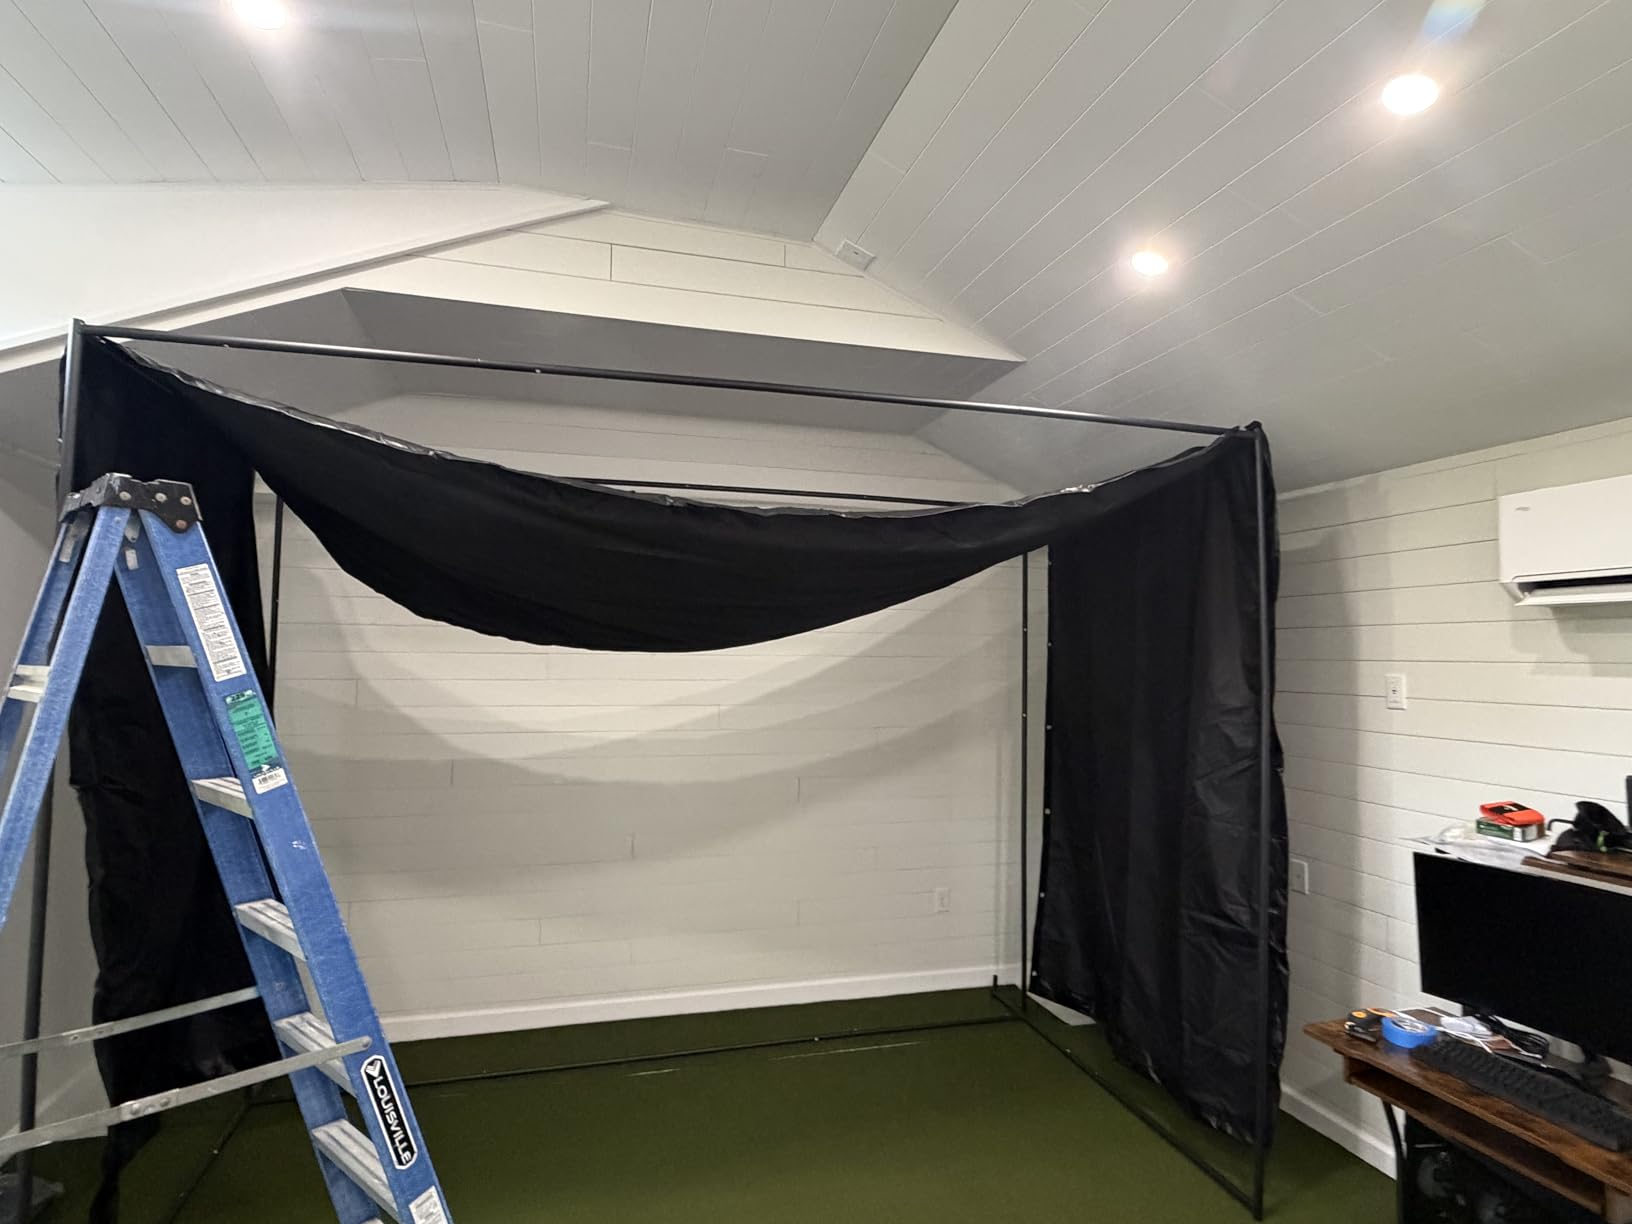
Three sizes are offered at 10 by 8 ft, 12 by 9 ft and 14 by 8 ft, so a wider or deeper bay does not force a compromise. The blackout panels are worth having, because owners say the projected image is noticeably brighter once stray garage light is blocked.
The frame can feel flimsy until the fabric goes on, and that is normal rather than a defect. Longer sizes can droop at the top until you tension them, so allow a day before judging the result.
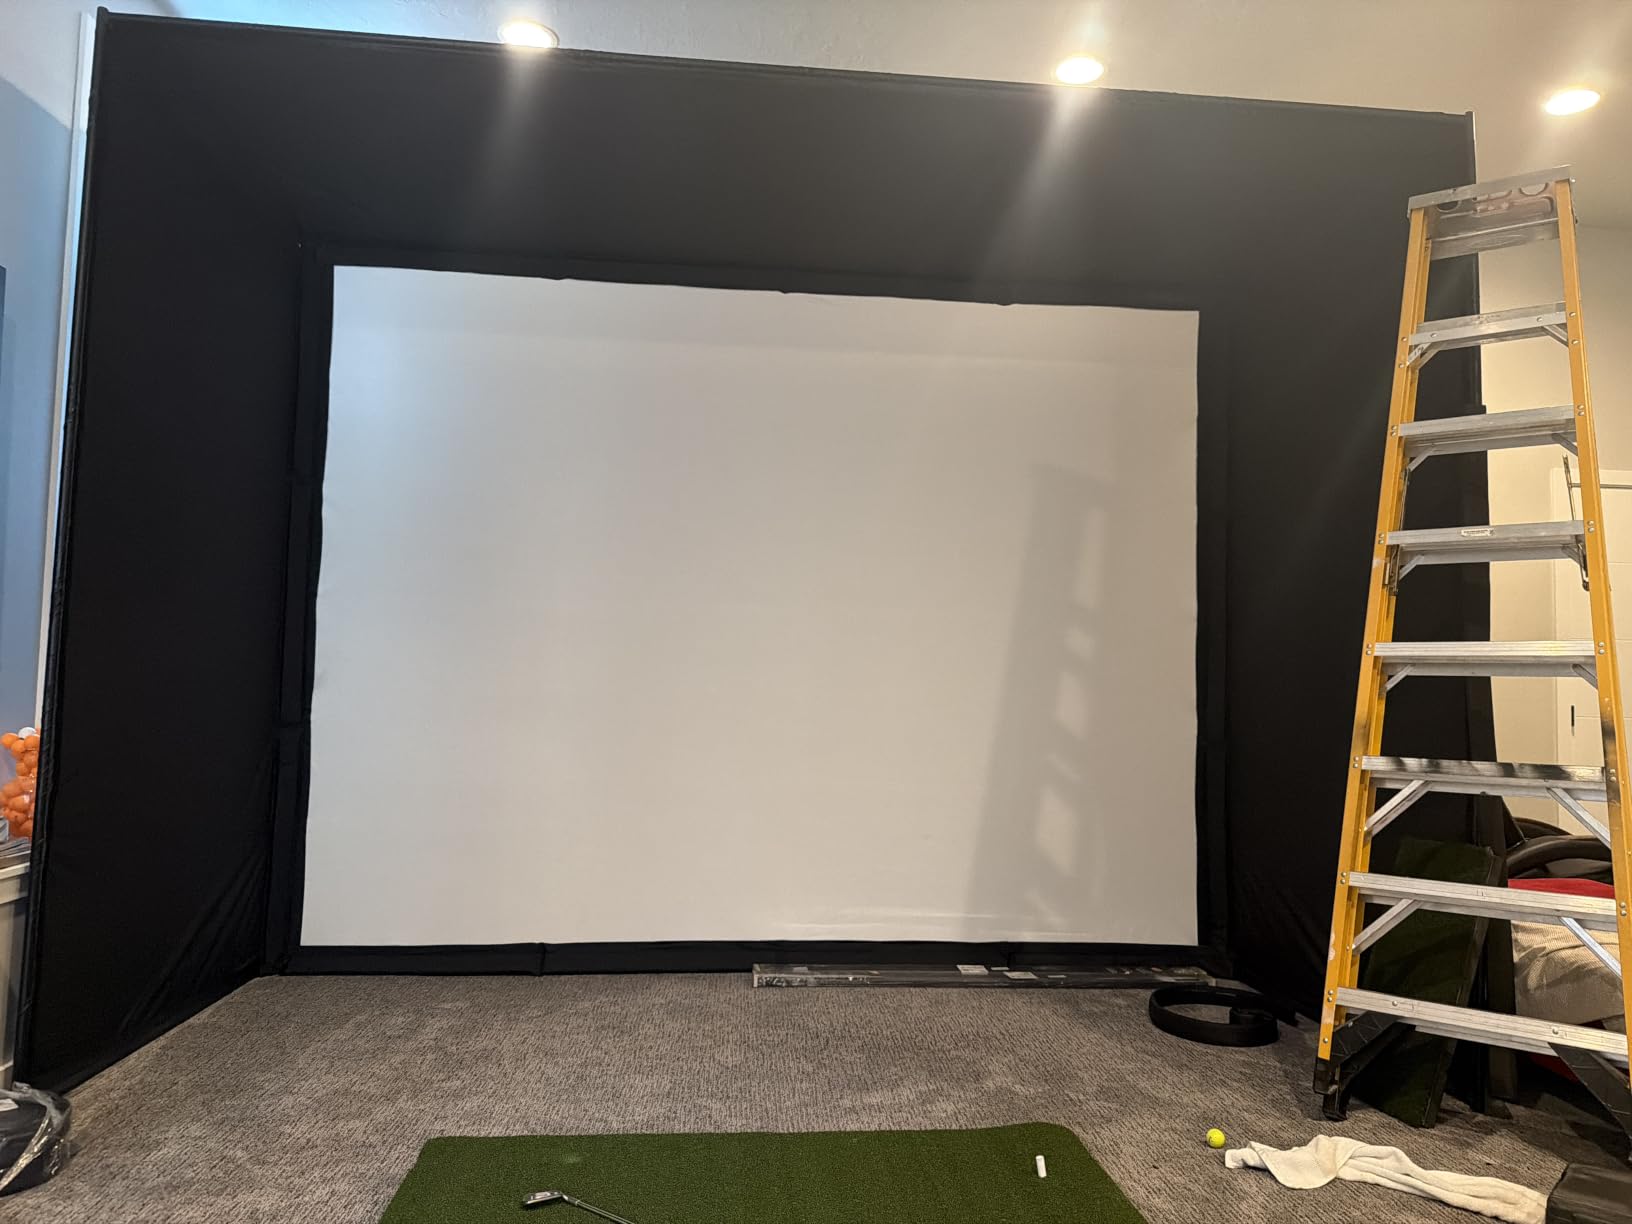
What this screen handles that cheaper kits do not
The screen handles ball speeds up to 150 mph, which matters if you strike the ball hard with a driver into a closed face. For a garage with vehicles parked nearby, that durability is the difference between a bay you keep and one you replace within two seasons.
What you will still need to buy
Shank nets are not included at this level and there are no baffles to knock down wedge shots that catch the upper frame, so budget for a baffle if you hit a lot of wedges. The included foam padding is minimal, and our slat wall guide for garages covers keeping surrounding storage out of the hitting area.
3. Garmin Approach R50 – Best Launch Monitor for Data Depth
- 3-camera system delivers high-precision metrics indoors and outdoors
- Built-in 10 inch colour touchscreen for courses and stat review
- Tracks ball speed launch angle face-to-path spin rate and spin axis
- HDMI output drives an external projector or monitor
- Virtual rounds and most course features need an active Garmin Golf membership
- Larger and heavier than portable single-camera monitors
- Club tracking sticker is required for face-to-path readings
This is the only launch monitor here with a built-in 10 inch colour touchscreen, and that changes how you use a bay. You can review a shot and launch the next one from the mat without walking to a laptop, which is the difference between a training session and a chore.
Three cameras give it the deepest metric set in the roundup, covering ball speed, launch angle, face-to-path, spin rate and spin axis, alongside high-speed impact video. A built-in barometer adjusts carry distance for local elevation, which is the fix for the wrong-distance complaint owners post about on golf forums.
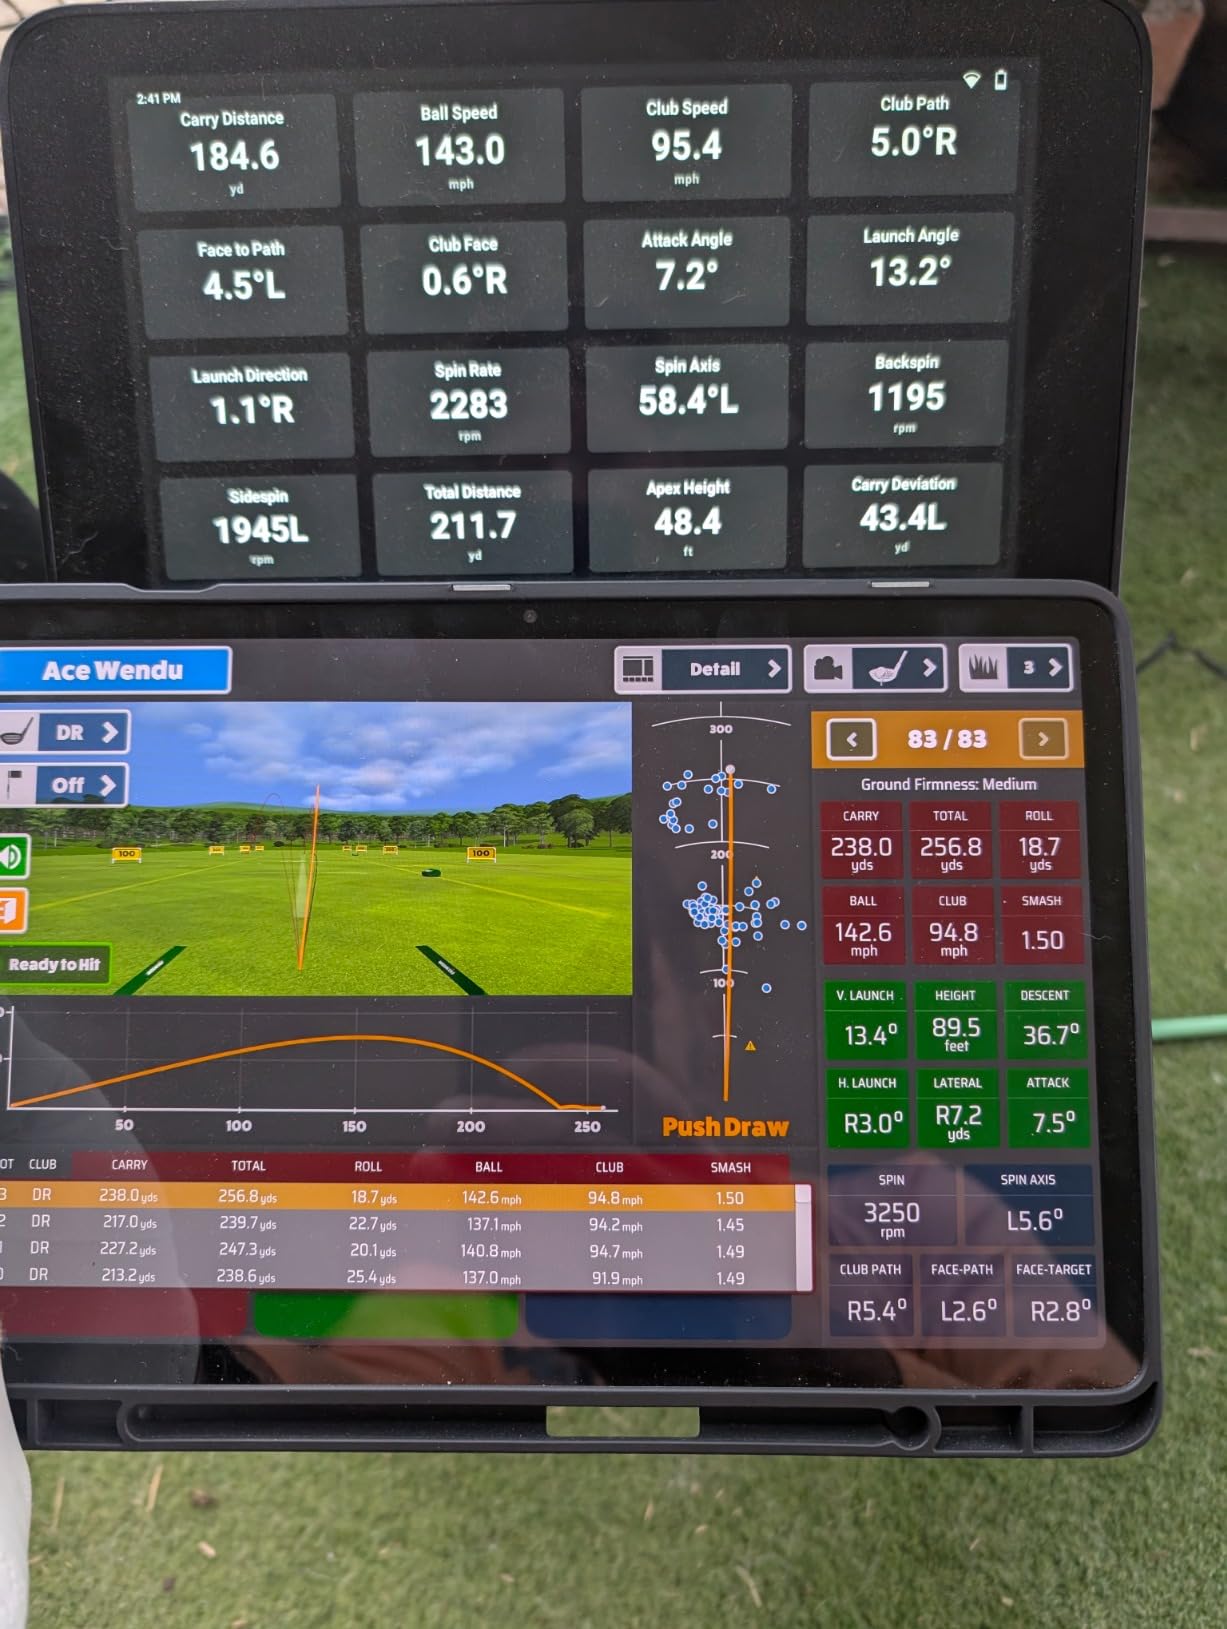
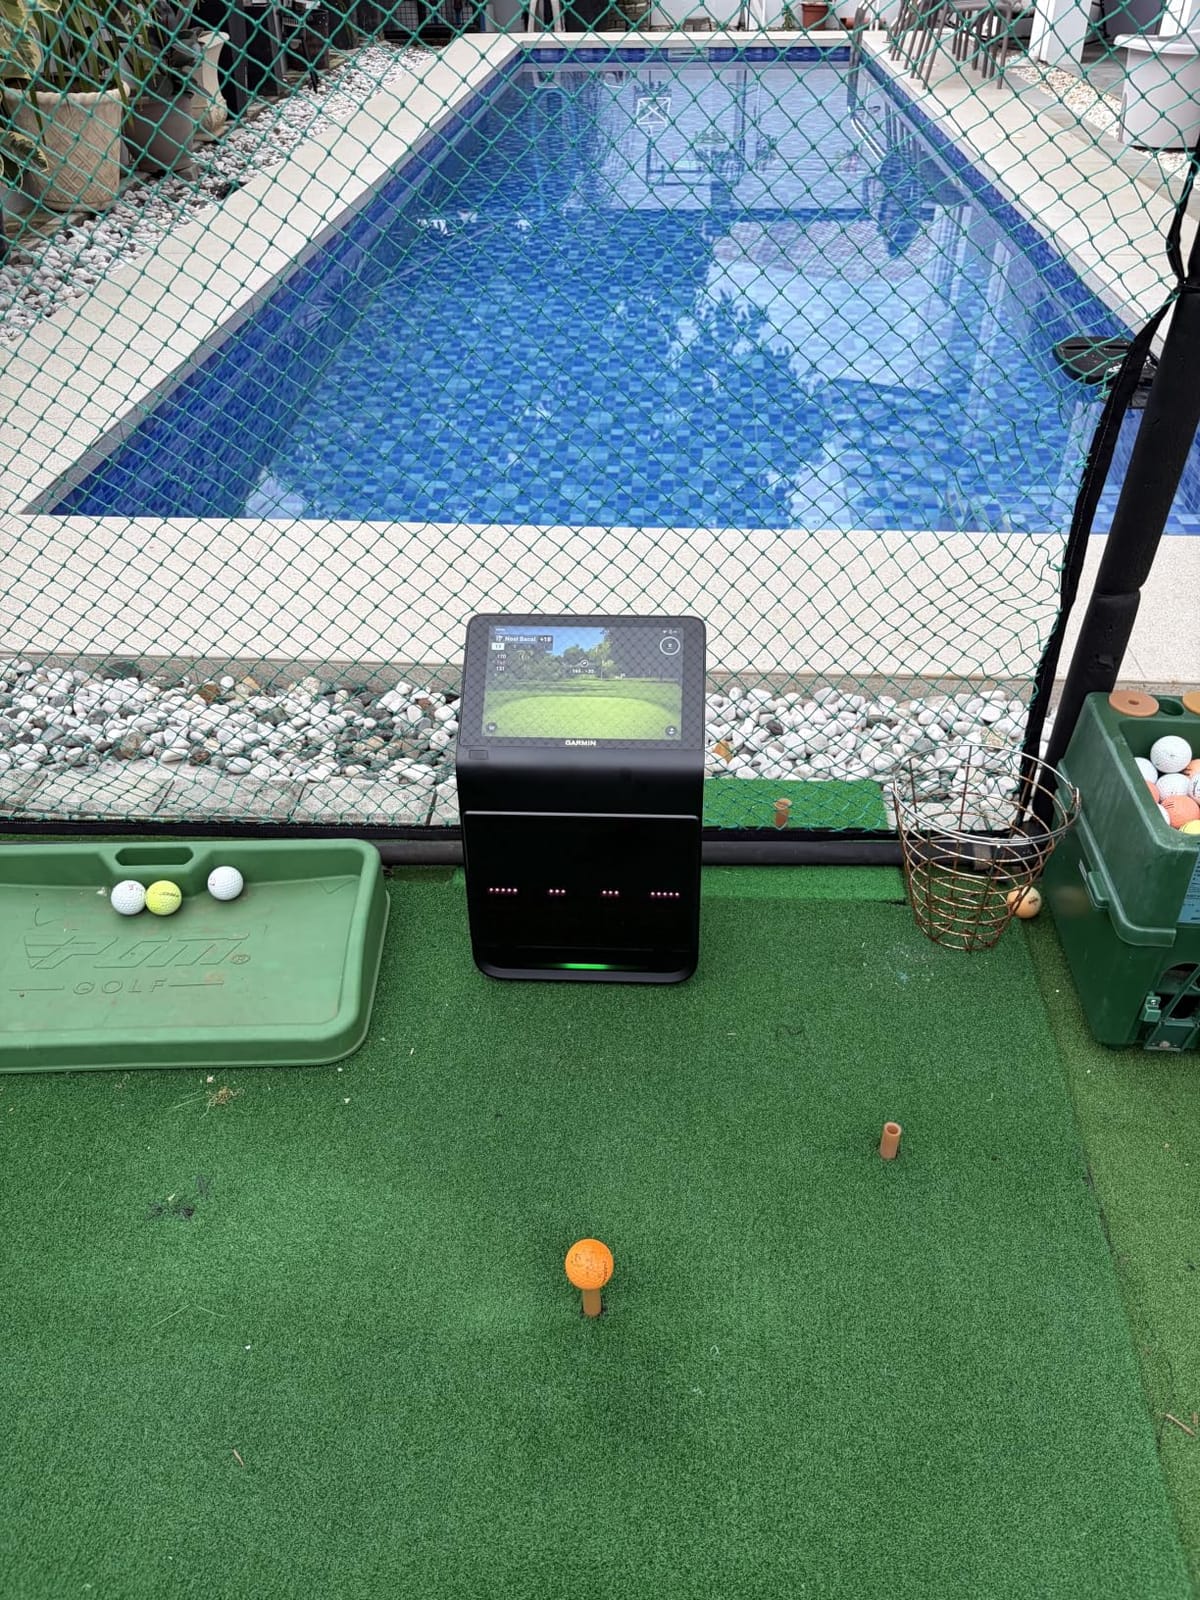
Because it sits beside the ball rather than shooting from behind it, the R50 solves the depth problem that disqualifies radar units in shallow garages. It needs about a foot of clear space next to the mat and runs up to four hours on battery, so the same case carries it to the range.
HDMI output matters most to garage builders, letting you feed a projector or wall display so the bay looks like a simulator rather than a laptop on a folding chair.
When the R50 earns its cost
It makes sense if you already play seriously and want club-level detail, or if your garage is too shallow for a radar unit. Training mode with per-club stats and shot dispersion charts is where the extra data pays off, because the dispersion chart is more useful than a raw speed number when you are chasing one miss pattern.
Where buyers push back
Course play is tied to an active Garmin Golf membership, so the ongoing software cost belongs in any five-year total. It is also physically larger and heavier than single-camera portable monitors, which matters in a small bay, and the club tracking sticker is required for face-to-path readings.
4. Diandian 10 x 8 ft Enclosure Kit – Quietest Screen for Shared Walls
Diandian Golf Simulator Enclosure Kit 10 x 8 ft with 4K-Ready Impact Screen
- Full 600D Oxford blackout fabric is quieter and looks better than thin tarp covers
- Mesh-backed screen noticeably reduces the sound of ball strikes
- Spring-button tool-free assembly takes roughly 30 to 60 minutes
- Foam padding cuts ricochets back toward the hitter
- Screen arrives wrinkled and the top roof panel can sag
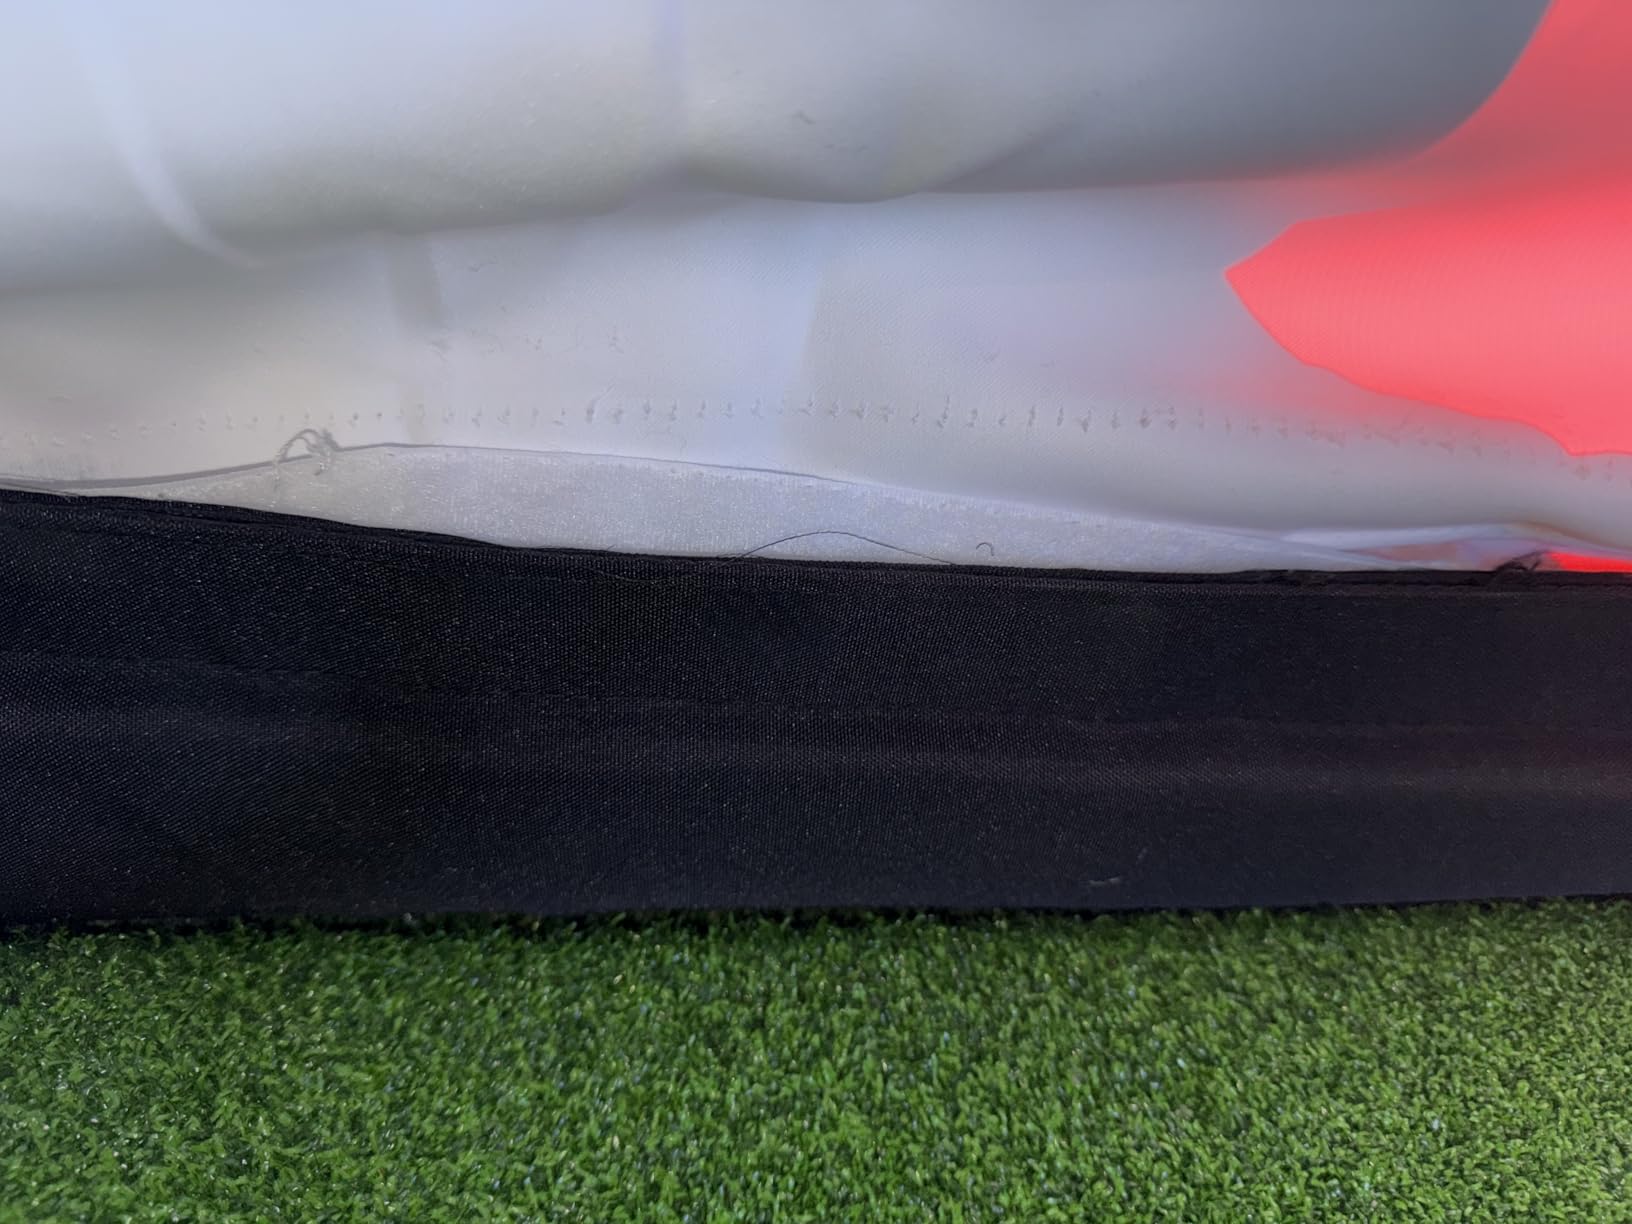
- Bottom stitching and Velcro attachment can tear with regular use
- No projector mount or sand bags on the base configuration
Sound is the reason to pick this one. The mesh-backed dual-layer screen and one-piece 600D Oxford cover do more to quiet ball strikes than thin tarp kits, and in a garage attached to living space that difference is the whole argument.
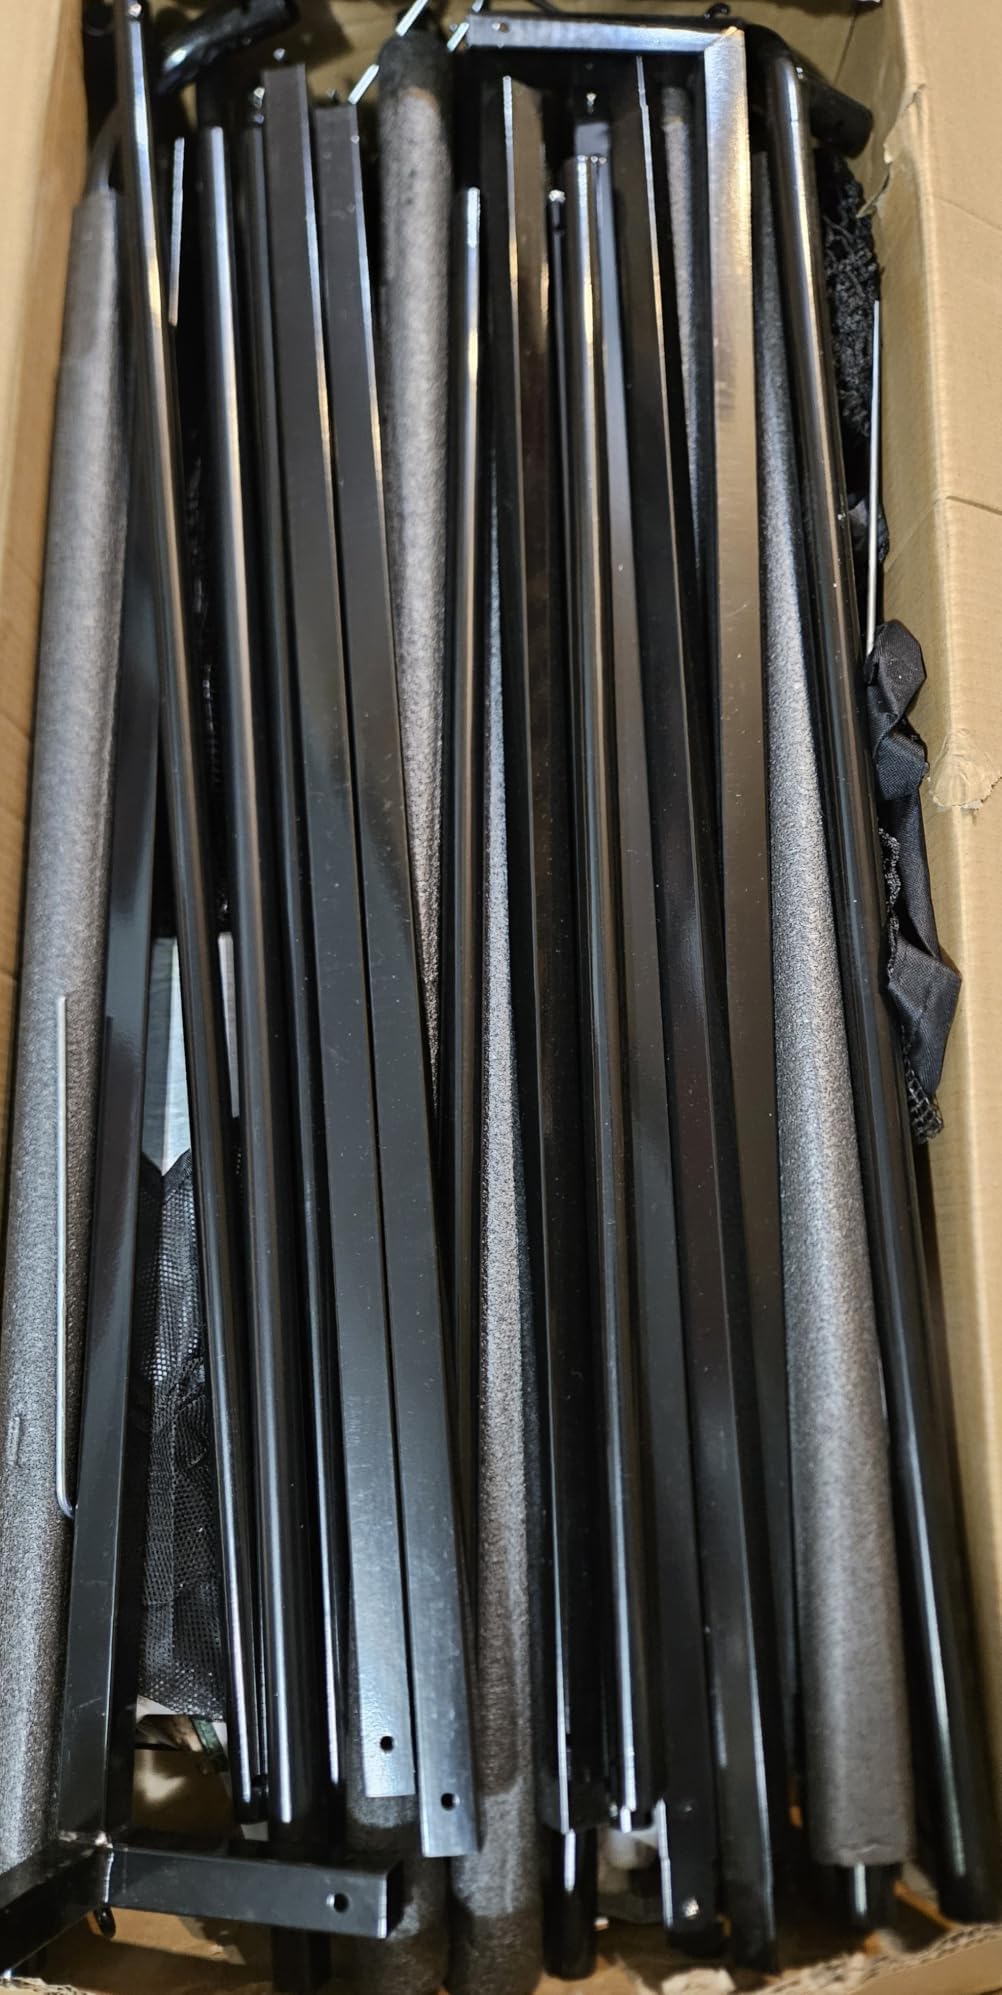
Assembly is genuinely fast, since the spring-button click-lock frame goes together in roughly 30 to 60 minutes with no tools. At 75 pounds it is light enough for one person to slide across a carpeted room once it is built.
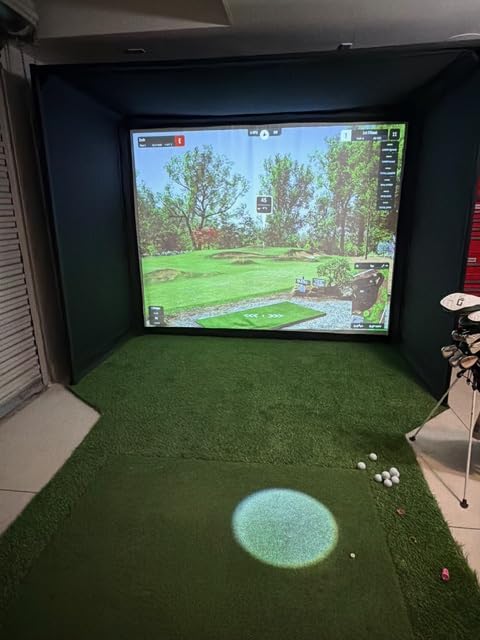
The recommended minimum ceiling height is 9 ft, which makes the 10 by 8 ft footprint a comfortable fit in a standard bay. A 14 by 8.5 ft size is available if your garage is wider and you want more swing area, and foam edge padding with heavy-duty side nets handles the mishits that lighter kits let escape.
The blackout cover has no light-leak gaps, so a mid-range projector performs better without fighting ambient light, and the screen surface is easy-clean and mark-resistant for repeated shots from the same spot.
What this kit handles well
Reviewers single out the fabric as feeling premium for the price, and several say the image quality on the dual-layer screen was good enough that they did not upgrade the projector after a year of use.
What to check before you order
Screen wrinkling on arrival is common and the top roof panel can sag, so allow time to tension the fabric before judging the picture. Bottom stitching and the Velcro attachment are the weak points, and one buyer received a box with no instructions and no reachable seller support.
5. Durbles Enclosure Kit – Thickest Padding and Best Sound Control
- Thick spongy triple-layer screen mutes impact sound far better than thin screens
- Full blackout cover keeps overhead light from washing out the image
- Extra inside-corner padding reduces frame contact
- Buyers report solo assembly in about 1.5 to 3 hours
- Instructions assume ceilings taller than 9.9 ft which complicates garage assembly
- Frame uses nearly the full 10 ft width so narrower rooms may need trimming
- Some bungee cords are too short and leave the screen wrinkled
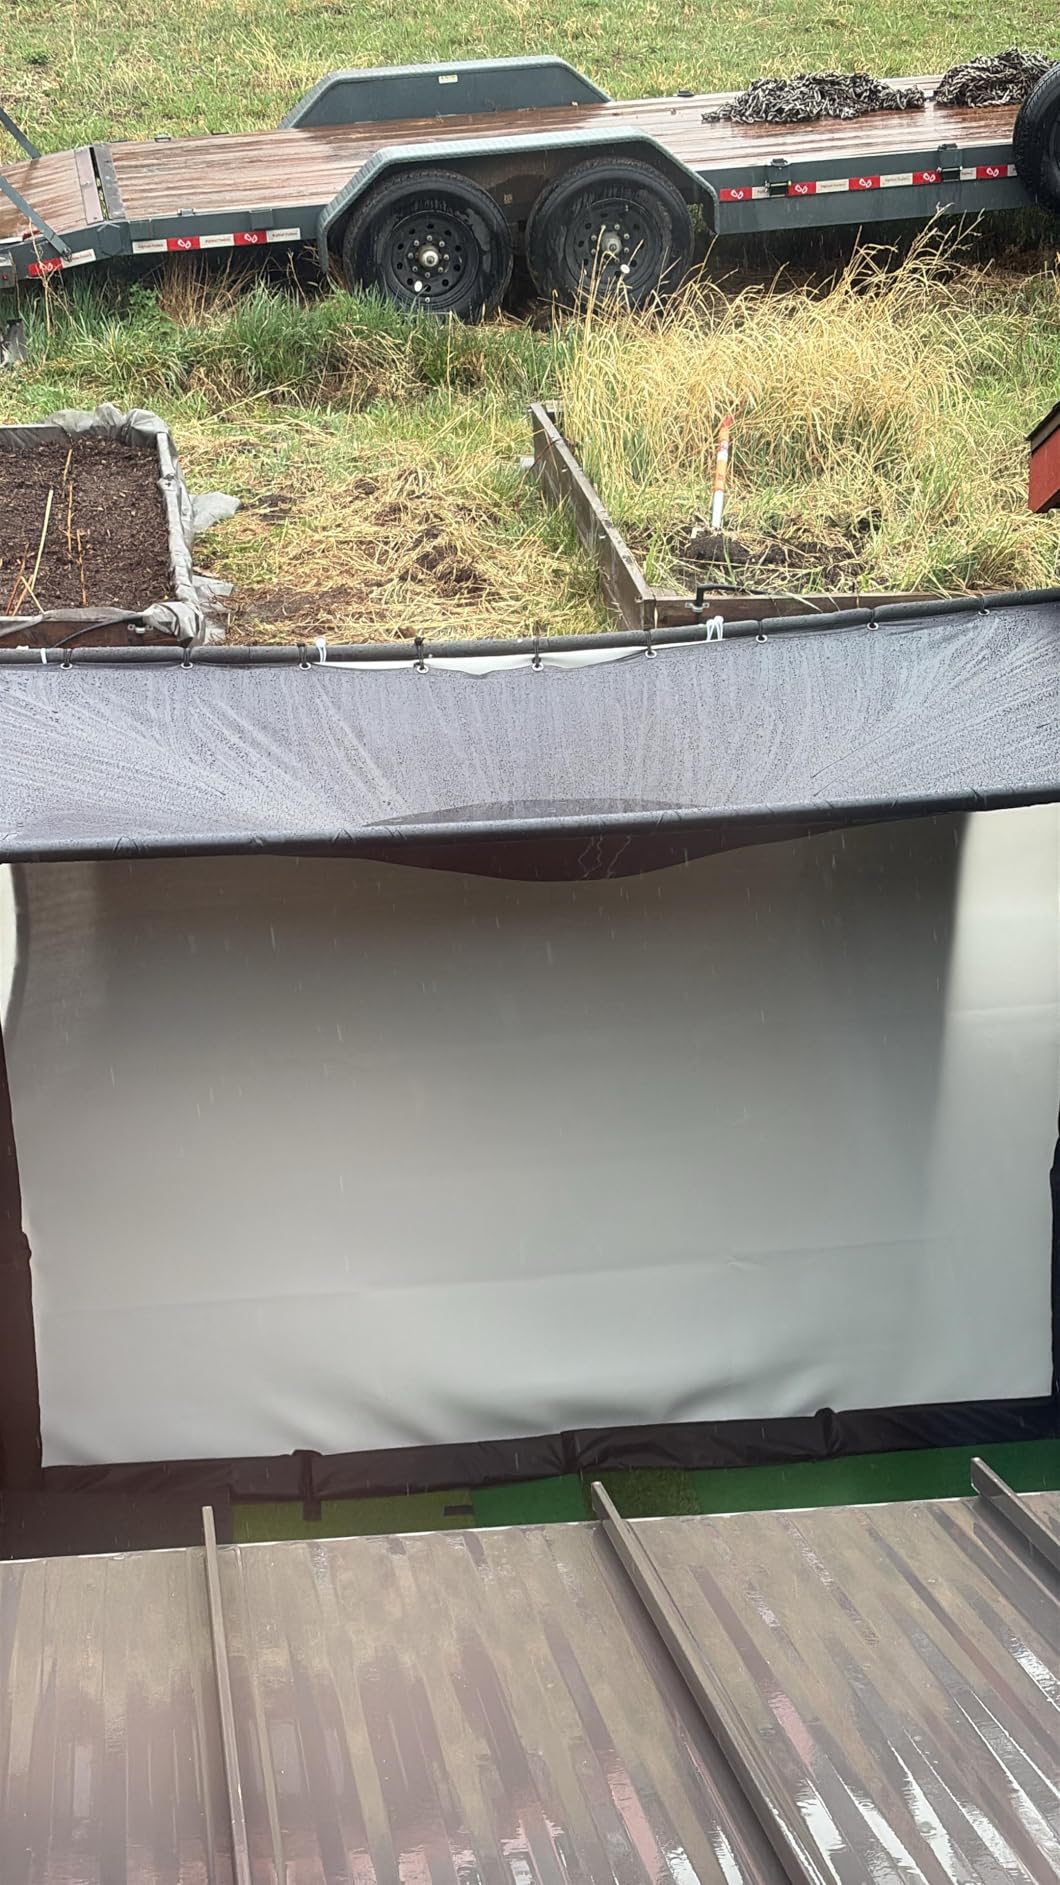
The Durbles kit is the most aggressively padded option here, and that padding is the point. Thick sponge on the poles plus extra coverage at the inside corners targets the exact spot where most enclosures fail, which is a mishit that clips the frame and returns at your hands.
The triple-layer screen absorbs shock and reduces sound more than any single-layer kit we reviewed. In a garage with a bedroom above it, that is the difference between a bay you can use at night and one you keep for weekends.
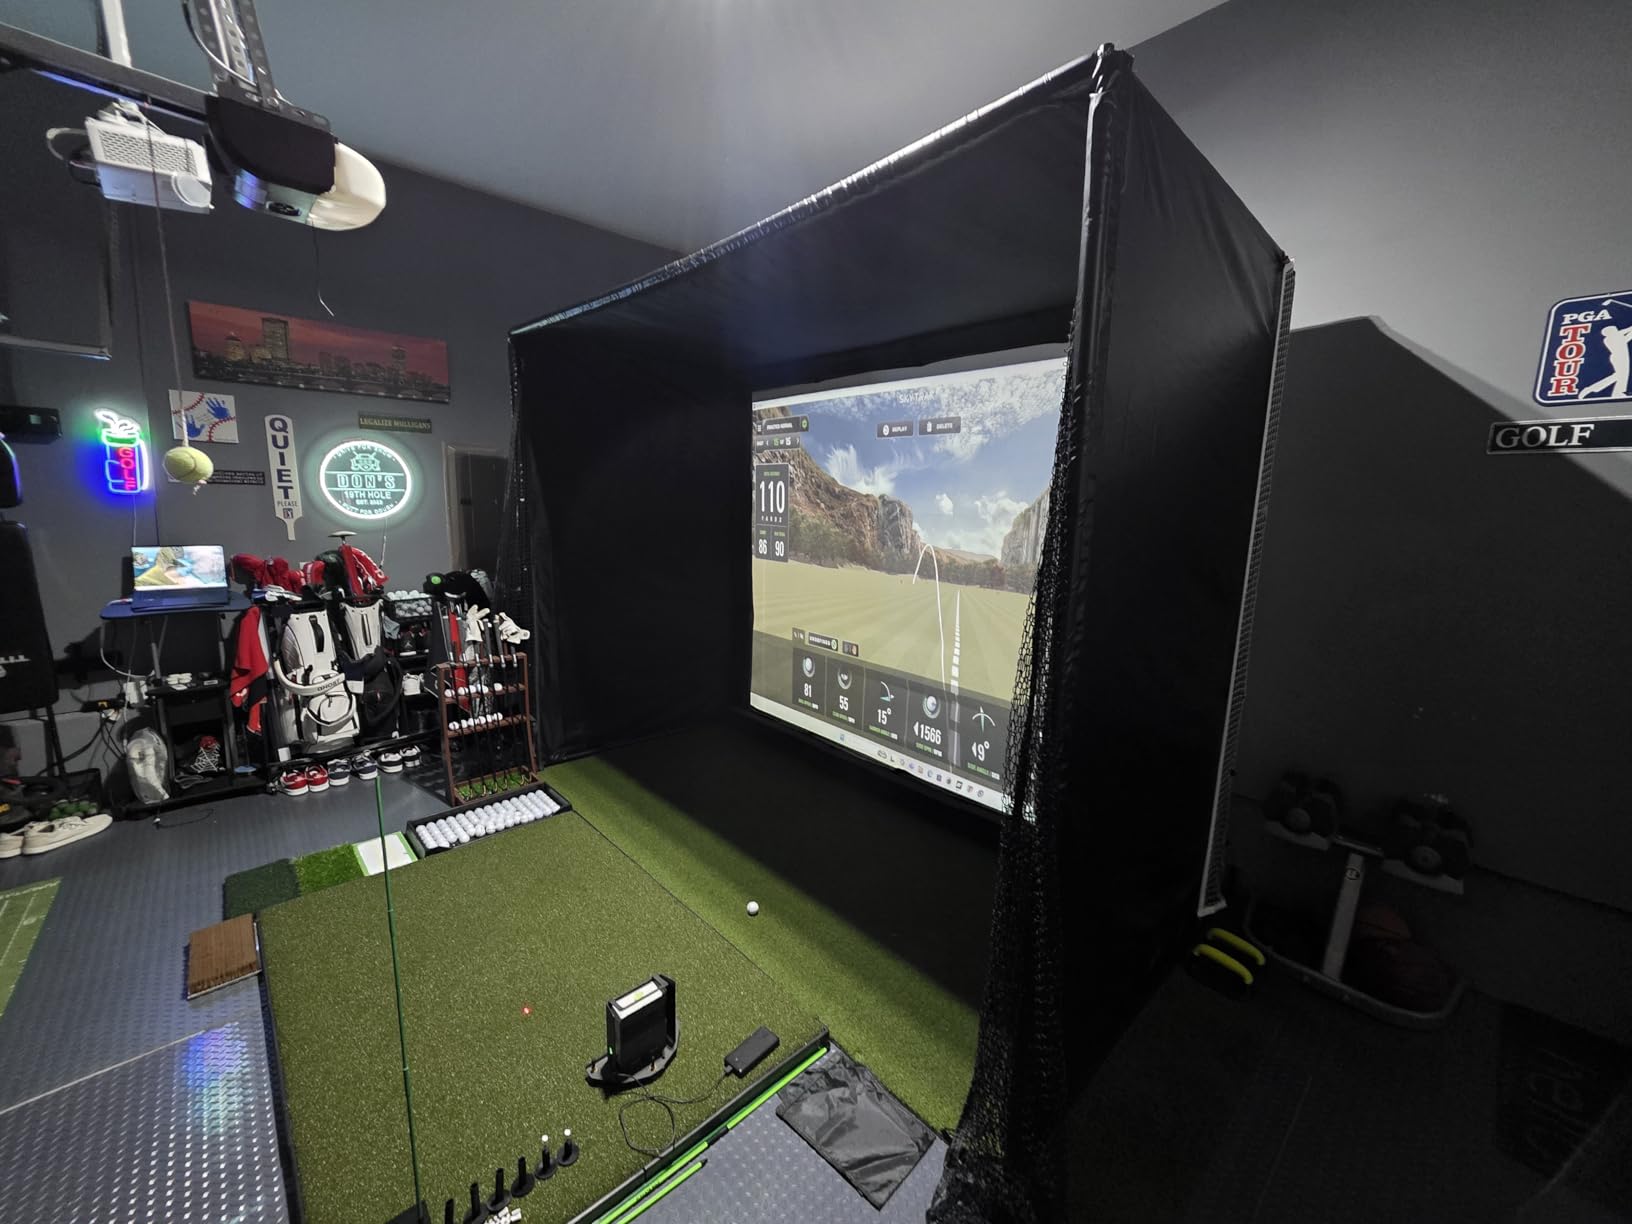
Tool-free assembly helps in a tight bay, since you are not fighting tools against a wall. Most owners finish in one and a half to three hours solo, and the smaller 8.4 by 8.4 ft version is worth a close look for narrow bays where a full 10 ft frame will not fit.
It works with most launch monitors, projectors and simulator accessories, so it is not tied to one ecosystem. That matters if you might swap your monitor later.
Who this kit suits
It suits anyone sharing a wall with living space, or anyone who swings hard enough that frame contact is a real risk. The blackout curtain also does more for image quality than most buyers expect by blocking overhead garage lighting as well as daylight.
What to watch out for
The instructions assume a ceiling taller than 9.9 ft, and most garages are not that tall, so plan an alternative mounting method. Measure the clear span before ordering because the frame uses nearly the full 10 ft width, and expect some bounce-back that owners manage with extra turf or cord.
6. HOMEVOL 2-in-1 Net System – Best Budget Starter Kit
- Comes with everything needed to start hitting including mat and practice balls
- Works as both a practice net and a projector simulator screen
- Top protection net and side shank nets contain high wedge shots
- Carry bag and ground stakes make it easy to move or use outdoors
- Lighter-duty frame than a full steel-frame premium enclosure
- Screen and target cloth cannot both face the ball at once
- Not a full blackout enclosure so image contrast is lower than a caged setup
This is the pick if you want something swinging this weekend rather than next month. The kit includes a hitting mat, two practice balls, six ground stakes, two side nets and a carry bag, so the only missing pieces are a box of balls and somewhere to put them.
The two-in-one design suits a garage that serves several purposes. One side is a printed multi-hole target cloth for chipping and scoring games with the kids, and the other is a 4K-ready impact screen for simulator play.
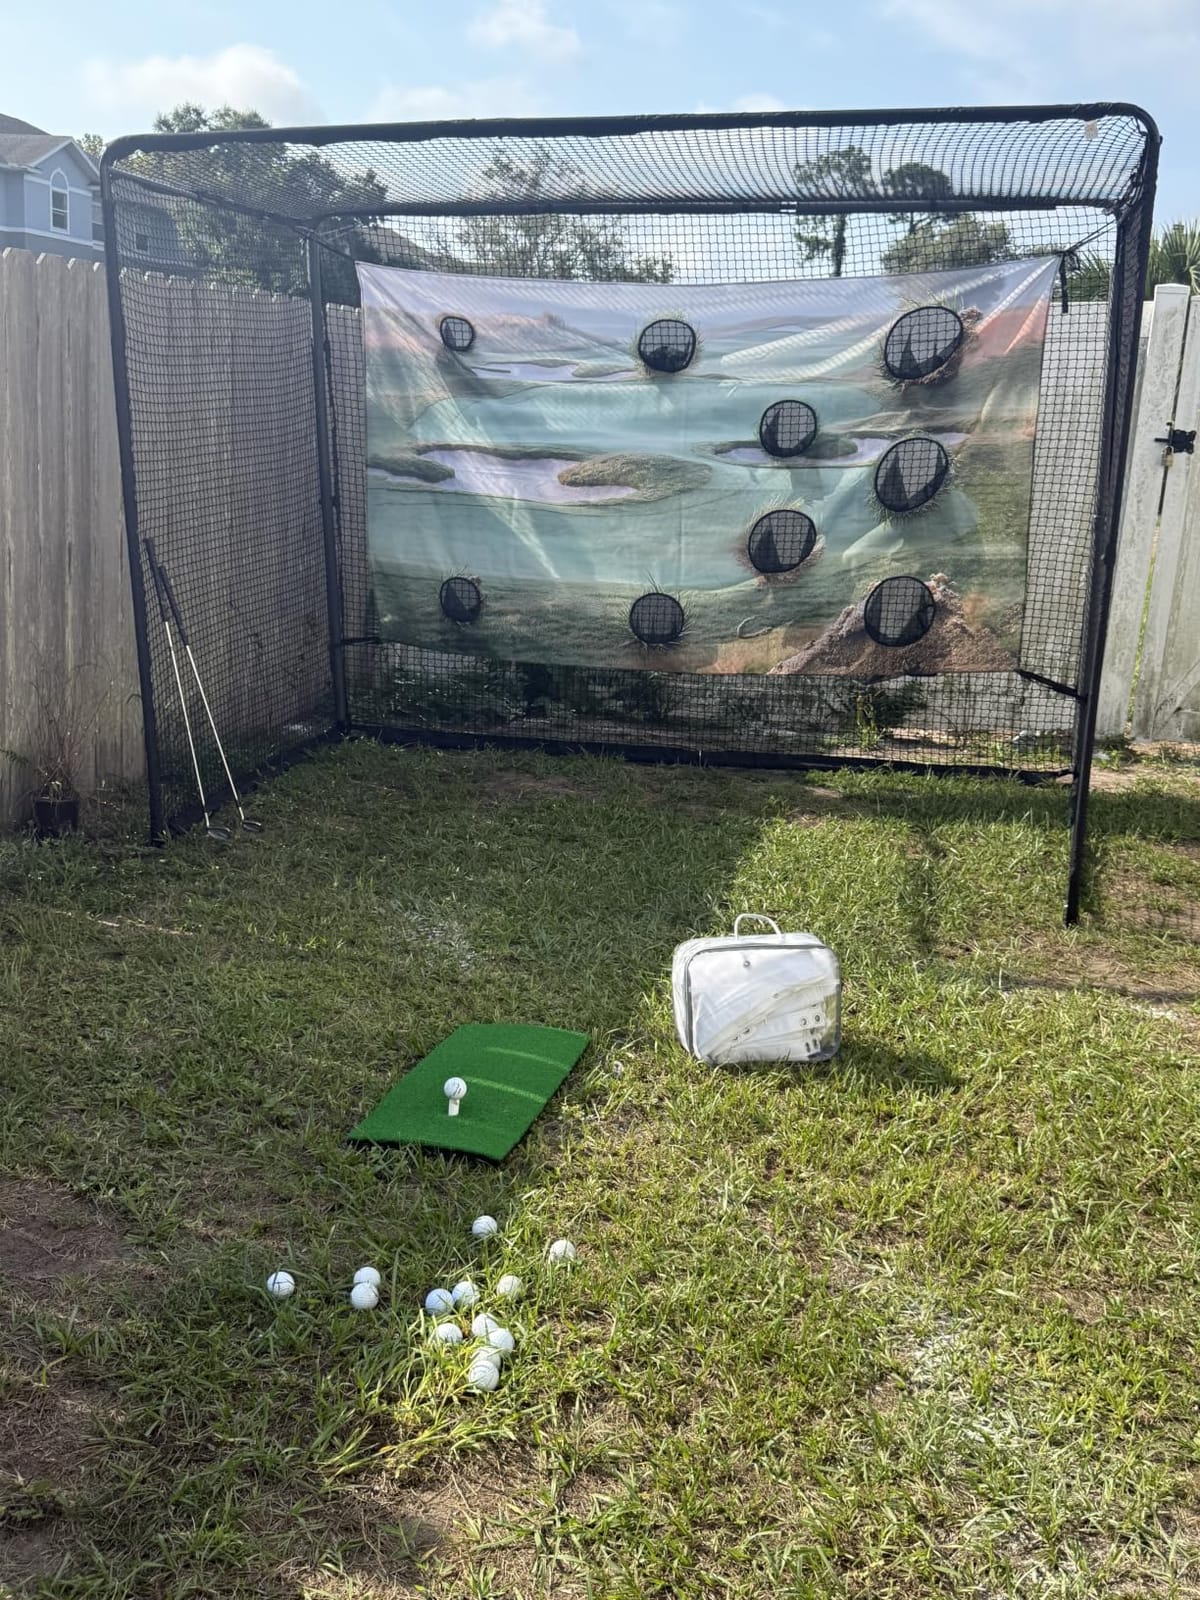
Foam-padded frame members, a top protection net and side shank nets keep balls inside the hitting area, which is more than many kits at twice the cost manage. At 10 by 8 ft it drops into a standard bay with room to swing, and the carry bag lets it work in a driveway too.
The target cloth adds something a plain net cannot, which is a scoring element that works for the whole family rather than one golfer.
Why this is the right first purchase
It is the lowest-cost way to find out whether you will actually use a simulator before committing to an enclosure. Starter-tier builds are the most common real-world outcome, and the most common regret among owners is spending heavily on a bay that ends up underused.
What it cannot do
The frame is lighter-duty than a full steel cage, and there is no full blackout enclosure so a mid-range projector looks washed out by comparison. Switching between the screen and the target cloth adds steps to every session, and simulator mode still requires a projector, launch monitor and software bought separately.
7. ANYTHING SPORTS Fold Up Enclosure – Best for Shared Garages
- Folds flat in about a minute freeing the bay for a car or gym gear
- Impact screen absorbs ball energy well and projects a sharp image
- Side shank nets contain off-centre shots effectively
- Everything except projector mat and monitor is included
- Very heavy and requires a two-person lift plus wall mounting
- Needs a flush load-bearing wall which foundation lips can complicate
- Projector hitting mat and software are not included
This answers the most common objection we heard about garage simulators, which is that the rig takes over the whole bay. It folds flat against the wall in about a minute, so the same space holds your car on Monday and a simulator on Saturday.
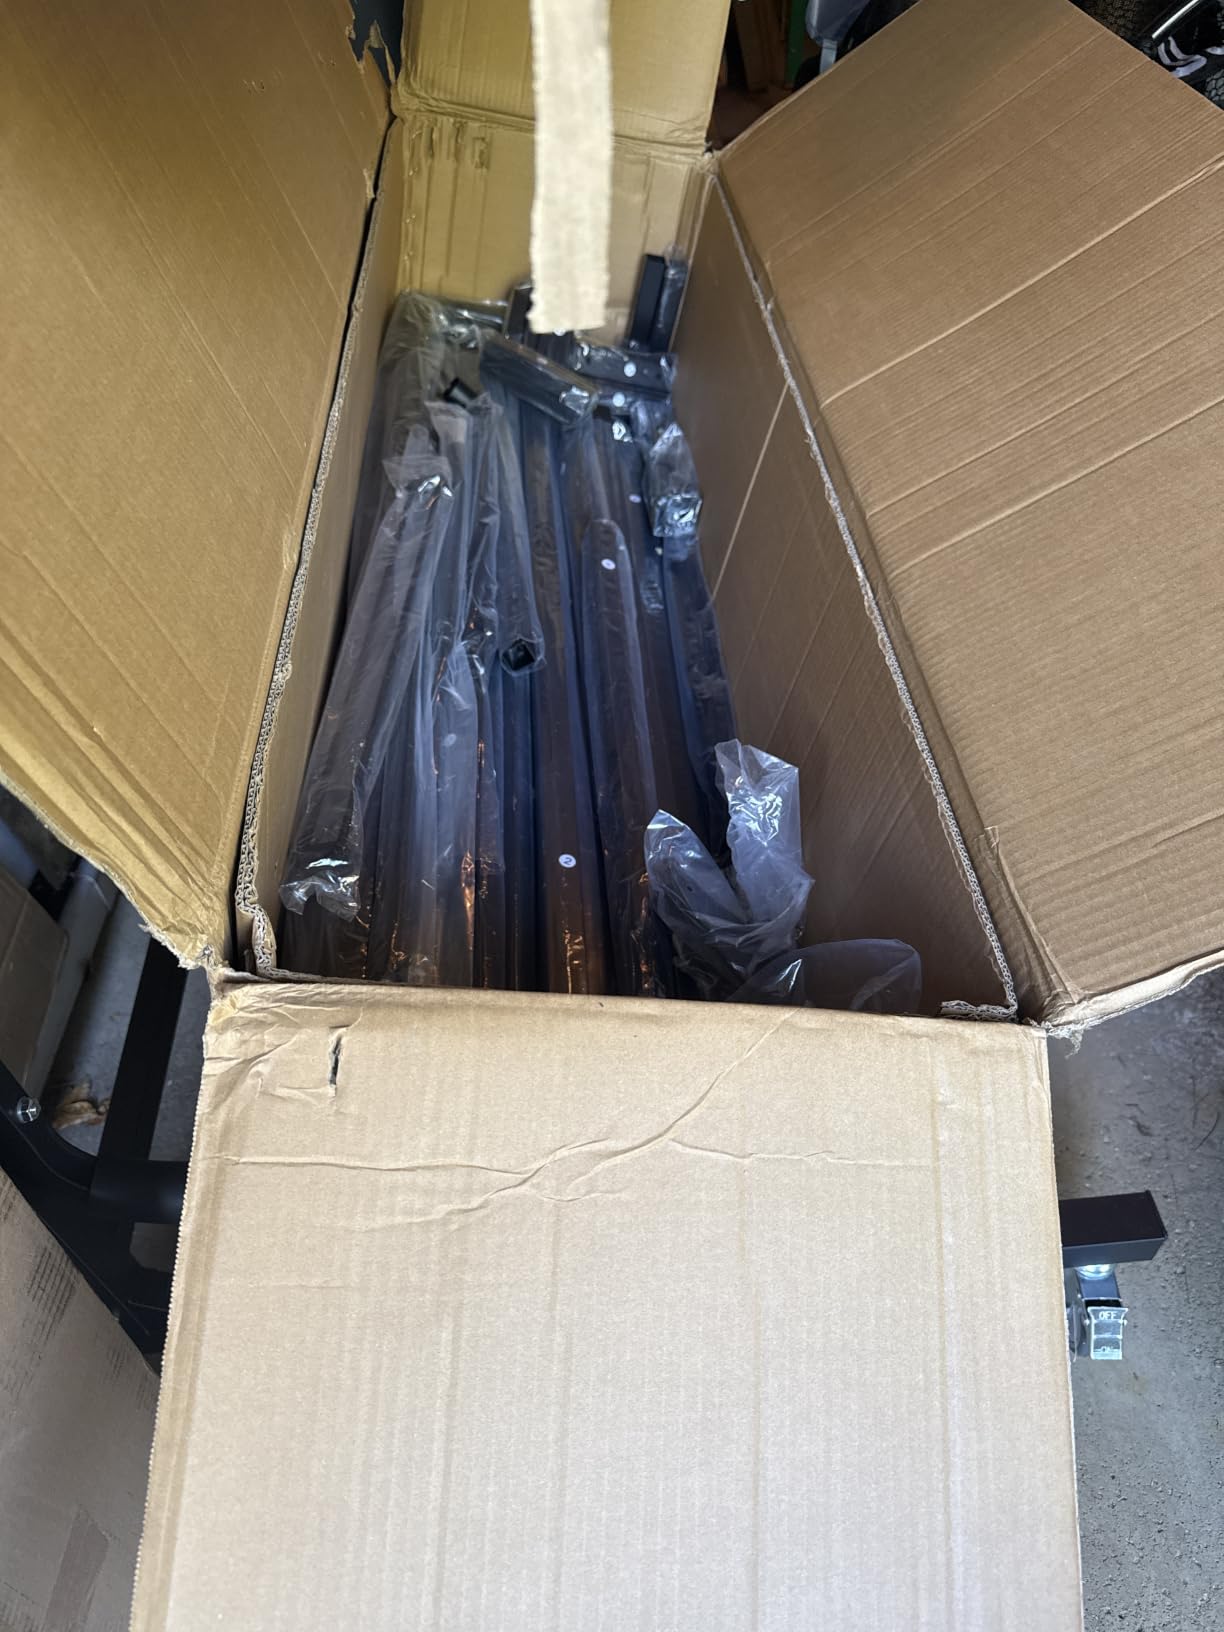
The 8 ft 4 in square footprint is deliberately compact, making it the realistic option for a third-stall bay, a narrow side bay, or a two-car garage where one lane stays clear. Two shank nets, a projector mount and sand bags are in the box; the projector, mat and monitor are not.
The matte 91 by 91 inch screen reads well with mid-range projectors, and the double-stitched vinyl blackout enclosure is what keeps the image usable. The unit also packs back into its original box for storage.
Unlike a motorized rail system, there is no motor, rail or control box to install or maintain, and the one-minute stow is fast enough that the bay stays usable on a weekday.
What the fold-away design solves
It solves the multi-use garage problem better than any motorized alternative in this roundup, and it is what decides the household that keeps playing. Our cordless impact wrench guide covers the assembly side of a shared-bay setup.
What to measure before ordering
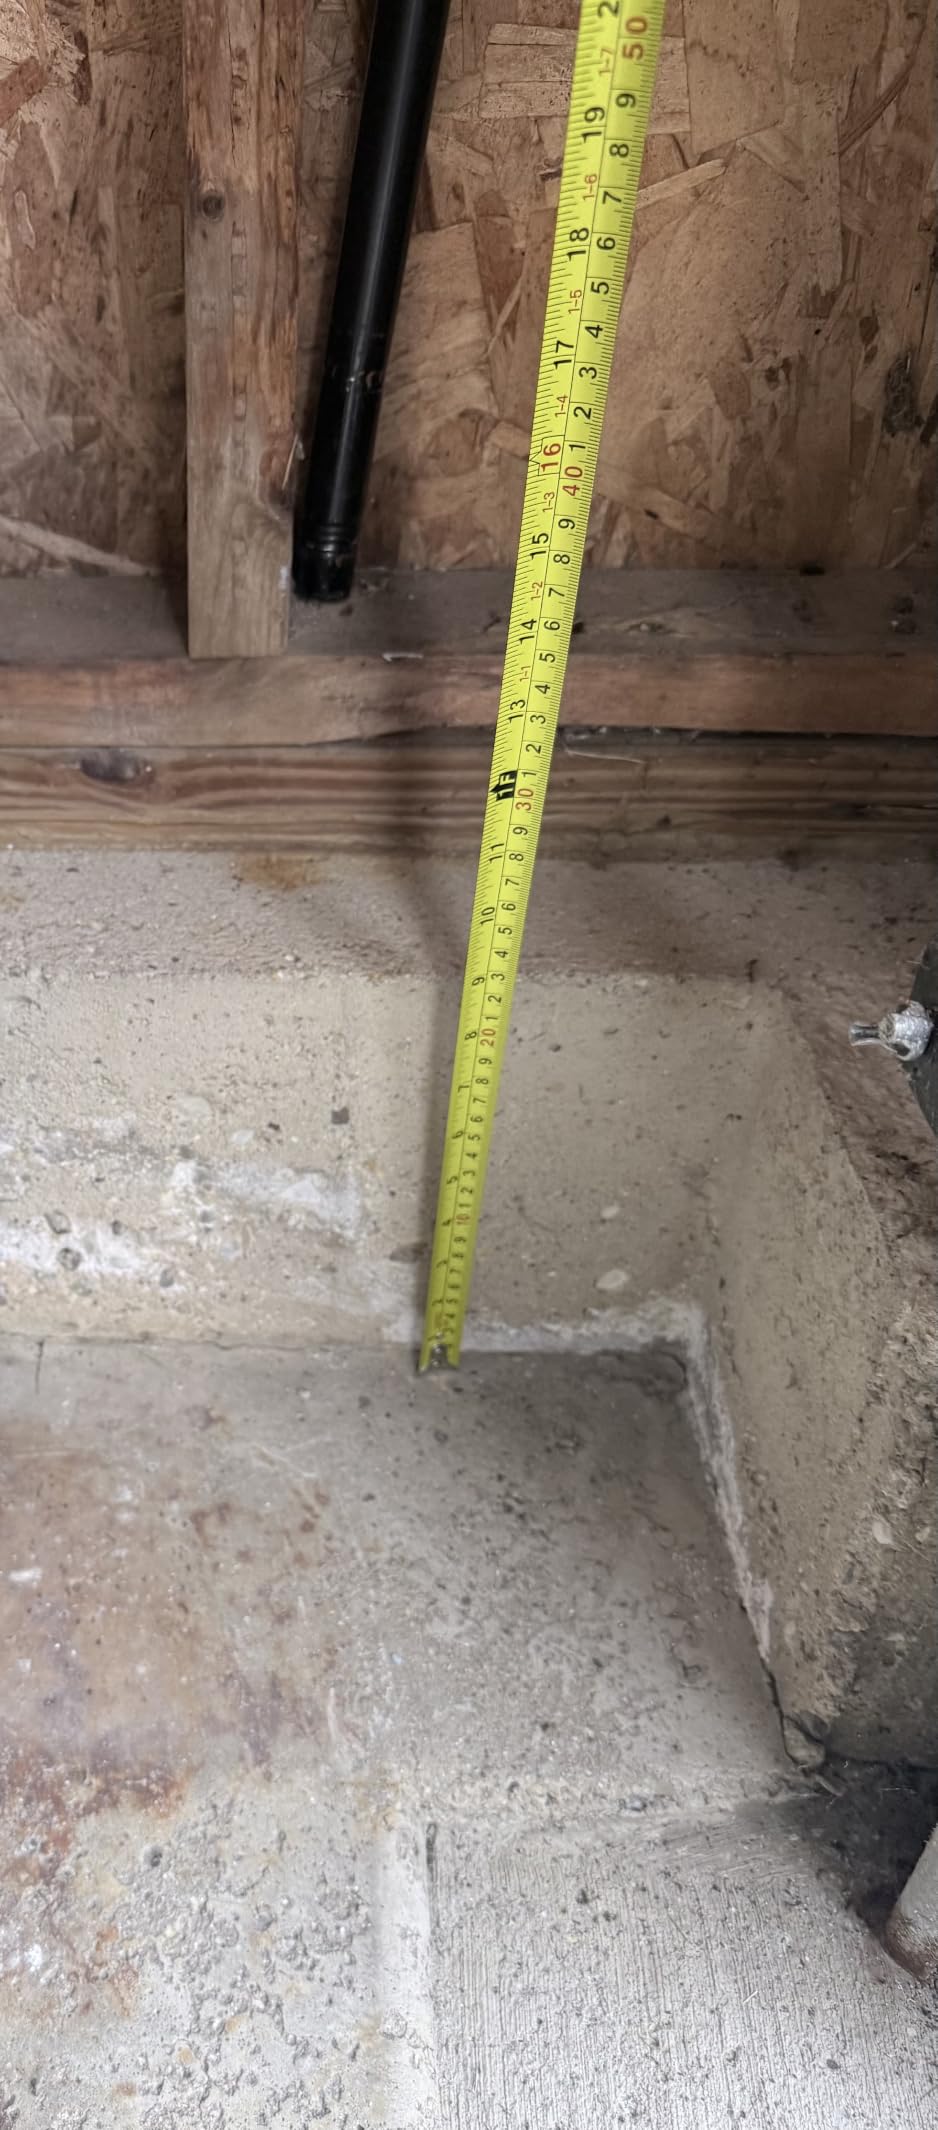
This is the heaviest build here and needs a two-person lift and proper wall mounting against a flush, load-bearing wall, since protruding concrete foundation lips complicate mounting. Instructions also illustrate round poles while square poles ship, and with fewer than 20 ratings long-term evidence is thin, so treat the weight specification as the deciding factor.
8. Uneekor EYE MINI CORE – Best Launch Monitor for Short Bays
Uneekor EYE MINI CORE Golf Launch Monitor & Simulator, 15 Ball Data Points, Near-Zero Latency, Works with GSPro, TGC19 & E6
- Very low misread and no-read rate compared with similarly priced radar monitors
- All-metal chassis feels far more solid than plastic competitors
- Reads any golf ball without stickers including cheaper practice balls
- Hardwired connection returns swing data almost instantly
- Club data such as swing speed and face-to-path is not included
- Full simulator use needs a gaming PC plus dual displays or a projector
- Software has a learning curve rather than being plug-and-play
This is the camera-based answer to the depth problem. It reads the ball beside the hitter rather than tracking a flight, so it needs roughly a foot of space instead of the 6 ft or more that radar monitors demand, which is why it dominates small and third-stall garage builds.
Reading accuracy is where it beats its price class, with reviewers reporting a very low misread and no-read rate against similarly priced radar monitors. Dimple Optix reads any ball pattern without stickers, including cheap range balls, which removes one of the most irritating recurring costs of a home setup.
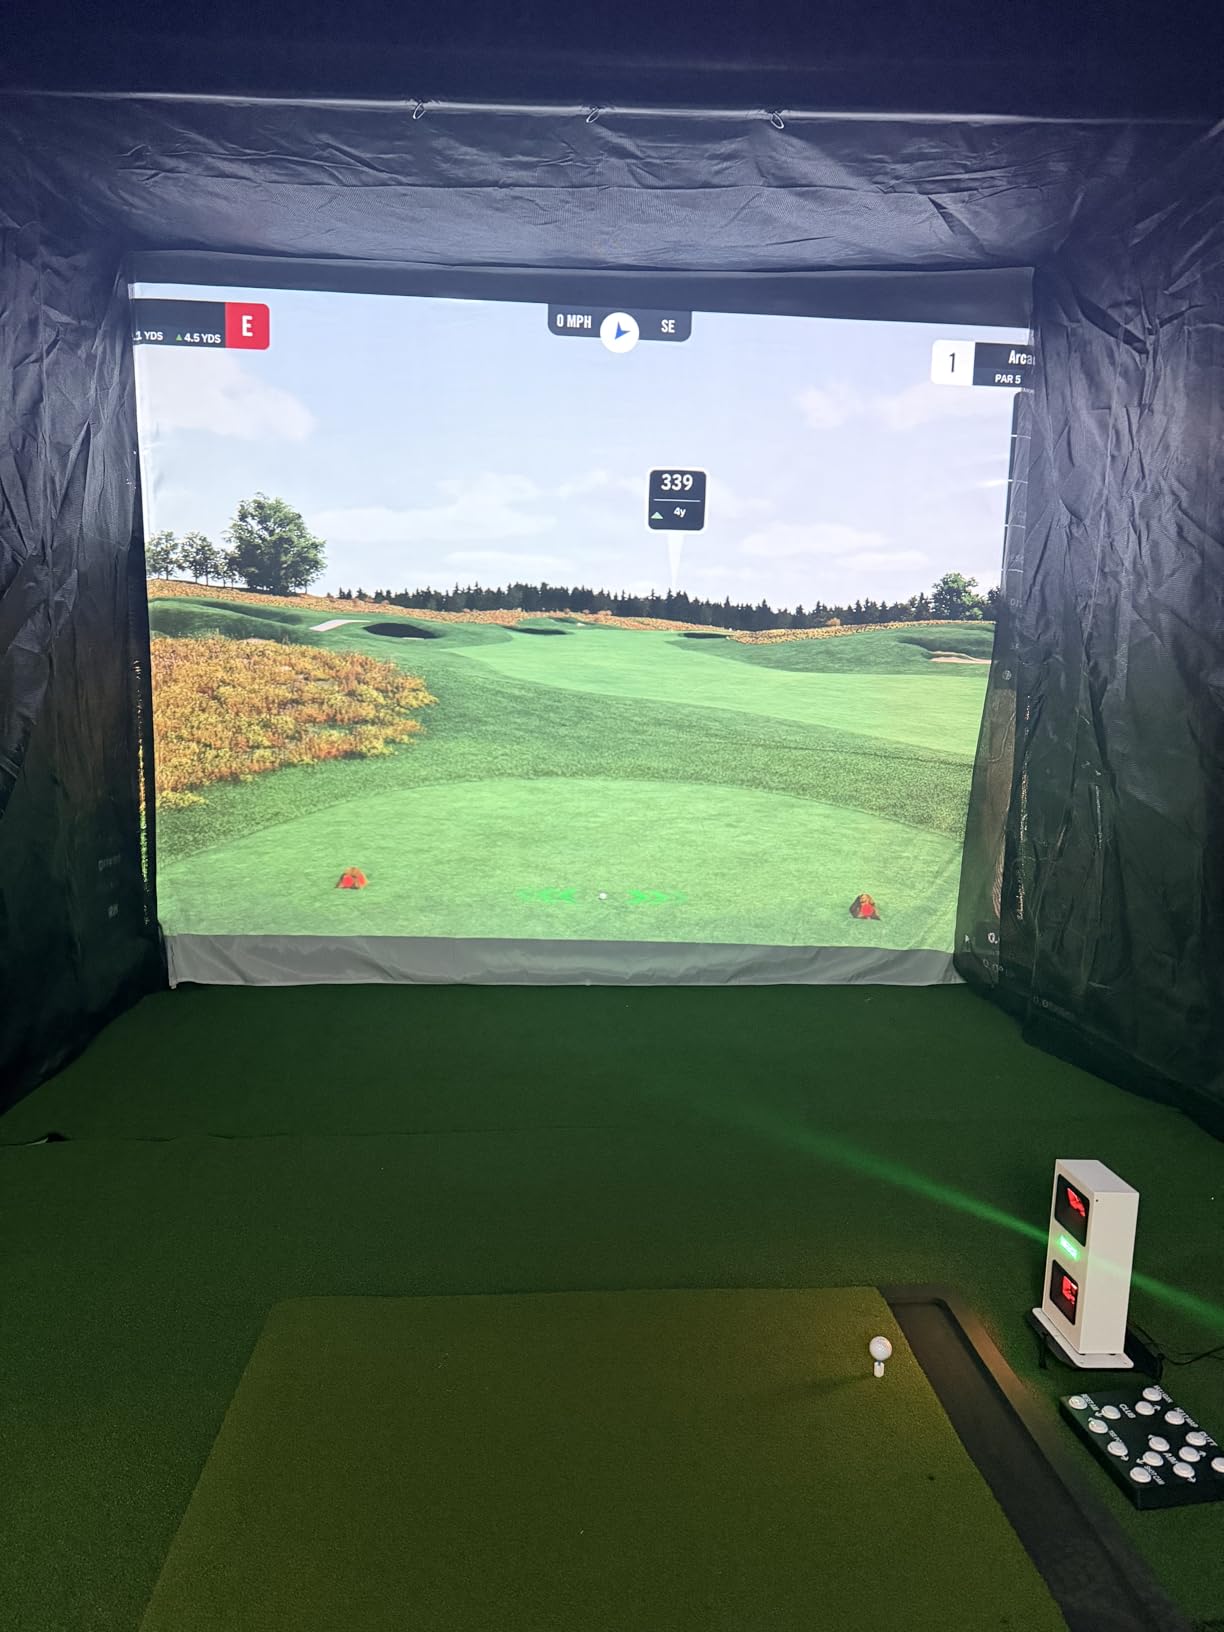
The all-metal chassis feels far more solid than plastic competitors at similar cost, and the hardwired Ethernet connection returns data almost instantly with no pairing step. Near-zero latency comes from high-speed cameras working with infrared sensors.
VIEW software reports 15 ball data points with session reports and works with GSPro, E6 Connect, TGC19 and Creative Golf 3D, and a three-month simulation package trial is included, enough time to decide whether you keep paying for software.
Why shallow-garage owners should look here first
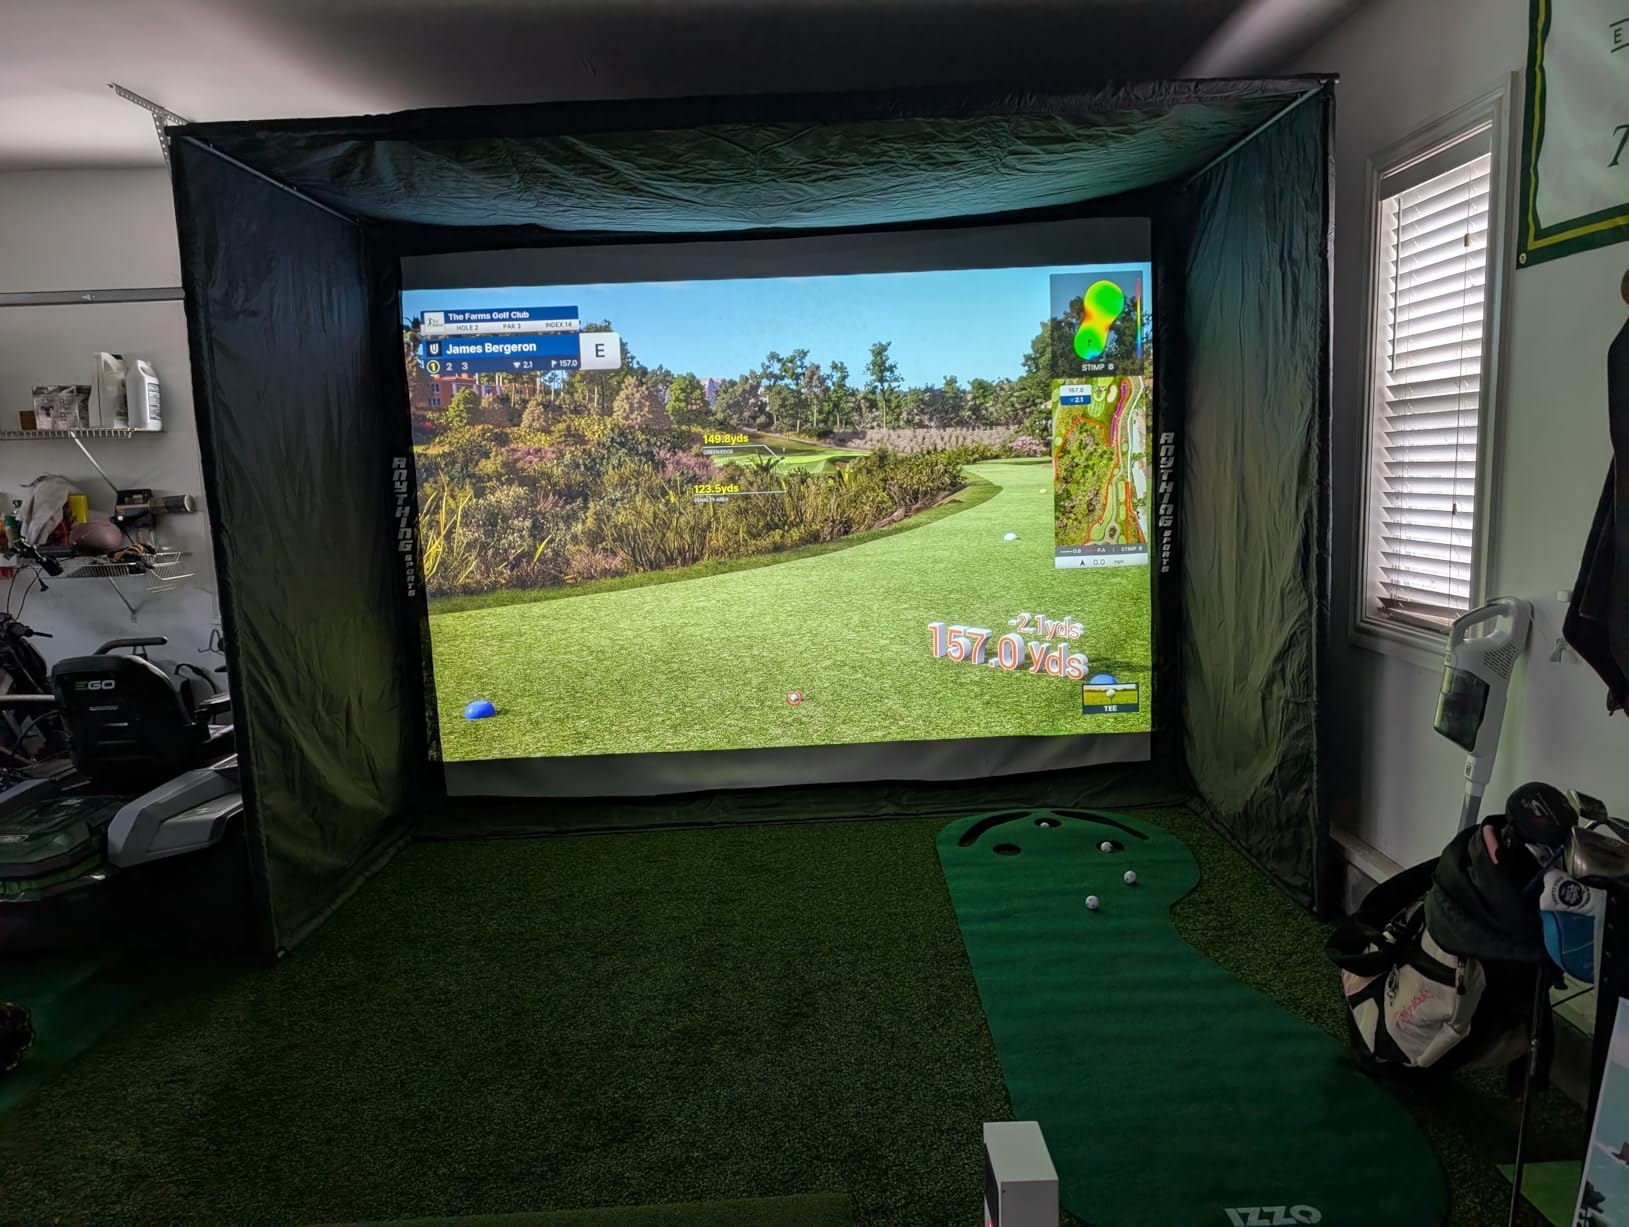
The footprint is the whole pitch. At 6.5 by 3.38 by 13.9 inches and 8.4 pounds it sits beside the mat in a bay that would rule out a radar monitor, with no overhead mounting and no ceiling height requirement.
What you give up
Club data is the notable omission, so swing speed, swing direction and face-to-path are not included at this level. You also need a gaming PC plus dual displays or a projector, the recommended specifications are not modest, third-party titles add an annual fee, and putts and delicate chips do not read reliably.
9. Garmin Approach R10 – Best Value Launch Monitor
- Reliable well-established metrics at a budget-friendly price
- Pocket-sized and battery-powered for indoor and range use
- Tripod and phone mount make garage setup quick
- Training mode tracks per-club stats and shot dispersion
- Requires a compatible smartphone and the Garmin Golf app for all data
- Radar-based so it needs space behind the ball and cannot read a ball in flight indoors
- No built-in screen of its own
With well over a thousand ratings behind it, this is the most proven entry in the roundup. It measures club head speed to within 3 mph, ball speed to within 1 mph, and launch angle and direction to within a degree, which is accurate enough to build real swing trends on.
Portability is its quiet superpower. At 340 g and about an inch thick, with 10 hours of battery and IPX7 waterproofing, it moves from the garage bay to the range in the included carry case, and the tripod and phone mount mean you can hit within a couple of minutes of unpacking.
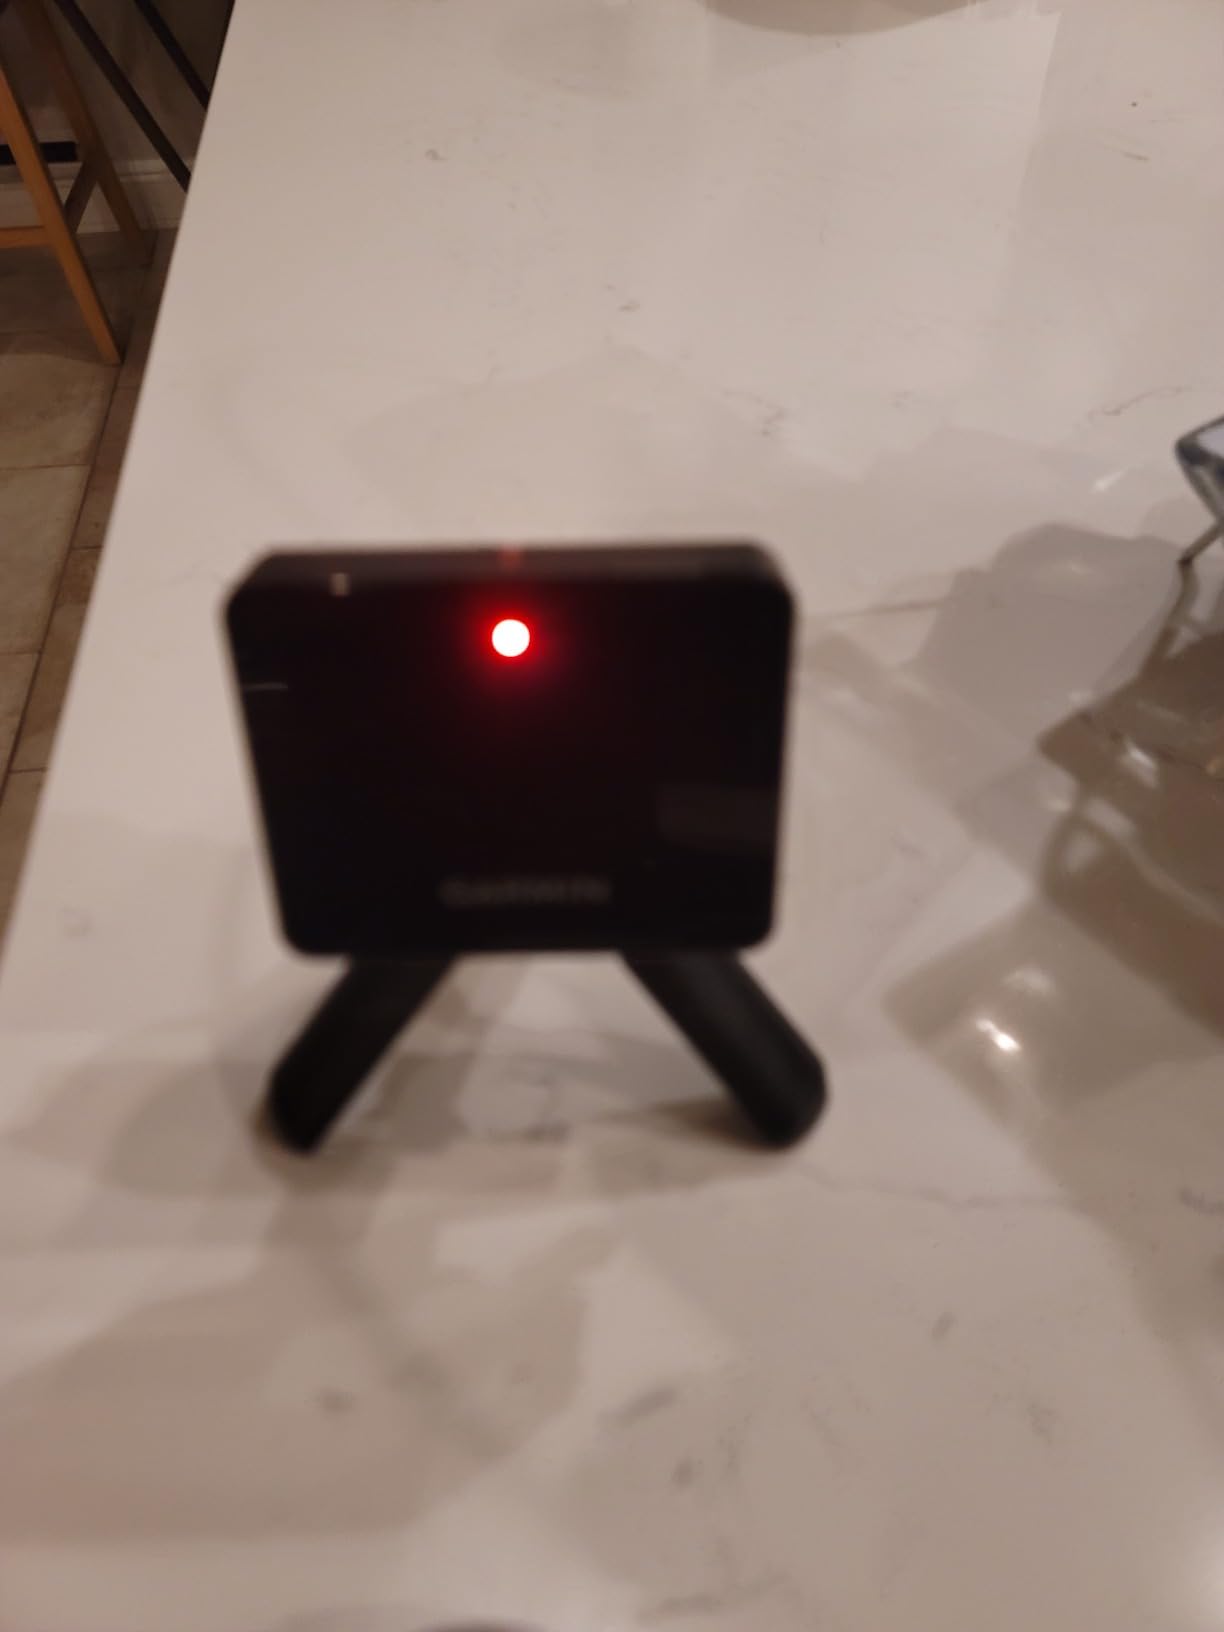
Automatic video capture with metric overlays helps diagnosis, and training mode tracks per-club stats and a dispersion chart, which is the reason to keep the monitor on the mat when you are working on one specific miss.
Because it is radar-based, treat it as a range and open-bay tool rather than a pure indoor unit. It wants the deepest bay in the garage, or the driveway.
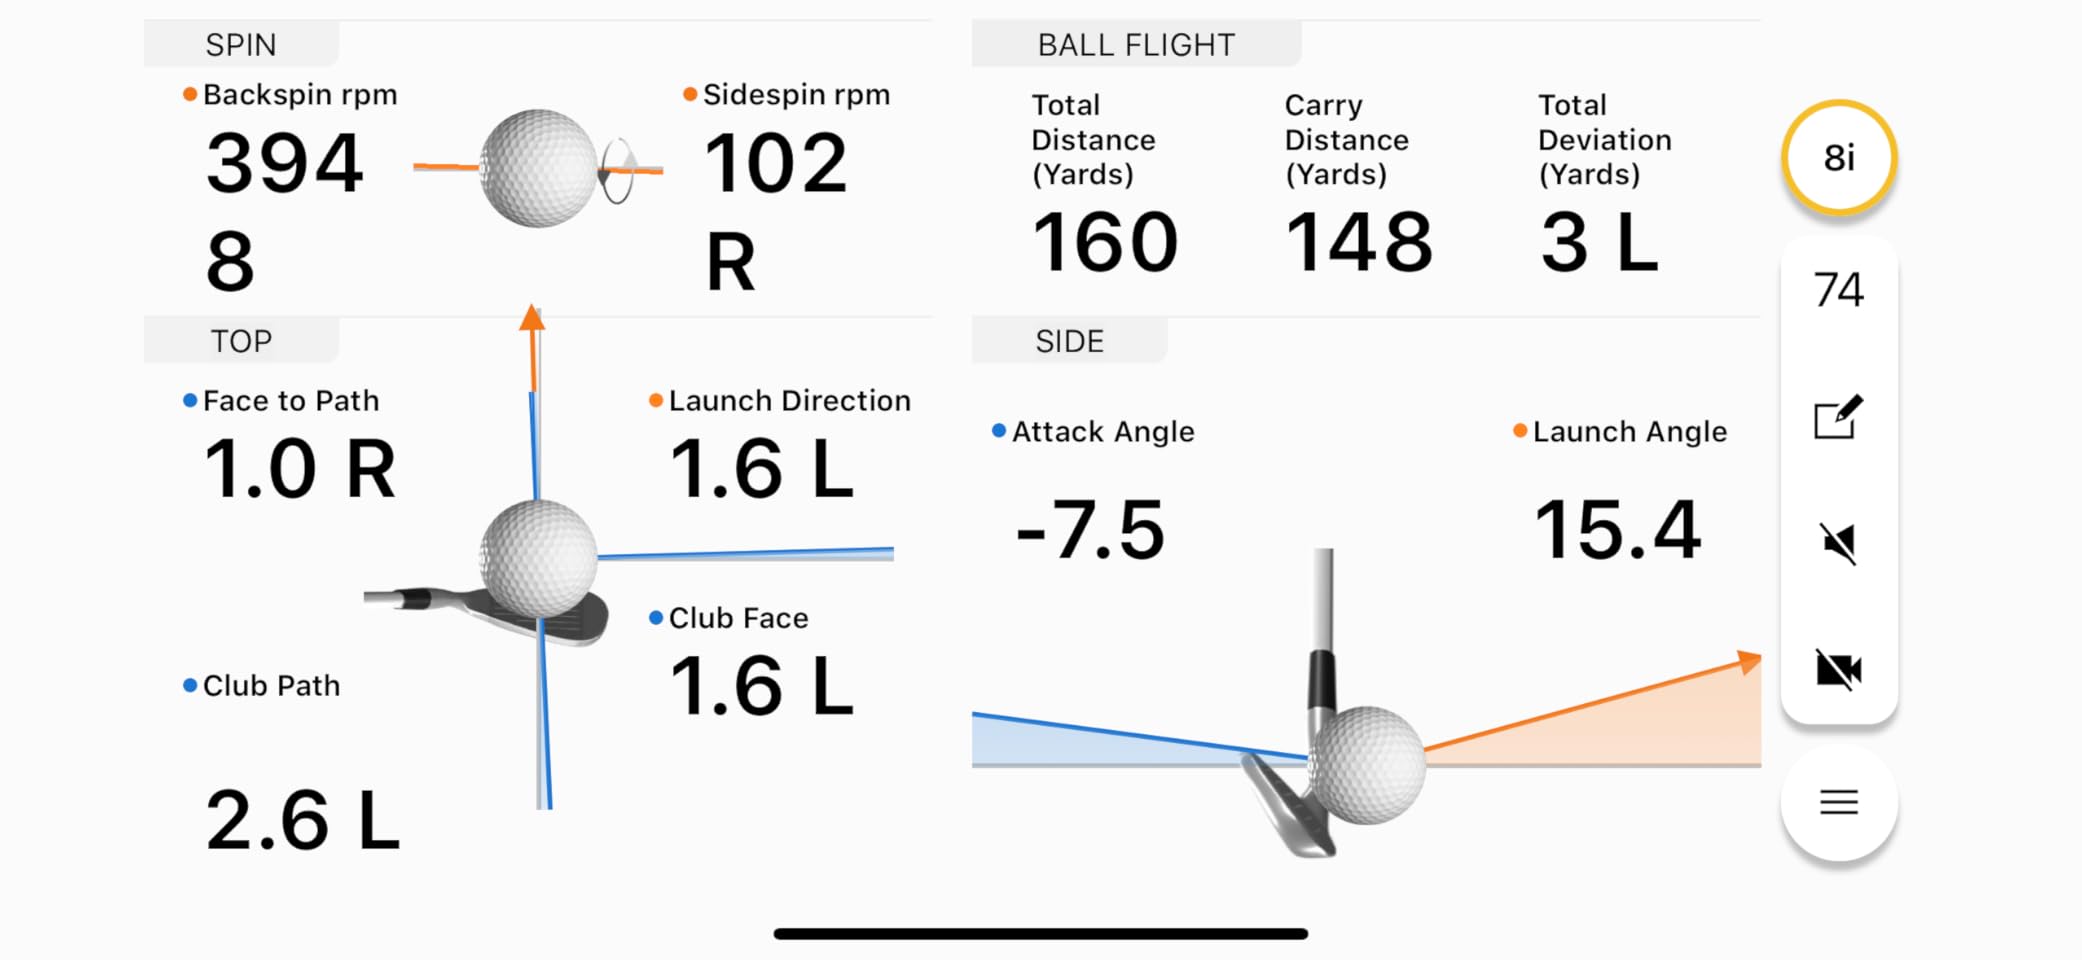
What this monitor does well for the money
It is the least expensive credible way to get club head speed, ball speed, launch angle and spin into a training loop, with accuracy consistent enough to trust. Owners rate the accuracy-to-price ratio as the main draw, and it pairs with a phone instead of a computer, which keeps the build simple.
What the phone dependency costs you
Every number requires a compatible smartphone and the Garmin Golf app, so the monitor has little standalone value, and virtual rounds across more than 42,000 courses need an active subscription. Accuracy sits below premium camera-based monitors, and in a shallow bay it will simply not work well.
10. FlightScope Mevo Gen2 – Best for Subscription-Free Play
- Bundles 8 E6 Connect courses with no annual subscription fee
- 18 parameters cover full swings chips and putts
- Front-facing camera with automatic clipping and data overlays
- Only 1.1 pounds so it moves between range and home easily
- Connection drops and pairing issues are the most common complaint
- Initial setup can be difficult especially connecting to an iPad
- Firmware and elevation settings must be dialed in or distances read short
One thing sets this monitor apart from every other here: eight E6 Connect simulation courses are bundled with no annual subscription or licence fee. For a garage used all year rather than occasionally, removing the recurring line item changes the long-term arithmetic more than any spec sheet.
Tracking is 3D Doppler radar combined with synchronized high-speed image processing, reporting 18 parameters across full swings, chipping and putting. A front-facing camera records automatic clips with data overlays, and up to three mobile devices can connect alongside it for multi-angle swing video.
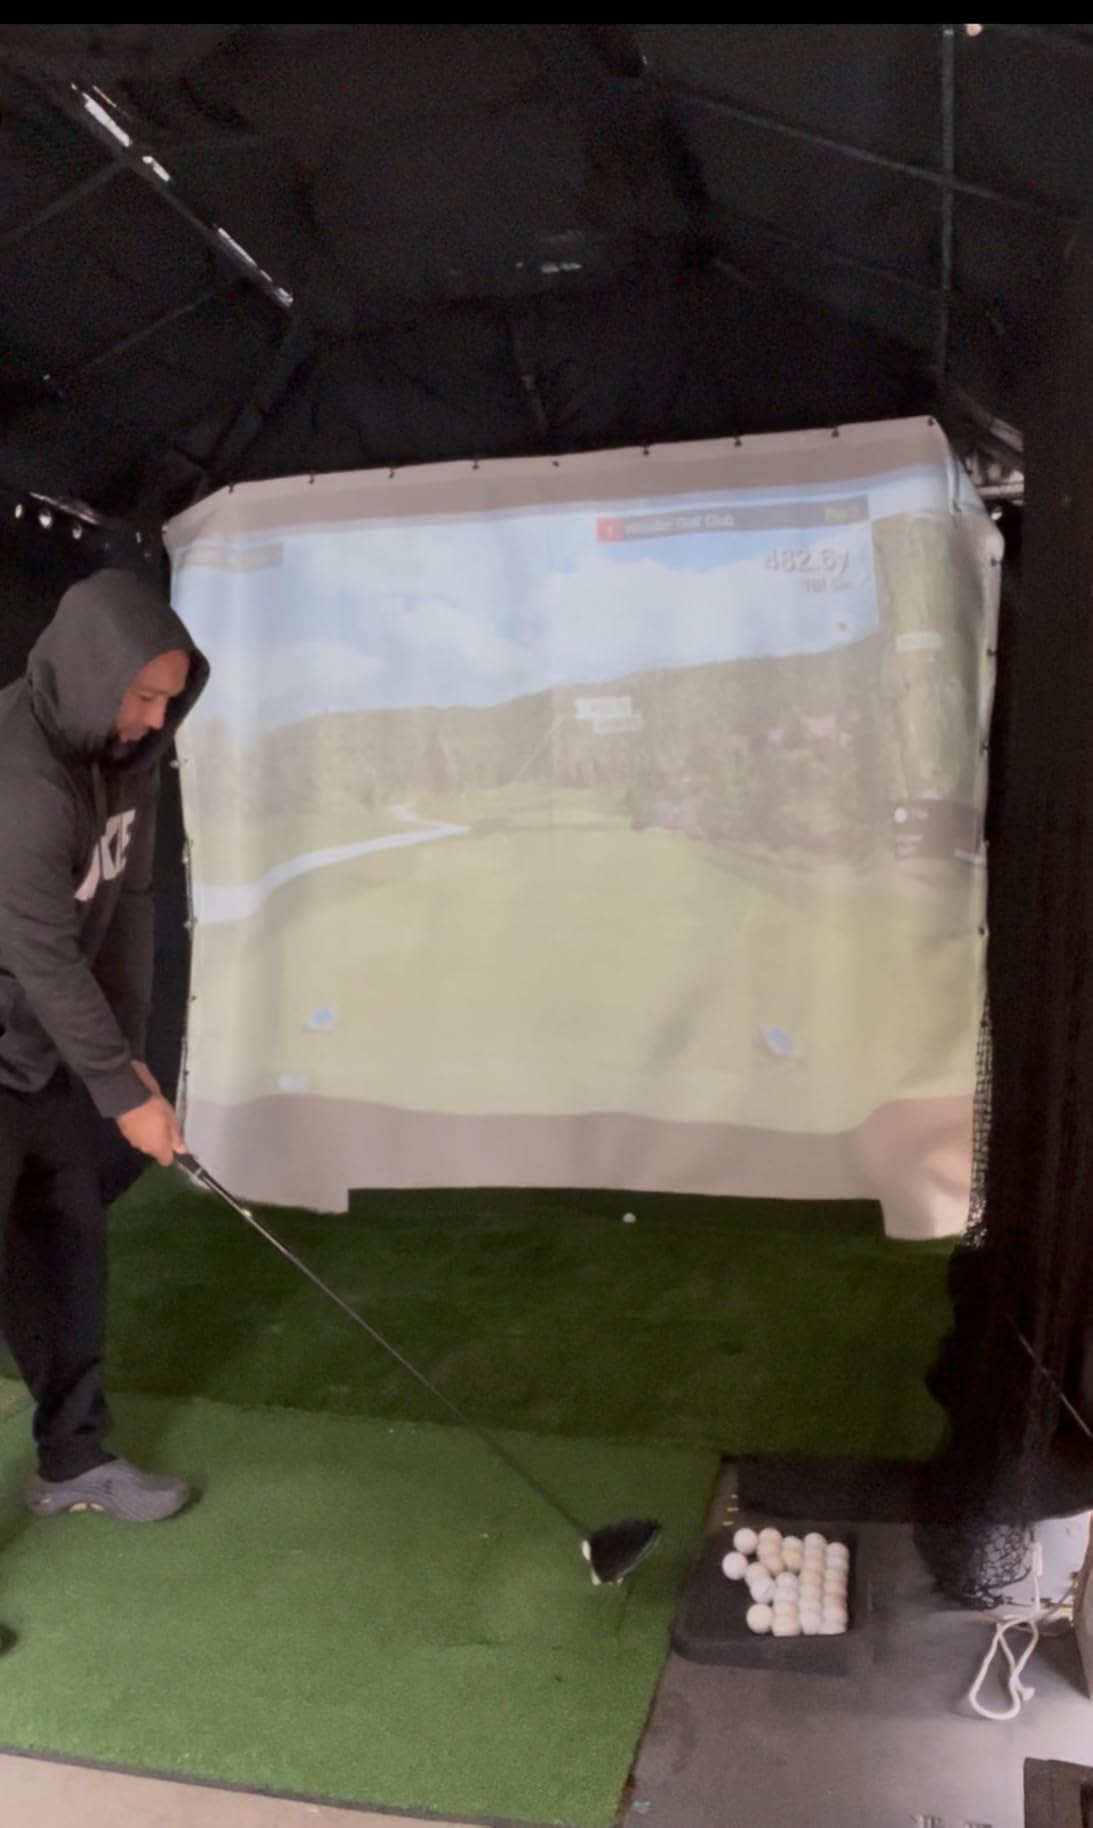
At 1.1 pounds it is the easiest unit here to move between the garage, the range and a lesson, with up to six hours of battery and Wi-Fi connectivity, so there is no docking station to buy. Shot Tracer animation renders the full ball flight path, which keeps people playing when range work gets tedious.
Eight courses including Kiawah Ocean Course and Torrey Pines give enough variety for casual and mid-handicap golfers to stay busy without paying a yearly fee.
Where the no-subscription route wins
It wins for households that will play every week. When a fee attaches to every virtual round, the honest question is how often you will use it, and this monitor costs nothing to keep playing on. That is the reason to buy it.
What owners struggle with
Pairing stability is the recurring complaint, with connection drops and difficulty connecting to an iPad the most common issues. Firmware and elevation settings must be dialled in or distances read far short, which is the exact calibration problem owners post about on forums, and this monitor carries the lowest average rating of the launch monitors here with a wider spread of one-star reports.
How Much Does a Garage Golf Simulator Cost? Four Tiers
A complete garage simulator is a four-part build, and the parts scale independently. The launch monitor sets both the data depth and the software bill you carry for years.
- Starter tier: a net kit with mat and balls plus a portable radar monitor. Real swing numbers and a practice bay, no projector.
- Mid tier: a blackout enclosure kit with padding, a mid-range projector and a radar or camera monitor. Most full builds land here, and it suits a single-car garage.
- Premium tier: a three-camera monitor, high-brightness enclosure and a gaming PC. Accuracy and data depth jump, along with the computer requirement.
- Luxury tier: commercial-grade tracking, integrated flooring, professional projection and multi-bay play. Realistically a clubhouse or coaching business.
Budget recurring costs separately, because they are what owners forget. Annual software fees, a projector bulb on a mid-range projector every few thousand hours, and replacement balls all add up over five years, and they are the difference between a mid-tier build and an expensive one.
Radar, Camera, Floor or Ceiling: Matching a Launch Monitor to Your Bay
Radar and camera monitors are built for different rooms, not different budgets. Radar sends a wave at the ball and reads the returning signal, so it needs roughly 6 ft of clear depth behind the ball and cannot read a ball in flight indoors.
Camera-based monitors use high-speed imaging to read club and ball at the moment of impact, sitting beside the mat with about a foot of side space to spare. In exchange you get club-level data such as swing speed and face-to-path.
- Radar, floor or side mounted: portable and forgiving about mounting, but needs space behind the ball. Best in a deep bay, a basement or at the range.
- Camera, side mounted: the standard choice for shallow garages, third-stall bays and low ceilings. No overhead mounting and no depth requirement.
- Camera, ceiling mounted: a clean overhead angle and full ball flight, but roughly 9 ft of ceiling height and a rigid mount. Not viable in a low-ceiling garage.
Floor-mounted impact sensors are a different category, giving tempo and impact data rather than ball flight. They suit a garage where you only need consistency work and the ceiling is too low for anything overhead. And plan every enclosure so you can change the monitor later, since every kit in this roundup works with most launch monitors and projectors.
Retractable and Garage-Door-Mounted Simulator Setups
If your car has to live in the same bay, a retractable or folding screen is the only real answer, and this is the category most retail guides skip. Three approaches exist: a screen that folds flat against a wall, a motorized screen on the garage door rails, and a hand-crank pull-down unit.
Wall-mounted fold-down designs are the simplest. The fold-up enclosure in this roundup stows in about a minute, which is fast enough that the bay stays usable on a weekday rather than merely usable in theory.
Motorized rail-mounted systems are the premium option and the most discussed in owner forums. The recurring theme is that adding a motor instead of a hand crank adds a meaningful chunk to the build, enough on its own to blow a small budget, and one owner reported keeping a full motorized build under a modest ceiling by doing the work themselves.
The stow-time question comes up constantly, and the number that matters is how long it takes rather than whether it retracts at all. A screen that takes several minutes ends up never being put away, which defeats the reason for choosing a retractable design. Buy the fold-down or hand-crank version unless you will genuinely use the bay daily.
Garage Prep Checklist Before You Order Anything
Measure first, then check the five things that make a garage bay work or fail.
- Dimensions: clear width between walls, depth from the back wall to the open door, ceiling height where the frame or mount sits, plus about 8 ft of swing clearance in front of the mat.
- Lighting: overhead garage light washes out projected images, and flickering fittings can disturb camera-based monitors reading exposure. A blackout enclosure solves both.
- Wi-Fi and networking: most software assumes a stable connection for course downloads and online play. Test the bay with the door closed and consider a mesh node if the signal drops.
- Power: you will run a projector, a computer and a monitor, so confirm a suitable circuit that is not shared with the garage door opener.
- Climate and safety: keep electronics indoors between sessions, consider a dehumidifier in humid climates, check ceiling clearance, and keep the car outside the strike zone.
Our garage storage cabinet guide covers where to put monitors, mats and balls between sessions without trapping moisture next to electronics.
When a Big Simulator Package Is the Wrong Call
Not every garage should get a full simulator, and the setups owners regret are usually over-specified. If your ceiling is under 9 ft and your bay is under 12 ft wide, a ceiling-mounted system and a full cage will fight each other from day one.
If the garage is your primary workspace rather than spare space, a fold-down screen or a practice net respects that. The question owners ask most often is whether the bay can be put away when not in use, and that answer drives the choice better than any spec sheet.
Skip the full build if you play less than once a month, have no indoor place to store electronics, or are at the limit of the depth available behind the ball. And if you still park the car in the bay daily, buy the screen and mat first and add projection later, because the launch monitor is the easiest component to upgrade and the enclosure the most expensive to replace.
Frequently Asked Questions
What is the best golf simulator for a garage?
The best golf simulator for a garage is the one that fits your bay. Most garages handle a full setup with about 9 ft of ceiling height, 10 ft of width and 16 ft of depth. Choose a radar monitor for a deep bay and a camera-based monitor for a shallow one.
Which golf simulator can be attached to a garage door?
Retractable screens designed for the garage door rails are the systems that mount to the door, and wall-mounted fold-down cages are the simpler alternative. Both stow away so the car can return to the bay. Motorized versions cost more than hand-crank ones, so weigh how often you will actually put it away.
Can a golf simulator fit in a garage?
Yes. A single-car garage at 10 by 20 ft fits a 10 by 8 ft or 11 by 8 ft enclosure comfortably. A narrow 8 by 8 ft bay fits an 8 ft 4 in square cage, and a two-car garage has room for a full-width cage plus a clear lane for the vehicle.
How much does it cost to put a golf simulator in your garage?
A build has four parts: enclosure or net, mat, projector and launch monitor. Starter tier is a net kit with a portable radar monitor. Mid tier adds a blackout enclosure and projector. Premium tier adds a three-camera monitor and gaming PC. Add annual software fees, projector bulbs and balls for the true five-year figure.
Do golf simulators need Wi-Fi and how much space do they need behind the ball?
Most simulator software expects a stable connection for course downloads and online play, so test the bay with the garage door closed. Radar monitors need roughly 6 ft of clear depth behind the ball, while camera-based monitors sit beside the mat and need about a foot of side space.
Is a launch monitor the same as a golf simulator?
No. A launch monitor measures ball and club data such as speed, launch angle and spin. A full simulator adds an impact screen, hitting mat, projector and software that turn those numbers into a virtual course. You can own a launch monitor alone for range-style practice and add the rest later.
The Best Golf Simulators for Garages: Final Verdict
The complete enclosure package is the best golf simulator for a garage overall, because the projector mount is included and screen coverage is close to full-frame. The GoSports kit is the safe alternative with the deepest owner feedback, and the Garmin Approach R50 is the pick when you want real club data rather than a better image.
For a narrow or third-stall bay, the Uneekor EYE MINI CORE solves the depth problem that rules out radar monitors. For a shared garage, the fold-up cage is the only design we found that people genuinely stow away, and the HOMEVOL kit gets you hitting this weekend on the smallest budget.
Measure your bay first, buy the enclosure second, and treat the launch monitor as the upgrade you can make later. If you are still keeping a car in the same space, our home garage wheel alignment tool guide is a reminder that the bay stays a working garage first and a golf bay second. This roundup covers the best golf simulators for garages in 2026.