
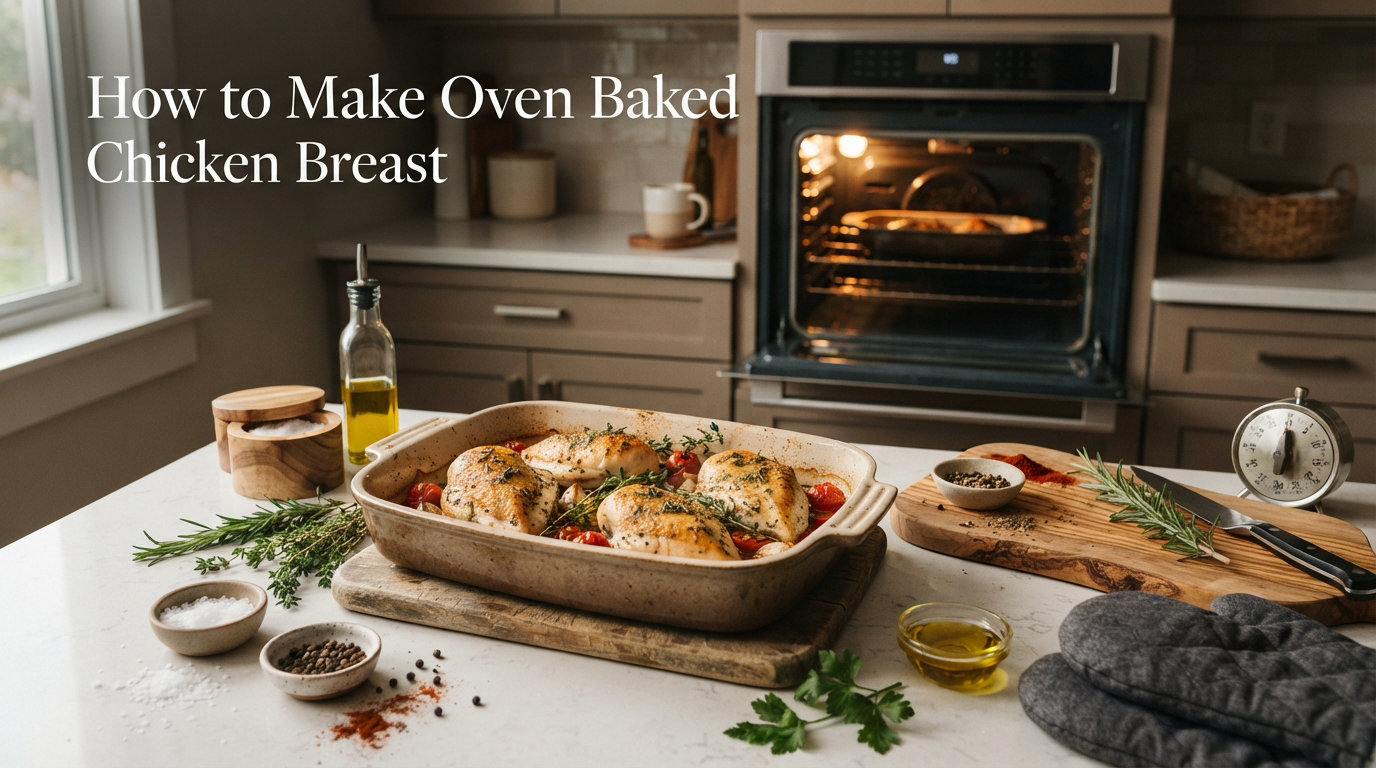
How to make oven baked chicken breast comes down to four controllable details: even thickness, a fully preheated oven, temperature rather than color as the doneness test, and a short rest before slicing. This complete recipe uses boneless, skinless breasts, a 425°F oven, and a simple paprika-garlic seasoning.
The timing chart covers breasts from 1/2 inch to more than 1 inch thick, while the troubleshooting guide explains pale surfaces, dry edges, uneven cooking, excess pan liquid, and seasoning problems. Because oven calibration and chicken size vary, the clock is only a guide; a food thermometer decides when the chicken is safe.
Table of Contents
How to Make Oven Baked Chicken Breast
Serves: 4 | Time: 30 minutes | Method: Oven-baked
Ingredients
-
4 boneless, skinless chicken breasts, 6 to 8 ounces each
-
1 tablespoon olive oil
-
1 teaspoon kosher salt, or 3/4 teaspoon fine salt
-
1 teaspoon smoked or sweet paprika
-
1/2 teaspoon garlic powder
-
1/2 teaspoon onion powder
-
1/2 teaspoon dried oregano
-
1/4 teaspoon black pepper
-
Lemon wedges and chopped parsley for serving, optional
Equipment
-
Rimmed sheet pan or shallow oven-safe baking dish
-
Parchment paper or a light coating of oil
-
Instant-read food thermometer
-
Meat mallet or rolling pin, optional
-
Small bowl and pastry brush or clean spoon
Instructions
-
Heat the oven to 425°F with a rack in the center. Line a rimmed sheet pan with parchment or lightly oil a shallow baking dish.
-
Pat the chicken dry with paper towels. Do not rinse raw poultry, because splashing water can spread bacteria around the sink and nearby surfaces.
-
Place each breast between two sheets of parchment or inside a food-safe bag. Gently pound the thick end until the breast is an even 3/4 inch thick. Do not pound so hard that the meat tears.
-
Mix the salt, paprika, garlic powder, onion powder, oregano, and pepper in a small bowl.
-
Brush both sides of the chicken with olive oil, then coat both sides evenly with the seasoning.
-
Arrange the breasts on the prepared pan with at least 1 inch between pieces. Wash hands, utensils, and surfaces that touched raw chicken.
-
Bake for 16 minutes, then begin checking the thickest part of the largest breast. Continue in 2-minute increments until every piece reaches 165°F.
-
Transfer the cooked chicken to a clean plate. Rest for 5 minutes, then slice across the grain and serve with lemon and parsley if desired.
The USDA poultry guidance states that all poultry should reach 165°F as measured with a food thermometer. Color, clear juices, firmness, and cooking time are not reliable substitutes.
Ingredient Choices and Substitutions
Chicken Breast Size
Packages often contain breasts of noticeably different sizes. Choose pieces that are close in thickness, or separate very large breasts into cutlets before cooking. If a package includes one thick and one thin piece, do not average their times. Check them separately and move each breast to the clean resting plate as soon as it reaches 165°F.
Bone-in, skin-on breasts need a different time range and are not a direct swap in this recipe. Their bones slow the center while the skin changes browning and fat. Use a method written for bone-in chicken and measure temperature without touching the bone.
Oil and Butter
Olive oil helps the dry seasoning spread and supports surface browning. Avocado oil or another neutral cooking oil can replace it in the same amount. Melted butter adds a richer flavor but contains milk solids that can brown faster at 425°F, so check the pan near the end.
Salt Type
Kosher salt and fine table salt occupy different volumes. The recipe gives separate amounts to avoid accidentally oversalting. If using a commercial Cajun, lemon-pepper, poultry, or barbecue blend, read the label for salt and reduce the separate salt accordingly. Brined, injected, or “enhanced” chicken may already contain a sodium solution and usually needs less.
Paprika and Herbs
Sweet paprika gives color and mild pepper flavor; smoked paprika adds a stronger smoky note. Dried oregano can be replaced with thyme, rosemary, Italian seasoning, or a salt-free poultry blend. Fresh chopped herbs are best added after baking because delicate leaves can darken in the hot oven.
How to Measure Chicken Temperature Correctly
Insert an instant-read probe into the thickest part of the breast, aiming for the center rather than the top surface or sheet pan. For a thin breast, insert the probe from the side so more of the sensing area sits inside the meat. The USDA thermometer guide recommends this side-entry approach for thin foods.
-
Open the oven and pull the rack out only far enough to reach the chicken safely.
-
Insert the clean probe into the center of the thickest section without pushing through to the pan.
-
Wait for the reading to stabilize according to the thermometer instructions.
-
Check a second spot if the breast is irregularly shaped or the first reading seems inconsistent.
-
Return chicken below 165°F to the oven and recheck after 2 minutes.
-
Wash the thermometer stem with hot, soapy water after it touches undercooked poultry and again after use.
An oven-safe leave-in probe can monitor the largest breast, but the remaining pieces still need separate checks. Do not assume they match merely because they share a pan.
Chicken Breast Thickness and Timing Chart
Use the range only to decide when to start checking. Weight is less useful than thickness because a broad, thin breast can weigh as much as a narrow, thick one. The center of every piece still needs to reach 165°F.
-
1/2 inch: Start checking at 12 minutes; the typical range is 12 to 16 minutes.
-
3/4 inch: Start checking at 16 minutes; the typical range is 16 to 22 minutes.
-
1 inch: Start checking at 20 minutes; the typical range is 20 to 28 minutes.
-
More than 1 inch: Start checking at 24 minutes; the typical range is 24 to 34 minutes.
If one piece reaches 165°F before the others, move it to the clean resting plate and return the remaining pieces to the oven. There is no benefit to leaving a finished breast in the heat while a thicker one catches up.
Why Even Thickness Matters
An intact chicken breast usually tapers from a thick rounded end to a thin point. Without adjustment, the thin end can overcook before the center of the thick end is safe. Gentle pounding shortens that difference and makes the timing chart more useful.
Butterflying is another option for very thick breasts. Hold the chicken flat with one hand, cut horizontally through the thick side without cutting completely through, and open it like a book. If knife work is uncomfortable, ask the butcher to prepare cutlets or use the parchment-and-mallet method.
Whatever method you choose, wash the mallet exterior if it touched the bag or parchment near raw chicken. Keep the clean serving plate and cooked-food utensils separate from raw-poultry tools.
Should You Brine Chicken Breast?
Brining is optional. It adds seasoning throughout the meat and can make the method more forgiving, but it also adds sodium and requires advance time. The straightforward oil-and-spice version works without it when the breasts are even and the final temperature is monitored.
Quick Brine for Four Breasts
-
4 cups cold water
-
3 tablespoons kosher salt
-
Stir the salt into the cold water in a nonreactive bowl until dissolved.
-
Submerge the chicken, cover, and refrigerate for 20 to 30 minutes.
-
Drain and pat the chicken dry without rinsing. Reduce the recipe salt to 1/4 teaspoon or omit it, depending on taste and dietary needs.
-
Season and bake as directed, checking the temperature at the early end of the range.
Always brine in the refrigerator, not on the counter. Do not reuse raw-poultry brine as a sauce.
Which Oven Temperature Works Best?
Several oven temperatures can cook chicken safely. A higher temperature shortens the cooking window and can improve surface color, while a lower temperature gives a wider clock range but keeps the chicken in the oven longer. This recipe uses 425°F because it balances speed and browning for evenly thick boneless breasts.
-
375°F: Useful for chicken baked in sauce or beside slower-cooking ingredients; expect a longer time and lighter surface color.
-
400°F: A moderate choice for mixed sheet-pan meals; size the vegetables so they finish with the chicken.
-
425°F: Best suited to evenly thick boneless breasts with dry seasoning; start checking early because the final minutes move quickly.
-
450°F: Useful for thin cutlets under close monitoring; edges and sugary seasonings can darken before a thick center is ready.
Do not use an oven below 325°F for poultry; the USDA identifies 325°F as the minimum oven temperature for cooking poultry safely. If a pan also contains potatoes, squash, or another slow-cooking vegetable, partially cook or cut those ingredients small enough to finish on schedule.
Five Seasoning Variations
Keep the salt and oil amounts consistent, then replace the paprika, garlic, onion, and oregano with one of these combinations. Check packaged blends for added salt before using them.
-
Lemon herb: Add 1 teaspoon lemon zest, 1 teaspoon dried oregano, 1/2 teaspoon garlic powder, and black pepper.
-
Smoky cumin: Use 1 teaspoon smoked paprika, 1/2 teaspoon cumin, 1/2 teaspoon garlic powder, and a pinch of cayenne.
-
Italian: Use 1 1/2 teaspoons salt-free Italian seasoning, 1/2 teaspoon garlic powder, and black pepper.
-
Cajun-inspired: Use 2 teaspoons salt-free Cajun seasoning, then add salt separately to control the amount.
-
Garlic Parmesan: Use garlic, onion, oregano, and pepper; add 2 tablespoons finely grated Parmesan during the final 5 minutes so it does not burn.
A sugary barbecue rub can darken quickly at 425°F. Apply a thin layer of sauce during the last 3 to 5 minutes and return the chicken to the oven until it is hot and the center is safe.
Scaling the Recipe
For two breasts, use half the oil and seasoning but keep the oven temperature and timing method unchanged. For six to eight breasts, use two sheet pans rather than crowding one. Rotate the pans front to back and switch racks halfway through if the oven heats unevenly.
Do not calculate cooking time by total weight. Eight evenly flattened breasts can finish in roughly the same window as four if air circulates around each piece. Crowding causes steam and uneven browning, so pan space is the limiting factor.
Turn It Into a Sheet-Pan Dinner
The easiest vegetables to pair with the 425°F method are those that can roast in about 20 minutes. Cut broccoli into small florets, slice zucchini thickly, halve cherry tomatoes, or cut bell peppers into 1-inch pieces. Toss them with a separate spoon and bowl so raw chicken juices do not contaminate extra vegetables or seasoning.
Dense vegetables such as potatoes, carrots, winter squash, and beets need a head start. Cut them into small pieces and roast for 15 to 25 minutes before adding the prepared chicken. Once the chicken enters the pan, continue until the vegetables are tender and every breast reaches 165°F.
Leave space around both chicken and vegetables. If the pan is crowded, divide the meal between two pans and rotate their positions halfway through. Watery vegetables such as mushrooms and zucchini may release liquid; browning them separately or using a larger pan helps.
Meal-Prep Plan for Cooked Chicken
Bake the chicken on the day you can cool and refrigerate it promptly. Leave two breasts whole for dinners, slice one for salads or wraps, and dice one for pasta, soup, or grain bowls. Keeping some portions whole gives you flexibility and reduces the cut surface exposed during storage.
Prepare sauces and dressings separately so the chicken does not become soggy. Useful combinations include lemon-herb yogurt, tomato salsa, pesto, tahini-lemon sauce, or a simple vinaigrette. Add sauce after reheating unless the dish is designed to warm in liquid.
For packed lunches, chill the chicken completely before closing the container and keep it cold with appropriate refrigeration. Do not leave cooked chicken at room temperature through a long commute or event. When in doubt about time or temperature control, discard it.
Troubleshooting Baked Chicken Breast
-
Dry or stringy center: The chicken likely stayed in the oven after reaching 165°F. Check earlier and remove finished pieces individually.
-
Dry thin end: The breast was probably much thicker at one end. Pound it to an even 3/4 inch before seasoning.
-
Pale surface: The chicken was wet or crowded. Pat it dry and leave at least 1 inch between pieces.
-
Seasoning falls off: The surface had excess moisture or no oil. Pat it dry, brush lightly with oil, then season.
-
Liquid pools in the pan: Pieces were crowded or released retained water. Use a larger rimmed pan and avoid overlapping.
-
Some pieces finish early: The breasts differ in thickness. Remove each at 165°F instead of waiting for the batch.
Serving Ideas
-
Slice over a green salad with vinaigrette
-
Serve with roasted broccoli and potatoes
-
Add strips to wraps, tacos, or whole-grain sandwiches
-
Dice for pasta, soup, or a grain bowl
-
Serve with brown rice and steamed vegetables
-
Chop and mix with yogurt-based chicken salad dressing
For another oven method, try our oven-baked chicken wings. For batch-cooking ideas, browse our chicken casserole recipes and side-dish recipes.
Storage, Freezing, and Reheating
Refrigerate cooked chicken in shallow covered containers within two hours. The USDA’s chicken storage guidance lists 3 to 4 days for cooked chicken in a refrigerator at 40°F or below.
-
Refrigerate: Keep breasts whole when possible, then slice shortly before serving to reduce exposed surface area.
-
Freeze: Wrap cooled portions well and freeze in a labeled container for up to 4 months for best quality.
-
Thaw: Thaw overnight in the refrigerator or use another USDA-approved thawing method, never the counter.
-
Reheat: Add a spoonful of water or broth, cover, and heat gently until the center reaches 165°F.
-
Use cold safely: Properly chilled cooked chicken can be sliced for salad or sandwiches without reheating.
Frequently Asked Questions
How long does chicken breast take in the oven?
At 425°F, evenly flattened boneless breasts often take 16 to 28 minutes, depending mainly on thickness. Start checking at the time in the chart and continue until the thickest part of every piece reaches 165°F.
Is 400°F or 425°F better for chicken breast?
Both can work. This recipe uses 425°F for quicker cooking and better surface color, while 400°F provides a slightly slower window. Thickness and final internal temperature matter more than choosing between those two settings.
Should chicken breast be covered while baking?
Leave it uncovered for this dry-seasoned method so the surface can brown. Covering is appropriate for recipes designed around sauce or gentle steaming, but it changes the result and timing.
Can you tell chicken is done by its color?
No. The USDA explains that safely cooked chicken can remain pink and that color is not a safety test. Measure 165°F in the thickest part with a food thermometer.
Can I bake chicken breast from frozen?
It is safer and easier to obtain even results after thawing in the refrigerator. If following a tested frozen-chicken method, expect substantially more time and still verify 165°F in the center; do not pound or brine frozen meat.
Why is there white material on baked chicken?
White protein-rich liquid can collect on the surface as chicken cooks, especially after freezing or brining. It is not a doneness test. Blot excess moisture before baking and rely on temperature for safety.
Conclusion: How to Make Oven Baked Chicken Breast
How to make oven baked chicken breast is easier to control when the pieces are evenly thick, the oven is fully preheated, and each breast is removed only after its center reaches 165°F. A five-minute rest finishes the method before slicing.
Use the thickness chart to know when to check, not when to assume the chicken is done. Once the base method is familiar, change the seasoning, sides, and batch size without changing the temperature-based safety check.