
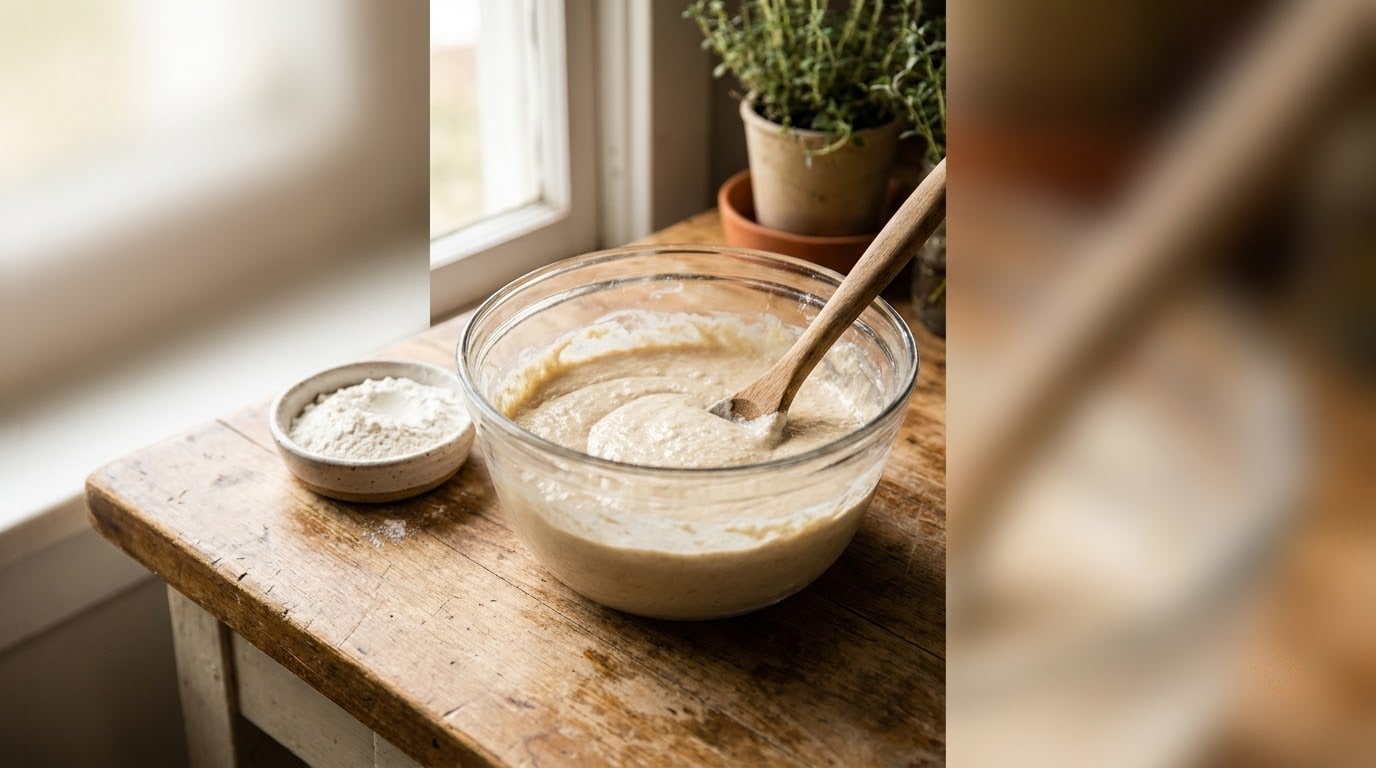
An amish friendship bread starter recipe is one of the simplest ways to bring a little old-fashioned tradition into your kitchen. You mix flour, sugar, milk, and yeast on day one, then stir and feed the bowl for ten days until you have a tangy, bubbly starter ready to bake into sweet cinnamon loaves or pass along to a friend in a plastic bag.
I started my first starter on a chilly fall weekend, mostly because a neighbor left a cupful of hers on my porch with a hand-drawn calendar taped to the side. Ten days later, I had enough starter for two loaves of bread and three little bags to share. The hands-on time is maybe fifteen minutes total across the whole cycle, so this is a project, not a chore. If you have ever been curious about homemade quick breads or the wider world of amish-style home baking, this starter is the friendliest place to start.
Table of Contents
Why This Recipe Works
This amish friendship bread starter recipe leans on wild fermentation rather than a complex sourdough culture, which is why beginners get reliable results.
- Pantry ingredients only. Flour, sugar, milk, and a packet of active dry yeast are the entire shopping list, and you probably already have them.
- Low hands-on time. Most days you stir for about thirty seconds. The actual work happens while you sleep or run errands.
- A predictable 10-day cycle. Stir on days 2 through 4, feed on day 5, stir on days 6 through 9, feed on day 10, then bake or share. The rhythm is easy to follow even if you have never baked bread before.
- A sweet, mellow flavor. Because the starter is fed with sugar and milk rather than just flour and water, the resulting loaves bake up soft, tender, and lightly tangy, perfect for a cinnamon-sugar crumb cake or a snack loaf.
Ingredients
- 1 packet (2 and 1/4 teaspoons, 7 g) active dry yeast
- 1/4 cup (60 ml) warm water, around 110°F (43°C)
- 1 cup (130 g) all-purpose flour
- 1 cup (200 g) granulated sugar, divided
- 1 cup (240 ml) whole milk, room temperature
A few notes on the ingredients: Use whole or 2% milk for the richest starter, though any dairy milk will work. The water should feel comfortably warm on the inside of your wrist, like a baby’s bottle, not hot. Hot water kills the yeast before it has a chance to wake up. If you only have whole wheat flour on hand, swap half of the all-purpose for whole wheat to keep the starter from getting too dense.
Easy swaps: Replace the active dry yeast with 1 tablespoon (9 g) instant yeast and skip the bloom step if you are in a hurry. For a slightly different flavor profile, swap the granulated sugar for an equal amount of light brown sugar on day one and the day 5 and day 10 feedings.
Equipment
You only need a few items, and none of them are metal.
- A 1-quart glass or food-safe plastic bowl. Glass or plastic is non-reactive, which keeps the fermentation happy. Avoid metal bowls because they can slow the yeast and give the starter a metallic taste.
- Plastic wrap or a loose-fitting lid. The starter needs to breathe a little, so do not seal it airtight. A rubber band around plastic wrap works perfectly.
- A wooden or plastic spoon. A silicone spatula is fine. Skip the metal whisk.
- A permanent marker or masking tape and pen. You will want to label the bowl with the day you started so you can track the 10-day cycle at a glance.
How to Make Amish Friendship Bread Starter
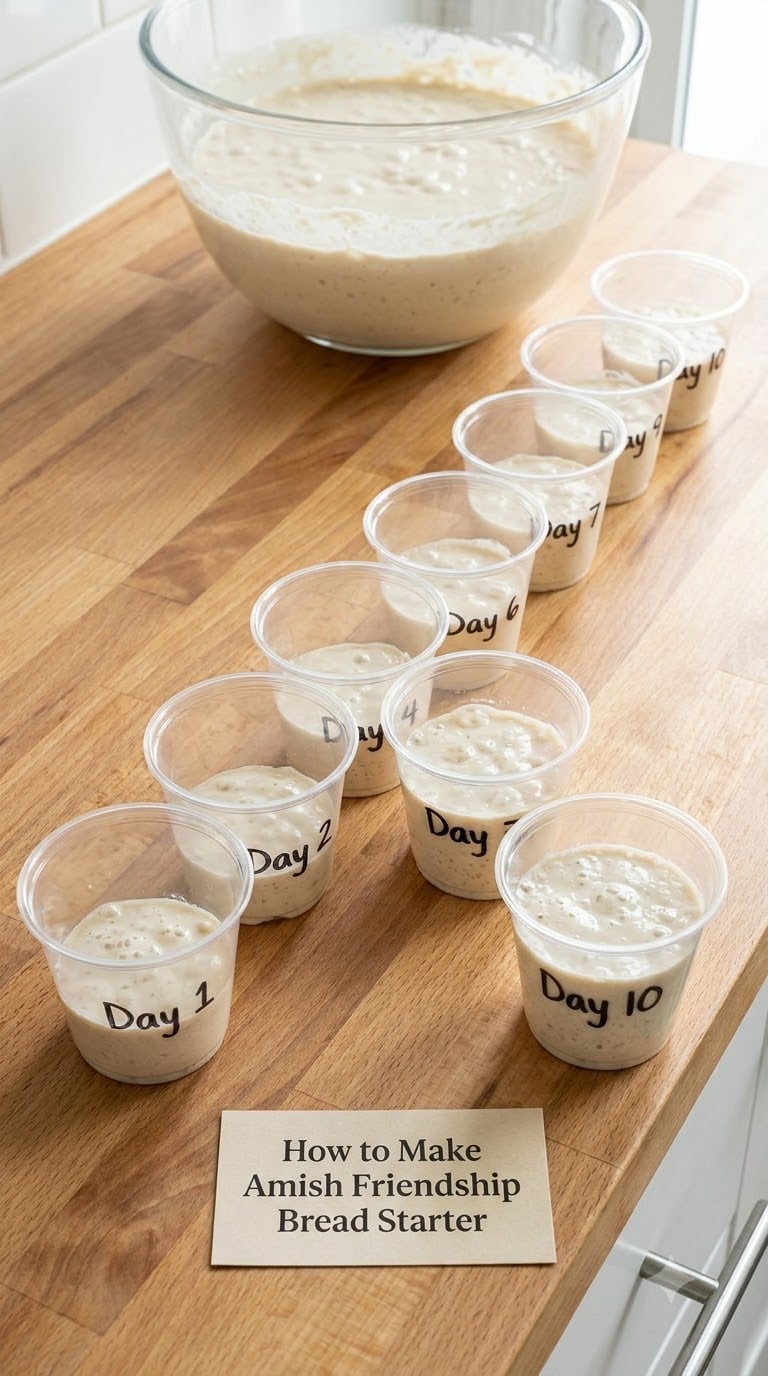
The 10-day cycle moves in three phases: build, rest, and feed. Each phase has its own job to do.
Day 1: Mix the Starter
- Pour the warm water into your glass or plastic bowl and sprinkle the yeast over the top. Let it sit for about 10 minutes, until the surface looks foamy and puffy.
- Stir in the flour, 1/2 cup of the sugar, and the milk until the mixture is smooth and a little stretchy, like thick pancake batter.
- Cover loosely with plastic wrap and write “Day 1” on the bowl with your marker. Leave it on the counter at room temperature, somewhere between 68°F and 75°F (20 to 24°C).
Days 2 to 4: Rest and Stir
Once a day, uncover the bowl and give the starter a slow stir with your wooden or plastic spoon. You do not need to add anything yet, just stir, cover it back up, and walk away. By day 3 the starter should look slightly puffed and smell faintly tangy. Tiny bubbles around the edge are a great sign.
Day 5: First Feeding
Today is the first real feeding. The starter has eaten through the food you gave it on day 1 and needs a fresh meal.
- Stir the starter well, then scoop out 1 cup (about 240 g) and set it aside in a small bowl or a 1-quart zip-top bag for baking later, or for sharing.
- To the remaining starter in the big bowl, add 1 cup (130 g) flour, 1/2 cup (100 g) sugar, and 1 cup (240 ml) milk.
- Stir until smooth, cover loosely, label “Day 5 fed,” and leave it on the counter.
Day 6: Rest
Stir the starter briefly, cover it, and let it rest. No feeding today, just a little air and a quick stir.
Days 7 to 9: Stir and Watch
Stir once a day. By day 8 or 9, the starter should look visibly puffed, smell pleasantly sour, and have small bubbles breaking the surface. If your kitchen is on the cool side, the starter may take an extra day to look active, and that is normal.
Day 10: Final Feed and Bake or Share
- Stir the starter thoroughly. You should have roughly 3 cups of active starter in the bowl.
- Decide how you want to use it. Most bakers portion the starter into three 1-cup piles: one for baking that day, one for a friend, and one to keep as the start of a new cycle.
- To the cup you are keeping for the next cycle, add 1 cup flour, 1/2 cup sugar, and 1 cup milk, stir, cover, and start a fresh 10-day count.
- The remaining 1-cup portions are ready to use right away in any amish friendship bread recipe, or to be sealed in a zip-top bag, labeled, and given away.
Tips for Success
- If the starter is not bubbling by day 3, your kitchen is probably too chilly. Move the bowl to the top of the fridge, near a warm appliance, or on a folded towel on top of a heating pad set to low. Aim for a steady 72°F (22°C) and the bubbles will follow.
- Skip the metal. Metal can react with the acids in the starter and slow the yeast. Plastic, glass, silicone, and wood are all safe.
- Pink, orange, or reddish streaks mean toss it. A healthy starter is creamy beige, tan, or light brown. If you see pink, anything fuzzy, or smell anything sharp and rotten rather than tangy and yogurt-like, discard the starter, wash the bowl in hot soapy water, and start over.
- Forgot a feeding day? Feed it as soon as you remember and continue the cycle. The starter is forgiving. If you skip two feedings in a row, it is usually safer to start fresh.
- Loose lids only. A fully sealed bowl traps gas and can blow the lid off or sour the starter. Plastic wrap with a small gap, a tea towel secured with a rubber band, or a bowl with a loose-fitting lid all work.
Variations
- Whole wheat version. Replace half the all-purpose flour with whole wheat flour for a deeper, nuttier starter. The color will be a little darker and the loaves more rustic.
- Gluten-free version. Use a 1-to-1 gluten-free baking flour blend that contains xanthan gum. The starter will be slightly looser but will still bubble and feed on the same schedule.
- Buttermilk or almond milk. Buttermilk gives the starter a tangier edge. Unsweetened almond milk works fine for dairy-free baking, though the loaves will be slightly less rich.
- Honey or maple syrup in place of granulated sugar. Use 1/3 cup honey or maple syrup for every 1/2 cup of sugar. The starter will ferment a little faster, so check it on day 4 instead of day 5.
- Sourdough shortcut. If you keep an active sourdough starter, you can use 1 cup of it in any recipe that calls for 1 cup of amish friendship bread starter. The flavor will be a little more complex and a touch less sweet.
Storage, Make-Ahead and Reheating
If you want to take a week off from baking, feed the starter and refrigerate it in a loosely covered container. Cold starter sleeps, but it does not die. Feed it once a week, and bring it out to room temperature 24 hours before you want to bake so it can wake up and bubble again.
For longer breaks, portion 1 cup of starter into a freezer-safe zip-top bag, squeeze out the air, label it with the date, and freeze for up to three months. To revive, thaw the bag in the fridge overnight, pour it into a bowl, and give it two feedings, 12 hours apart, before you bake with it.
To share, scoop 1 cup of starter into a quart-size zip-top bag, press out the excess air, seal it, and tuck a copy of the day-by-day instructions in with it. Most friends love receiving one with a ribbon around the bag.
Once the starter is baked into a loaf or muffins, store the bread in an airtight container at room temperature for up to three days. For longer keeping, slice the loaf, wrap the slices in foil, and freeze for up to two months. Reheat slices in a 300°F (150°C) oven for 8 to 10 minutes, and they taste almost fresh-baked. If you bake often enough to want a steady supply, you might also enjoy our soft cottage cheese bread recipe for variety.
What to Serve With It
Once your amish friendship bread starter becomes an actual cake or loaf, a few simple pairings turn it into the kind of breakfast or coffee break people remember.
- A dusting of cinnamon sugar right after baking, while the crust is still warm.
- A smear of plain cream cheese or whipped honey butter on each slice.
- Fresh strawberries or raspberries on the side, especially in summer.
- A tall glass of cold milk or a mug of strong coffee.
- A drizzle of warm vanilla glaze for dessert plates.
Frequently Asked Questions
How long does it take to get an active amish friendship bread starter?
From day 1 to day 10 you stir and feed the starter on a simple schedule, and by day 10 you have roughly 3 cups of bubbly starter ready to bake with or share. Most kitchens see real activity by day 3, with a fully active starter on day 10. If your kitchen runs cool, give it an extra day before you worry.
What do I do if I forget to feed my friendship bread starter on day 5 or 10?
Feed it as soon as you remember, then resume the schedule. The starter is forgiving. If you miss both feedings in a row, or the starter smells rotten rather than tangy, it is safer to discard it, wash the bowl, and start a fresh batch.
Can I use a metal bowl or metal spoon to stir my amish friendship bread starter?
It is best to avoid metal bowls and utensils. Metal can react with the acids in the starter and slow the fermentation. Use glass, food-safe plastic, silicone, or wood instead. Many bakers who switch to non-metal tools notice better bubbling on days 3 through 9.
Why does my friendship bread starter smell like beer or sour cheese?
A tangy, slightly sour, beer-like or yogurt-like smell is a great sign that wild yeast and bacteria are fermenting the sugars. It means the starter is active. Only worry if the smell turns rotten, sharp, or yeasty in a bad way, which can signal that the starter has spoiled.
How do I share or freeze an amish friendship bread starter?
Scoop 1 cup of starter into a quart-size zip-top bag, squeeze out the air, seal it, and tuck a copy of the 10-day instructions inside. Hand it to a friend or freeze the bag for up to three months. Thaw in the fridge overnight and feed twice, 12 hours apart, before baking with it again.
Why is my friendship bread starter not bubbling after several days?
The most common causes are a cold kitchen, old yeast, or metal utensils slowing the fermentation. Move the bowl to a warmer spot around 72°F (22°C), double-check the yeast was fresh, and switch to a glass or plastic bowl with a wooden spoon. You should see bubbles within a day or two of the switch.
That is everything you need to build a healthy amish friendship bread starter from scratch and keep it going for as many cycles as you like. Once you have made it through day 10, the real fun begins: stirring cinnamon into the batter, pouring it into a Bundt pan, and seeing what the 10-day wait actually created. Share the extras, mark your bowl, and enjoy the small tradition of it.