
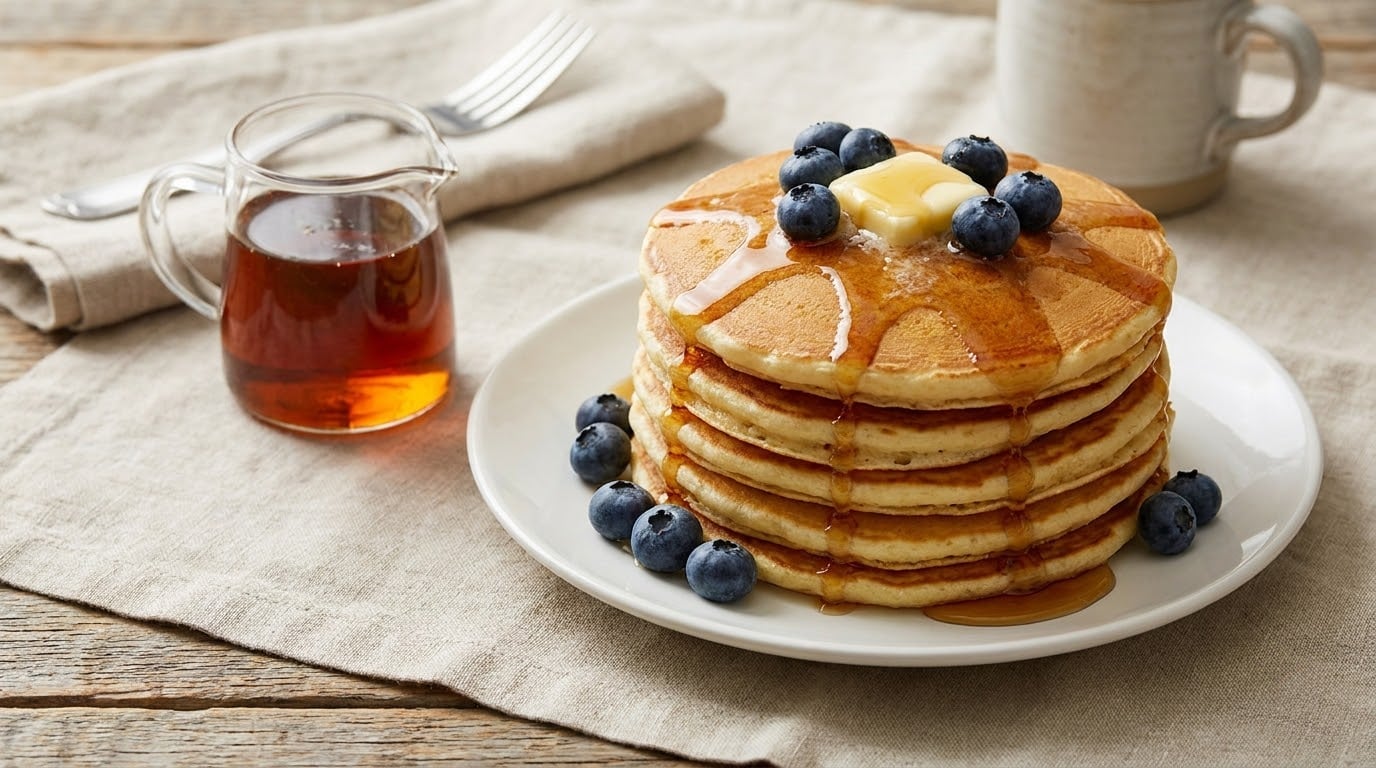
Most flat pancakes trace back to three habits: beating the batter smooth, cooking it too hot, and flipping too early. So how to make buttermilk pancakes fluffy is a technique problem, not a recipe problem. Stop beating the batter, let it sit for ten minutes, and hold the griddle at medium-low, and the same basic mix turns tall and tender.
What follows is a scratch buttermilk pancake that takes about 25 minutes from bowl to plate, makes six to eight, and behaves on a slow Saturday morning when you want diner results without leaving the house. Updated for October 2026.
Table of Contents
Why This Recipe Works
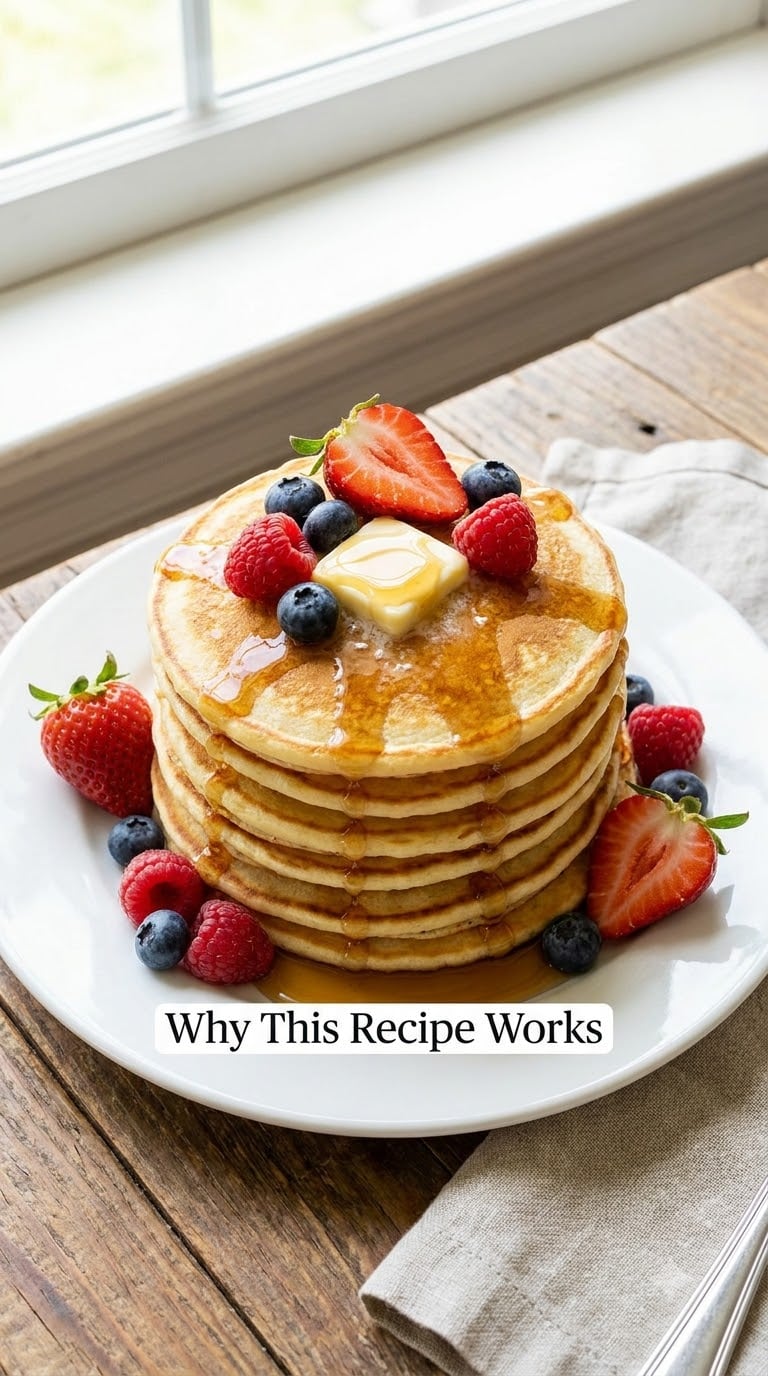
Four things create the lift, and every one of them is a decision you make in about ten seconds. Miss any one of them and the pancakes still taste good, they just come out short and slightly bouncy.
- Mixing stops early. The batter goes from separate to combined in roughly fifteen strokes. Flour that barely hydrates has no developed gluten to fight you, and those little lumps you keep seeing are exactly the air pockets you want.
- Buttermilk does the reacting. The acid in buttermilk triggers the baking soda, so the two work as a pair. Baking powder carries the extra lift on its own.
- Ten minutes of rest. During that pause the flour drinks in the liquid and tightens gluten strands relax. A hydrated, relaxed batter cooks into a tender crumb instead of a gummy one.
- Medium-low heat and one flip. A cool-ish griddle gives the center time to set before the outside colors. You flip once, when the bubbles break and leave holes, and never again.
The gas itself is simple chemistry. Baking powder and baking soda release carbon dioxide, the bubbles expand in the heat, and the starch and egg proteins set around them into tall pockets. Overmixing is the mistake almost everybody makes, and it is the one that turns those pockets chewy instead of tender.
Ingredients
This makes six to eight pancakes, roughly four servings, depending on how thick you pour them.
- 1 1/2 cups (190 g) all-purpose flour, spooned and leveled
- 2 teaspoons baking powder
- 1/2 teaspoon baking soda
- 1 tablespoon (12 g) granulated sugar
- 1/4 teaspoon fine salt
- 1 1/2 cups (355 ml) buttermilk, at room temperature
- 1 large egg, at room temperature
- 2 tablespoons (28 g) unsalted butter, melted and cooled a little, plus more for the pan
- 1 teaspoon vanilla extract, optional
What the key ones are doing. Buttermilk supplies acid and moisture, which is why it makes the crumb tender instead of just wet. Baking soda is the gas that activates on contact with that acid, while baking powder does its own thing and gives you a little headroom. The egg and melted butter tenderize further, and the sugar is there mostly for browning and a hint of sweetness rather than sweetness on its own.
Swaps that work. For a dairy-free version, use unsweetened almond or oat milk with 1 1/2 tablespoons of lemon juice added, then wait five minutes so it thickens. For gluten-free, use a cup-for-cup gluten-free blend and expect to let the batter rest the full ten minutes, because those flours need the hydration. For egg-free, whisk 1 tablespoon of ground flaxseed with 3 tablespoons of water and use that in place of the egg. My full rundown of dairy-free swaps lives in 7 best buttermilk substitute ideas.
Equipment
- A 12-inch nonstick skillet or a lightly greased griddle
- A medium mixing bowl you can tap the side of
- A whisk for the dry ingredients, or a fork if that is all you have
- A 1/4-cup measuring cup for portioning
- A thin spatula or fish turner wide enough to slide under a full pancake
- An instant-read thermometer, which is the one piece of kit that actually fixes a temperature problem
How to Make Buttermilk Pancakes Fluffy
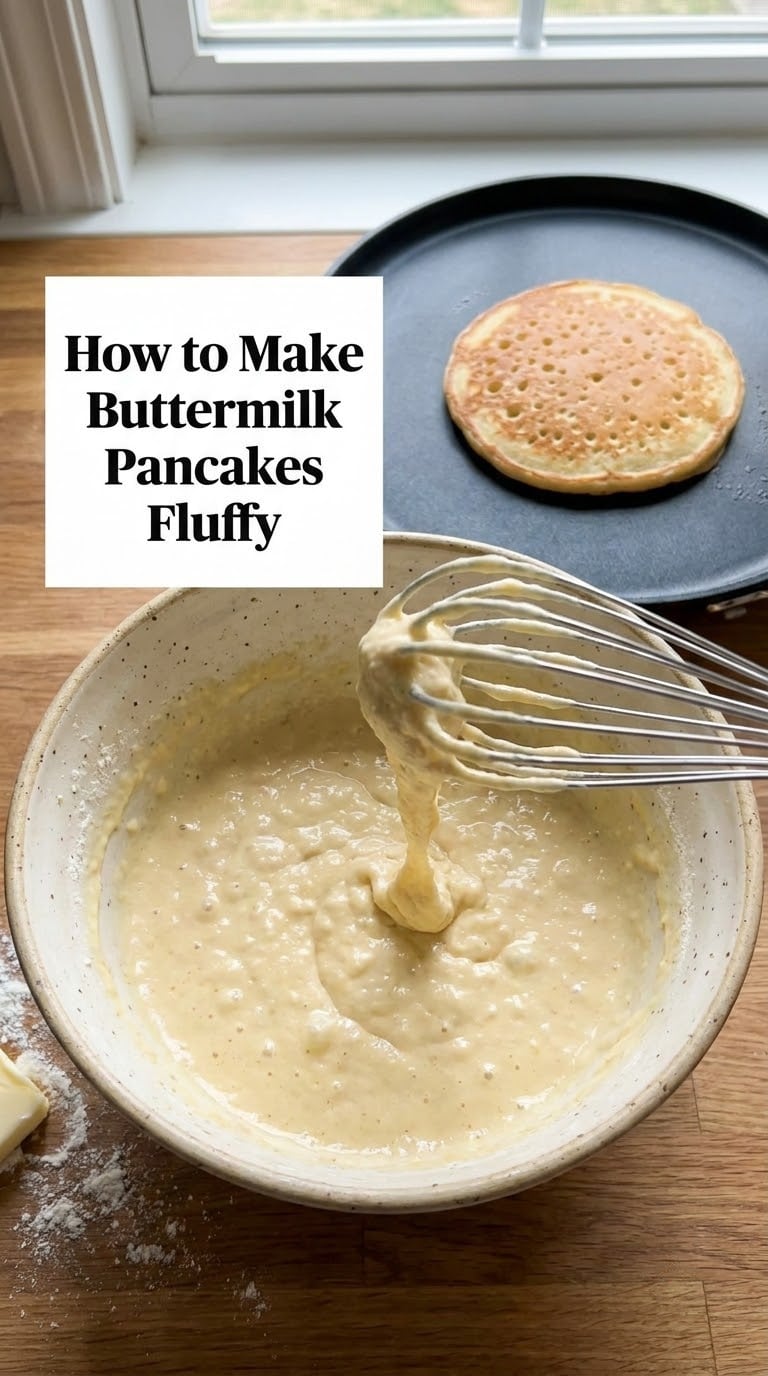
Whisk the dry ingredients, stir the wet ones separately, combine them barely, rest, then cook on medium-low. The method is ten steps and most of it is waiting.
How to Make Buttermilk Pancakes Fluffy: Mix the Batter
- Whisk the dry ingredients. Combine the flour, baking powder, baking soda, sugar, and salt in a medium bowl and whisk until there is no patch of baking powder sitting on the bottom.
- Whisk the wet ingredients. In a second bowl, whisk the buttermilk, egg, melted butter, and vanilla until the egg is fully broken up and the liquid is one color.
- Add the wet to the dry. Pour the buttermilk mixture over the flour and stir with a spoon or spatula just until you no longer see dry flour at the bottom of the bowl.
- Stop while it still looks slightly lumpy. Some dry flour in small lumps is correct. Those lumps keep air pockets in the batter, and they soften and disappear as the pancake cooks.
- Check the consistency. Scoop some batter and let it fall off the spoon. It should drip in a slow ribbon, not pour like a thin liquid. If it pours, add another 2 to 3 tablespoons of flour.
- Rest for 10 minutes. Cover the bowl and leave it on the counter. Nine or ten minutes is the target, and fifteen is fine. Skipping it is fine too, just know why the crumb is tighter.
Do not stir the batter again after the rest. Every extra stroke develops a little more gluten, and that is the whole difference between tender and chewy.
How to Cook Buttermilk Pancakes on a Griddle
- Preheat to medium-low. Set the skillet or griddle to medium-low and let it heat for 3 full minutes. If you have a thermometer, aim for 300 to 325°F (150 to 165°C). A drop of water should skitter across the surface and sizzle, not flash to steam.
- Grease lightly, then wipe. Add a thin film of butter or neutral oil. Too much fat pools and spreads the batter, so wipe off the excess with a paper towel before the first ladle goes down.
- Portion 1/4 cup per pancake. Scoop from the bowl and let the excess drip off the cup’s edge before the batter hits the pan. A larger puddle cooks thicker and takes longer to set in the middle.
- Wait for the bubbles to break. Cook for 2 to 3 minutes. Small bubbles appear first, then they pop and stop filling in, leaving craters that do not close. The edges will look dry and set.
- Flip once. Slide the spatula all the way under, lift and turn in one confident motion, and let the pancake land away from you. If it resists, it is not ready yet.
- Cook 1 to 2 more minutes. The second side is faster and needs less color. It is done when the surface is matte, the edges are golden brown, and a fingertip pressed to the center leaves a springy dent rather than a wet one.
- Hold the finished batch warm. Set cooked pancakes on a rack inside a 200°F (95°C) oven so the bottoms do not steam and go soft. Never stack them while they are hot.
- Eat the first one standing up. The first pancake is usually thinner or misshapen because the pan loses heat when cold batter hits it. Use it as a temperature scout, then adjust the dial and enjoy the rest of the batch.
Tips for Success
Almost every disappointing pancake comes down to mixing, heat, or timing. Find your symptom in the table and change one thing at a time, because changing three at once teaches you nothing.
| What you see | What is happening | The fix |
|---|---|---|
| Pancakes are flat and thin, almost lace-like | The batter was overmixed, so the gluten tightened and the batter ran before it set | Stir in six strokes and stop. Lumps are the goal, not a mistake to smooth out. |
| Pancakes are dense, heavy, and chewy | Same overmixing problem, or the rest was skipped and the flour never hydrated | Rest the batter 10 minutes and mix half as much as you think you need to. |
| Pancakes puff up, then deflate as they cool | Structure collapsed, often from aging baking powder or a thin pancake with nowhere to set | Test the baking powder in a cup of hot water. Vigorous bubbling means it is still active. |
| Dark outside, raw and gummy in the middle | The pan is too hot and the pancake is too thick for the heat it is getting | Drop to medium-low and portion closer to 3 tablespoons than 1/4 cup. |
| Pancakes are pale and limp with no browning | The griddle never got hot enough, or the pan is overcrowded | Preheat the full 3 minutes, and cook no more than 2 at a time on a 12-inch pan. |
| Pancakes stick even on nonstick | Excess grease pooled under the batter, or the sugar in the pan has started to caramelize and grab | Grease more lightly, wipe off the excess, and use a neutral oil at high heat or butter at medium-low. |
One more worth knowing: if your pancakes are consistently flat, resist the urge to add more baking powder. The most common cause is a batter that is too thin, and a spoonful of flour fixes that better than a spoonful of leavening ever will.
Variations
- Chocolate chip. Add 1/2 cup (85 g) of semisweet chips after the rest, folding them in with four light strokes. Chocolate chips are the one add-in that sweetens without making the batter spread.
- Blueberry lemon. Stir 1 teaspoon of lemon zest into the dry ingredients and fold in 1 cup of blueberries right before cooking. Toss the berries in a teaspoon of flour first if you want them to stay whole.
- Whole wheat. Swap 1/2 cup of the all-purpose flour for 1/2 cup whole wheat flour. Expect slightly denser, nuttier pancakes and give the batter the full 15-minute rest.
- Gluten-free. Use a cup-for-cup gluten-free blend in place of the all-purpose flour, add 1/4 cup more buttermilk, and let the batter sit 15 minutes. These pancakes cook faster because there is no gluten to set, so pull them a little early.
Storage, Make-Ahead and Reheating
Cooked pancakes keep well. Cool them completely on a rack first, then store them airtight.
- Room temperature: 2 to 4 hours, loosely covered. Fine for a table of hungry people, not fine overnight.
- Refrigerator: 3 to 4 days in a sealed container, separating layers with parchment.
- Freezer: 2 to 3 months. Lay the pancakes in a single layer on a sheet pan, freeze until solid, then transfer them to a bag so they do not clump.
Do not save the batter. The acid in the buttermilk keeps eating the baking soda in the fridge, so batter mixed the night before comes out flat no matter what you did right. Freeze the cooked pancakes instead, which is also the faster morning decision. A weekend freezer restock works well for the same reason: double the batch, and the reheat does the work later. I keep a separate list going for that kind of prep, alongside make ahead breakfast burritos for the freezer and other easy make ahead lunch ideas for the week, so I am not deciding what to freeze on a Wednesday night.
For reheating, the toaster oven wins at 350°F (175°C) for 8 to 10 minutes, since a single layer dries evenly. A regular oven at 350°F works but takes 10 to 15 minutes for the same result. A skillet over medium-low with a lid takes 3 to 4 minutes and gives you the softest center. A microwave is the fastest at 30 seconds, but it heats the outside first and makes the middle tough, so wrap the pancake in a damp paper towel first.
What to Serve With It
The best toppings add contrast rather than weight. Pick one or two and let the pancake stay the center of the plate.
- Warm maple syrup and a knob of butter, which melts into the layers while the pancake is still hot enough to steam.
- Plain yogurt with honey and toasted nuts, for a cooler, tangier counterpoint to the syrup.
- Fresh berries or macerated fruit, which release their juice on the plate and need nothing else.
- Crispy bacon and fried or scrambled eggs, for a brunch plate that eats like one meal. Keep any egg dish fully cooked.
- A simple salted topping: warm apple slices, a spoonful of nut butter, or whipped cream dusted with cinnamon.
If you are hosting a bigger group, spread the table with yeast doughnuts or a tray of raspberry jam donuts alongside the stack, or plate the pancakes in batches so nobody waits on a plate of them going cold.
Frequently Asked Questions
Can I make pancake batter ahead of time?
Mixing the batter ahead is the one make-ahead step to skip. The acid in buttermilk keeps reacting with the baking soda in the fridge, so overnight batter loses its lift and cooks flat. You can mix the dry ingredients and refrigerate them separately, or freeze the finished pancakes instead of the batter. If you must use batter within a few hours, keep it at room temperature, not cold, and give it a gentle stir before cooking.
What can I use instead of buttermilk?
The easiest swap is milk plus acid. Stir 1 1/2 tablespoons of lemon juice or white vinegar into 1 1/2 cups of whole or 2% milk, let it sit 5 minutes until it thickens slightly, then use it exactly like buttermilk. Unsweetened almond or oat milk works the same way and keeps the pancakes dairy-free. Plain milk on its own is fine, but drop the baking soda to 1/4 teaspoon since there is less acid to activate it.
Why are my buttermilk pancakes dense or flat?
Overmixing is the leading cause. Stirring past the point where the dry flour disappears develops gluten, which tightens the crumb and makes pancakes chewy rather than tender. Stop when the batter is just combined and small lumps remain. Skipping the 10-minute rest is the second cause, because unhydrated flour never cooks into an airy crumb. A batter that is too thin or an over-hot griddle are the usual other two.
How do I keep cooked buttermilk pancakes fluffy?
Keep them on a wire rack in a 200°F (95°C) oven, which holds them without letting the bottoms steam and turn soft. Do not stack hot pancakes in a pile, and do not cover them while they steam. For longer storage, cool them completely, separate the layers with parchment, and freeze flat. Reheat in a toaster oven or a covered skillet so the crumb rewarmed evenly instead of drying out.
Should pancake batter rest before cooking?
Yes, and 10 minutes is the sweet spot. During the rest, the flour hydrates and tightens gluten strands relax, so the batter spreads less in the pan and cooks into a taller, more tender crumb. It also gives the baking powder and baking soda time to fully activate. Fifteen minutes is fine and whole wheat or gluten-free flours need the full time. If you skip it, the pancakes still work, just a little tighter.
Can I make buttermilk pancakes without baking soda?
You can, but drop the baking powder to 2 1/2 teaspoons to compensate. Baking soda supplies extra gas because the acid in the buttermilk activates it, and without that reaction you are relying on baking powder alone. For the same reason, using a milk-based substitute instead of real buttermilk means cutting the soda to 1/4 teaspoon, since there is less acid to work with. You will still get lift, just a touch less height.
Make Them Fluffy on the First Try
Start with the mixing and the rest, since those two decide the crumb before the pan ever gets hot. Lumpy batter, ten minutes on the counter, and medium-low heat will get you most of the way there, and the troubleshooting table above tells you exactly which dial to turn when something goes sideways.
Whisk the dry ingredients first, then take the batter out of the bowl when it still looks a little uneven, and let it sit. That is genuinely how to make buttermilk pancakes fluffy every single time, and it takes no extra work at all.